Here we go, the Sony A7 IV. I honestly can’t believe I’m reviewing this camera right now because I’m typically a Canon girl through and through. But the Sony A7 IV has been on my radar for a while now, so when I had the opportunity to test it out, you better believe I took it! The Sony A7 IV is known for its incredible video and autofocus, but it also takes beautiful photos. When you add in the long battery life, dual card slots, in-body image stabilization and a 33 MP full-frame sensor, it’s hard to deny this camera. I’m a full-time photographer, not a videographer, but I definitely loved switching between the photo and video modes because it was just so user-friendly and intuitive. I mainly use a Canon 5D Mark IV and a Canon EOS R, so I’m used to video that is a bit clunky with slow, unreliable autofocus. I’ve just never really had a camera that was video-forward, but the Sony A7 IV made me question if the reason I haven’t been shooting video is because I just didn’t have the right tools!
As a photographer who shoots all kinds of photographs from portraits to weddings to landscapes to food to fashion, I need a camera that is a workhorse with reliability. I need an amazing lens selection, a sturdy camera body, a long battery life, and super sharp images. When it comes to choosing a camera, there are really 5 categories I’m judging to determine whether a camera is for me — Functionality, Portablity, Durability, Clarity and Creativity. These might differ from photographer to photographer, but I’ve learned over the years what matters most to me and my business. I’m simply not a technically minded person. Of course the features of a camera matter to me, but I’m more interested in the originality and quality of my work, along with the ease of use that a cameras allows for. I shoot quickly and I take a LOT of images. I’m always working towards creating photographs that are entirely unique, creative, and original. I want to create photographs that wow my clients. I just prefer to be real with my camera reviews and share what I truly think about shooting in the real world, in a real location, with real people. Was the camera easy to use or was it confusing and glitchy? Did it handle low light well? Were the images tack sharp? Did the battery last through the shoot? Would it survive a fall if I dropped it on the concrete floor of a studio? Does it have options for creative modes? These are the things that matter to me. So if you’re wondering if the Sony A7 IV can keep up in the real world and create truly stunning photographs that will make your work stand out, you should keep reading. :) And if you’d prefer to watch, I have a full YouTube video about the Sony A7 IV here!


(By using the affiliate links and/or codes in this blog post it supports Myles Katherine Photography. We may get a small kick back by you doing so.)
FUNCTIONALITY (RATING: 4.5/5)
When I picked up the Sony A7 IV for the first time, I immediately noticed how intuitive the buttons and menu screen felt as I worked my way around it. I suppose I had always imagined myself being completely confused by a new camera brand because I’m so used to Canon cameras. However, I quickly got used to adjusting the ISO, aperture, exposure compensation and more. There are 3 custom buttons that you can assign different settings to so that you can access them quickly, like white balance, ISO, shutter speed, etc. So, depending on how you shoot, you can make everything you need super accessible. This is definitely a plus for me, especially when I’m working a wedding and need to change settings fast.
Another nice feature is having options when it comes to the touch screen. I like using the “touch to focus” option so that I can choose exactly where I want the camera to focus if I’m shooting a large group of people at a wedding or am trying to hone in on one person and catch a candid moment during cocktail hour. I absolutely hate “touch shutter” so I avoid that option at all costs. My Canon EOS R would always accidentally slip into the touch shutter mode because the button was super easy to hit with your nose if you decided to shoot through the viewfinder. It drove me crazy. But luckily the mode is tucked within the menu on the Sony A7 IV so it doesn’t accidentally change on you.
And of course, the 5-axis in-body stabilization (IBIS) is a huge upgrade for me. It’s somehow the first time I’ve ever used a professional camera with in-body image stabilization and it is definitely something I could get used to. Since I’ve never had it before, I just never missed it, but at any sort of wedding or event where I’m moving around, it would come in handy, for sure.
The fact that the A7 IV also has dual card slots is a major plus. It’s another one of those things that you don’t miss until you have it. After having them with my 5D Mark IV, it just lowered my stress levels so much when working for clients. You can record your images or video to two cards at the same time so you always have a backup of your work. There’s really nothing more important than having that safety net for a high-paying gig.
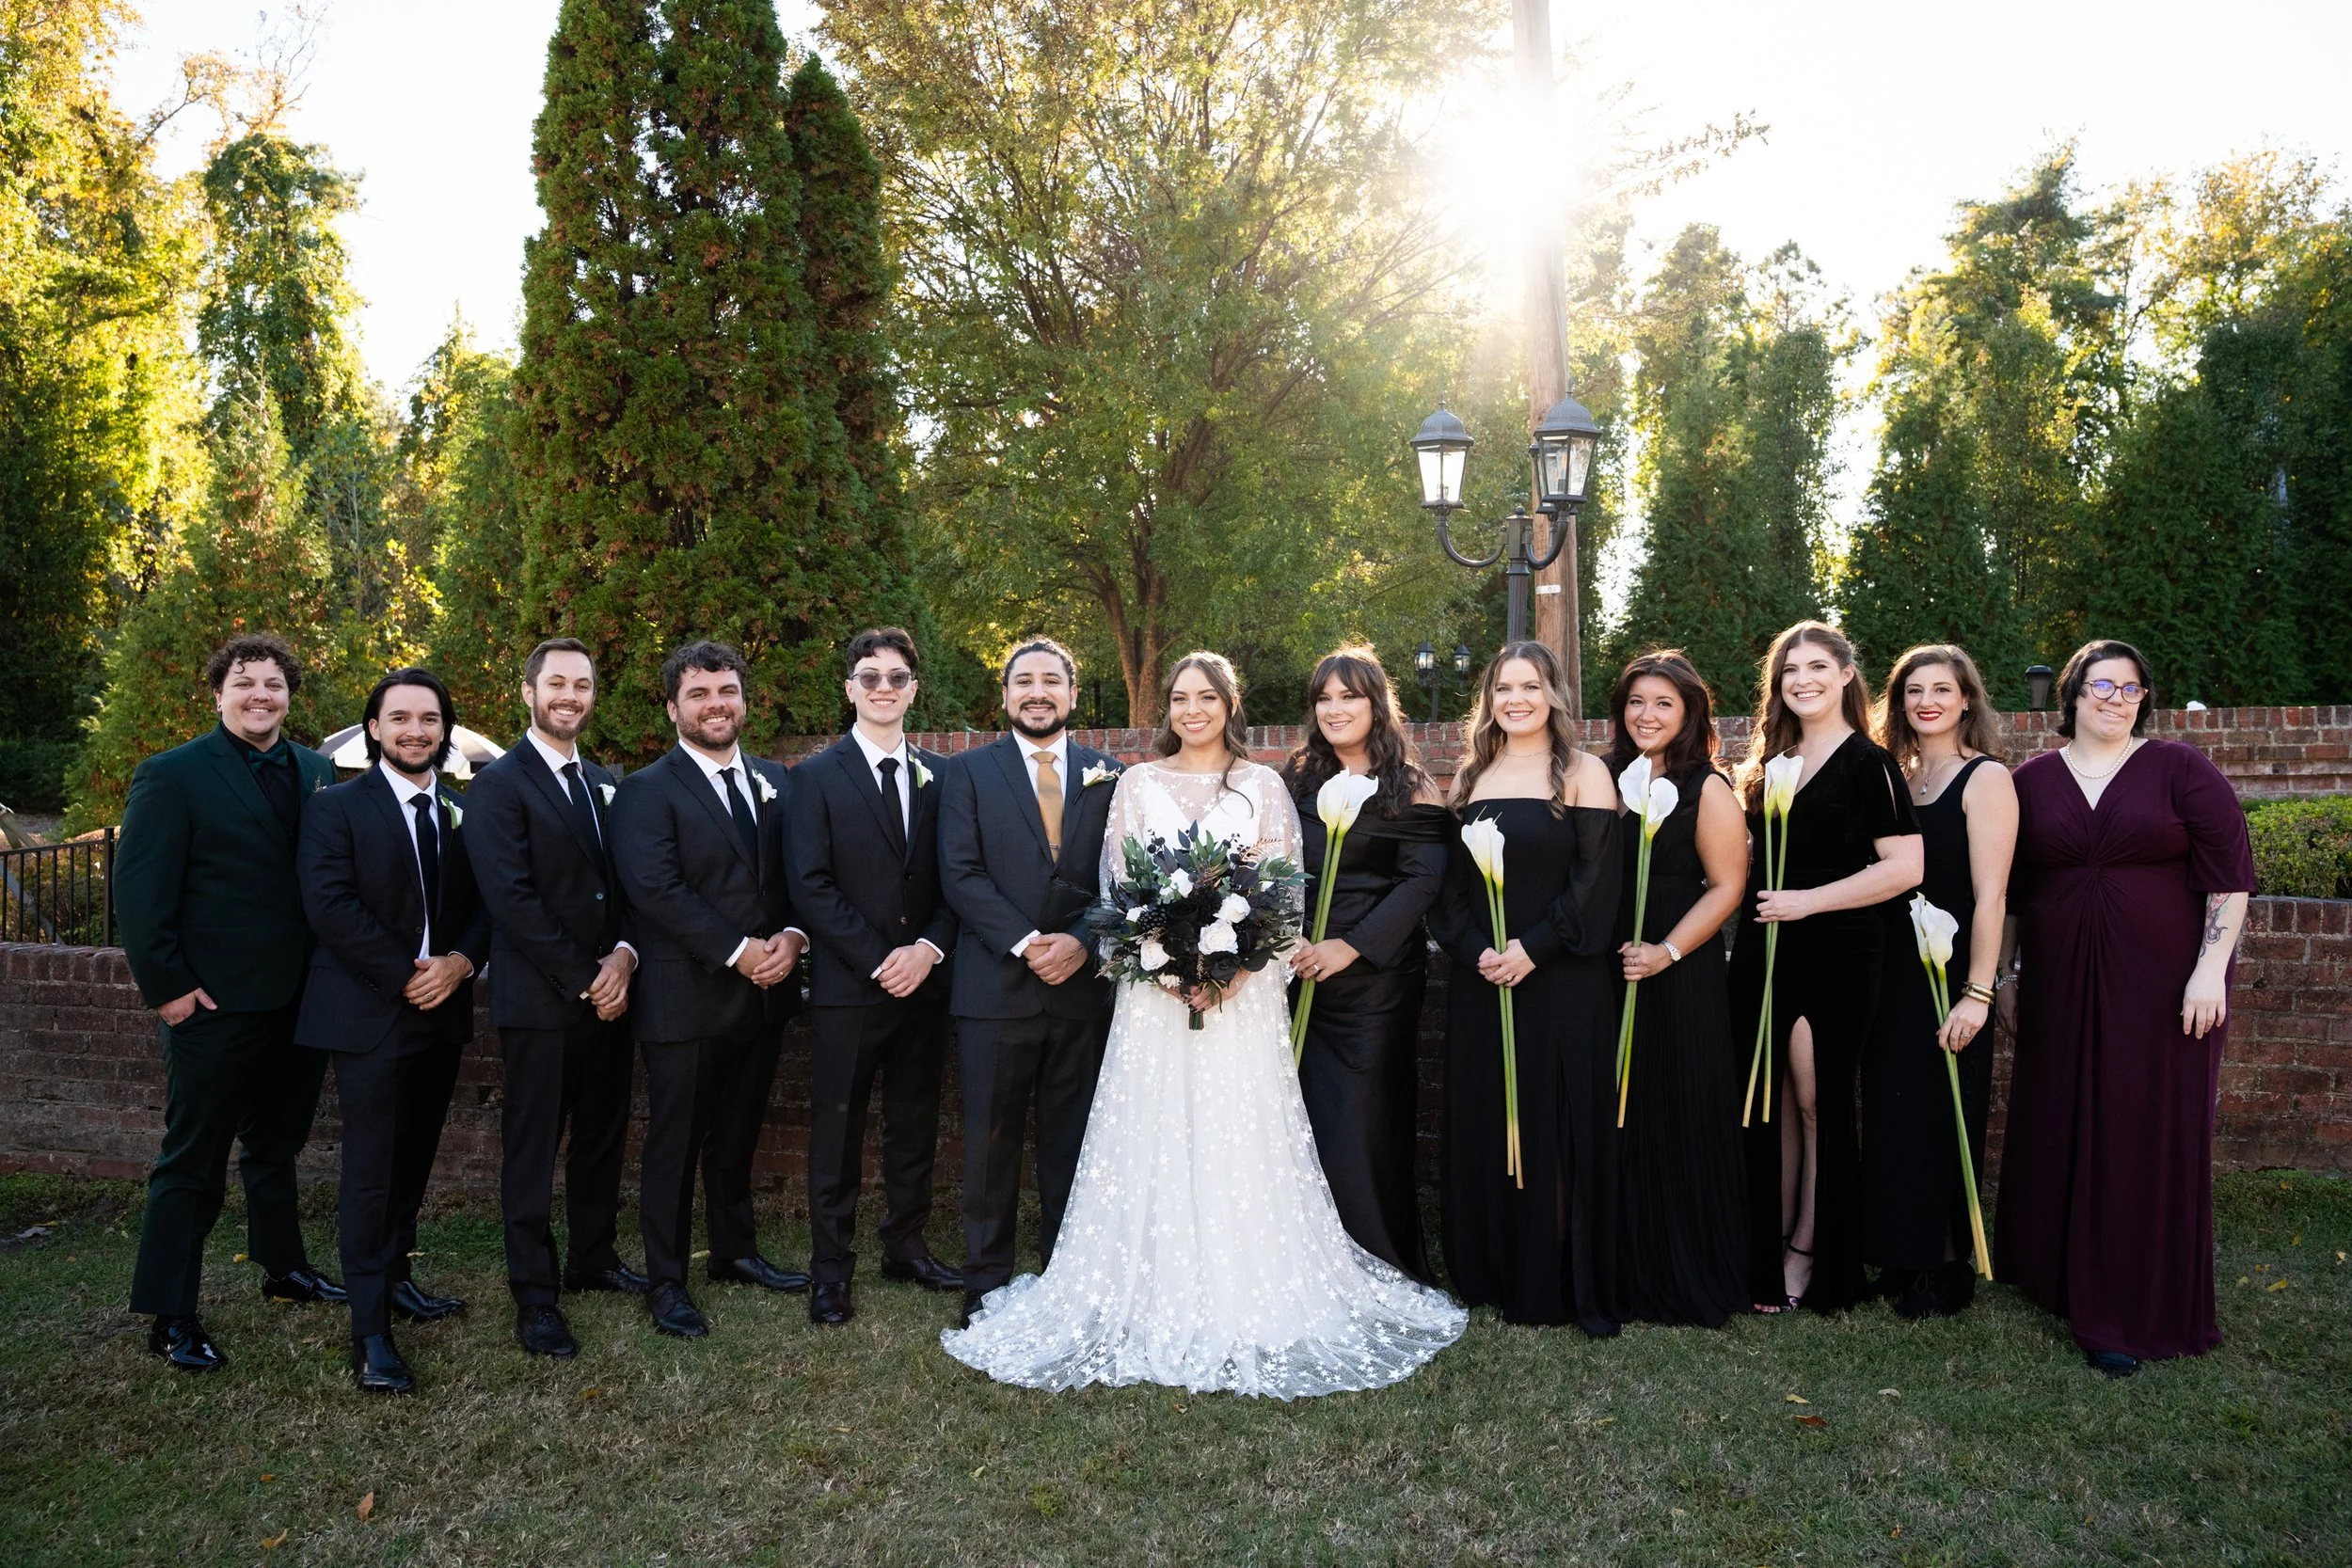
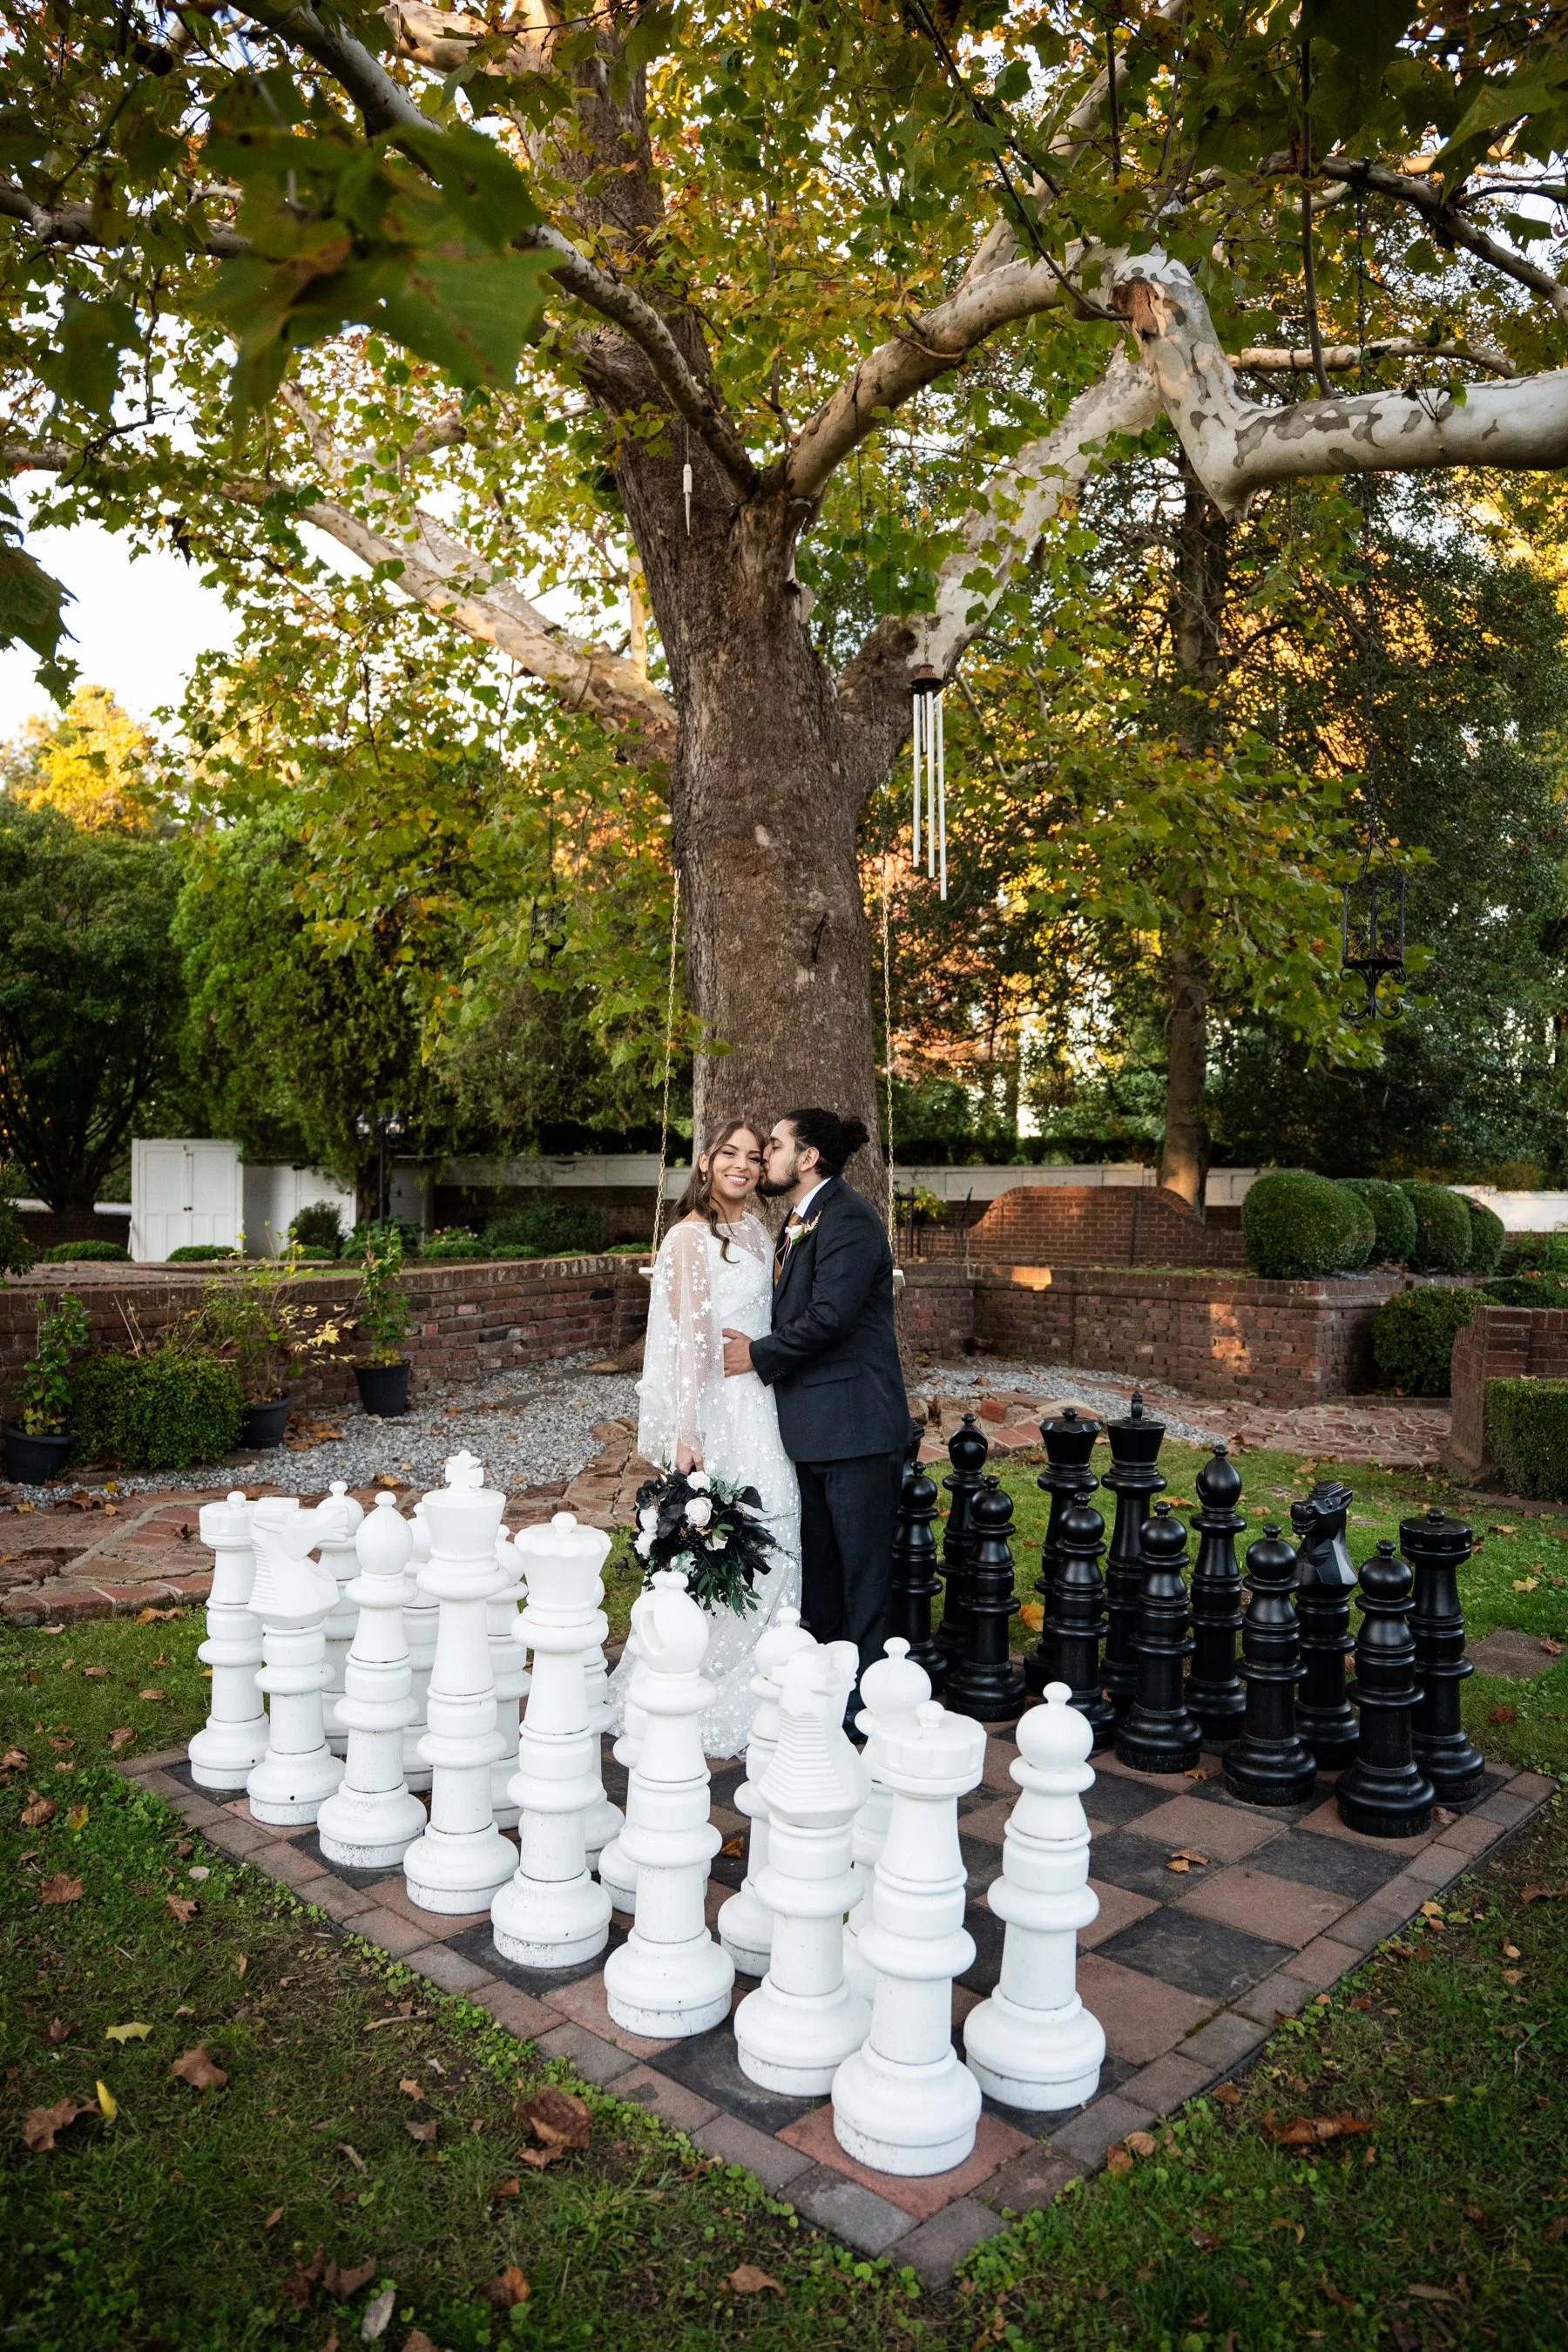
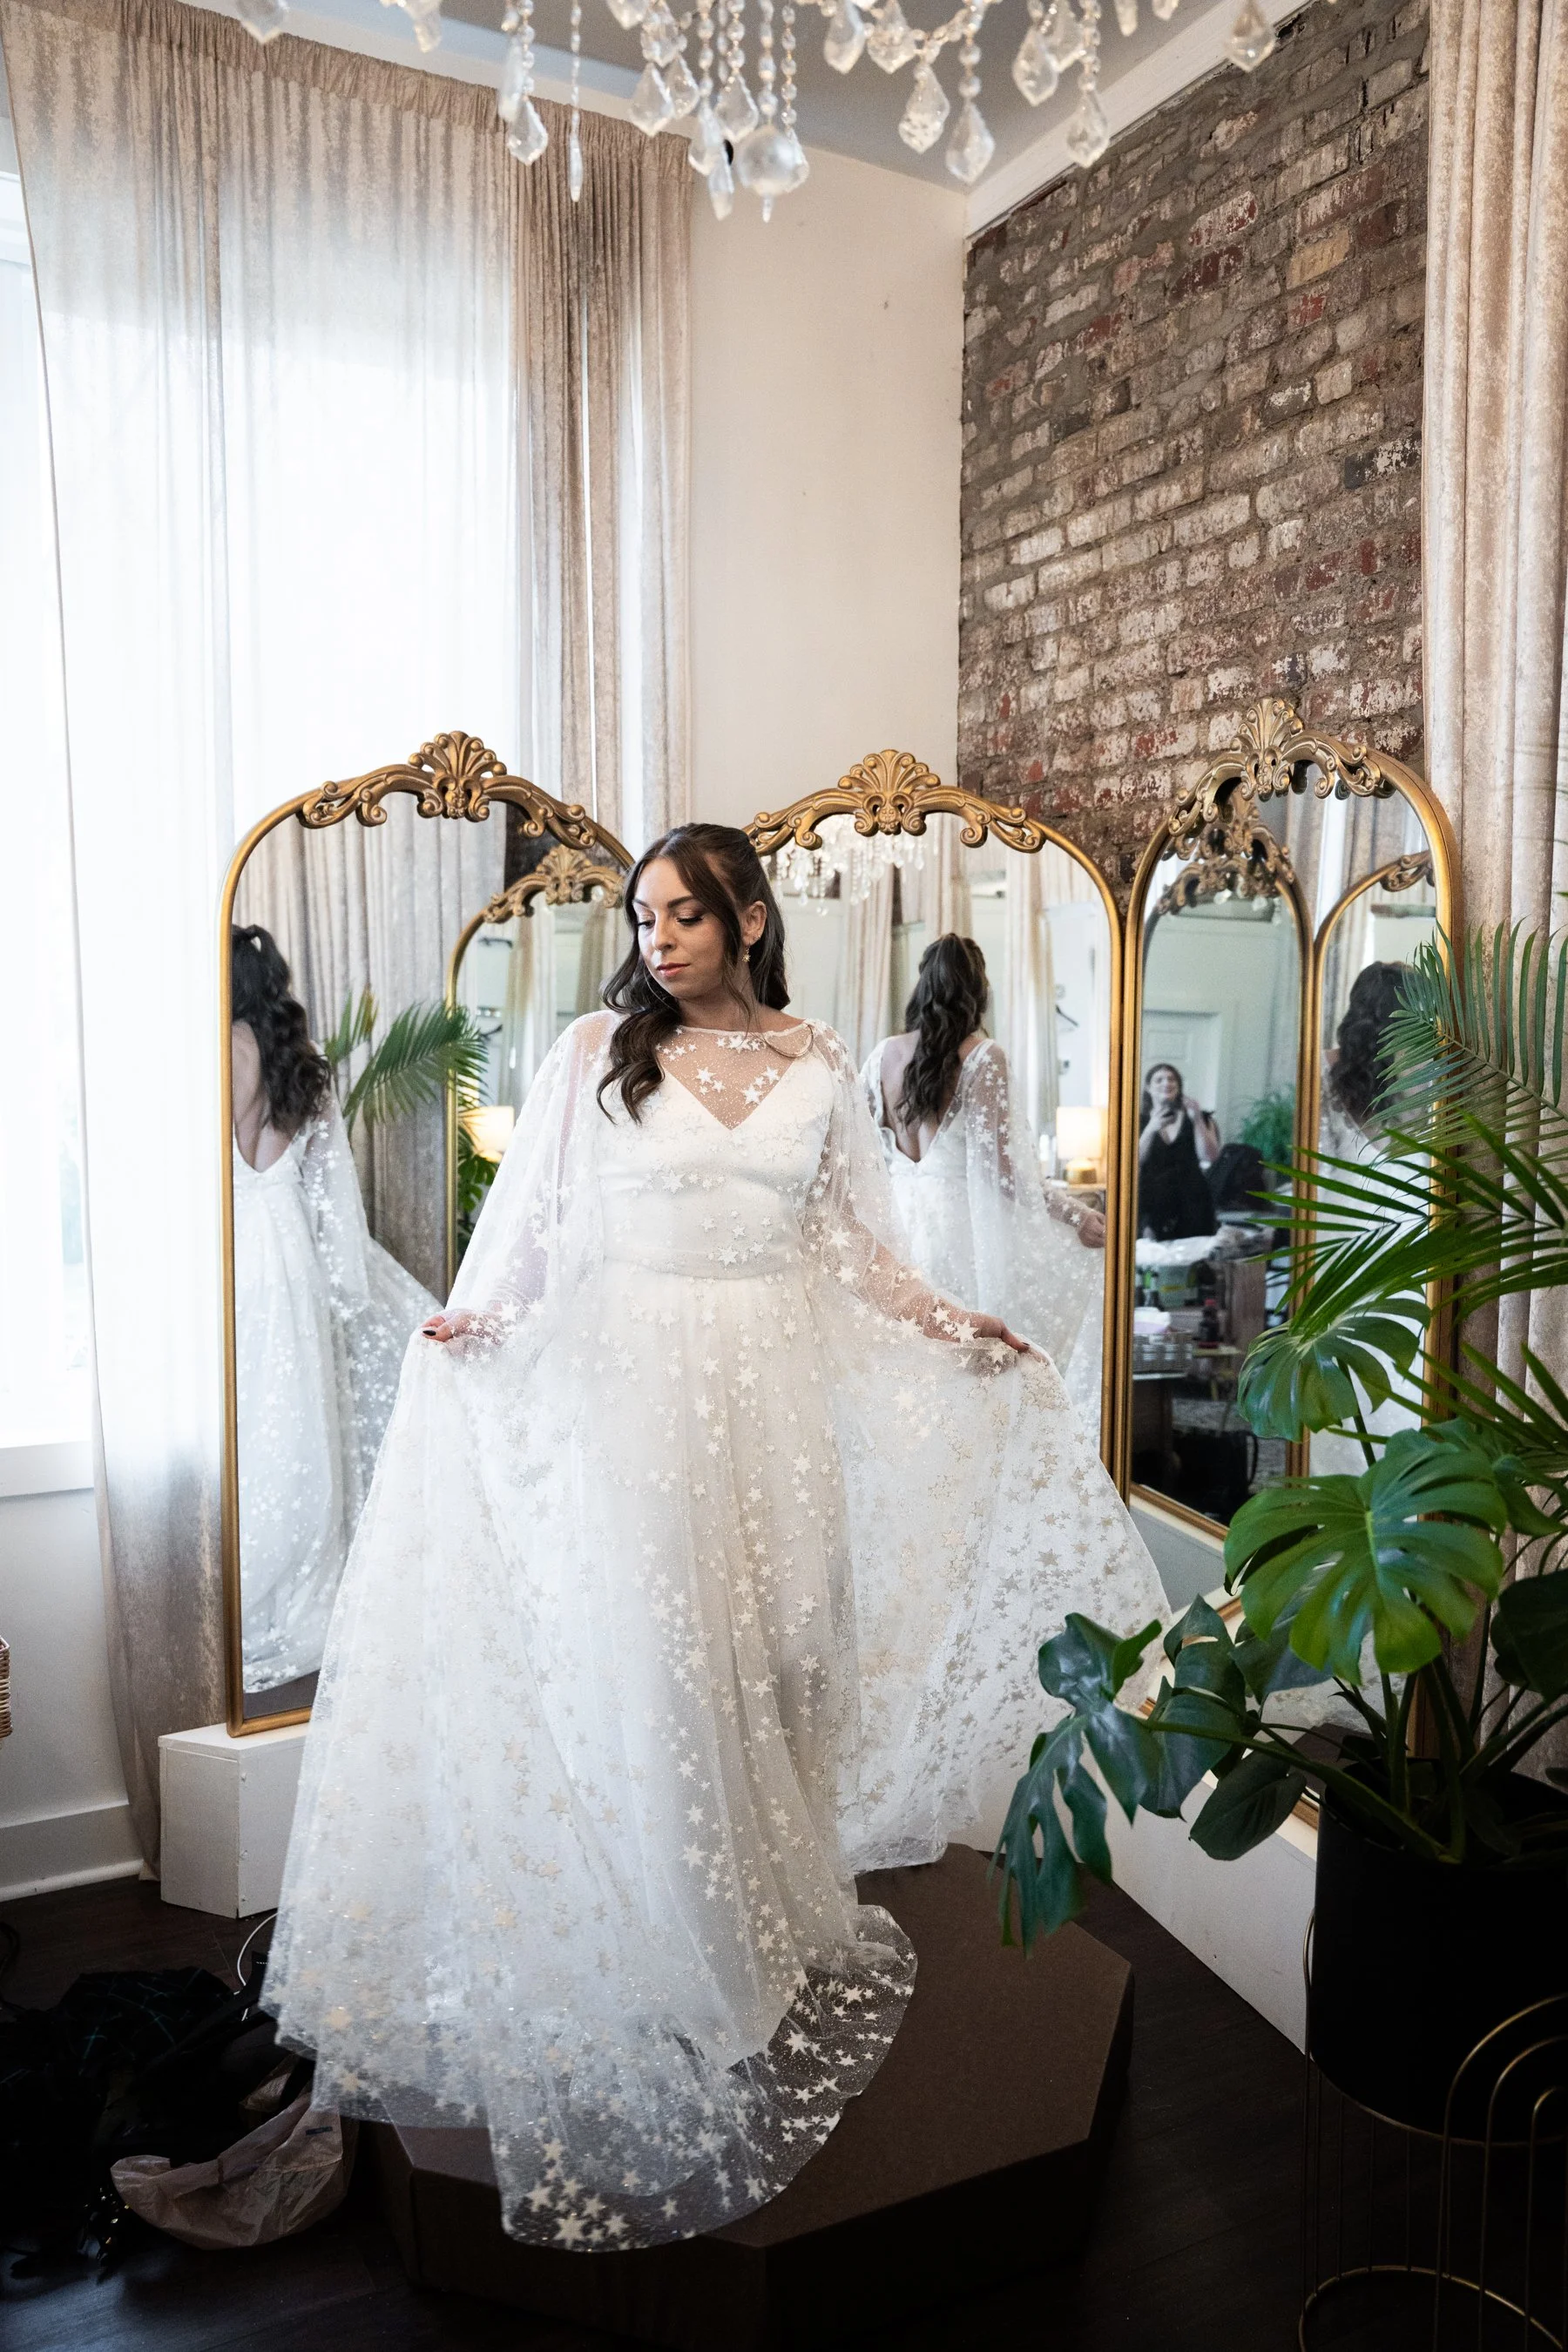
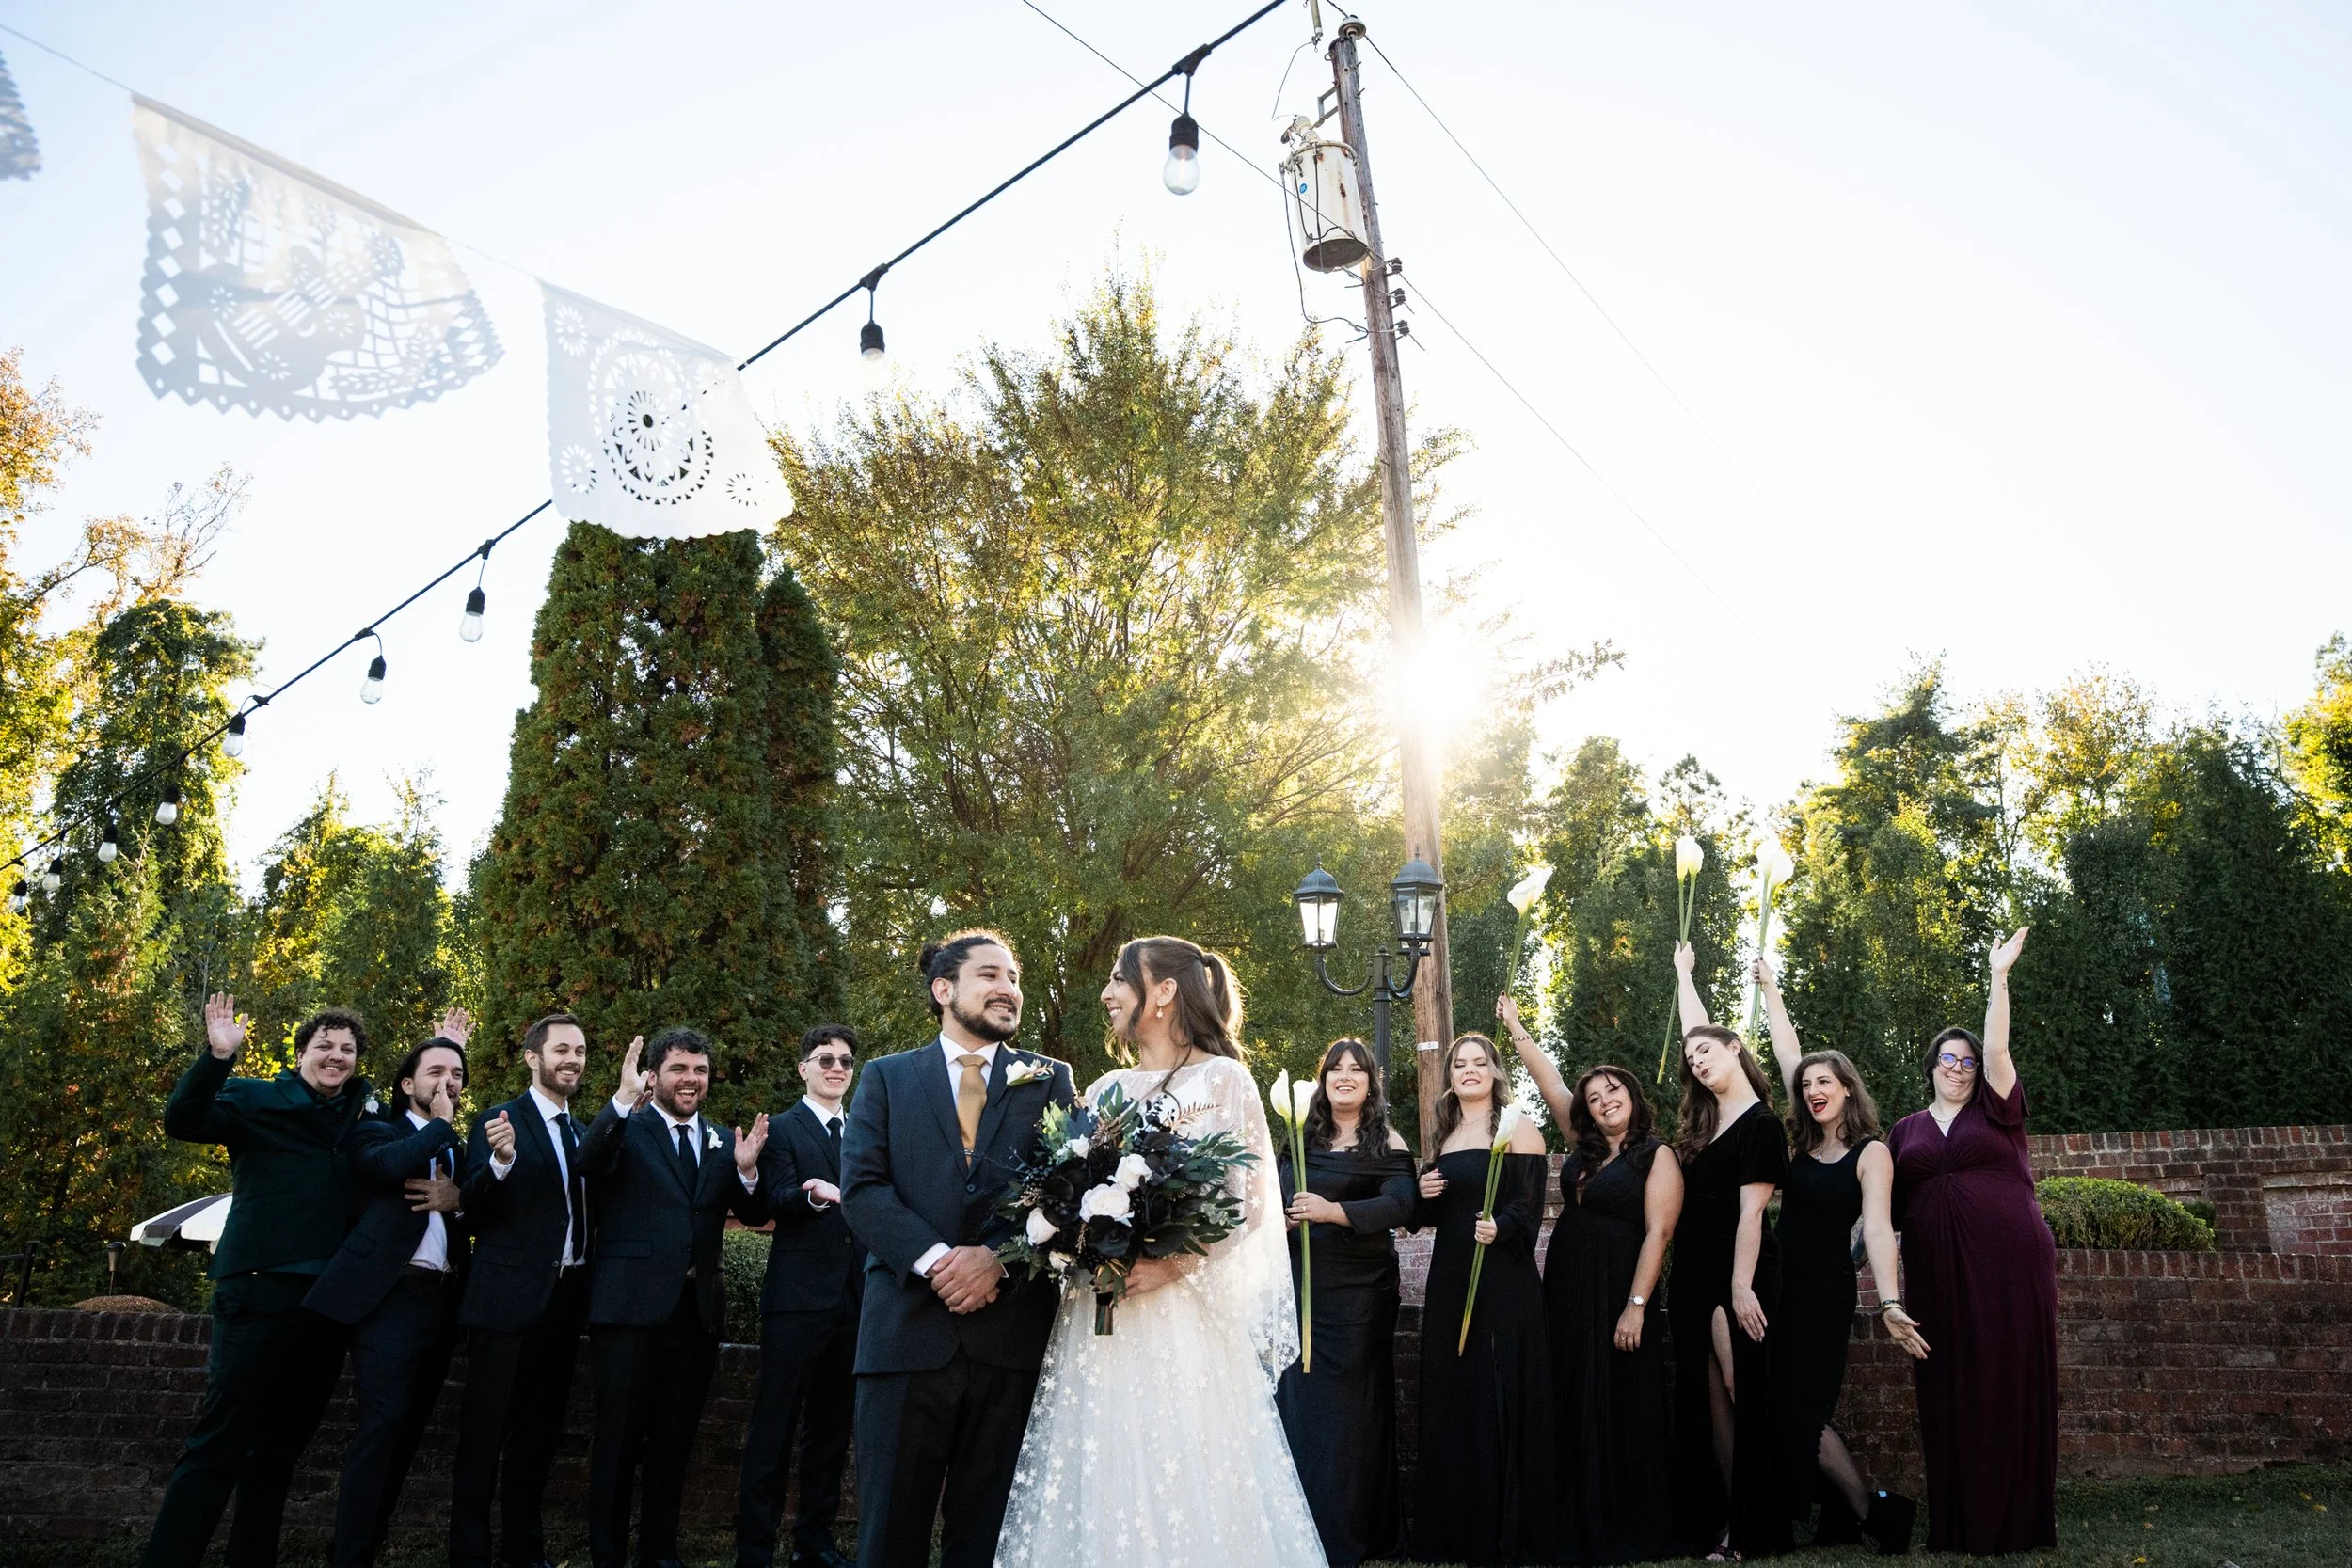
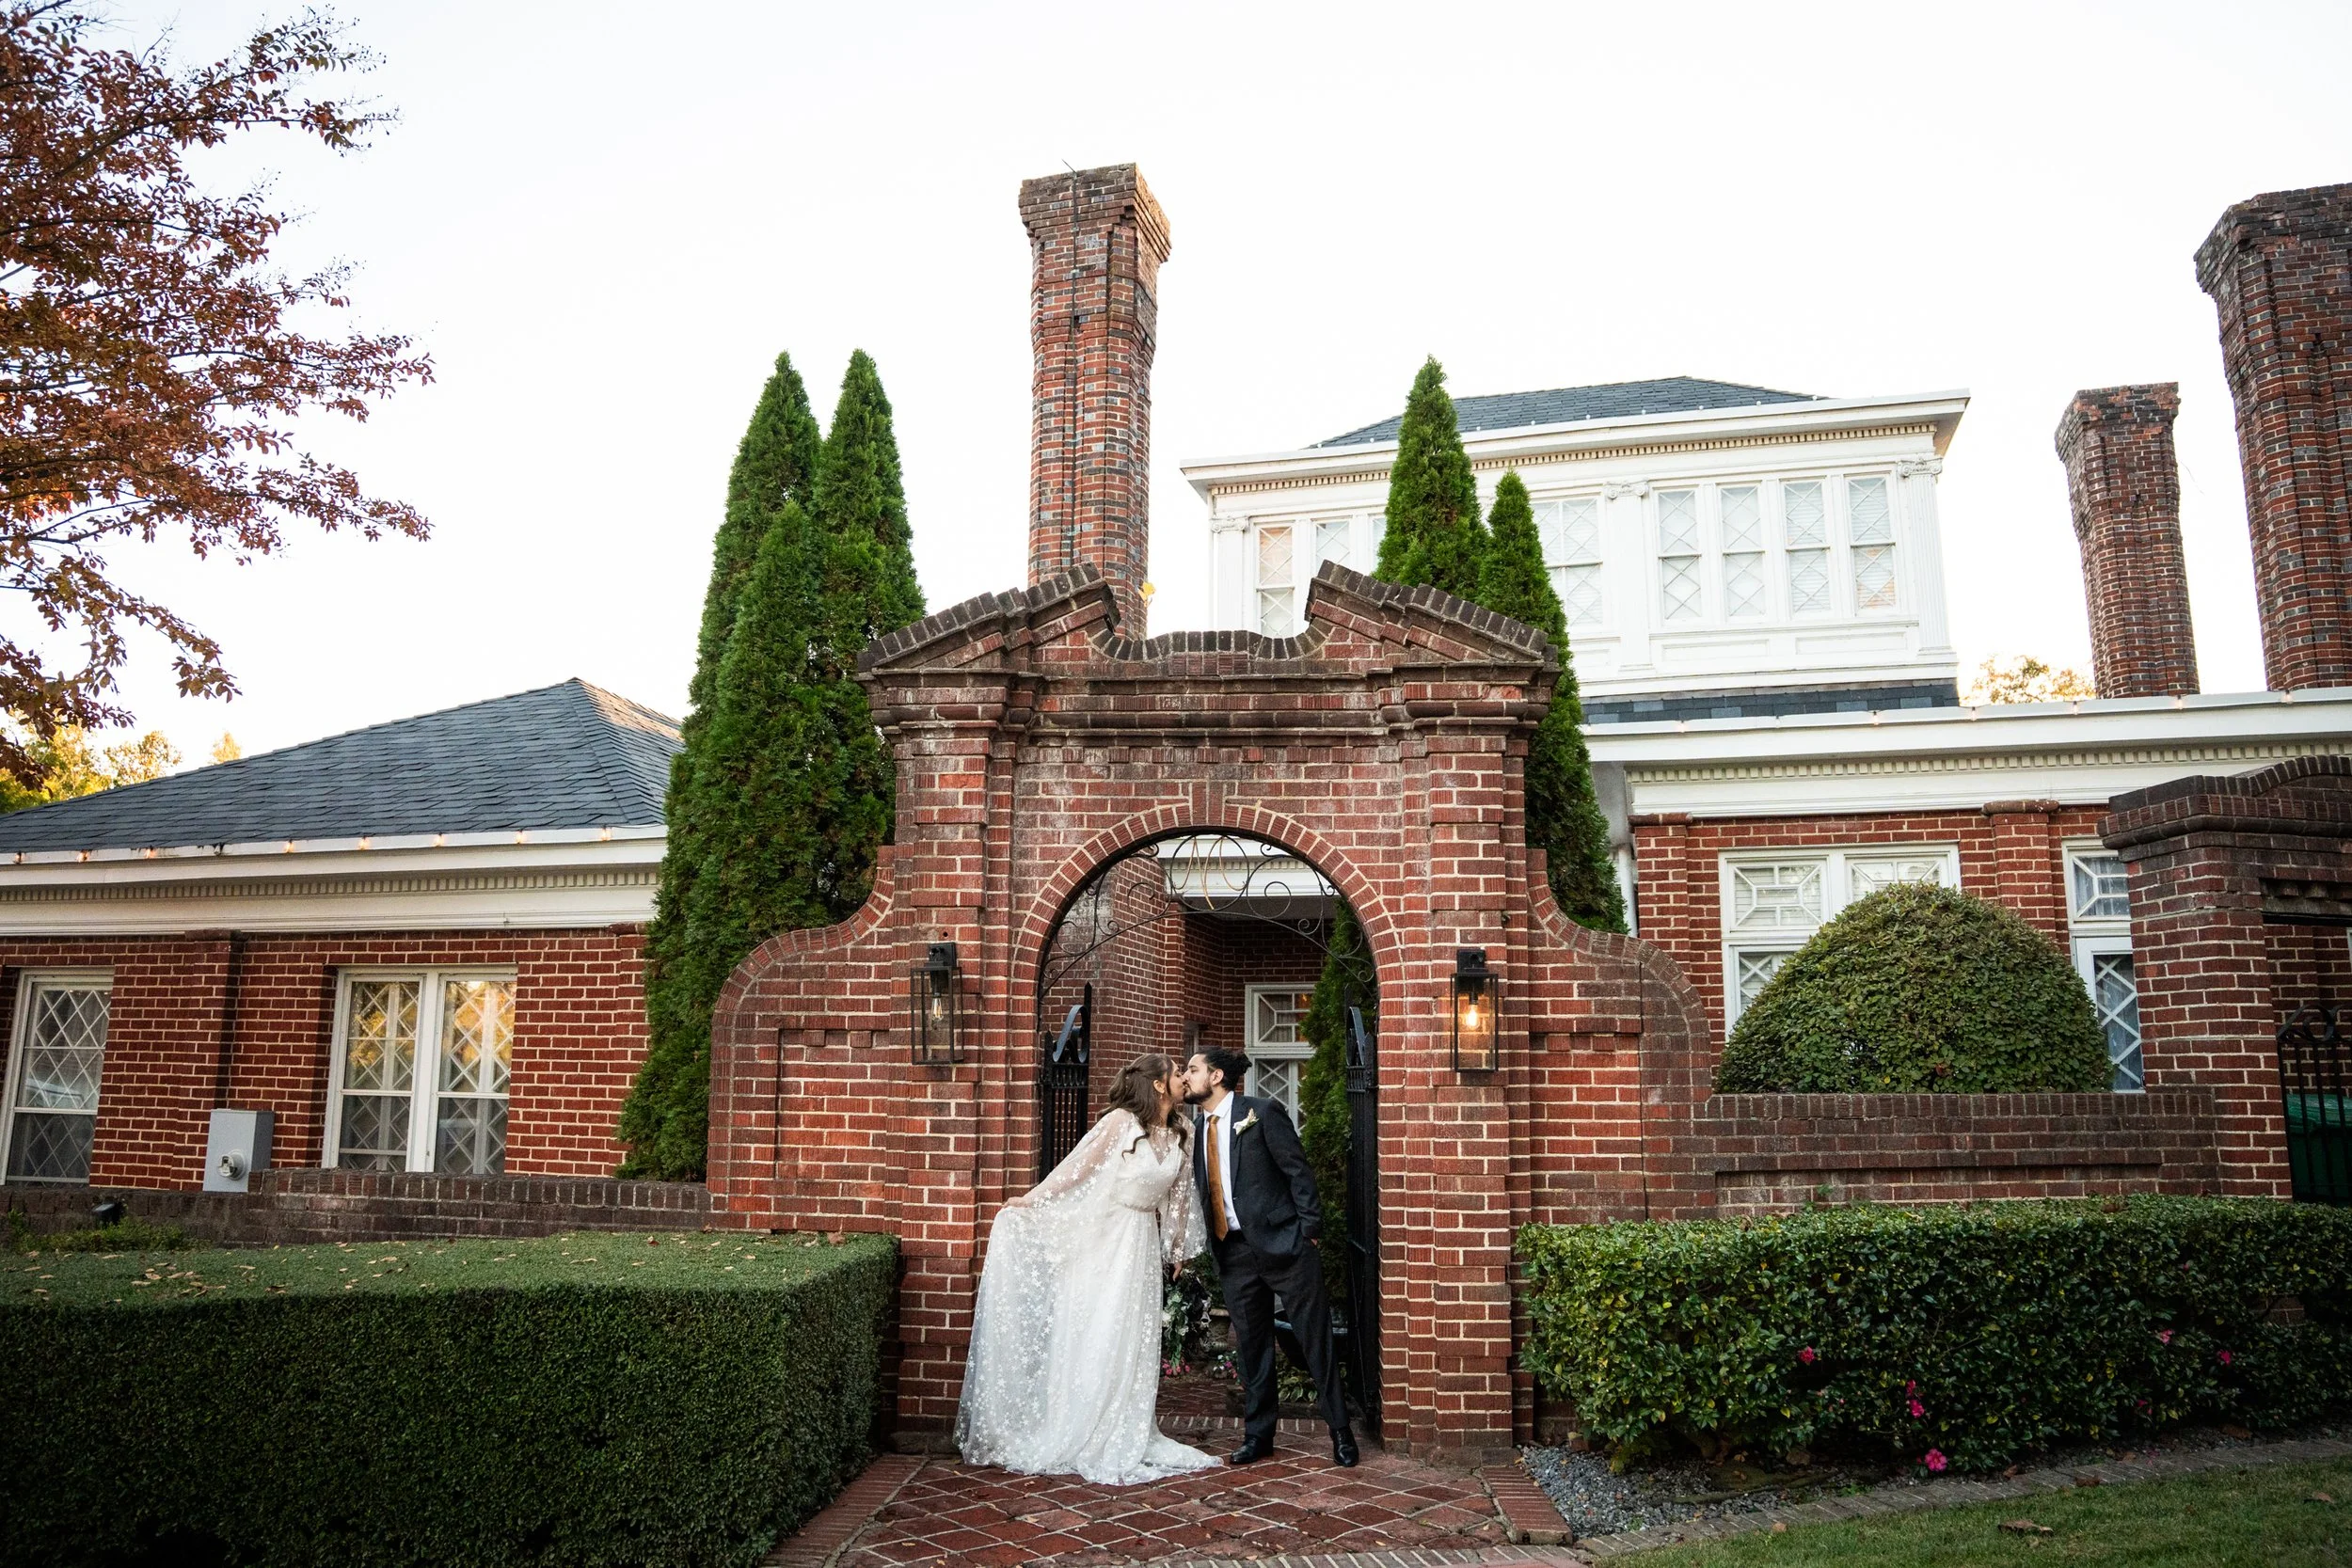
One thing I was pleasantly surprised by was the battery life. I ended up using the Sony A7 IV much more than I expected to at my most recent wedding at Mankin Mansion in Richmond, Virginia, but the battery lasted the entire 6 hour wedding day and had about 17% battery left when I got home. I did notice that once it got to about 11% battery, it died really quickly after that.
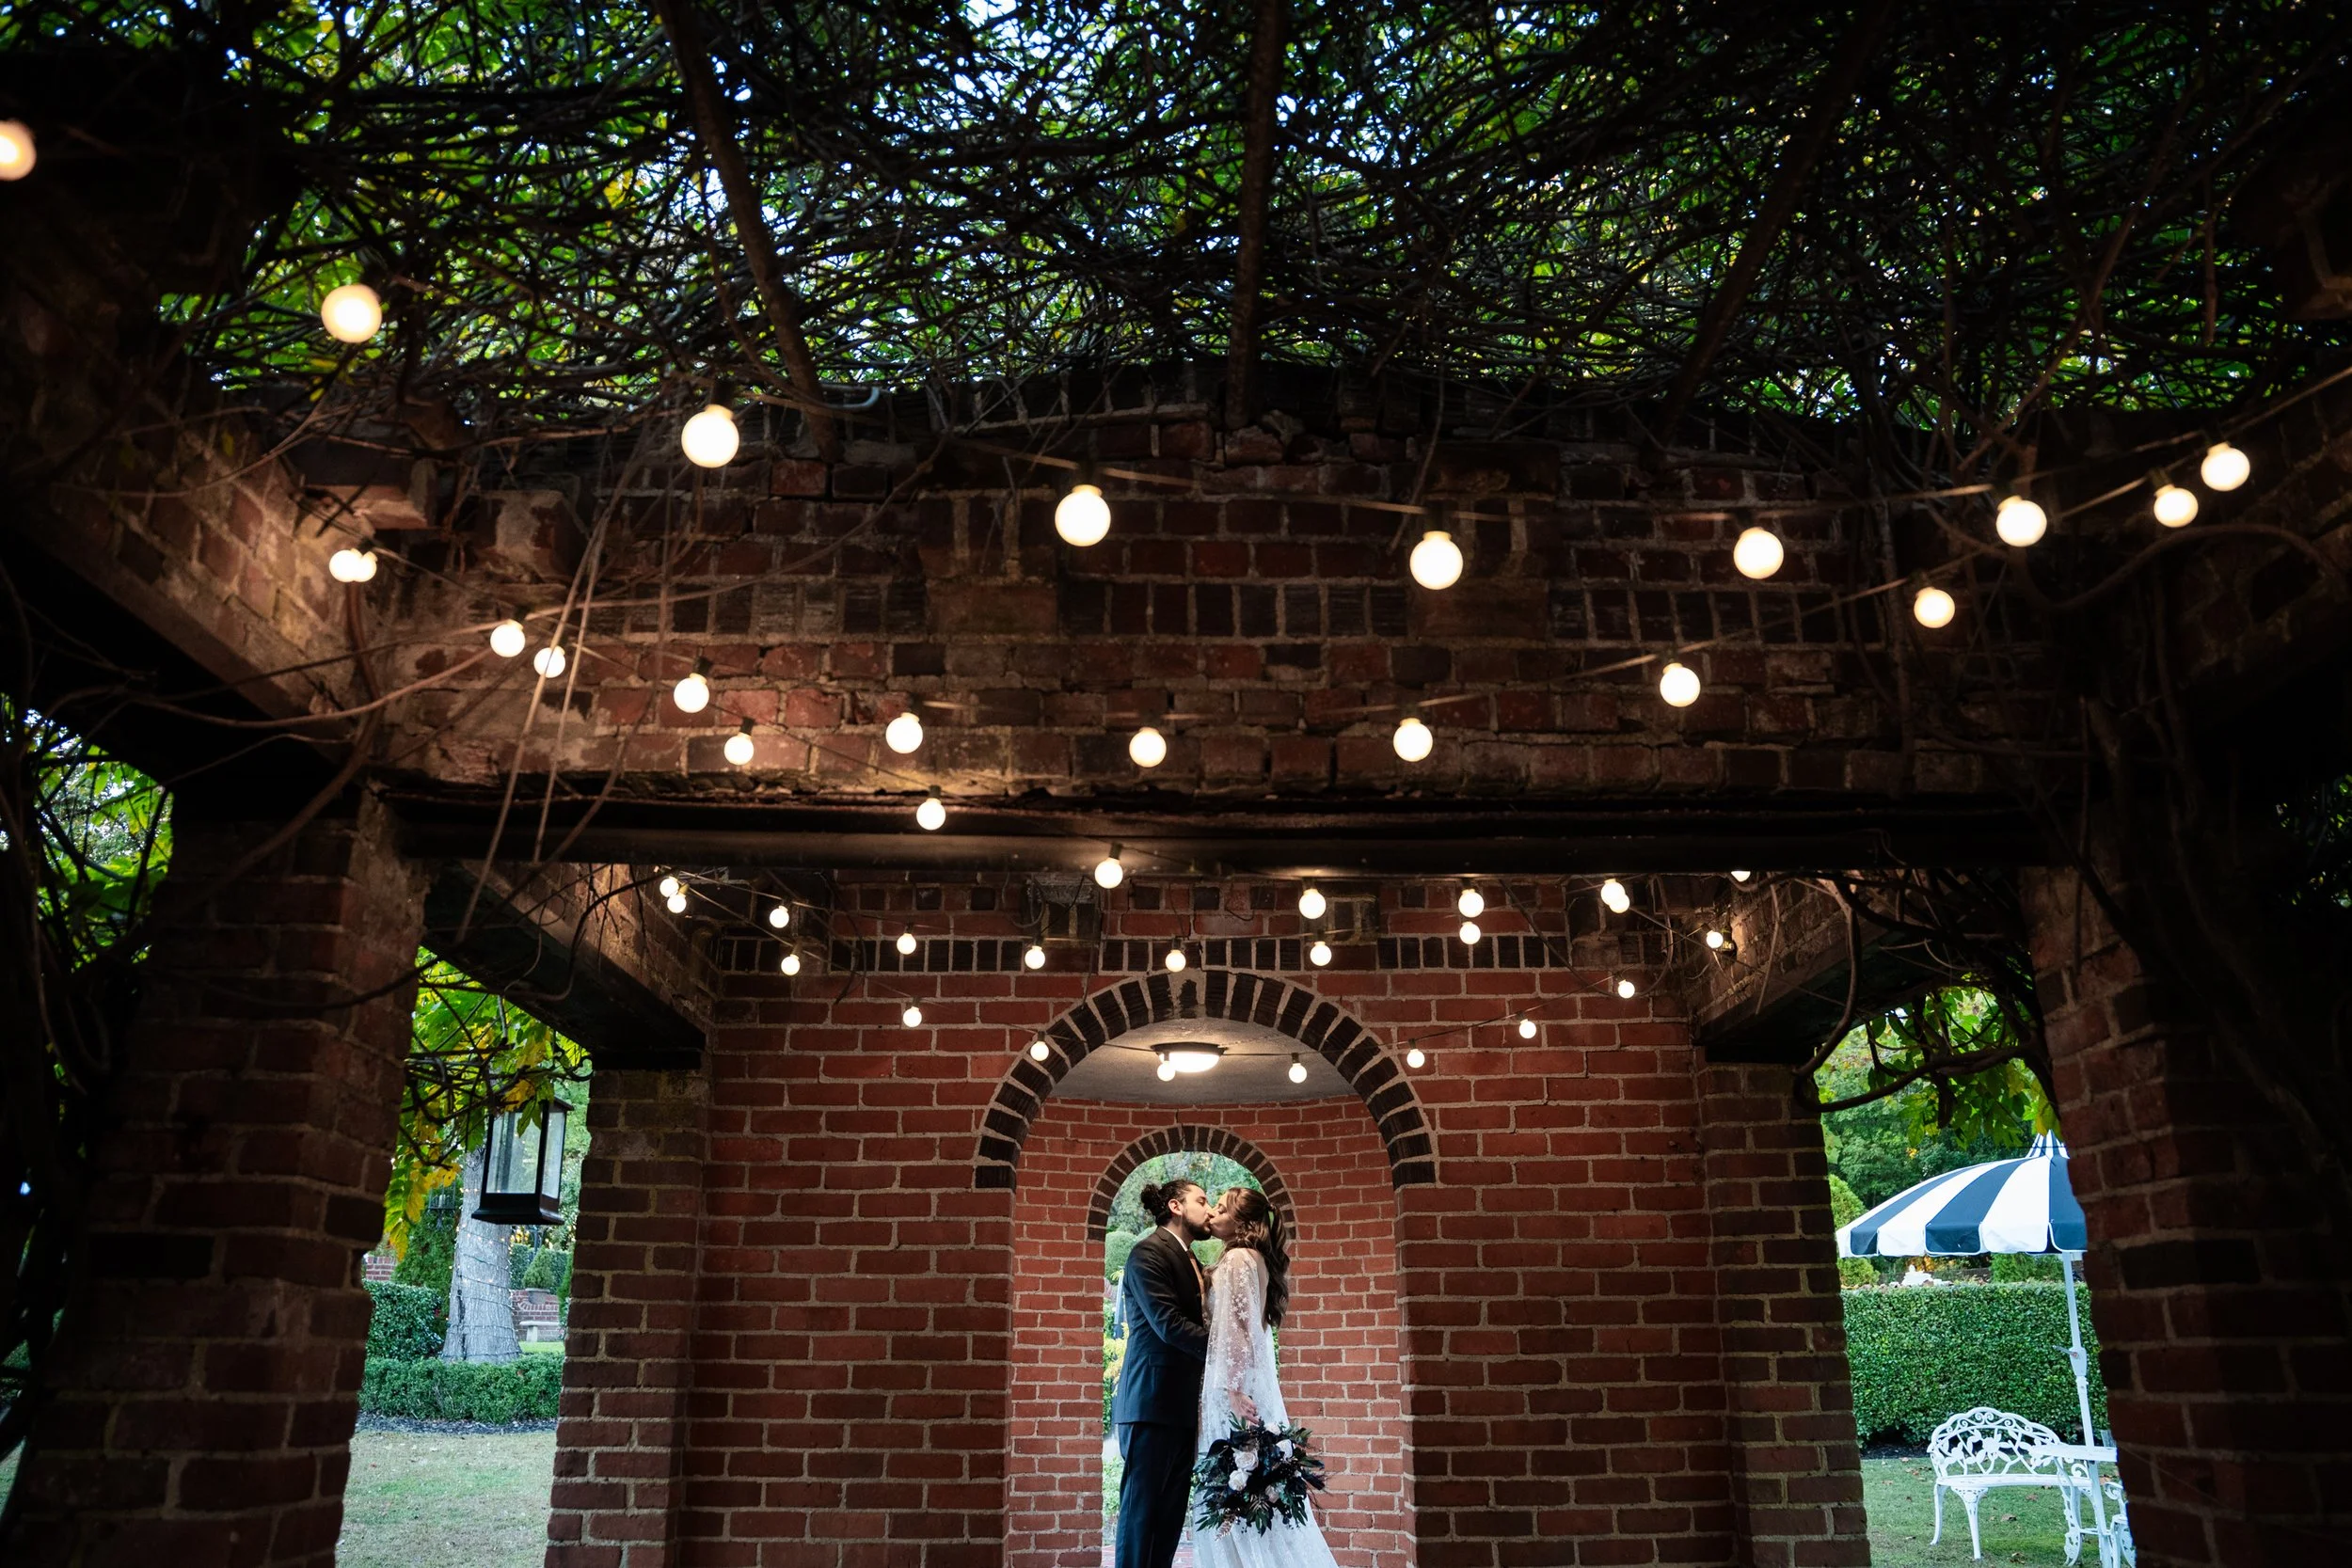
The A7 IV worked like a dream in low light and I managed to make it through the whole wedding without feeling the need to add a flash. The native ISO range is 100-51,200 expandable from 50-204,800 ISO. Some cameras say they have these wide ISO ranges but then struggle with autofocus in low light but I didn’t find that to be an issue with the A7 IV.


PORTABILITY (RATING: 5/5)
To some photographers, portability might not matter, but for me it’s a giant factor. I’m not a very large person and professional cameras can be super bulky and heavy. I often come home from a wedding feeling like I got hit by a truck because I lugged 2 DSLR’s with huge lenses around along with a camera bag stuffed with film cameras. Anywhere that I can cut weight from my bag matters. I loved how lightweight the A7 IV was, and I think it was one of the reasons I kept grabbing it from my backpack and choosing to use it over my other cameras. I was using the Sigma 24-70mm f/2.8 II Art Lens which is a lovely zoom lens with a wide aperture but is surprisingly small and light for the power that it has. I’m used to the gigantic Canon RF 28-70 f/2.0 lens (you can read more about this amazing lens here!) which is incredible but weighs a million pounds and looks a little odd on my Canon EOS R. The Sigma f/2.8 lens is even smaller than my Canon EF 24-70mm f/2.8 lens, which is the comparable lens by Canon. The A7 IV hand grip size also just feels right to me when it comes to my hand size. The Canon 5D Mark IV is much bulkier and feels much larger in my hand. In terms of portability, the Sony A7 IV really passes the test for me.
DURABILITY (RATING: 3.75/5)
I have a tendency to drop my cameras, mostly because I’m constantly switching between different ones. I often get tangled in straps and a camera ends up flying onto the sidewalk. It’s sad, but true! I’ve dropped every single one of my Canon cameras and have yet to officially break one. Luckily, I did not drop the Sony A7 IV but it did feel a bit more breakable to me than the Canon 5D Mark IV or Canon 6D that I’m used to. The Canon EOS R is also a mirrorless camera similar to the Sony A7 IV and it feels fragile in the same way, with the articulating back screen and sharper edges. I have a theory that these companies purposefully make these cameras more fragile these days because they want you to break it so that you have to buy another one… similar to iPhones… what do you think? If you’ve dropped your Sony A7 IV, let me know in the comments if you experienced any major malfunctions afterwards! I’m rating it a 3/5 just based on my intuition and experience with durable cameras. My Canon 5D Mark II and 5D Mark IV seem to truly be built to last, and it’s another one of the reasons I tend to gravitate towards Canon and DSLR’s.
CLARITY (RATING: 4.2/5)
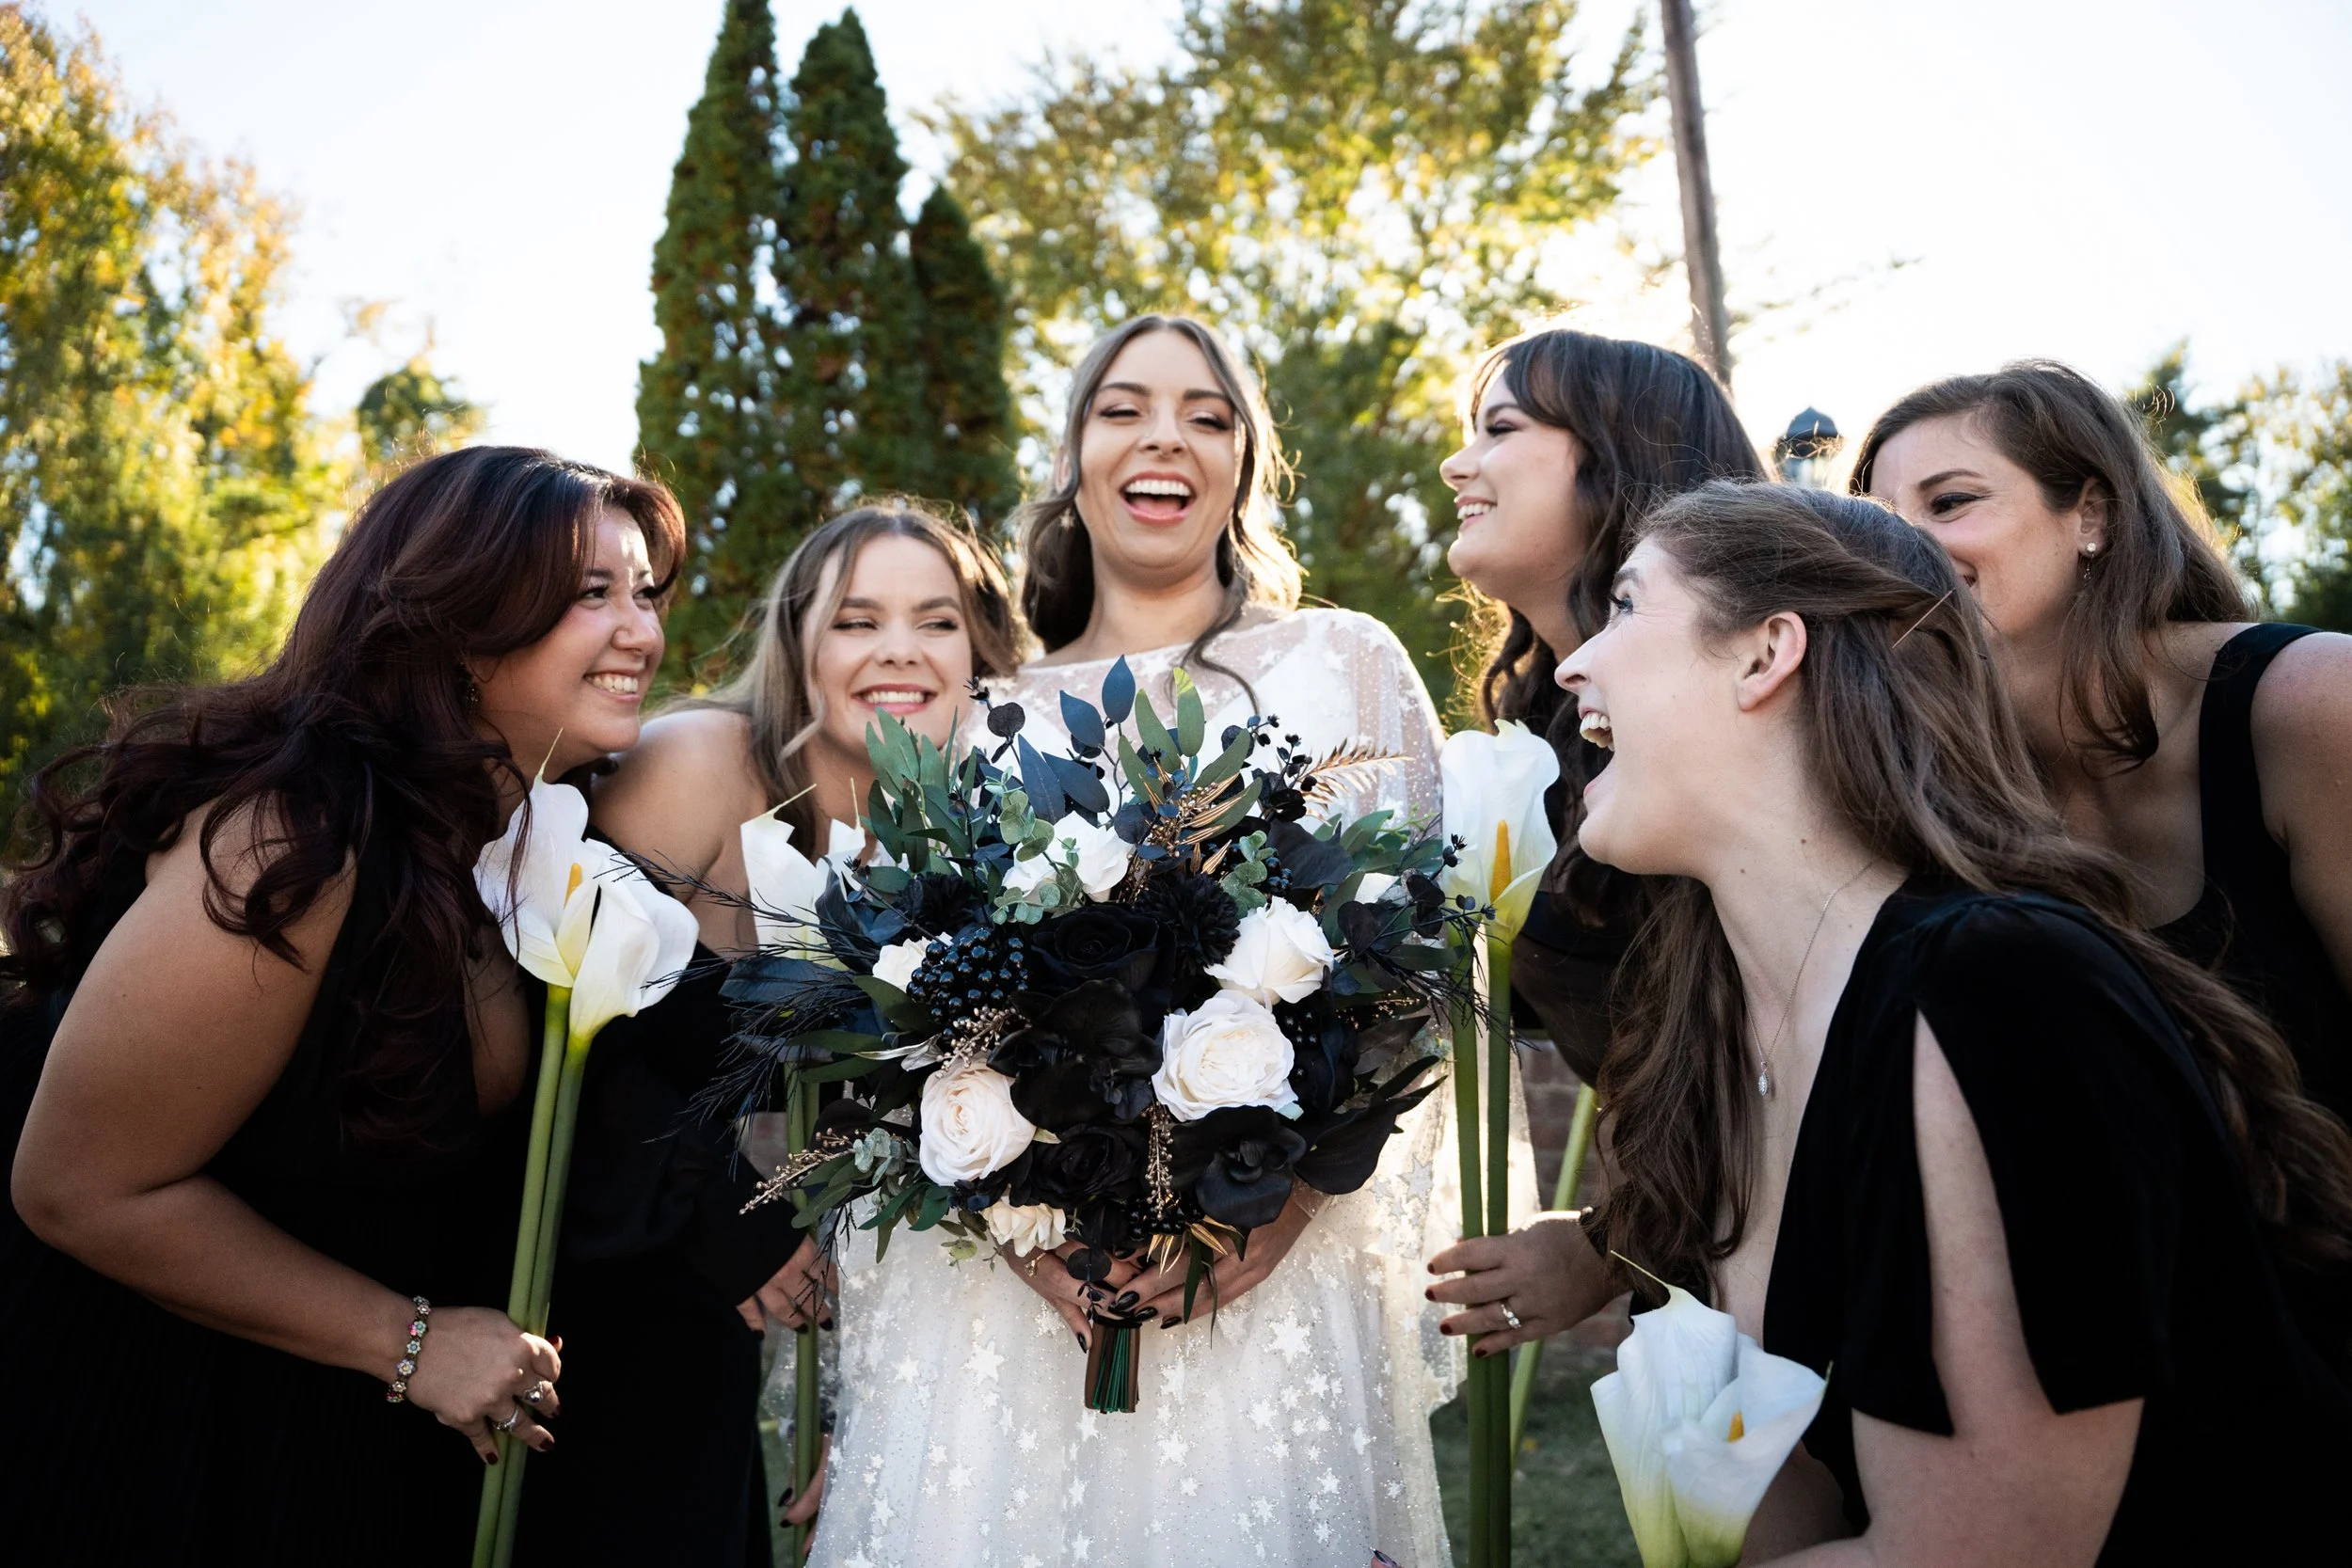
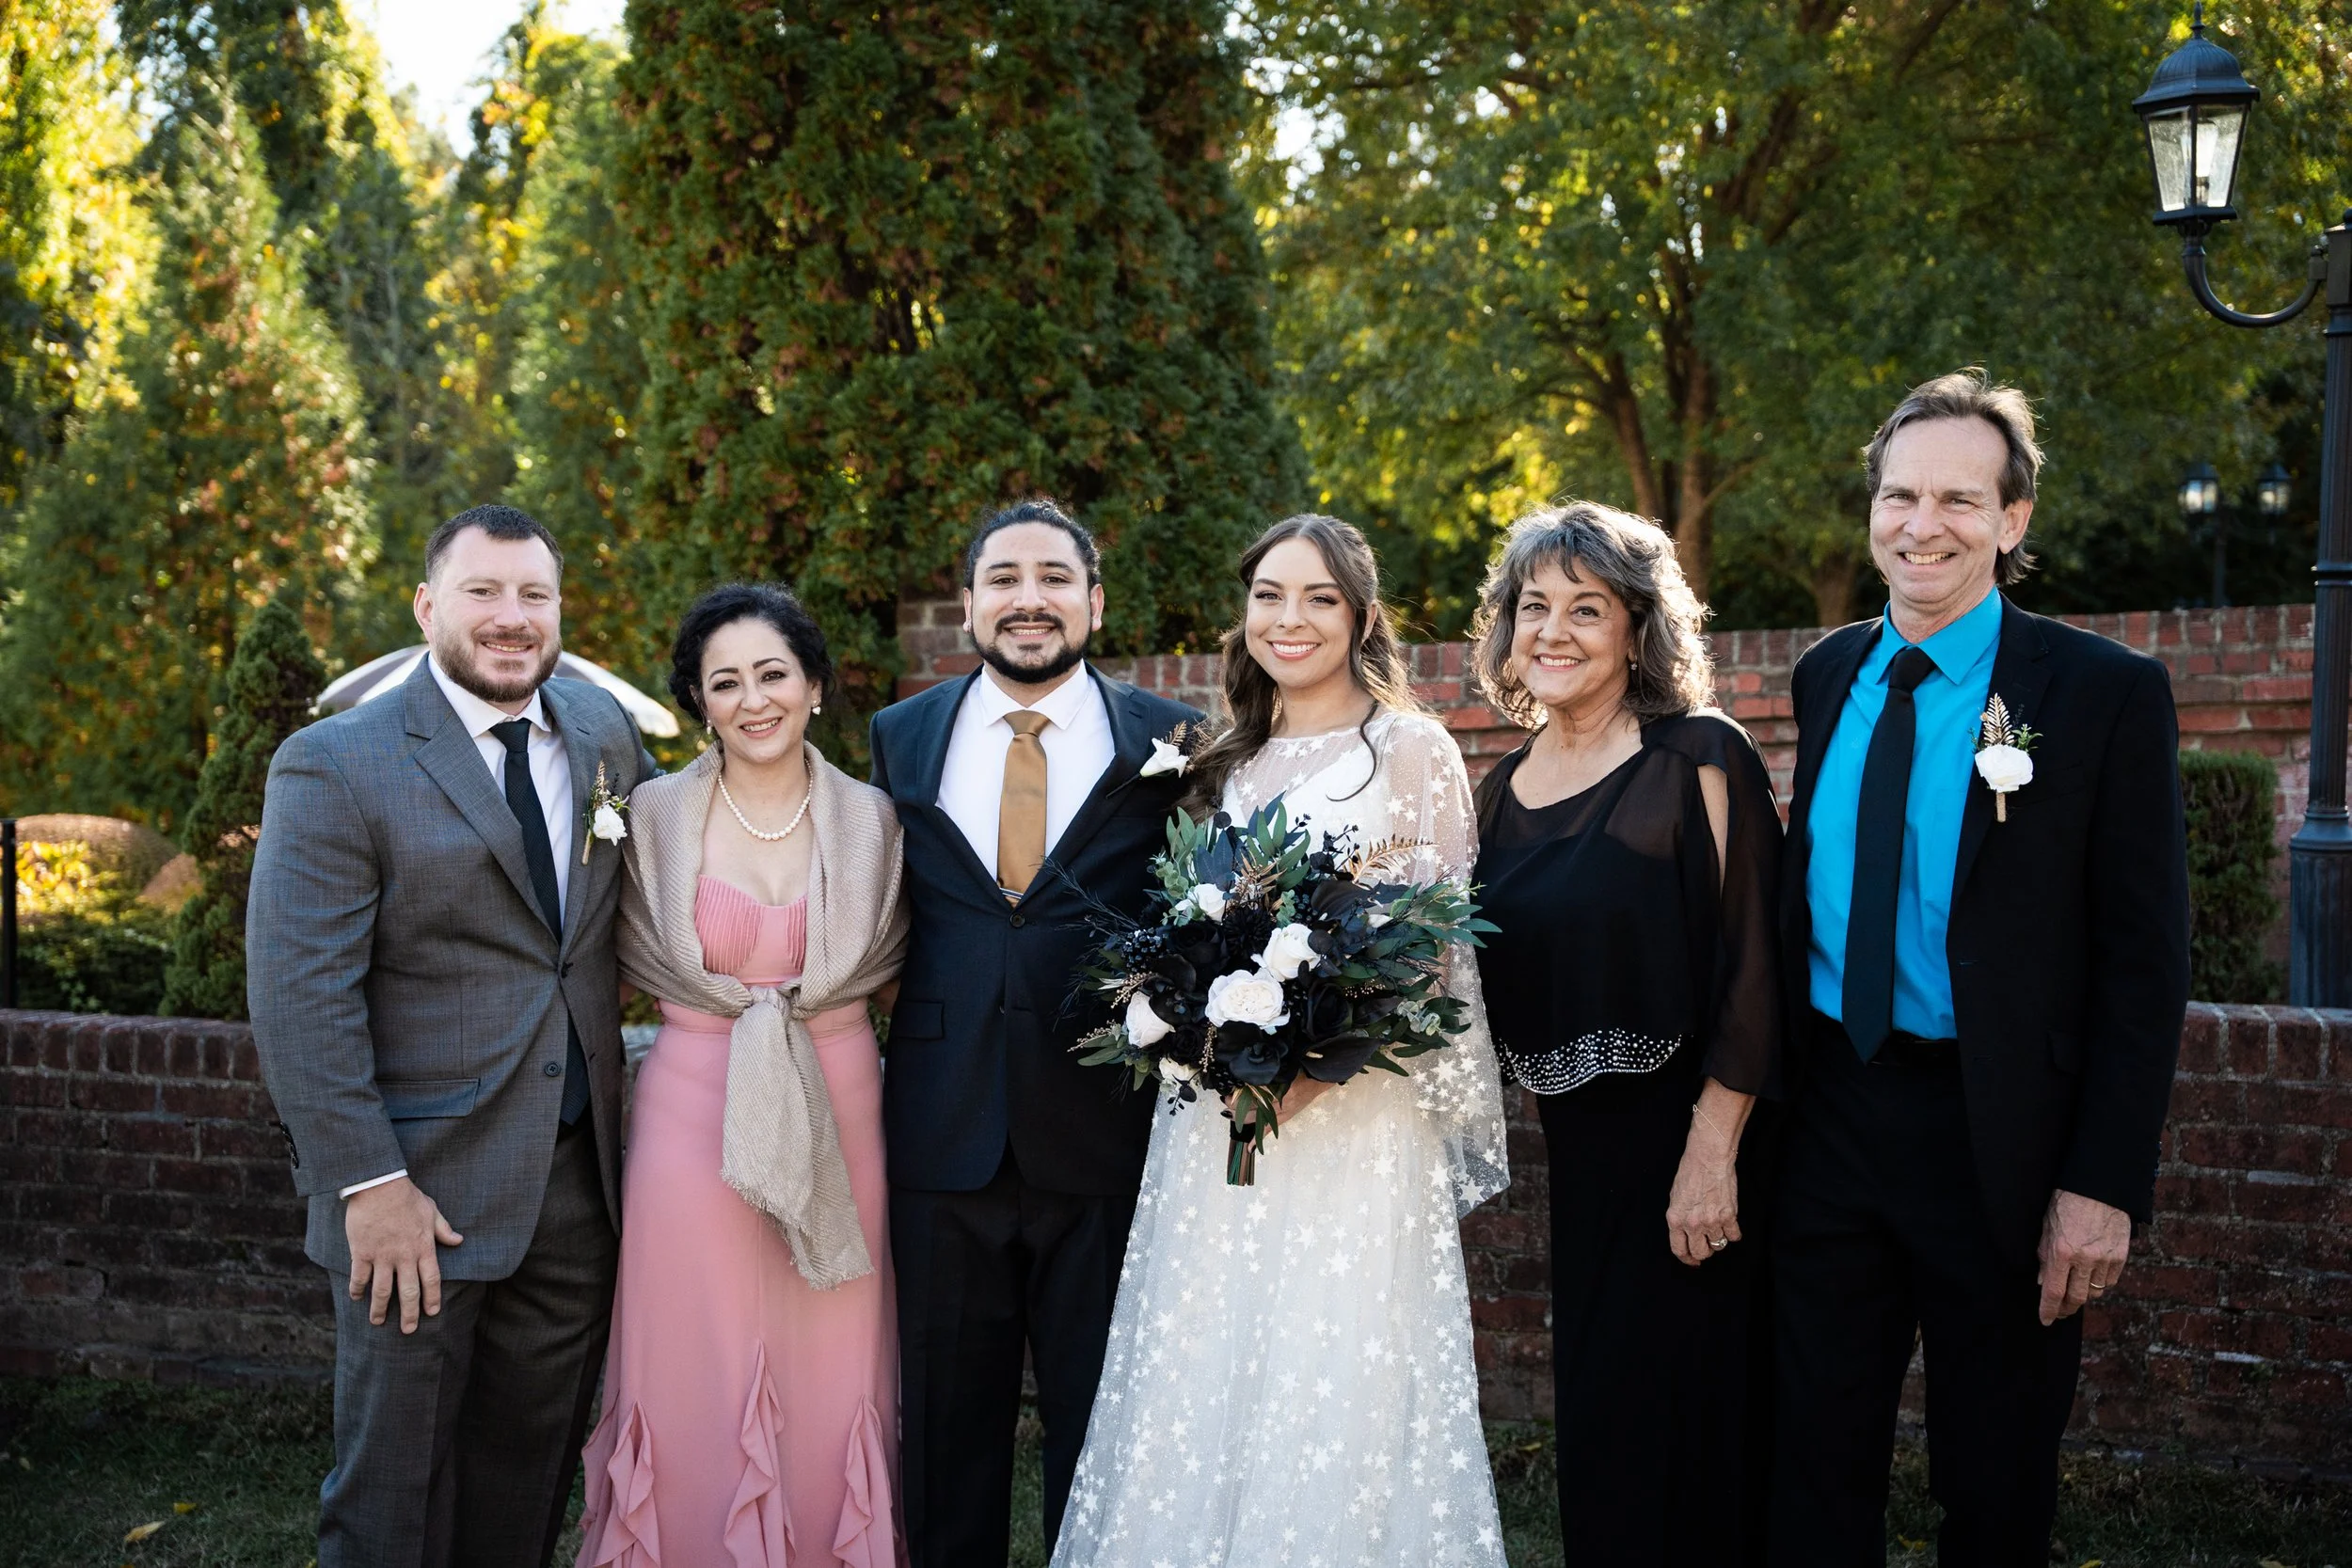
Obviously, the clarity and overall sharpness of the images is extremely important to me. I need to know if I can blow up the images I take and hang them on a wall without them looking digitized or unnatural. If one of my wedding couples ever decides to make an oversized print to hang over their couch, I want to know that it still looks epic. While the image stabilization definitely helps to keep your images sharp and clean, I didn’t find the images to look quite as natural as the images I create with my Canon cameras. When zooming in on large groups of people, there is a bit of a “digitized” look that sort of flattens faces and makes it seem a little too “fake”, in my opinion. However, I’m talking really zooming in, like on a group of 20 people and focusing in on one face. It doesn’t make a huge difference in the grand scheme of things, and your clients would probably never notice, it’s just something that stuck out to me when going through the photos after the wedding photographed. However, I was pleasantly surprised by look of the images overall, as I remember Sony images to look more digital than most cameras just a few years ago. I think they’ve really improved on making the images as beautiful as Canon or Nikon. The color tones seem to have been improved as well, as the greens look vibrant, but natural, and the skin tones are lovely and natural as well.
The one thing that really threw me off though was the viewfinder. I tend to look through the viewfinder most of the time to take photos, instead of using the LCD touch screen. This is probably more of the old-school photographer in me, but the images looked like they were going to be awful. The quality of the image in the electronic viewfinder just isn’t the best, and I’m used to DSLR viewfinders that show you the real scene that your eyes are seeing through a mirror/prism. That would take some getting used to for me.
However, the benefit of using a mirrorless camera with a digital viewfinder is that you’re seeing exactly what the white balance/color tone/depth of field and exposure will look like when you import it into your computer. It just is a lower resolution version of it. I’m just used to seeing the scene as it stands before me, but again, I guess I’m just old school…
Overall though, after importing the photos into my computer, the images were sharp and beautiful. I find the Sony A7 IV to actually be a bit more reliable in light handling and autofocus than my 5D Mark IV and EOS R, which really does make a difference during a photo shoot. I can see myself loving the consistency and in-body image stabilization after a while though, as it would relieve some of the stress that comes along with things like weddings and corporate events where your clients expects images that don’t differ from each other too much.


CREATIVITY (RATING: 3/5)
This is probably the most important category to me. Can I create images that are timeless, show-stopping, unique, eye-catching, breathtaking, magical? I don’t want images that are digitally “perfect.” I don’t want them to look digital, at all, actually. I prefer photographs that look natural, film-like, cinematic, and just generally pretty. I will say this, the photos I took with the Sony A7 IV surprised me. They didn’t look that different than my Canon 5D Mark IV, and the camera overall is considerably smaller and faster when it comes to autofocus and convenience. I truly enjoyed shooting with it!
Sadly though, the Sony A7 IV does not have a built-in multiple exposure function. And if it did, I probably would seriously consider using a Sony camera as my main work camera. It’s a necessity for me to have a multiple exposure function, though I understand that this feature isn’t important to everyone. For me though, it is a dealbreaker. I wish it wasn’t! Of course, you can always layer images in photoshop after your shoot and create multiple exposures on your own, but I often have so many photos to edit that I just don’t have time to play around in PhotoShop. I used to do that when I first started my business, because it does allow for more control with your multiple exposures, but I prefer to create them on the spot. I also find it to be sort of a fun challenge, to use my surroundings in that moment to create something interesting.
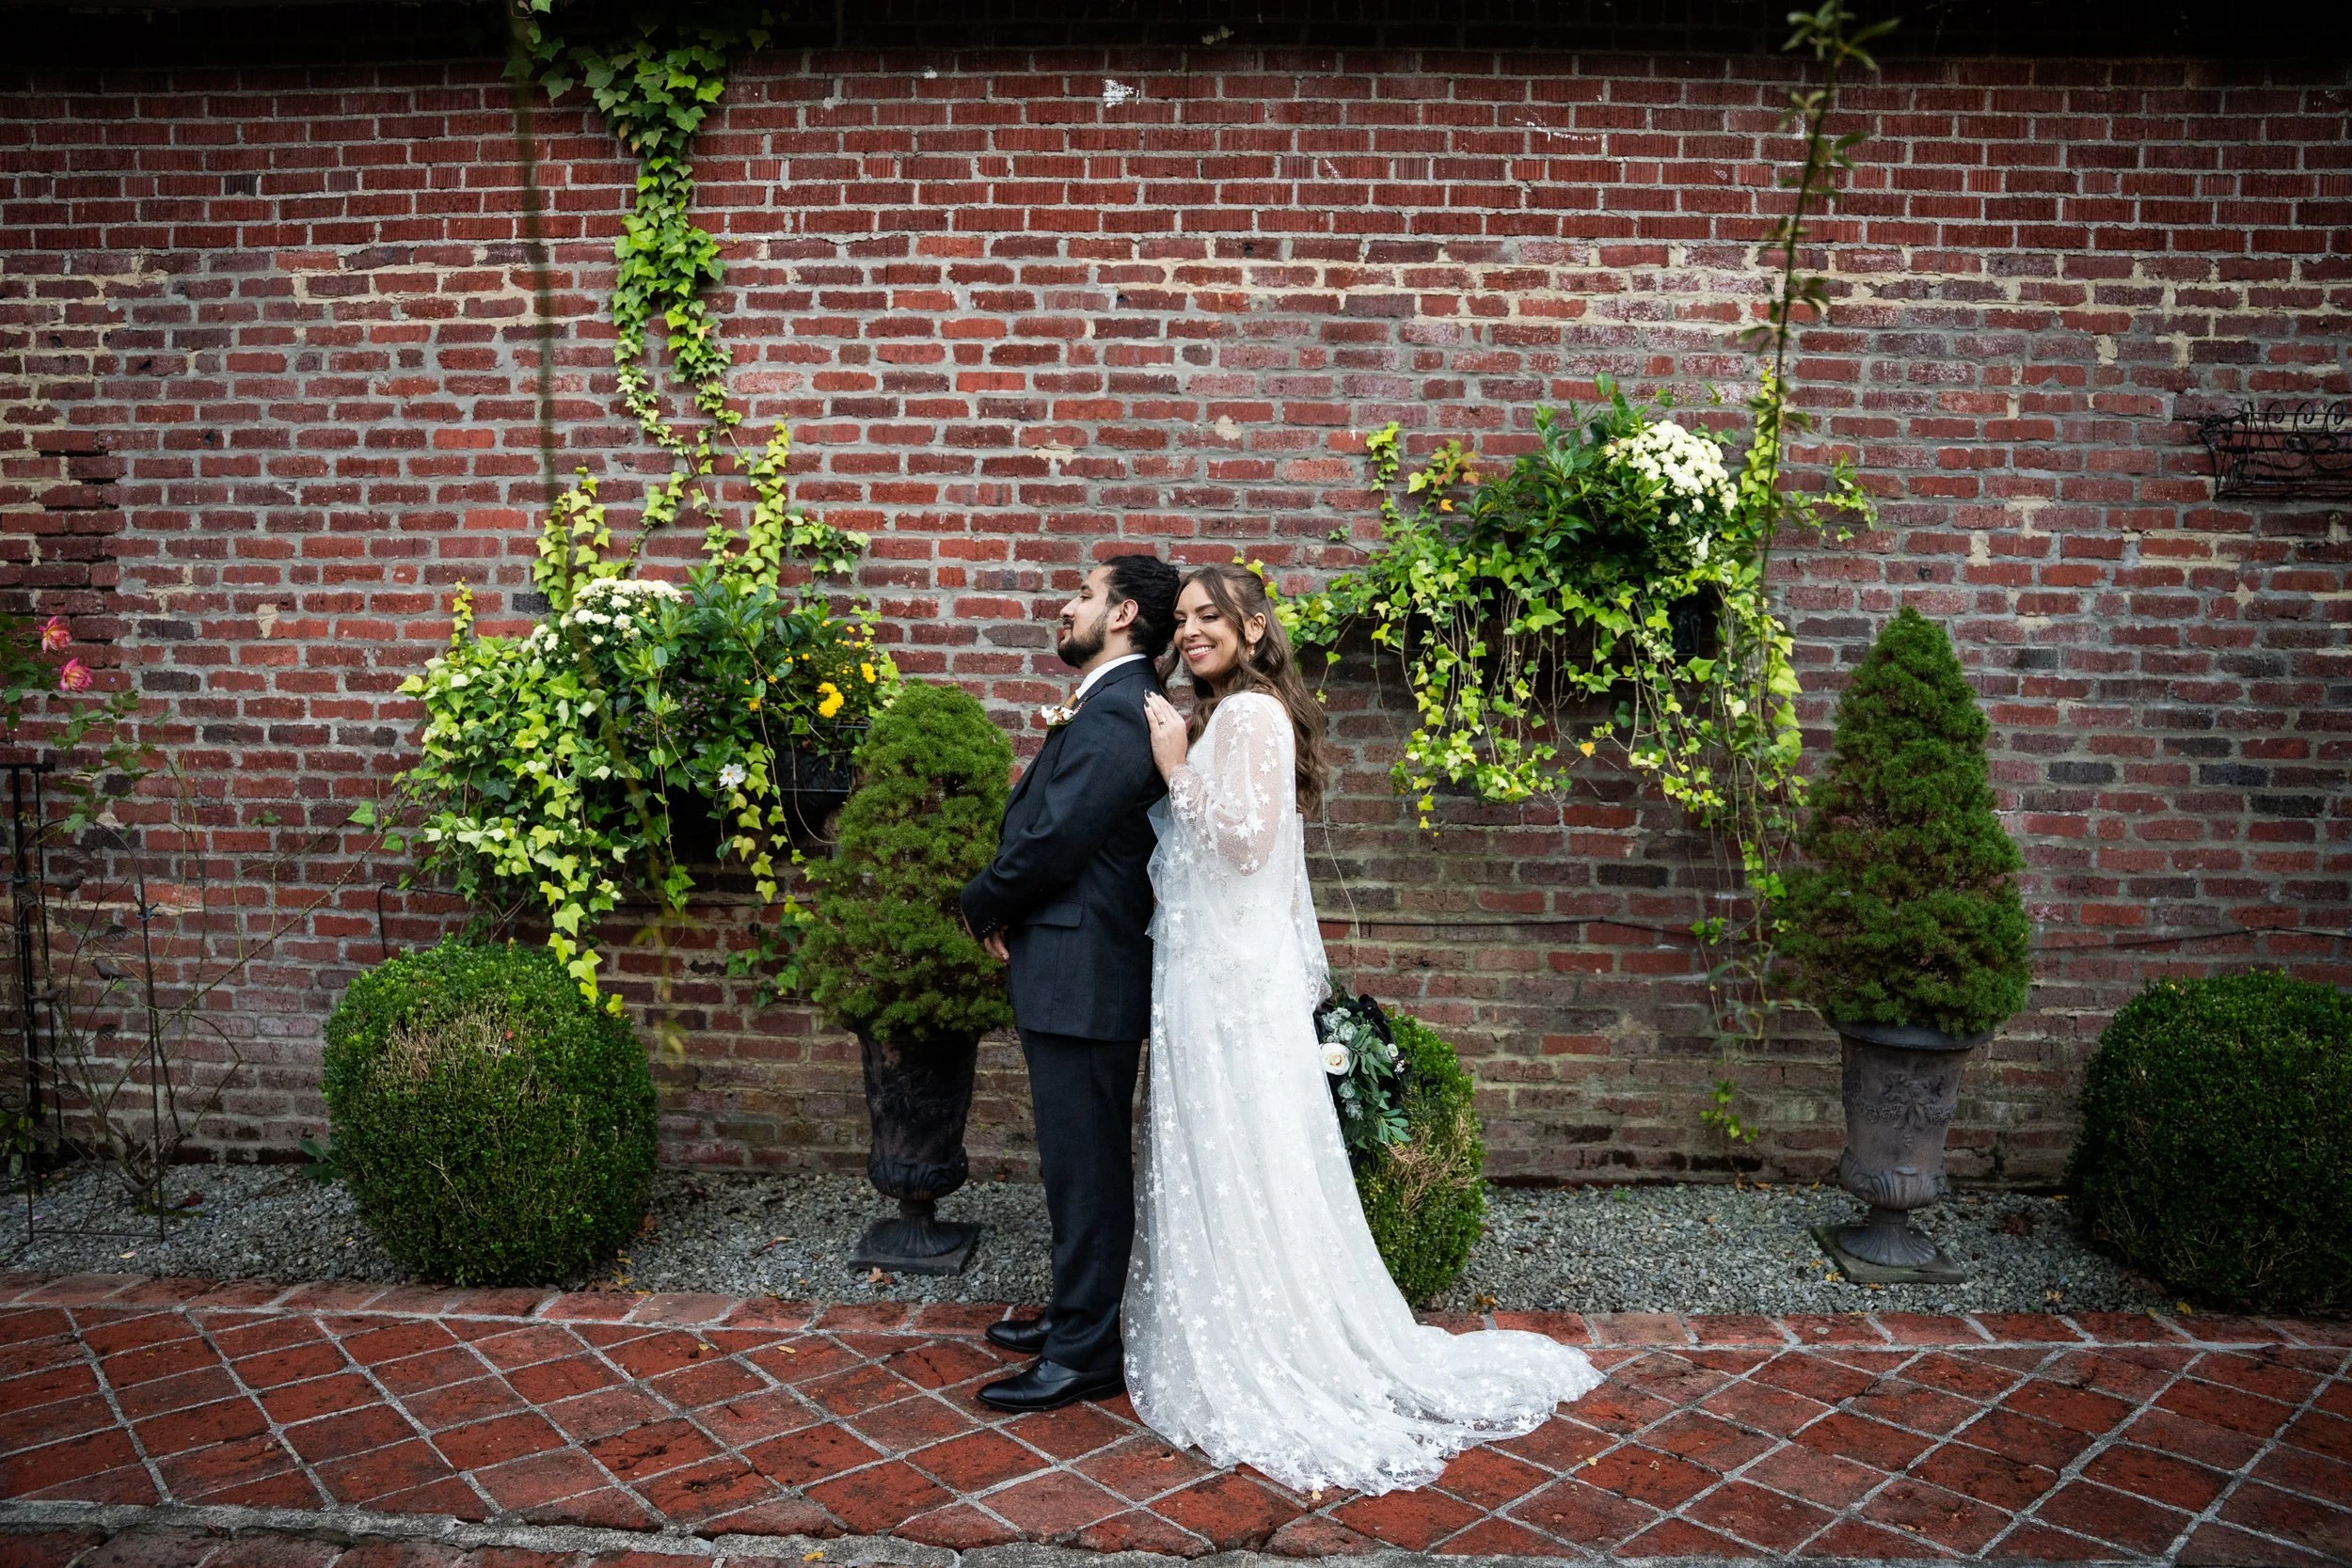
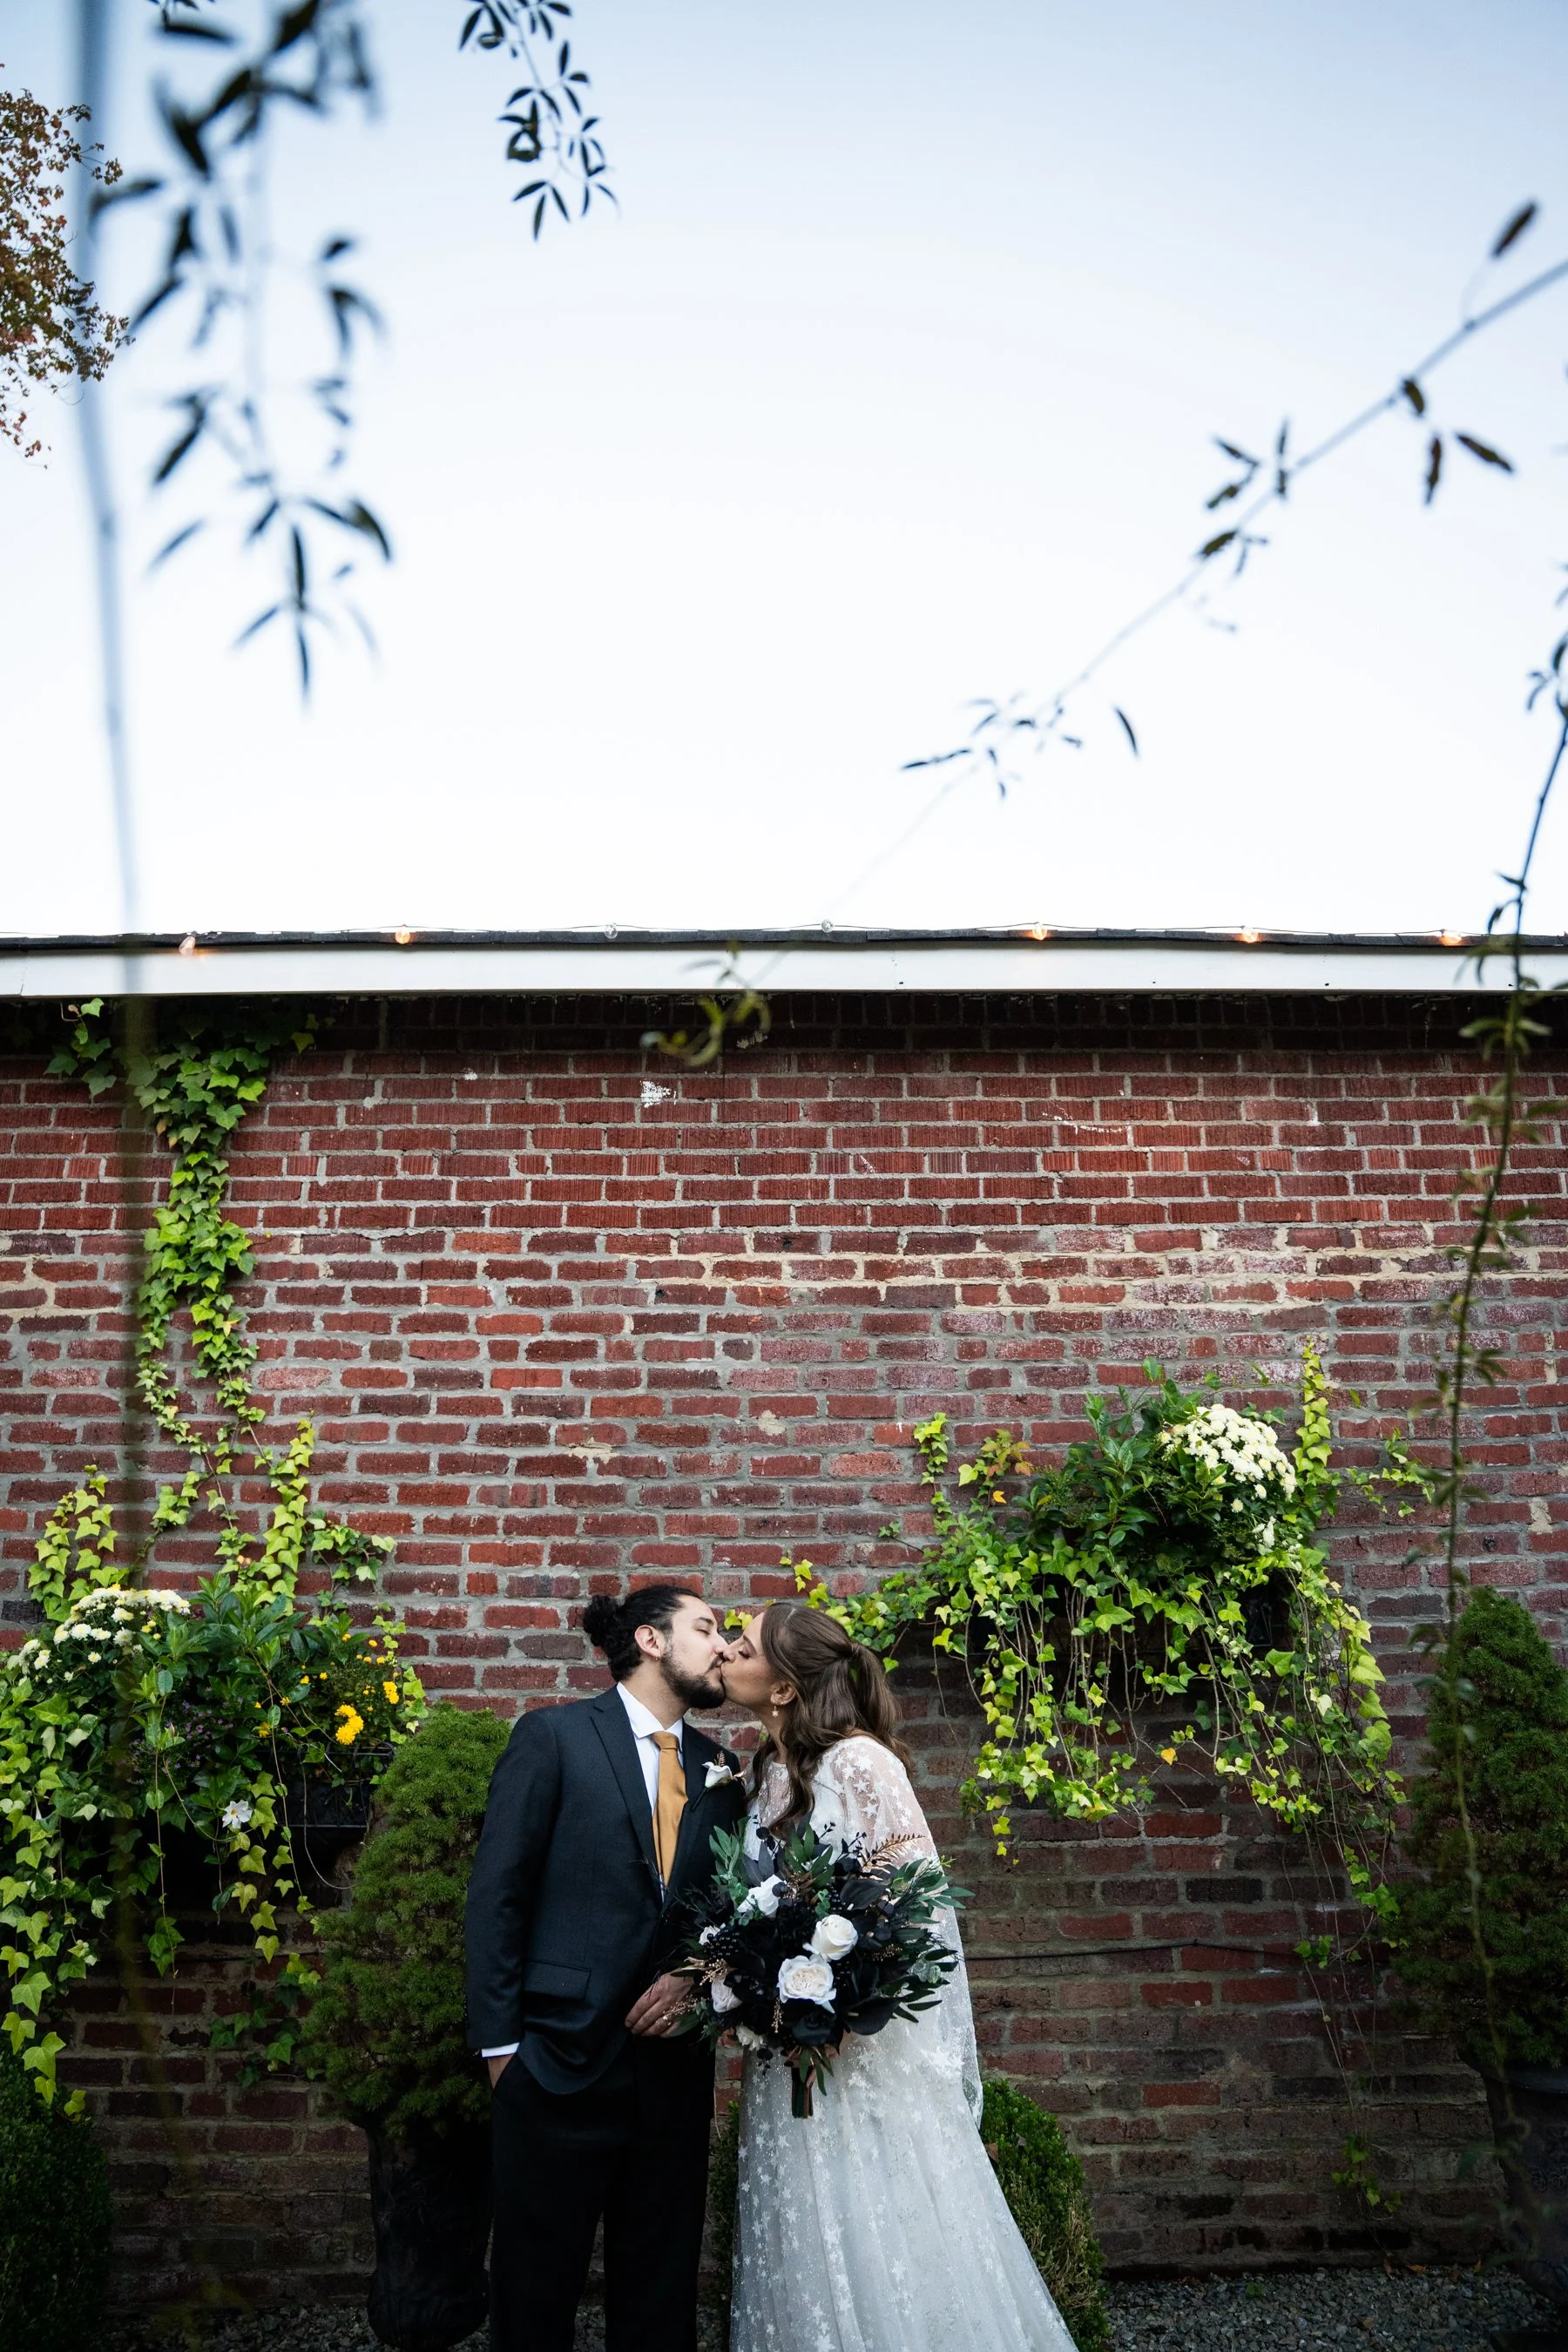
The other thing I noticed is the way the Sony A7 IV handled sunlight when I tried to get some lovely backlighting behind the bride. While it was probably handling the sunlight “correctly” and minimizing sun flare, maintaining detail in the shadows and not blowing out the scene, I found it to be a bit flat and boring. In that moment, I ended up switching back to my Canon cameras to capture the images the way I’m used to. There is something about the way Canon captures sunlight that is so lovely and magical.
If Sony can let go of some of the “perfection” and lean into creativity, I think I’d end up with a Sony in my camera bag. I did like that it had some creative options built into the camera like black and white, sepia, etc., which allows beginner photographers to have fun and experiment, but I didn’t find any of them to be personally exciting in any way. I’d still rather shoot the image flat and edit it in Lightroom myself.


OVERALL SCORE - 87/100
There are so many things I truly enjoyed about this camera. The small, lightweight body, the fast and accurate autofocus, the in-body image stabilization, the reliable light-handling when photographing large groups of people, and the overall color tone of the images. Not to mention, features like the dual card slots, custom function buttons, long battery life, and low-light functionality can really change the game when it comes to wedding and event photography. I’m pleasantly surprised by the beauty and natural aesthetic of the images right out of the camera, without editing or using a picture profile. It also was just super fun to mess with the video and I can see why so many videographers choose this camera. If you’re a hybrid photographer/videographer, or you’re a videographer that wants the option of taking beautiful photos, then this camera would be perfect for you. While it definitely bums me out that it doesn’t have a multiple exposure function, I still loved having this camera in my bag for a few weeks. I knew that I could rely on it for a lot of high-stress photography moments, like a wedding, and I found myself continuously reaching for it over some of my other cameras. It’s an amazing camera that offers so much value for the price. It has everything you need for running a successful photography business, or for filming for a YouTube channel, or for traveling and photographing landscapes, nature, people, etc. I’d even say that the Sony A7 IV was even better than I expected and it makes me want to try out some of their other products, for sure. It was fun being a Sony girl for a hot minute! I’ve included tons of sample photos below so you can decide if this camera is for you!
WHERE TO BUY THE SONY A7 IV CAMERA
B&H Photo
SIGMA 24-70MM F/2.8 DG DN II ART LENS (SONY E)
B&H Photo
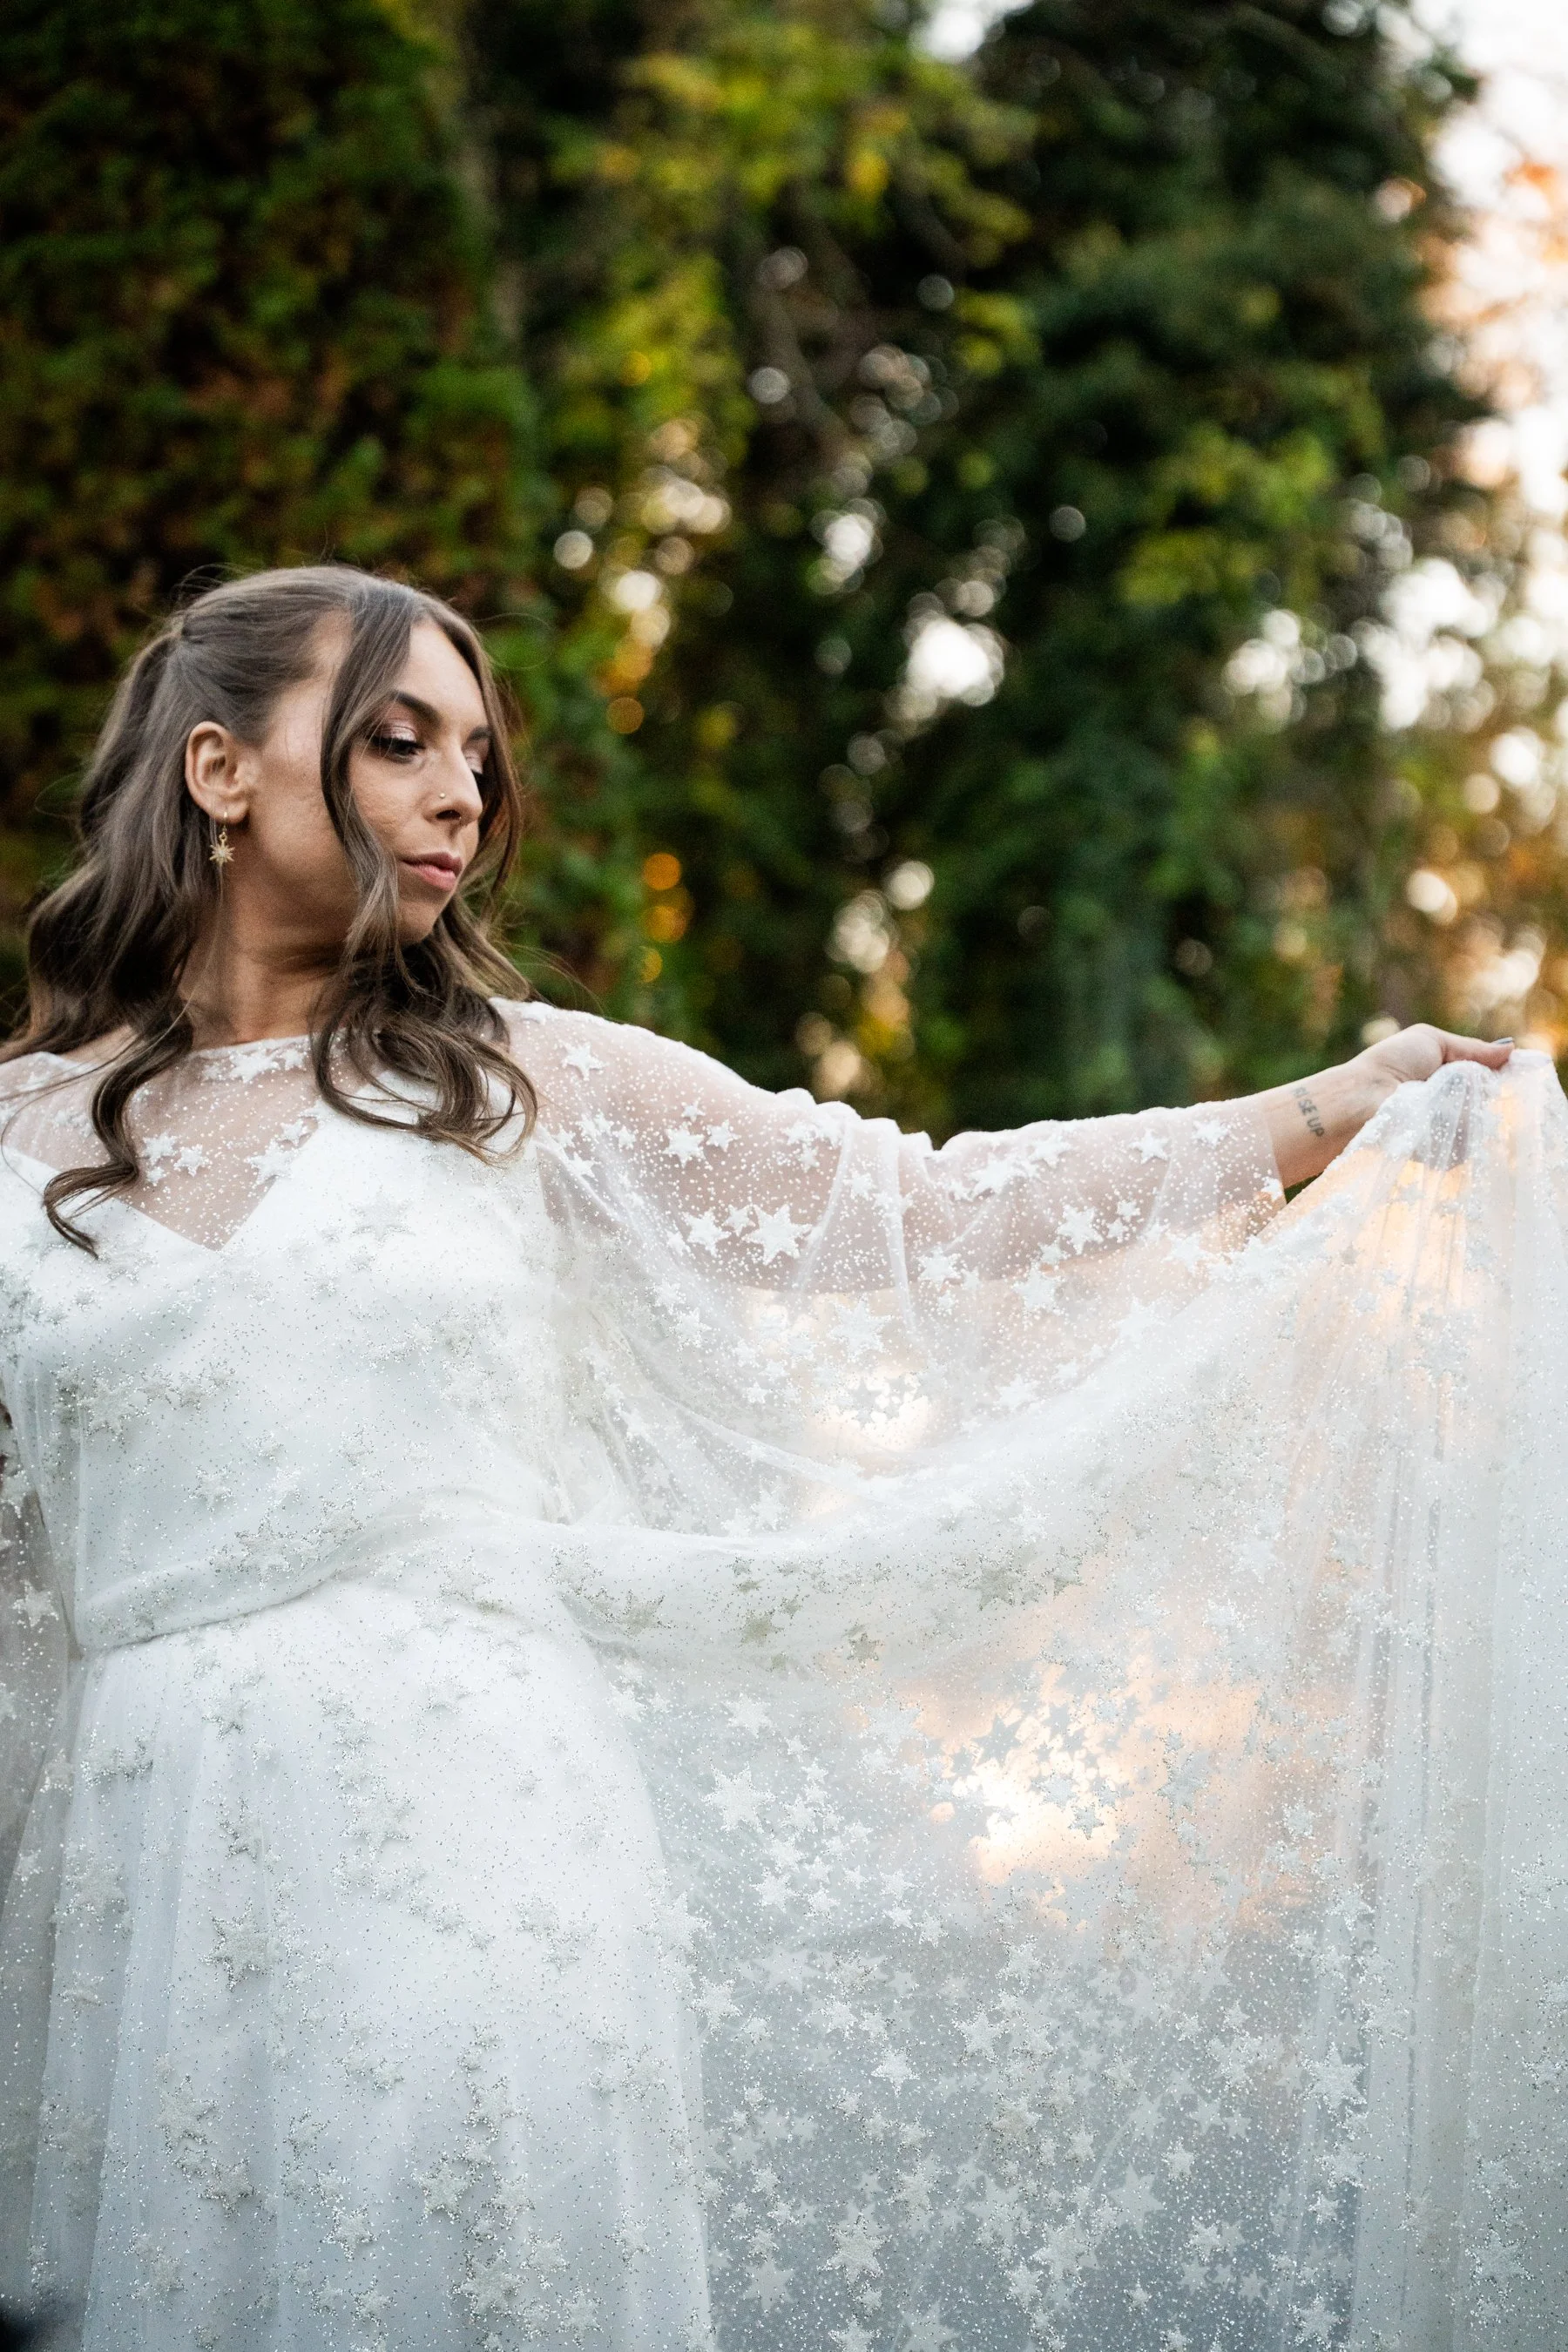
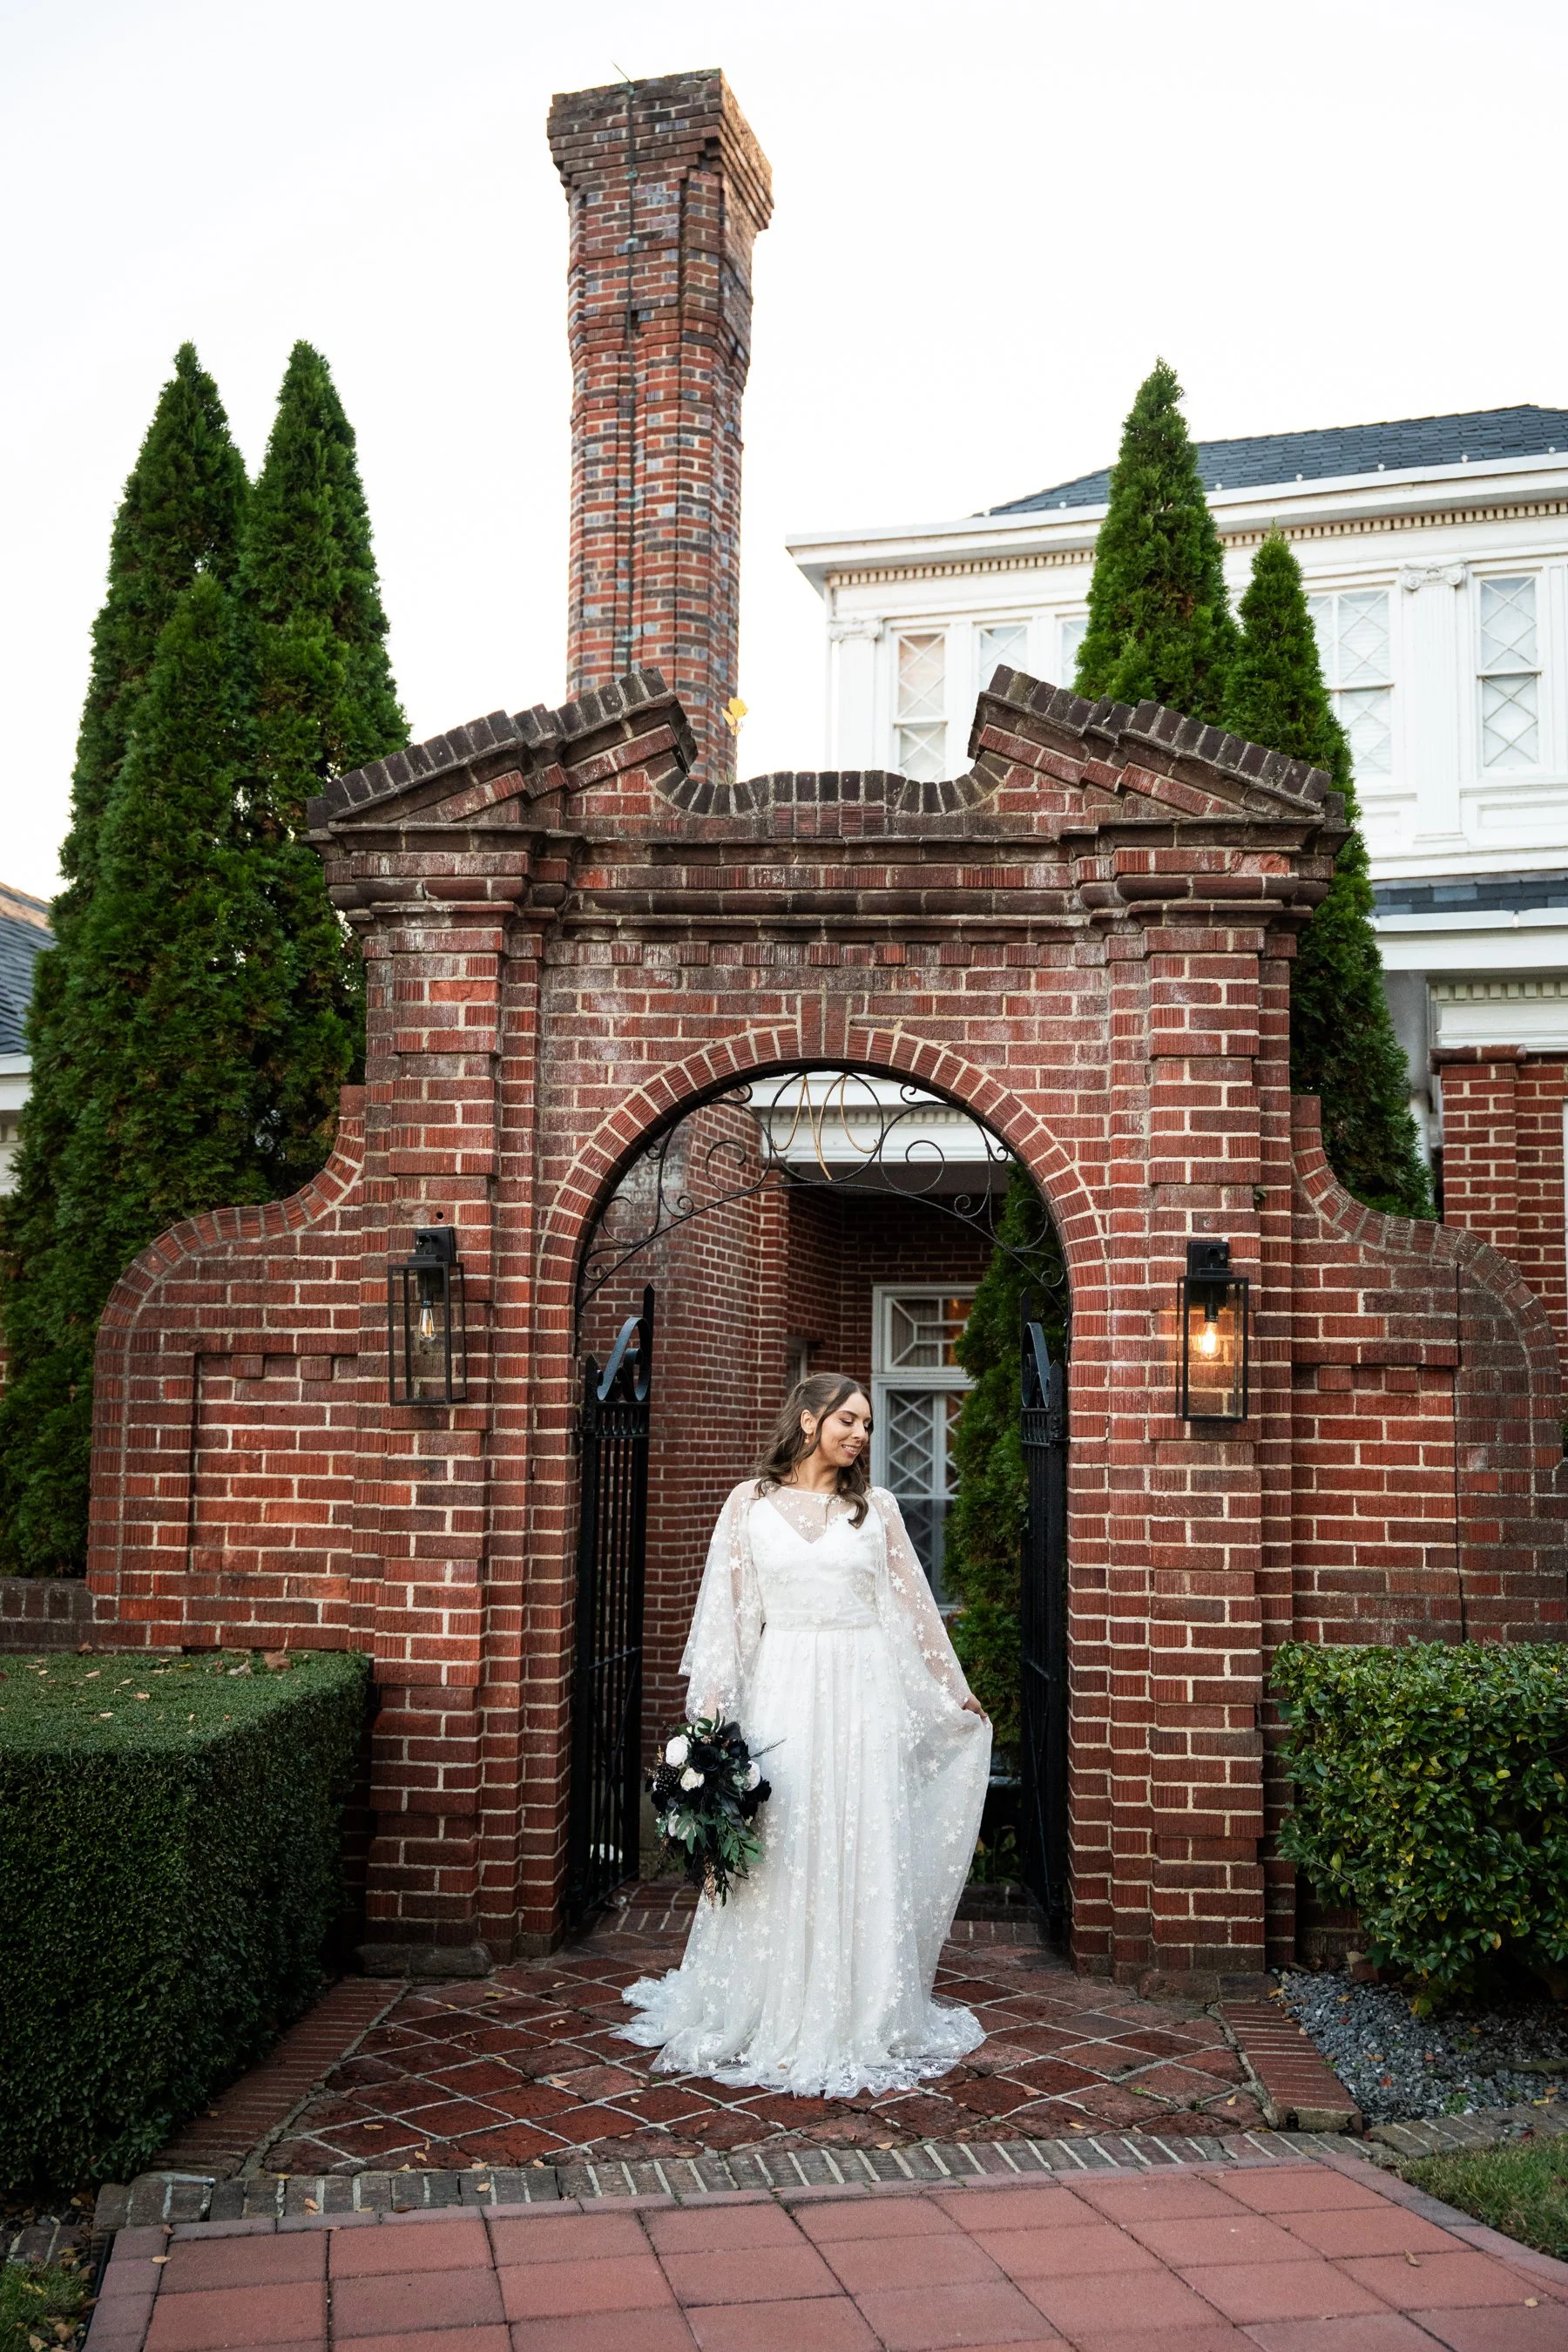
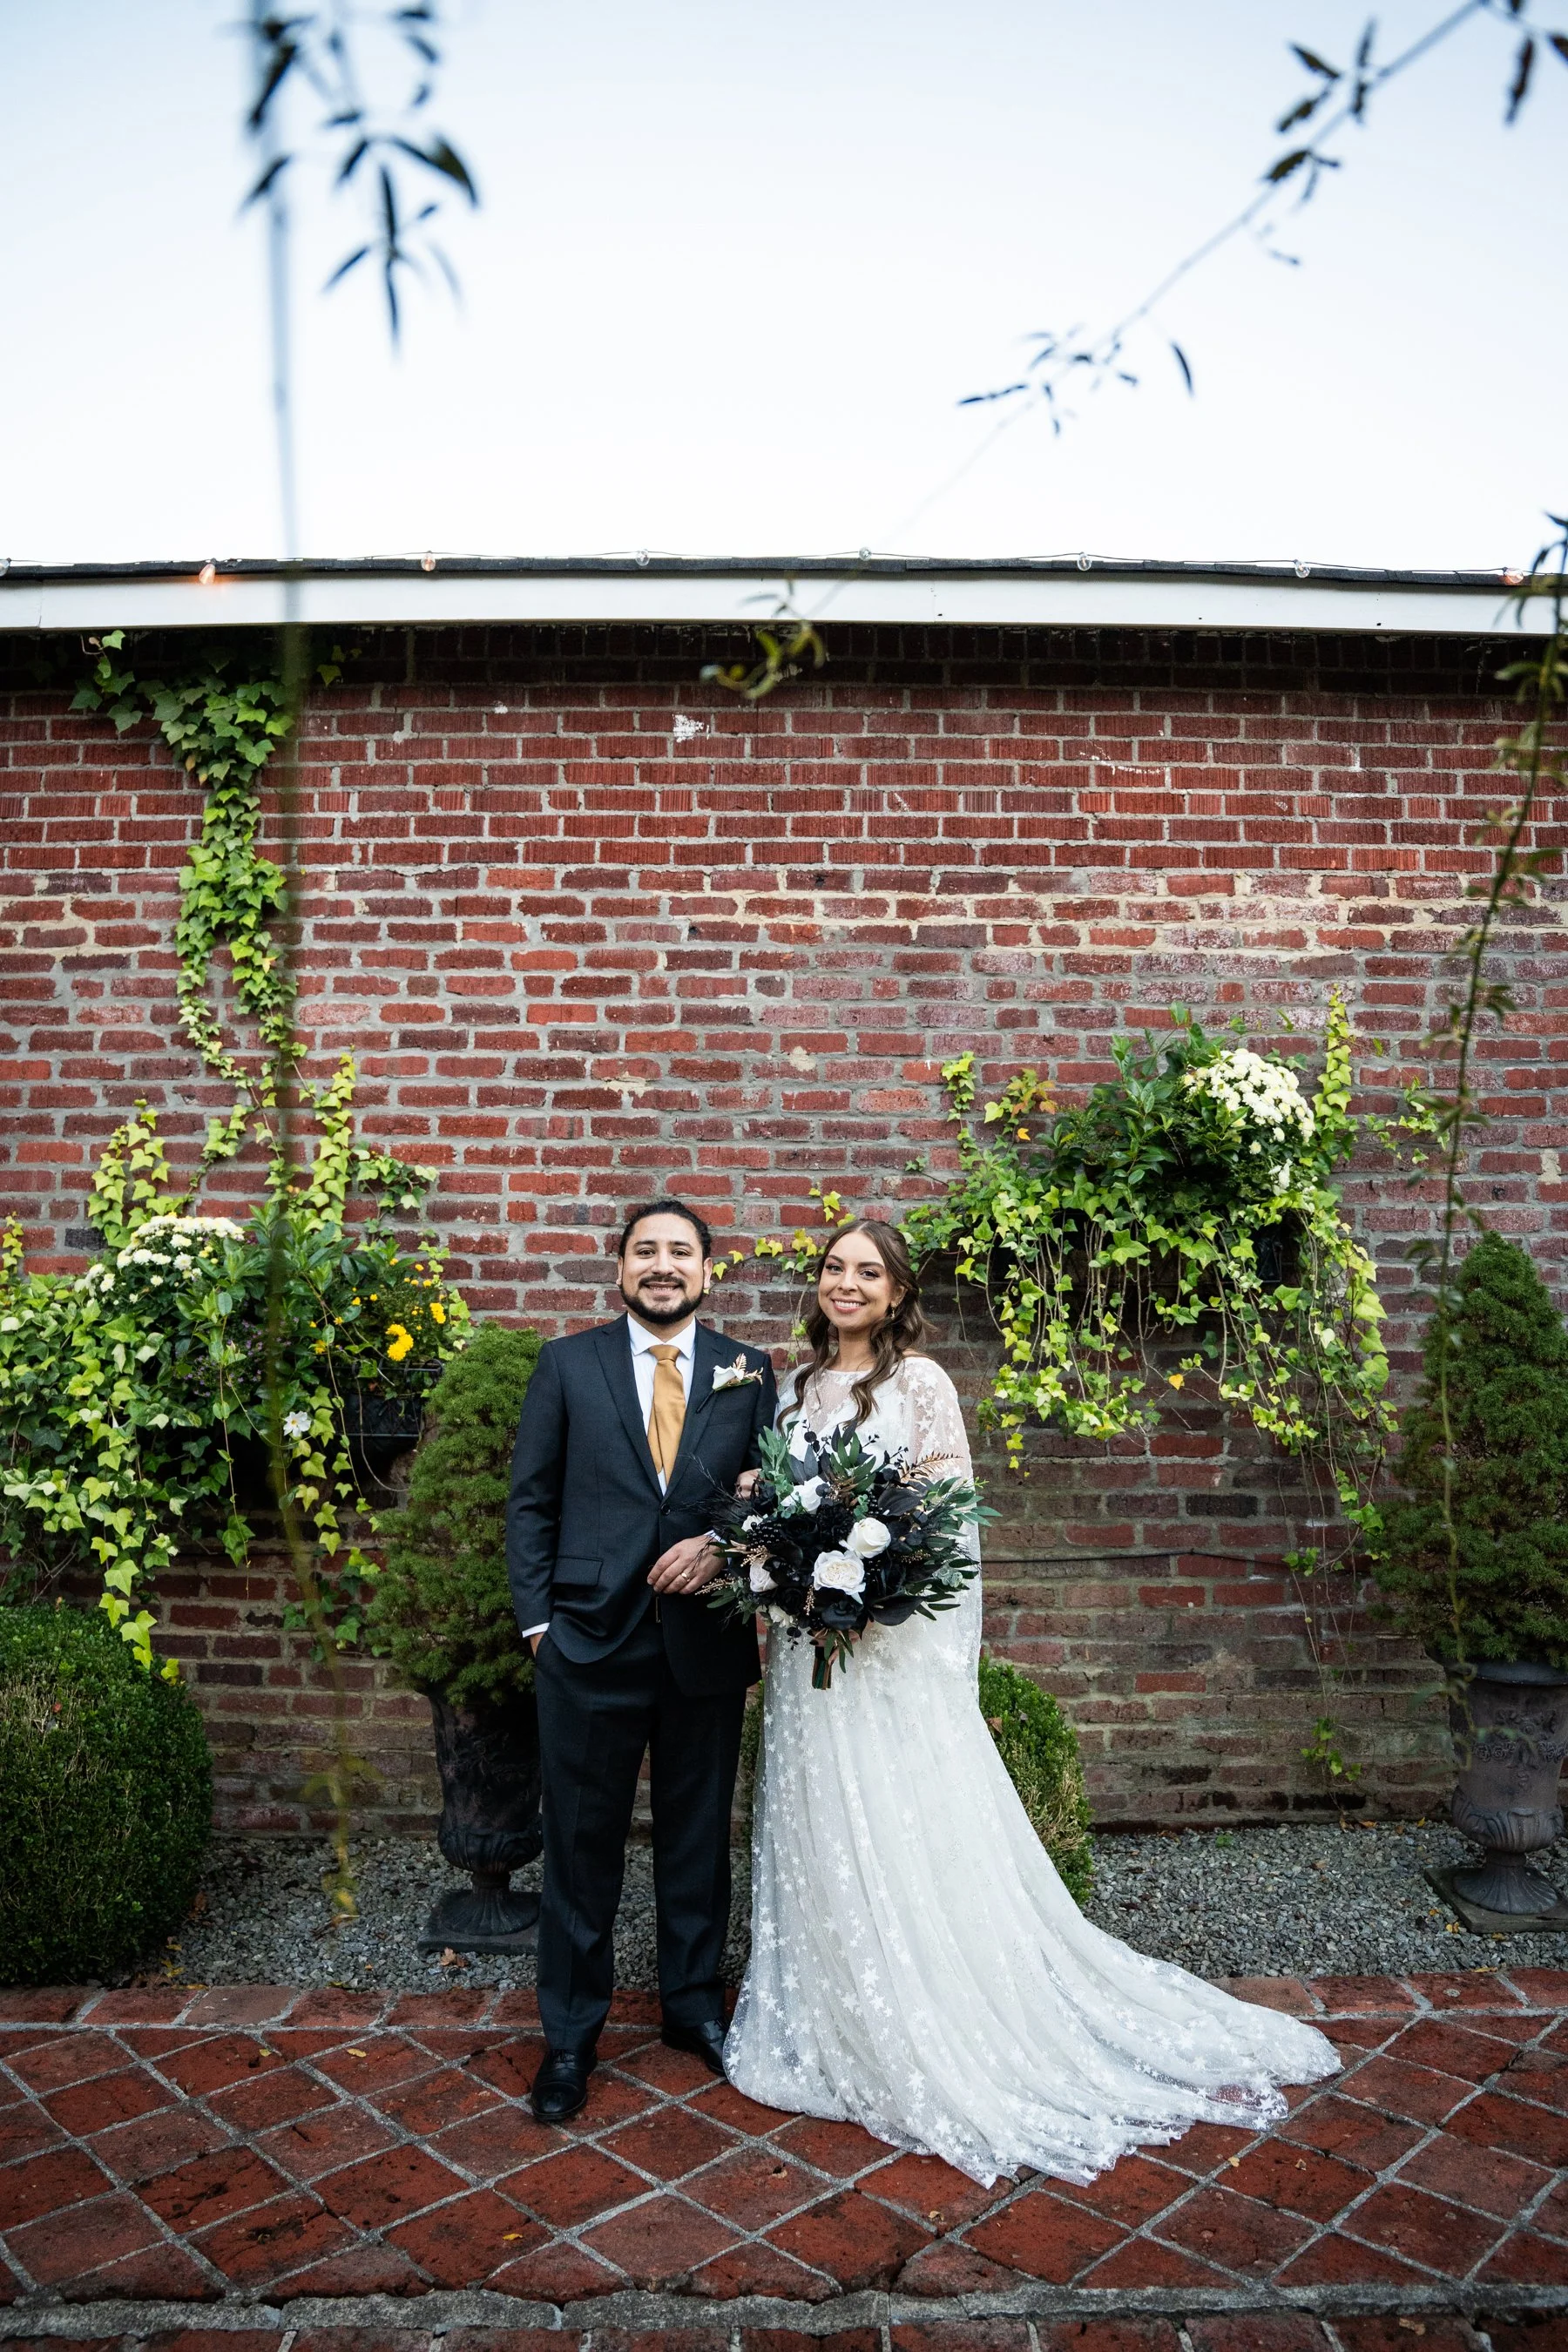
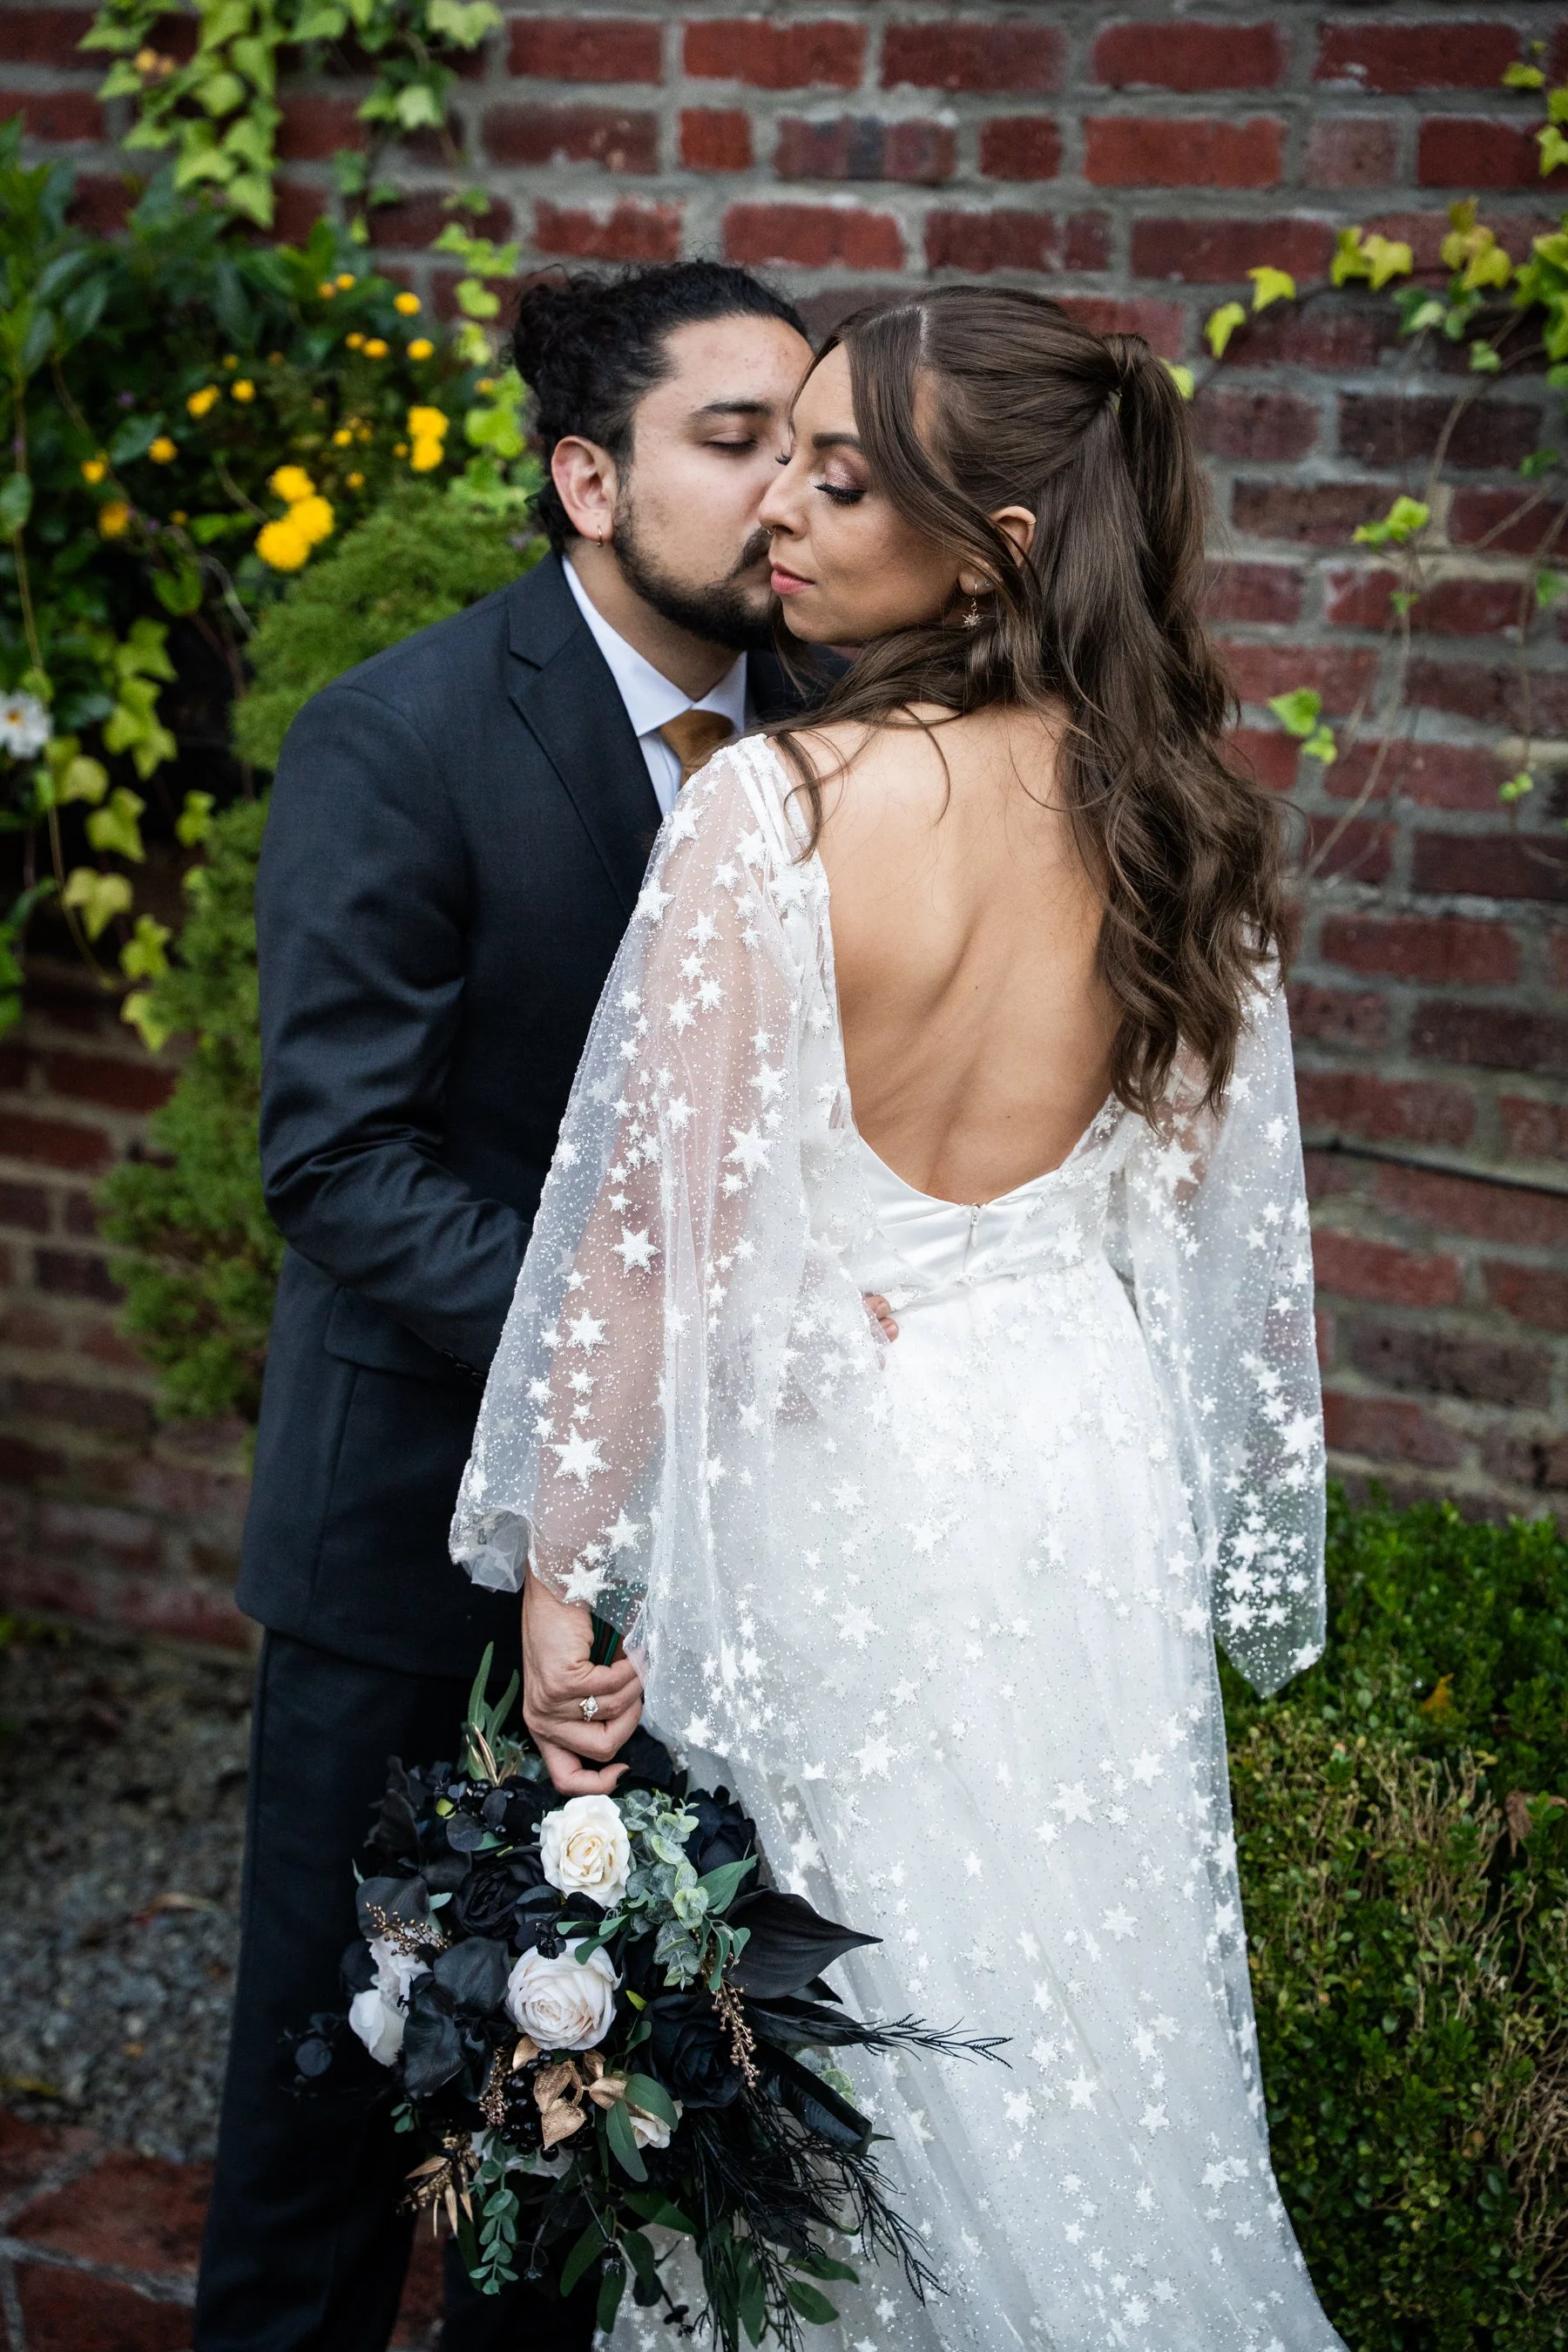
I hope this post helps you decide if the Sony A7 IV is for you! It’s truly an amazing camera! And it’s actually on sale through B&H Photo this year for Black Friday/Cyber Monday! You can find the deal here. I’ve included a ton of sample photos below. There are no filters on these images, but I have made minor adjustments to exposures, shadows, highlights, and color temperature to fit my personal style. There is no sharpness or clarity enhancements, curve adjustments, or color grading. If you have more specific questions about the editing, please feel free to ask!
If you found this post helpful in any way, I’d love it if you considered signing up for my Patreon! For as little as $1 a month, you’ll get early access to all of my YouTube videos, plus tons of photos that I don’t post anywhere else. Depending on which tier you choose, you could also receive seasonal prints and/or discounts! I always use all of the proceeds towards cameras, film & processing.
If you have any questions, I’m always happy to help! You can contact me here, or leave a comment below! Thanks so much for stopping by! You can also check out my B&H Photo storefront & Amazon Storefront for more camera/film recommendations. :) Have a magical day!
<3 Myles Katherine