At this point, I’ve tried quite a few 120 film stocks and there are definitely a handful of them that I consistently return to. I’m also always on the hunt to save money where I can, so I try to balance quality and price when possible. I wanted to share my Top 5 Favorite 120 Film Brands and where to find them. To be honest, there aren’t really that many 120 films out there, unfortunately. Lomography, a company that promotes and sells cameras and film, has been doing what it can to keep 120 film alive. They have so many interesting experimental films and cameras, and are consistently creating new film stocks and quirky, creative cameras. I actually teamed up with them recently to help support their fight to keep 120 film alive! You can check out my YouTube video featuring Lomography’s Turquoise 120 film here! And while I love Lomography dearly, there are a few other film stocks I tend to stick with as well that balance sharpness, consistency, and pricepoint.
Ok, now let’s get into my top recommendations for 120 film!
1. Kodak Portra 160 or 400 Film


Kodak Portra is one of the best 120 film stocks out there. While it is the priciest on my list, it is also the most consistent and most accuratate in terms of skin tone, color balance, and clarity. The images I get with Kodak Portra 160 and 400 are always sharp, beautiful, and natural. I would say Kodak Portra is the closest to reality you will find in any 120 film stock. By this I mean, the colors beautifully mimic real life and you will end up with photos that are a stunning representation of your subject. When I’m shooting weddings, I prefer to use Kodak Portra because it has smooth skin tones, which is great for portraits, and it isn’t too weird or unusual in a way that will confuse my client. As creative as I like to get with my photography, I also want my client to be happy. I usually always have a few rolls of Kodak Portra in my fridge at all times. If you’re unsure whether Kodak Portra 160, 400, or 800 is for you, I’ll explain a little deeper. I recommend Portra 160 if you’re shooting in a super bright environment or in direct sunlight. If you’re at the beach, or in a bright field, 160 is the way to go. If it’s cloudy outside, I’d choose 400. If it’s overcast and you’re in the shade or shooting indoors, I’d recommend Kodak Portra 800. I didn’t include Portra 800 in my recommended list though because it is EXPENSIVE. I order it every once in a while and I absolutely love it, especially when shooting with the Holga 120 camera, but most of the time I simply don’t have the money to spend on it.
WHERE TO BUY
Kodak Portra 160
Kodak Portra 400
Kodak Portra 800
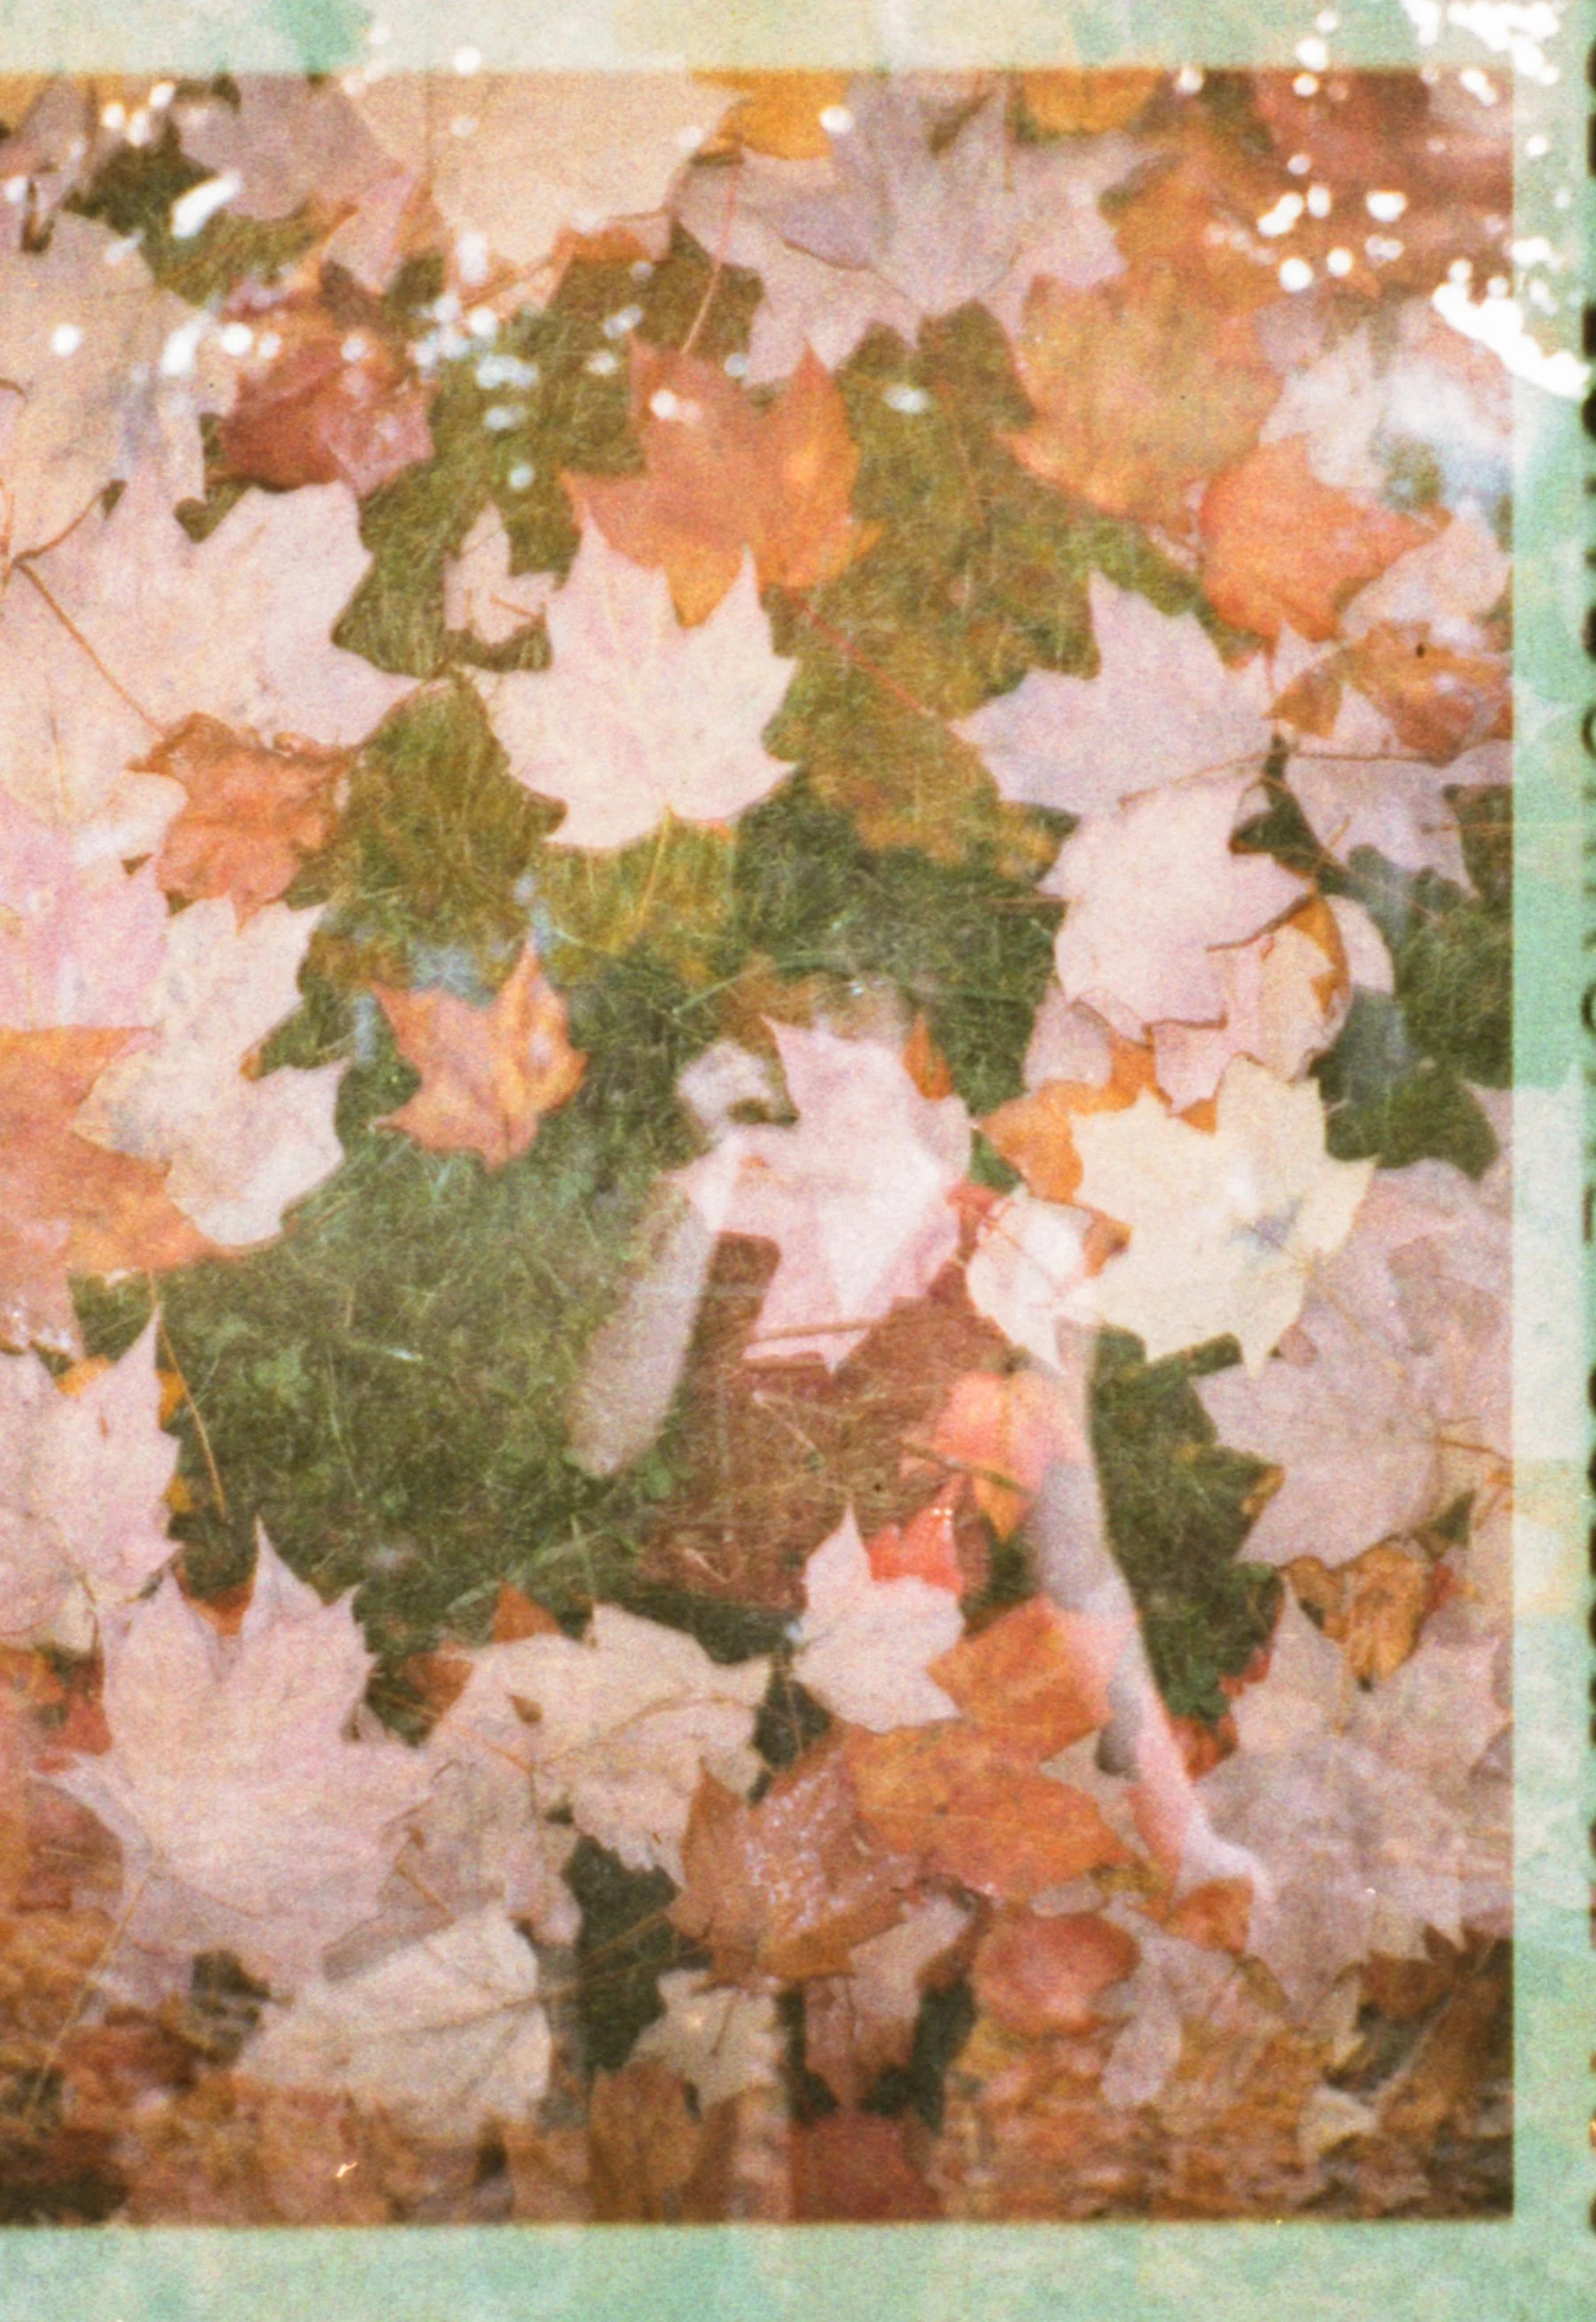
2. Kodak Gold 200 Film


Kodak Gold 200 is probably the film stock I use the most. It’s super affordable and has that sharp crispness that Kodak film is known for. It has a beautiful golden glow to it that is perfect for days at the beach or on vacation. I take it with me every time I travel because I love that vintage golden glow. It creates sort of a nostalgia and old timey-ness (is that a word??) that reminds me of photographs from my childhood. I try to convince myself to try out other films when I’m placing an order, but it’s really hard to beat the price and the quality on this one. I use it with my Holga pretty often too, but I try to make sure I have a lot of sunlight when using it, just because at 200 ISO, it won’t be able to capture as much detail in the shadows as a 400 ISO film. I do love it so much though and recommend it for beginner 120 film shooters because of the awesome price.
WHERE TO BUY
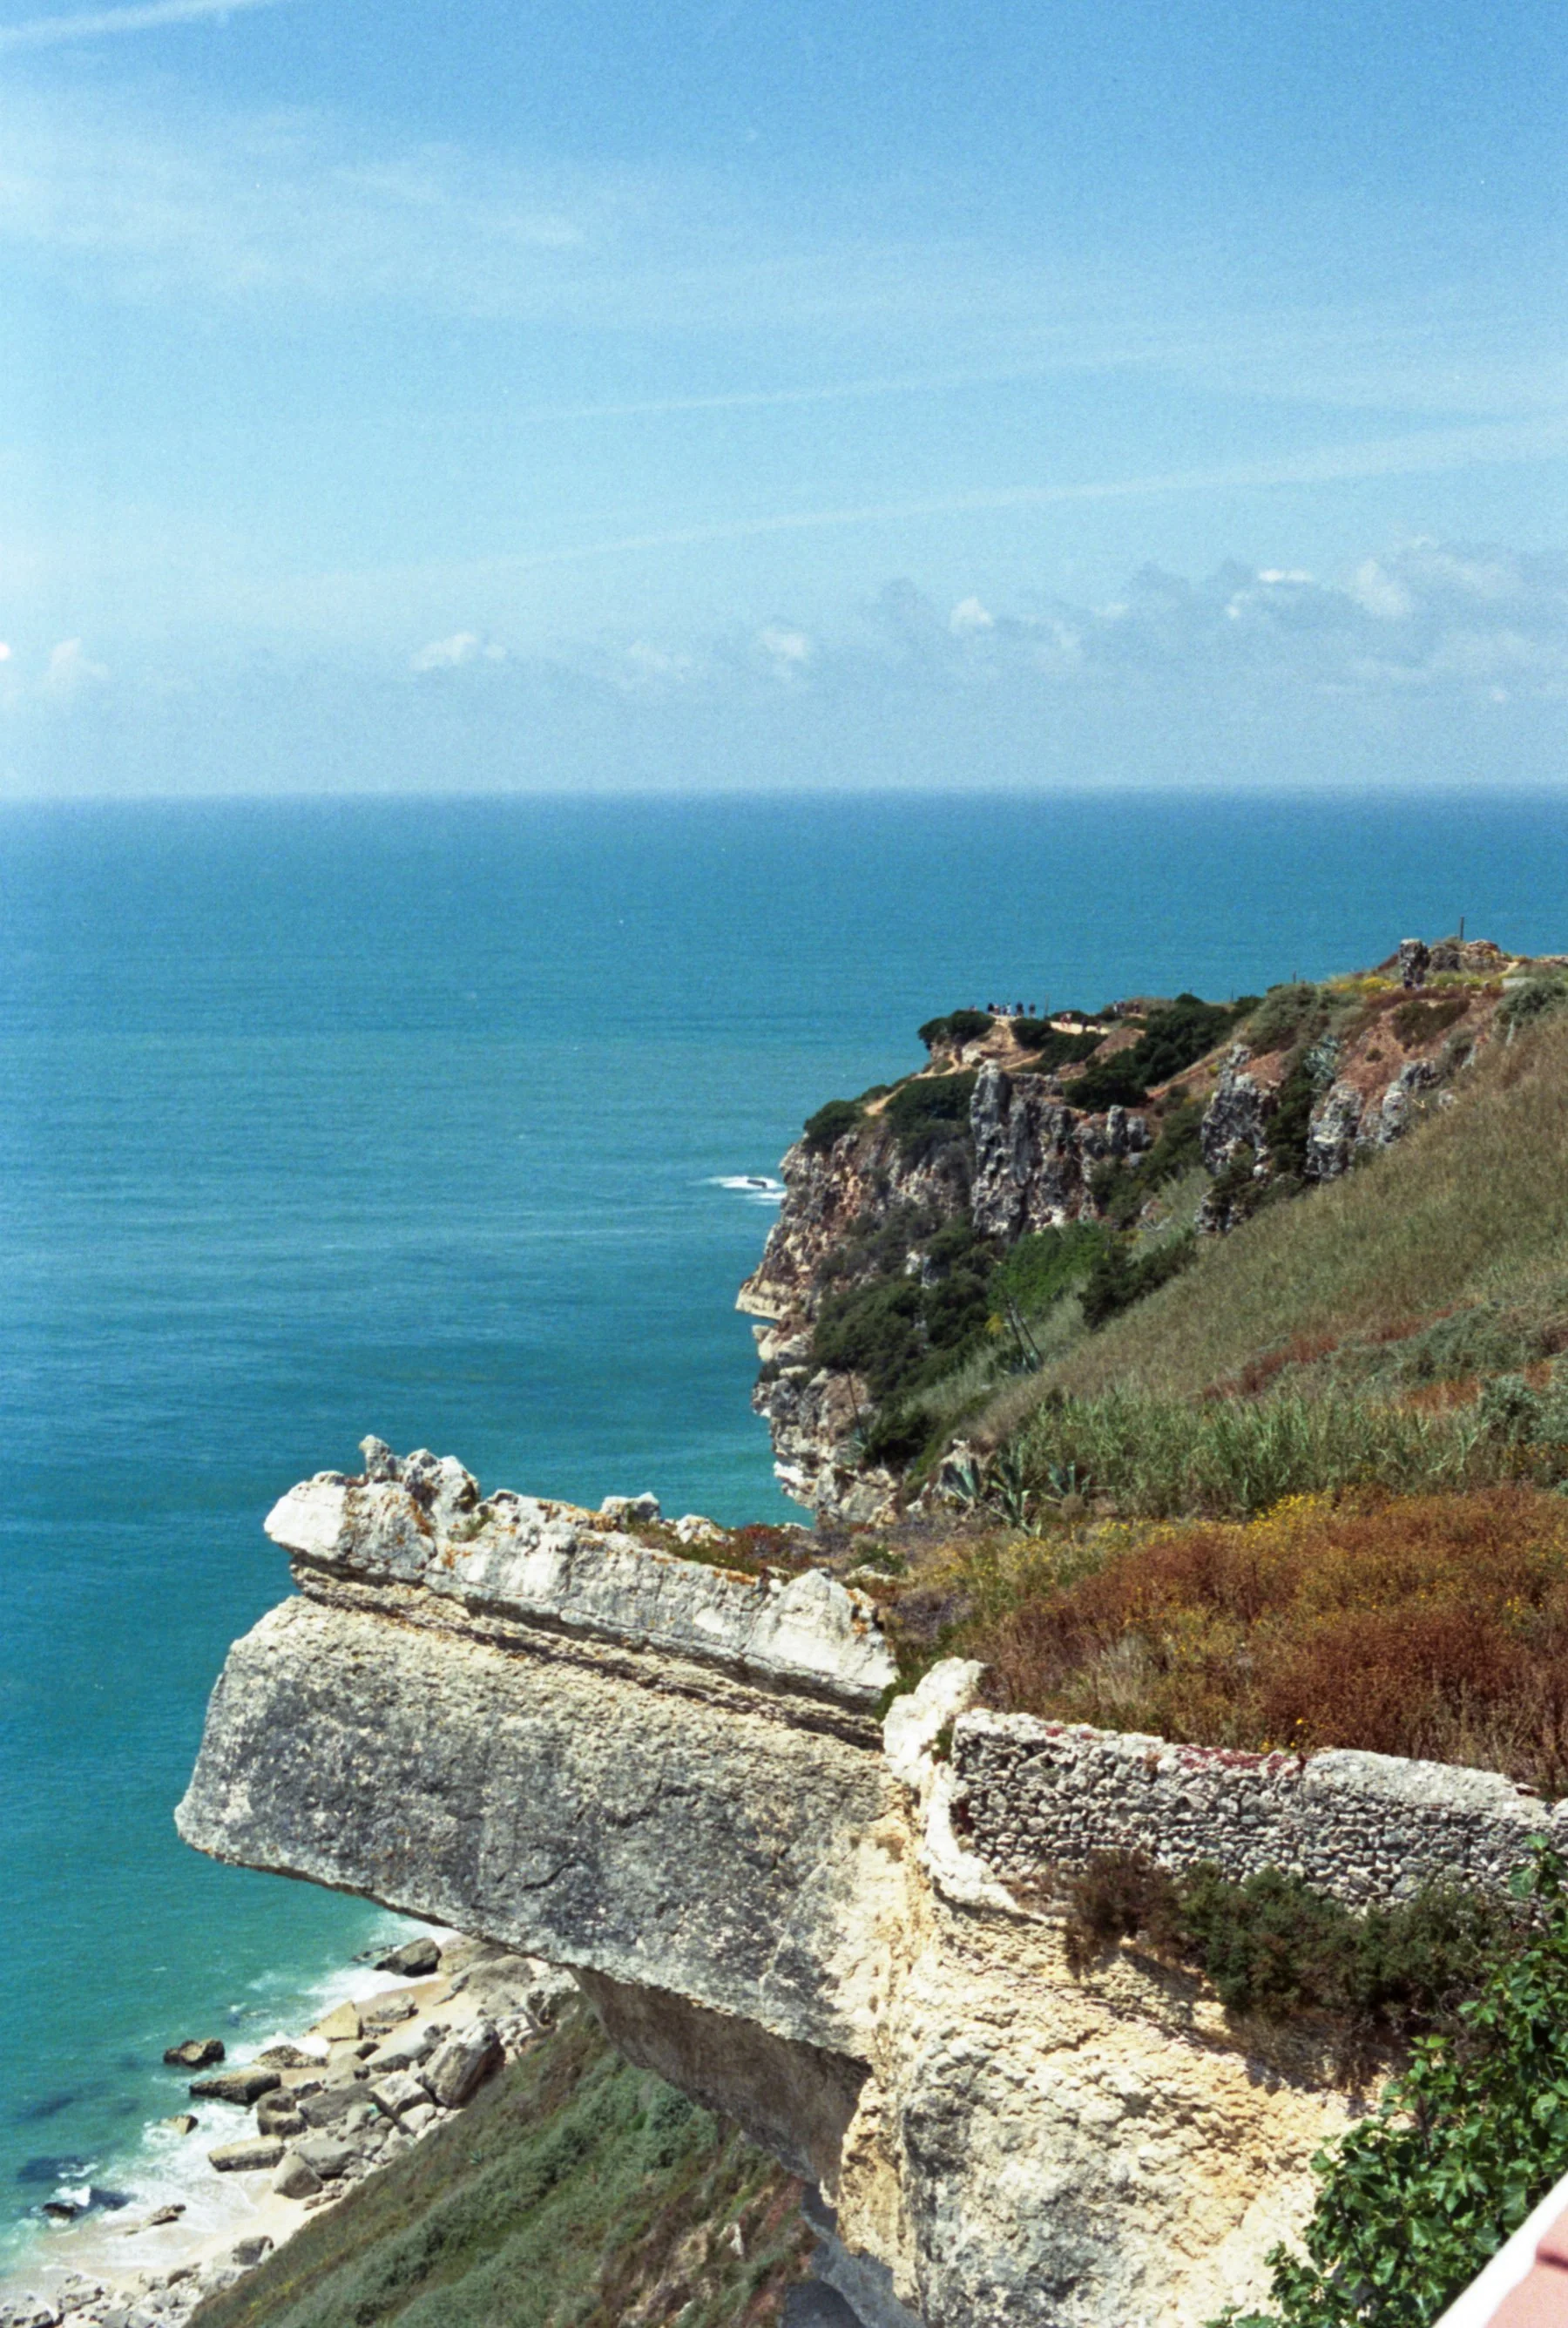
3. Lomography Color Negative 100 or 400 Film


I love Lomography’s Color Negative film so much. It’s affordable, has bright, vibrant colors, and is consistent. When I’m doing a fashion shoot or trying to capture the vivid colors of a landscape, this is a great film to use. If Kodak Portra mimics the colors in reality, Lomography Color Negative takes it up a notch. Sometimes, I have to bring down the colors in this film when scanning my images. But I’d rather have to bring it down that add saturation to my images. This is a film I always have on hand too. The Color Negative 400 is the one I’ll grab as I run out the door if I’m not sure of what environment I’m going to be shooting in. It can be difficult to get your hands on sometimes, as they sell out often, but they always restock eventually so just keep checking back. Lomography is a somewhat small company so I think it’s hard for them to keep up with the demand sometimes. That’s why I always buy in bulk when I find it for a good price on Amazon or eBay. Every once in a while I order direct from their website too, but oftentimes, I can find a better deal elsewhere. They also have an 800 ISO version too, but again, 800 film can be pricey. Sometimes, I can’t justify spending that much money on film I’m going to use in my Holga because at most, I’ll only get 12-16 shots out of it. Again, use the 100 ISO film in bright, direct sunlight, and the 400 ISO film for cloudier days or for use in the shade. :)
WHERE TO BUY
Lomography Color Negative 100
Lomography Color Negative 400
Lomography Color Negative 800
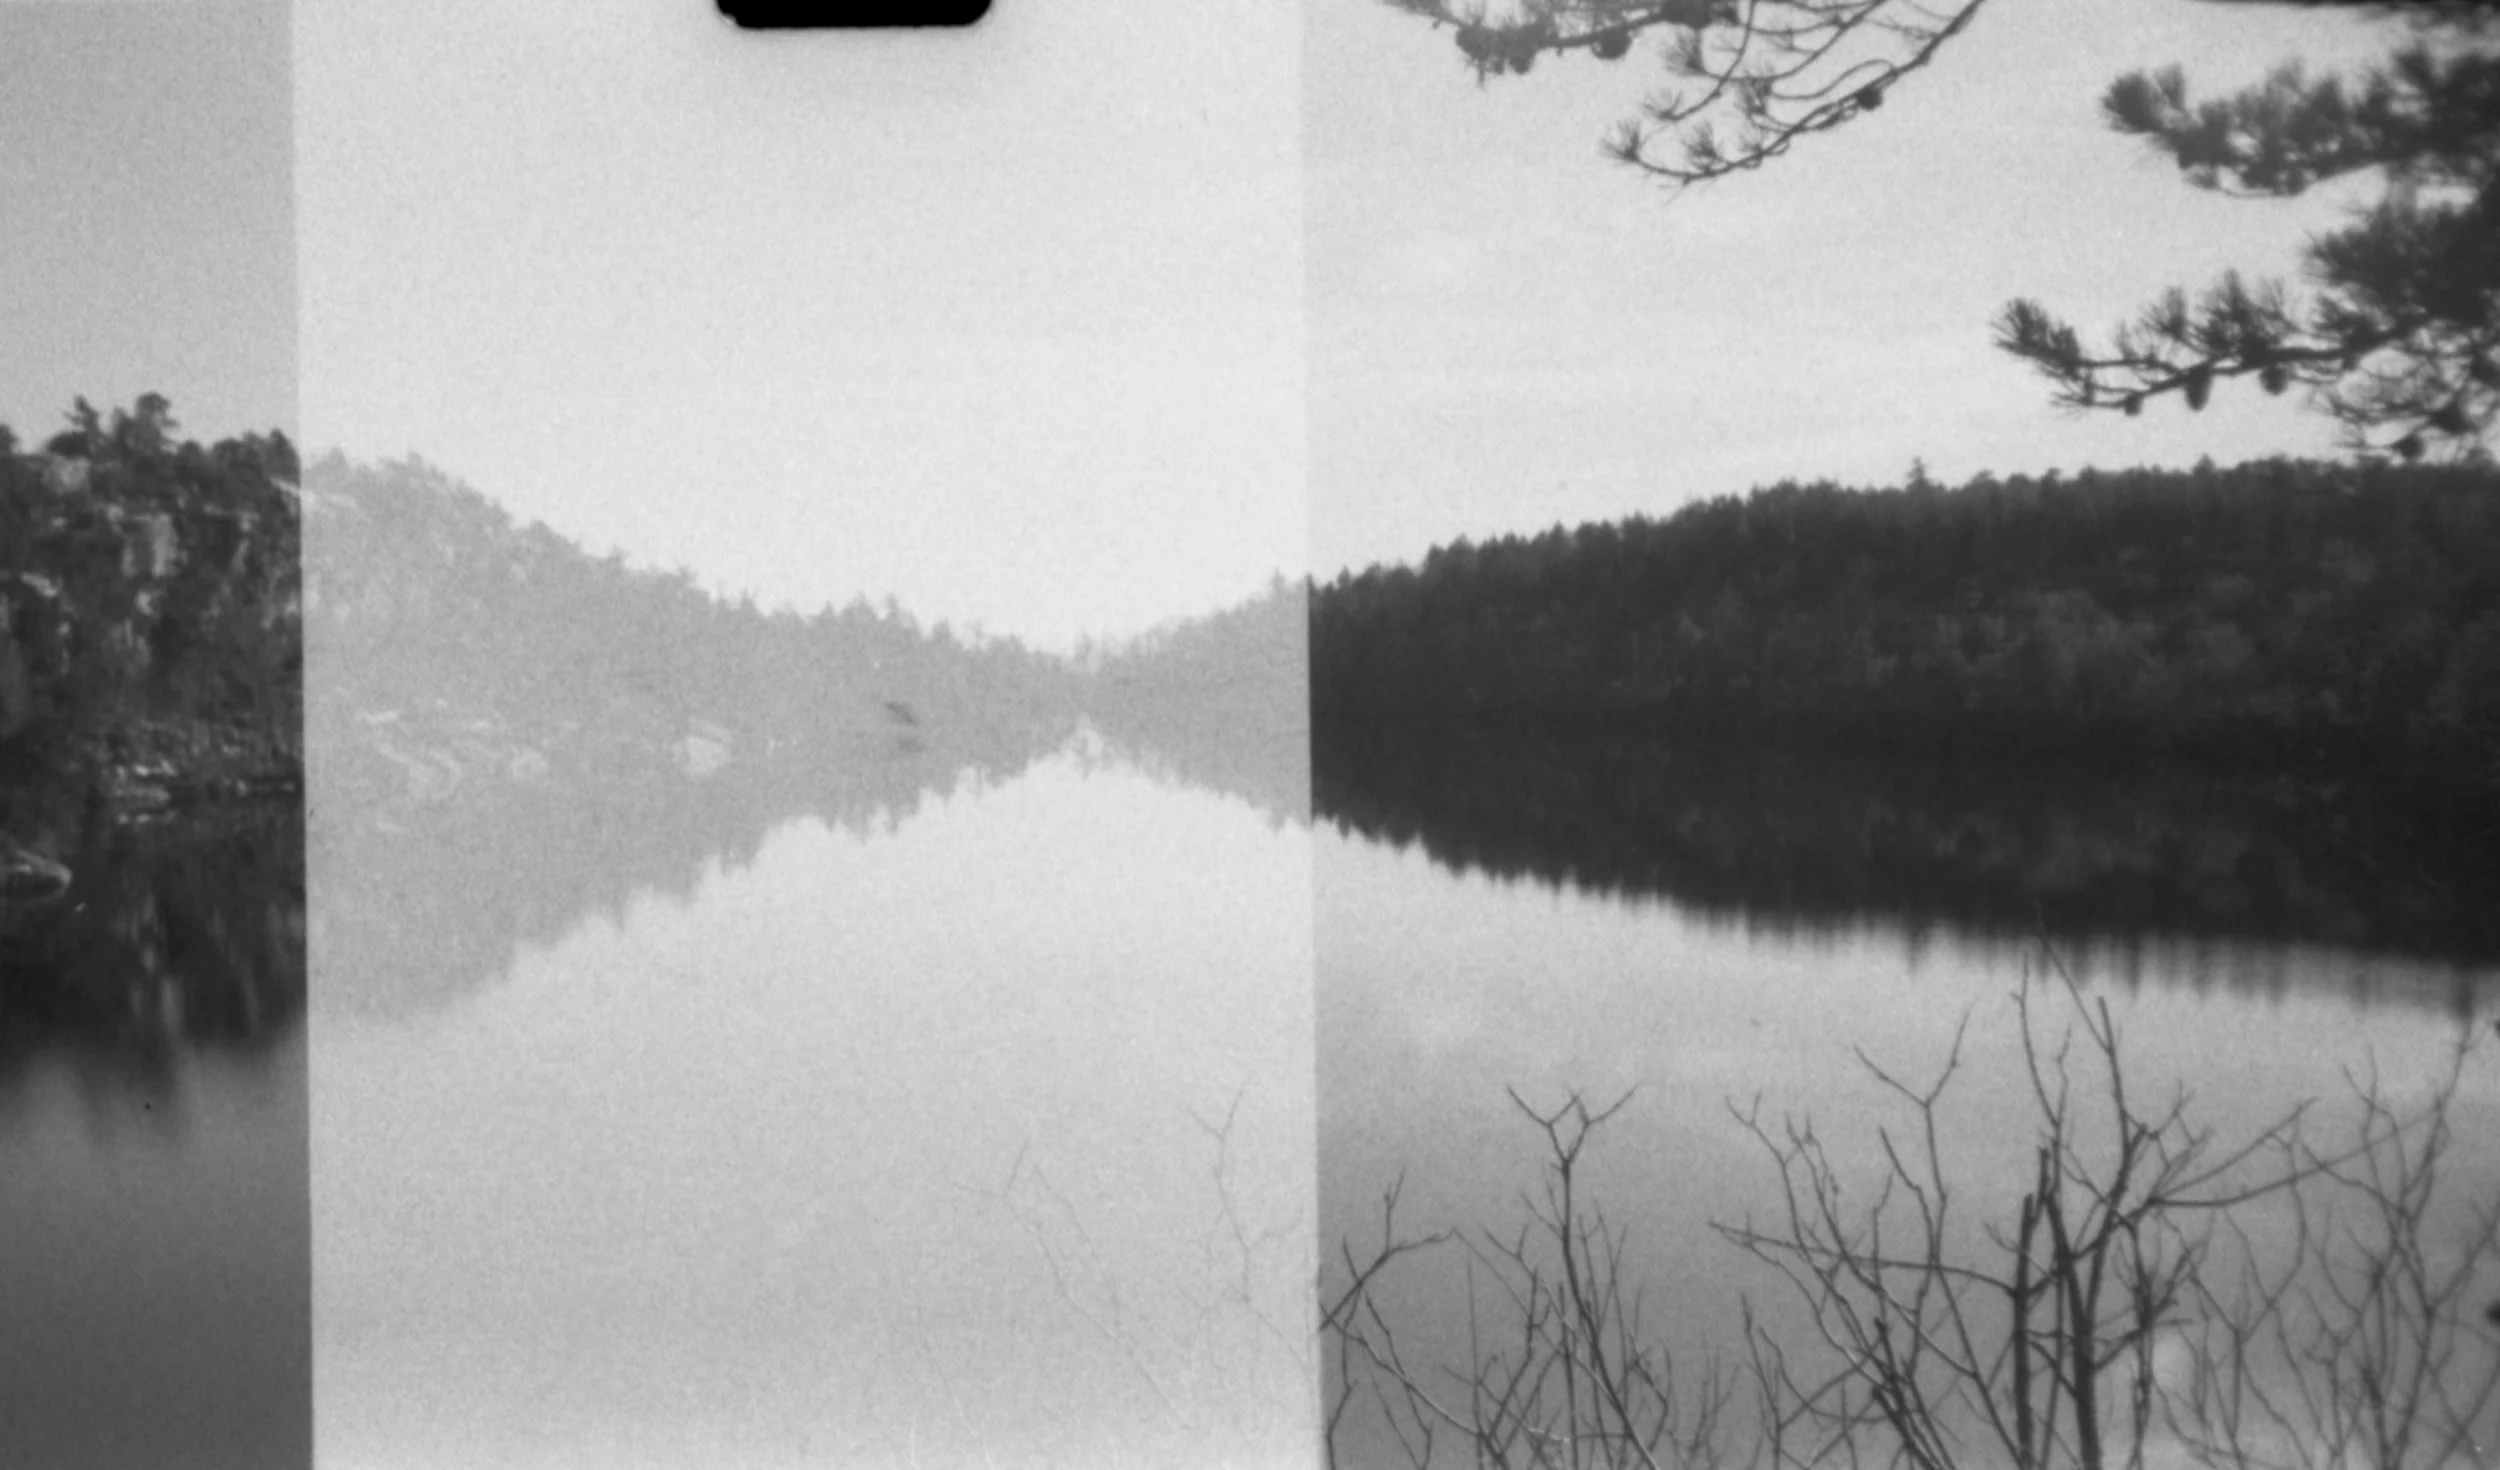
4. Neopan Acros 100 II Black and White Film


Neopan Acros is super special to me because it’s one of the first film stocks I ever used. It reminds me of when I first became obsessed with film photography and was shooting exclusively in black and white. The original version of the film has been discontinued unfortunately, but the new version is (almost) just as good. It’s one of the sharpest film stocks out there, in my opinion. And for a 100 ISO film, the shadows carry quite a bit of detail. Still, I’d recommend shooting this film in bright lighting conditions. Even on a cloudy day, you might get some unwanted graininess in the shadows. Personally, I love the moodiness that this film has. It’s great for printing in the darkroom because of it’s tonal range. These days. I always gravitate towards color film first because I like to have the option of color or black and white in post-processing. A part of me wants to get back into black and white though, because there is something so special about a true black and white photograph.
WHERE TO BUY
5. Kodak T-MAX 400 Black and White Film


Kodak T-Max 400 probably one of the most affordable black and white 120 films out there. But, once again, Kodak’s quality and pricepoint is hard to beat. I don’t shoot black and white as often as I used to, but if you're a new film photography, black and white is typically cheaper in general versus color film. But I like to shoot in color and then convert to black and white in post-production if I feel the need. I just like to have the option. But if you’re new to 120 film, especially if you’re trying out a Holga or Diana F+ for the first time, cheaper is better, because I promise you, your first few rolls are going to be rough. It just doesn’t make sense to spend a bunch of money on images that will likely not turn out the way you want them to. As I always say though, don’t give up! You can also read more about the Holga here and Diana F+ here if you are interested in toy cameras. They are super affordable and great for beginners wanting to try out 120 film. They also create insanely unique images and will get you excited about film photography. Just have patience, and most importantly, have FUN!
WHERE TO BUY
Bonus Recommendations:
Cinestill 400D if willing to spend the cash. It’s cinematic, great in low light, and perfect for cameras like the Nikon FE2 or Canon AE-1 and you want to enhance the magic of incredible 35 mm cameras like those.
Ektar 100 if shooting only in bright daylight for vibrant colors. One of my favorite photographers, Wendy Laurel, uses Ektar 100 pretty exclusively. But she lives in Hawaii and is always in bright, colorful daylight. It works perfectly for her work, but doesn’t always work for photographers like me who live in places like Virginia with inconsistent weather.
Neopan Acros 100 (the original version), if you can find it. You can read my blog post all about this film, or check out my YouTube video comparing version one of this film to version two.
Kodak Tri-X and Ilford HP5 are also great black and white options if you’re having trouble finding T-Max, they’re just a little more expensive.
If you found this post helpful or inspiring, I’d love it if you considered signing up for my Patreon! For as little as $1 a month, you’ll get early access to all of my YouTube videos, plus tons of photos that I don’t post anywhere else. Depending on which tier you choose, you could also receive seasonal prints and/or discounts! I always use all of the proceeds towards cameras, film & processing.
Thanks so much for stopping by! You can also check out my Amazon storefront for more camera/film recommendations. :) Have a magical day!
<3 Myles Katherine
(By using the links and/or codes in this blog post it supports Myles Katherine Photography. We may get a small kick back by you doing so.)