Polaroid Impulse 600 Review, How-To and Tips for Getting a Good Polaroid plus Sample Photos!

This post contains affiliate links and I will be compensated if you make a purchase after clicking through my links. 

I have SO MANY vintage Polaroid 600 cameras. I’m not really sure how it happened, but I’m running out of space to store them! I’ve thought about selling a few but I’m so obsessed with the way they each look that I couldn’t bear to give them away. Polaroid cameras have such a retro look to them and it’s rare that I stumble across one that’s actually broken. They hold up really well and seemingly last forever if you take decent care of them. The Polaroid Impulse that I have actually belonged to my dad. He used it to photograph building sites back in the 80s and 90s for his construction company. It’s strange to think that they actually documented projects that way, but I guess when you don’t have a cell phone or digital camera, you aren’t left with many options! Make sure to scroll to the bottom of the post to see some sample photos I’ve taken with the Polaroid Impulse! I’ve also written a blog post about the Polaroid One-Step, a very similar vintage Polaroid 600 camera.

The Polaroid Impulse was originally produced in 1988. It’s extremely basic and easy to use. It takes 600 film, which you can buy on Polaroid.com now. It’s a long story, but for a few years, Polaroid film actually ceased to exist. Then, a company called The Impossible Project came along and began re-making instant film to fit in the old 600 Polaroid cameras. Eventually, they changed their name to Polaroid Originals, and then finally got the rights to the actual Polaroid name!

The Impulse only has a few adjustable settings so it’s practically a point-and-shoot camera. There is definitely no need to be intimidated by this type of 600 camera. On the front of the camera, there is a light/dark slider that is just for adjusting how bright or dark you’d like your film to be. I typically have mine set slightly to the right for a darker image. I tend to shoot mostly in bright sunlight and I don’t want my images too blown out. The hollow triangle represents a “lighten” setting, while the filled-in triangle represents the “darken” setting.

To turn on the camera, there is a pop-up flash on the top right side. You simply push the flash down and it will pop up, open the shutter, and turn on the light next to the shutter button on the back. If the light is red, the camera is not quite ready to take a photo. If it’s green, you’re ready to shoot!

The only other setting is a distance slider located on the top left of the camera. Your options are 2-4 ft or 4 ft to infinity. The camera automatically is set to the 4ft to infinity setting, but if you’re planning on taking a closer image of your subject, you can use your finger to slide the lever to the left for the 2-4 ft option. You actually have to hold your finger there the whole time or it will snap back to the 4 ft to infinity setting. Or maybe that’s just my camera and the button doesn’t stay. You never know with these old cameras!

The Polaroid Impulse is fully autofocus which makes it super easy to travel with. You don’t have to spend your time focusing on your subject. You just pop up the flash and take your photo!

To load the film, there is a sliding lever on the front right side of the camera. You slide it forward and the mouth of the camera will drop down. If there is film already in the camera, you remove it by pulling the tab and sliding it out. So easy! Then, to add a new pack of film, you just make sure the pack goes in with the tab facing out and on the bottom. Once you close the mouth of the camera back up, a cover with automatically come out of the camera. This cover was protecting your images from light and now the film is correctly loaded and your camera is ready to use!

A FEW TIPS FOR SHOOTING WITH POLAROID CAMERAS

  1. As soon as you take your image, flip the camera upside down so your polaroid is not exposed to direct sunlight. Polaroids are extremely sensitive while they’re developing. As soon as the Polaroid has fully ejected from the camera, use your fingers to carefully grip the edges. DO NOT touch the actual photo while it is developing or you will end up with fingerprints on it! Sometimes the fingerprints can be fun and add a certain aesthetic, but if that’s not what you’re going for, just grip the edges and carefully put the Polaroid somewhere safe.

  2. Keep the Polaroid decently warm while it’s developing. I’ve learned the hard way that in extremely cold weather, a Polaroid will not develop correctly. Now, I just automatically slide the Polaroid into my pocket to develop if it’s not at least 70 degrees outside. If it’s over 75 or 80 degrees, I’ll put the Polaroid in a dark bag to develop because then I know I won’t squish it or bend it if I sit down.

  3. Don’t shoot in extremely dark environments unless you have studio lights or additional fill light. Even in a decently lit house and the flash going off on the camera, it’s still not enough light to get a bright polaroid of your subject if they are more than a few feet away. I typically use a ring light in my studio to light my subject if I’m shooting polaroids. This tends to provide enough light to get a lovely Polaroid portrait!

  4. Hold the camera as still as possible while taking the photo. It’s easy to want to rush to flip the camera upside down so that your Polaroid isn’t exposed to the sunlight if you’re outdoors. But just make sure to be patient and do your best to not shake the camera while pressing the shutter button. If the camera doesn’t have enough light, you’ll notice the shutter is slower. I’ve experienced this if I’m shooting close to sunset and the light is falling from the sky. The shutter will be a bit slower and sometimes my subject will appear blurry. But it’s a fun way to capture beautiful colors in the sky!

  5. Make sure your film is at least room temperature when shooting. Personally, I store my film in the refrigerator so that it lasts longer. I always make sure to let the film warm up before putting it in my camera and shooting. Again, this film is so sensitive to light and temperature changes!

  6. Try not to stand too far away from your subject if you’re creating portraits. I’ve noticed that it’s better to be within at least within 8 feet of your subject so that the on-camera flash can reach them. If you’re further than that, your subject may appear too dark in your image. If you’re outside in bright light though, this probably won’t matter. But if your subject is in the shade, you’ll definitely want that flash to reach them.

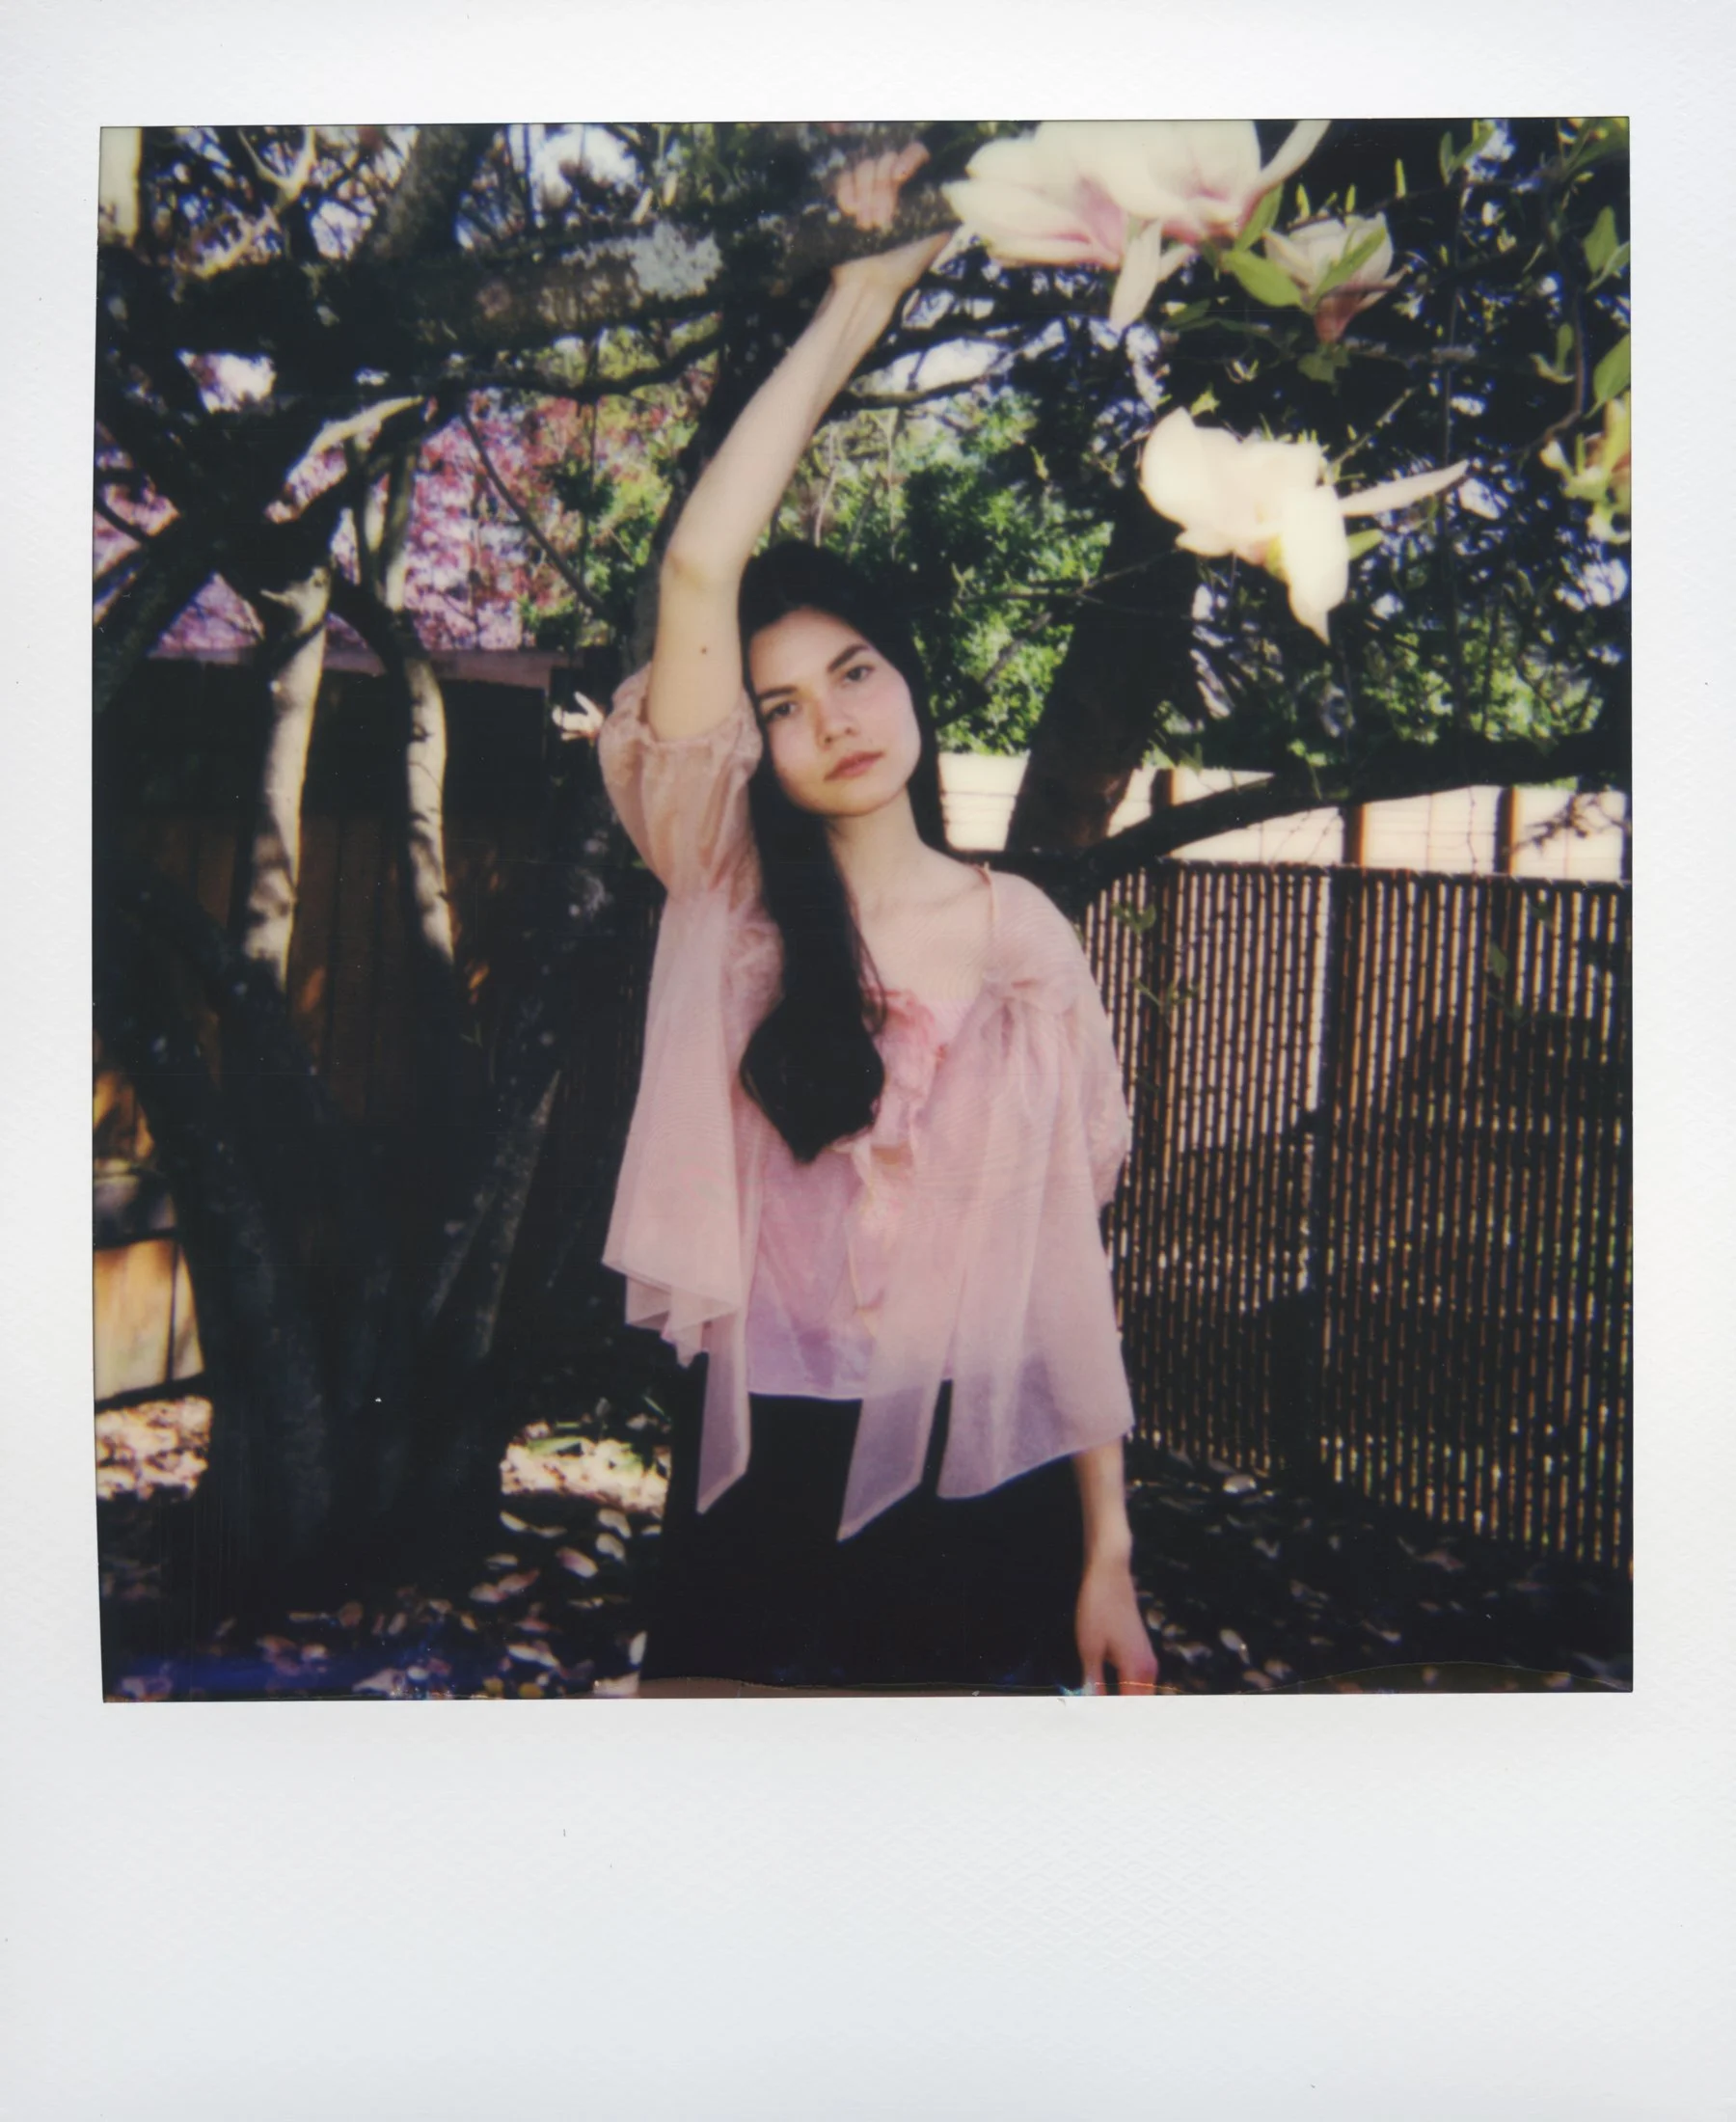
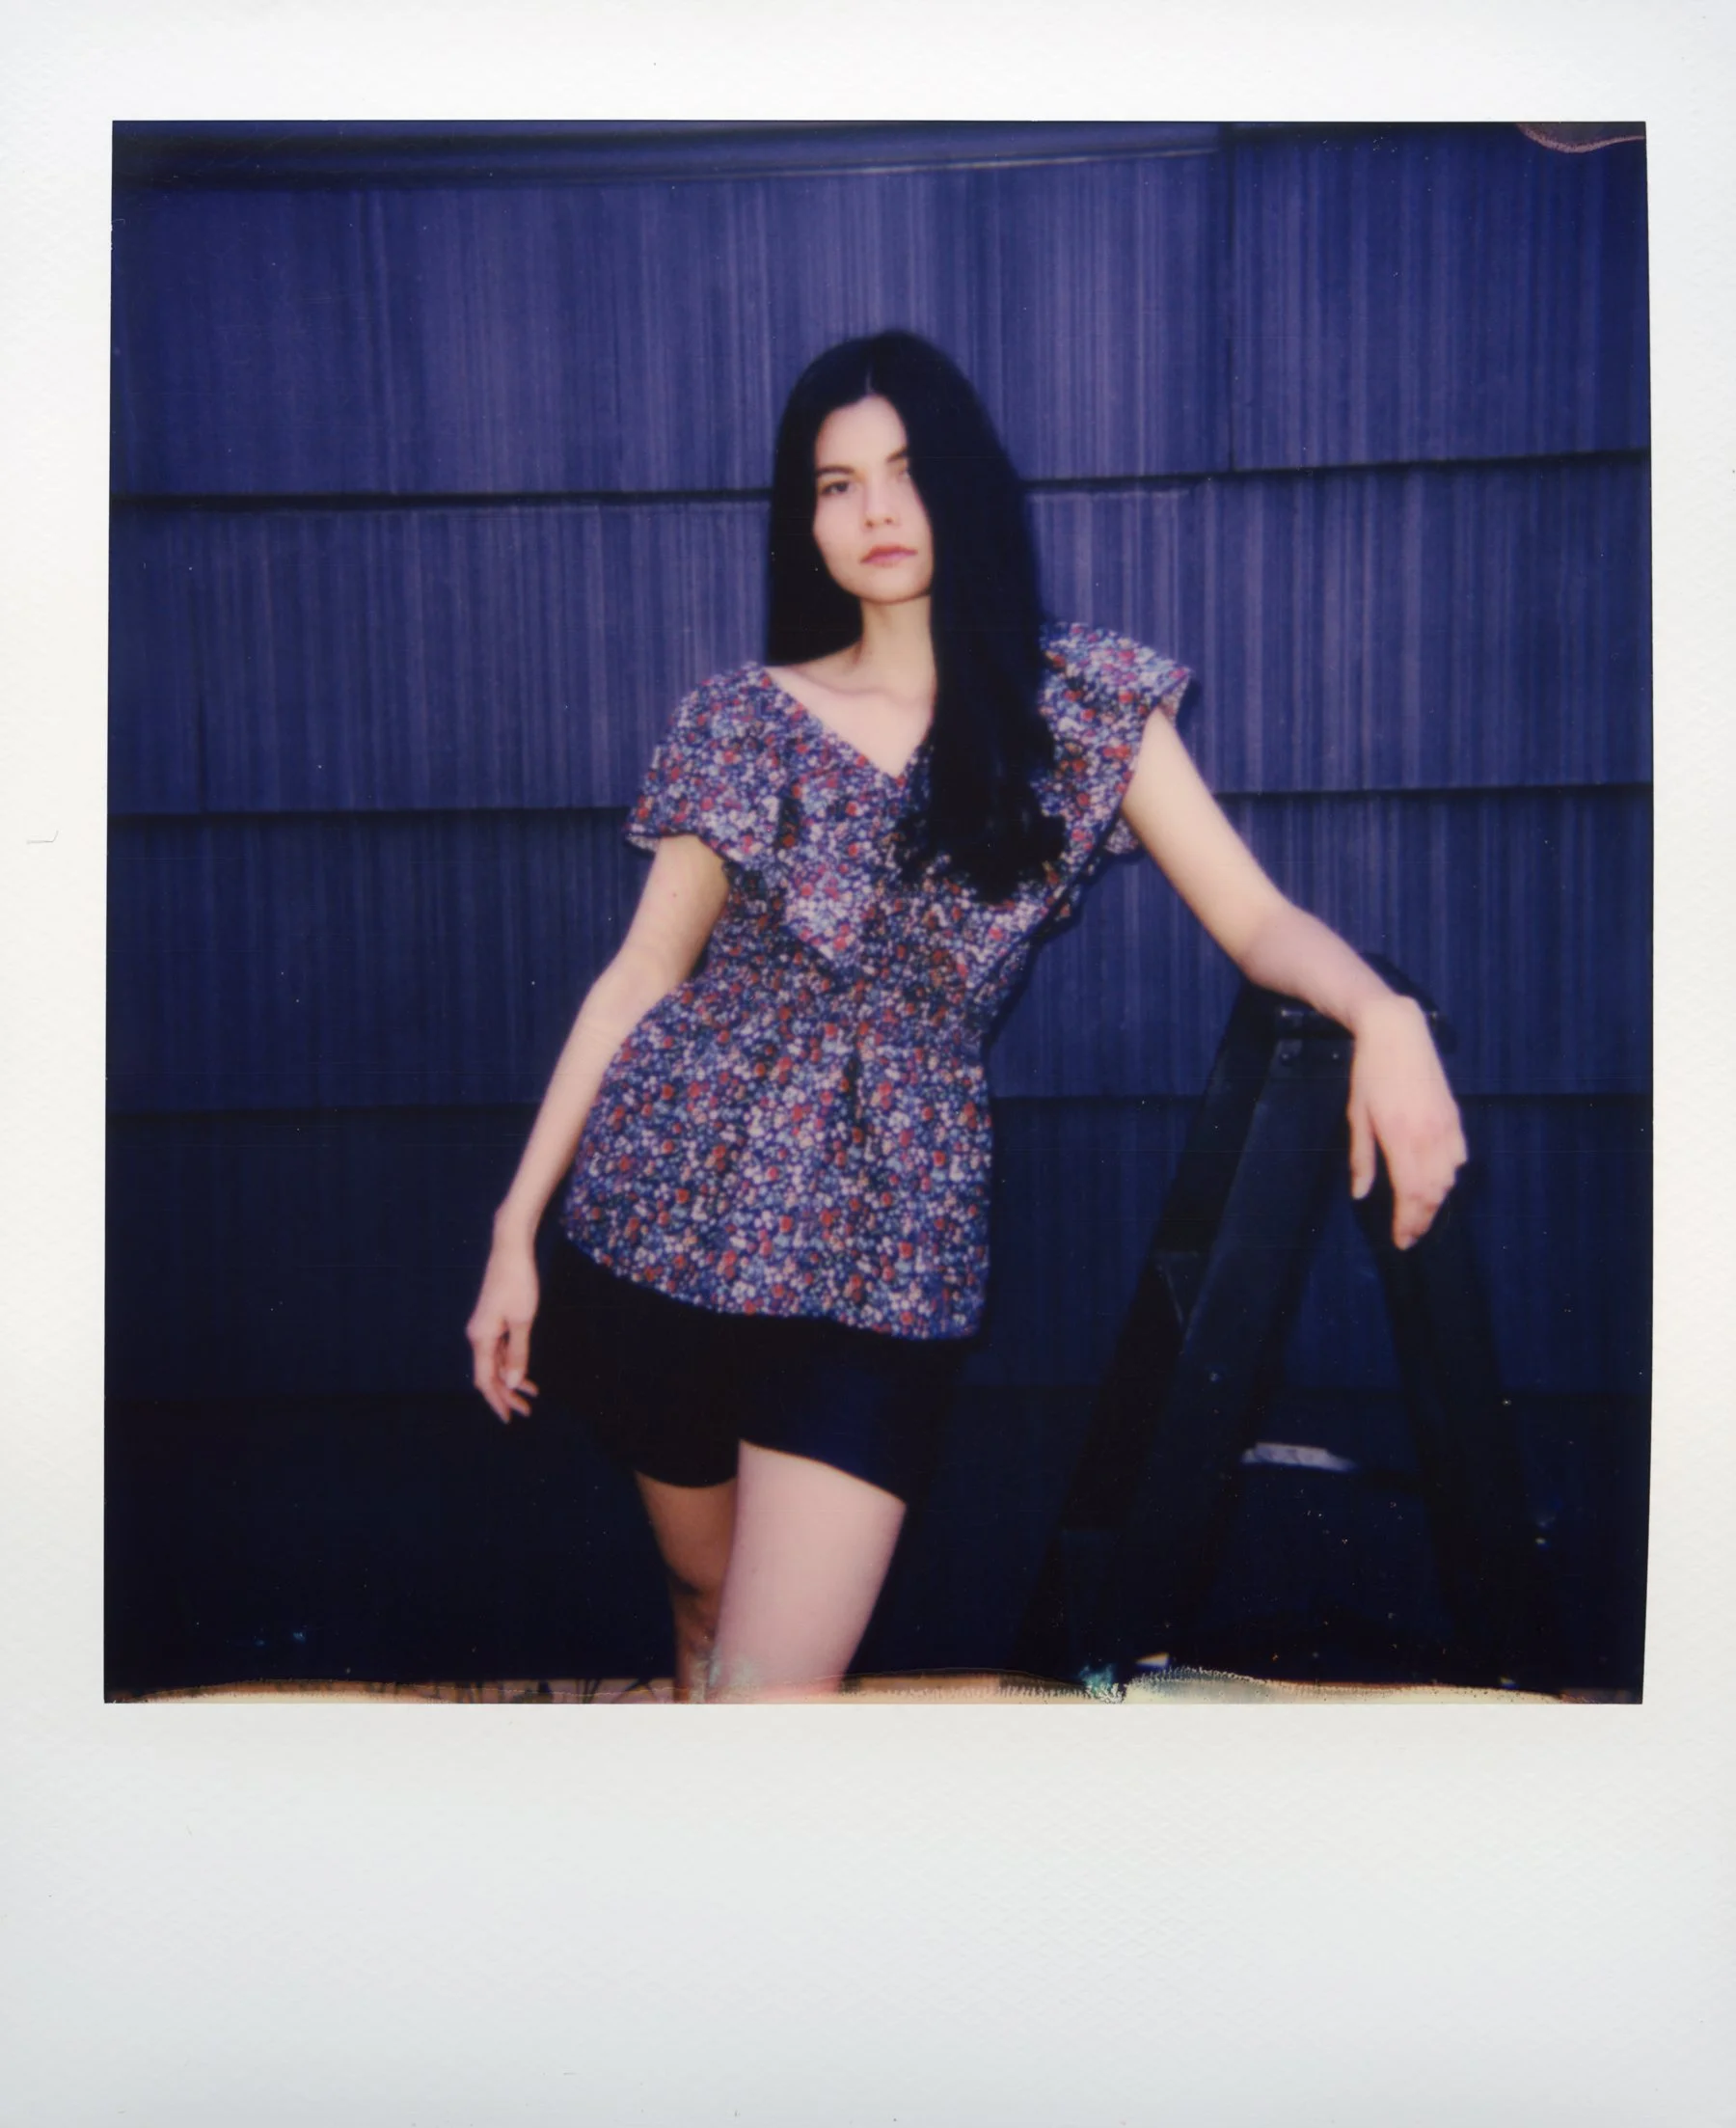
  7. HAVE FUN! Polaroids are perfect for party vibes, family portraits, candid moments, album covers, travel memories, and artsy photo shoots. I always take a few polaroids at every photo shoot because I like to collect them! It’s a great way to remember all of the shoots I’ve done and they’re perfect for scrapbooking, journaling and hanging on the wall. It’s just nice to have a physical print from a shoot afterwards and everyone loves sharing them on social media.

FINAL THOUGHTS

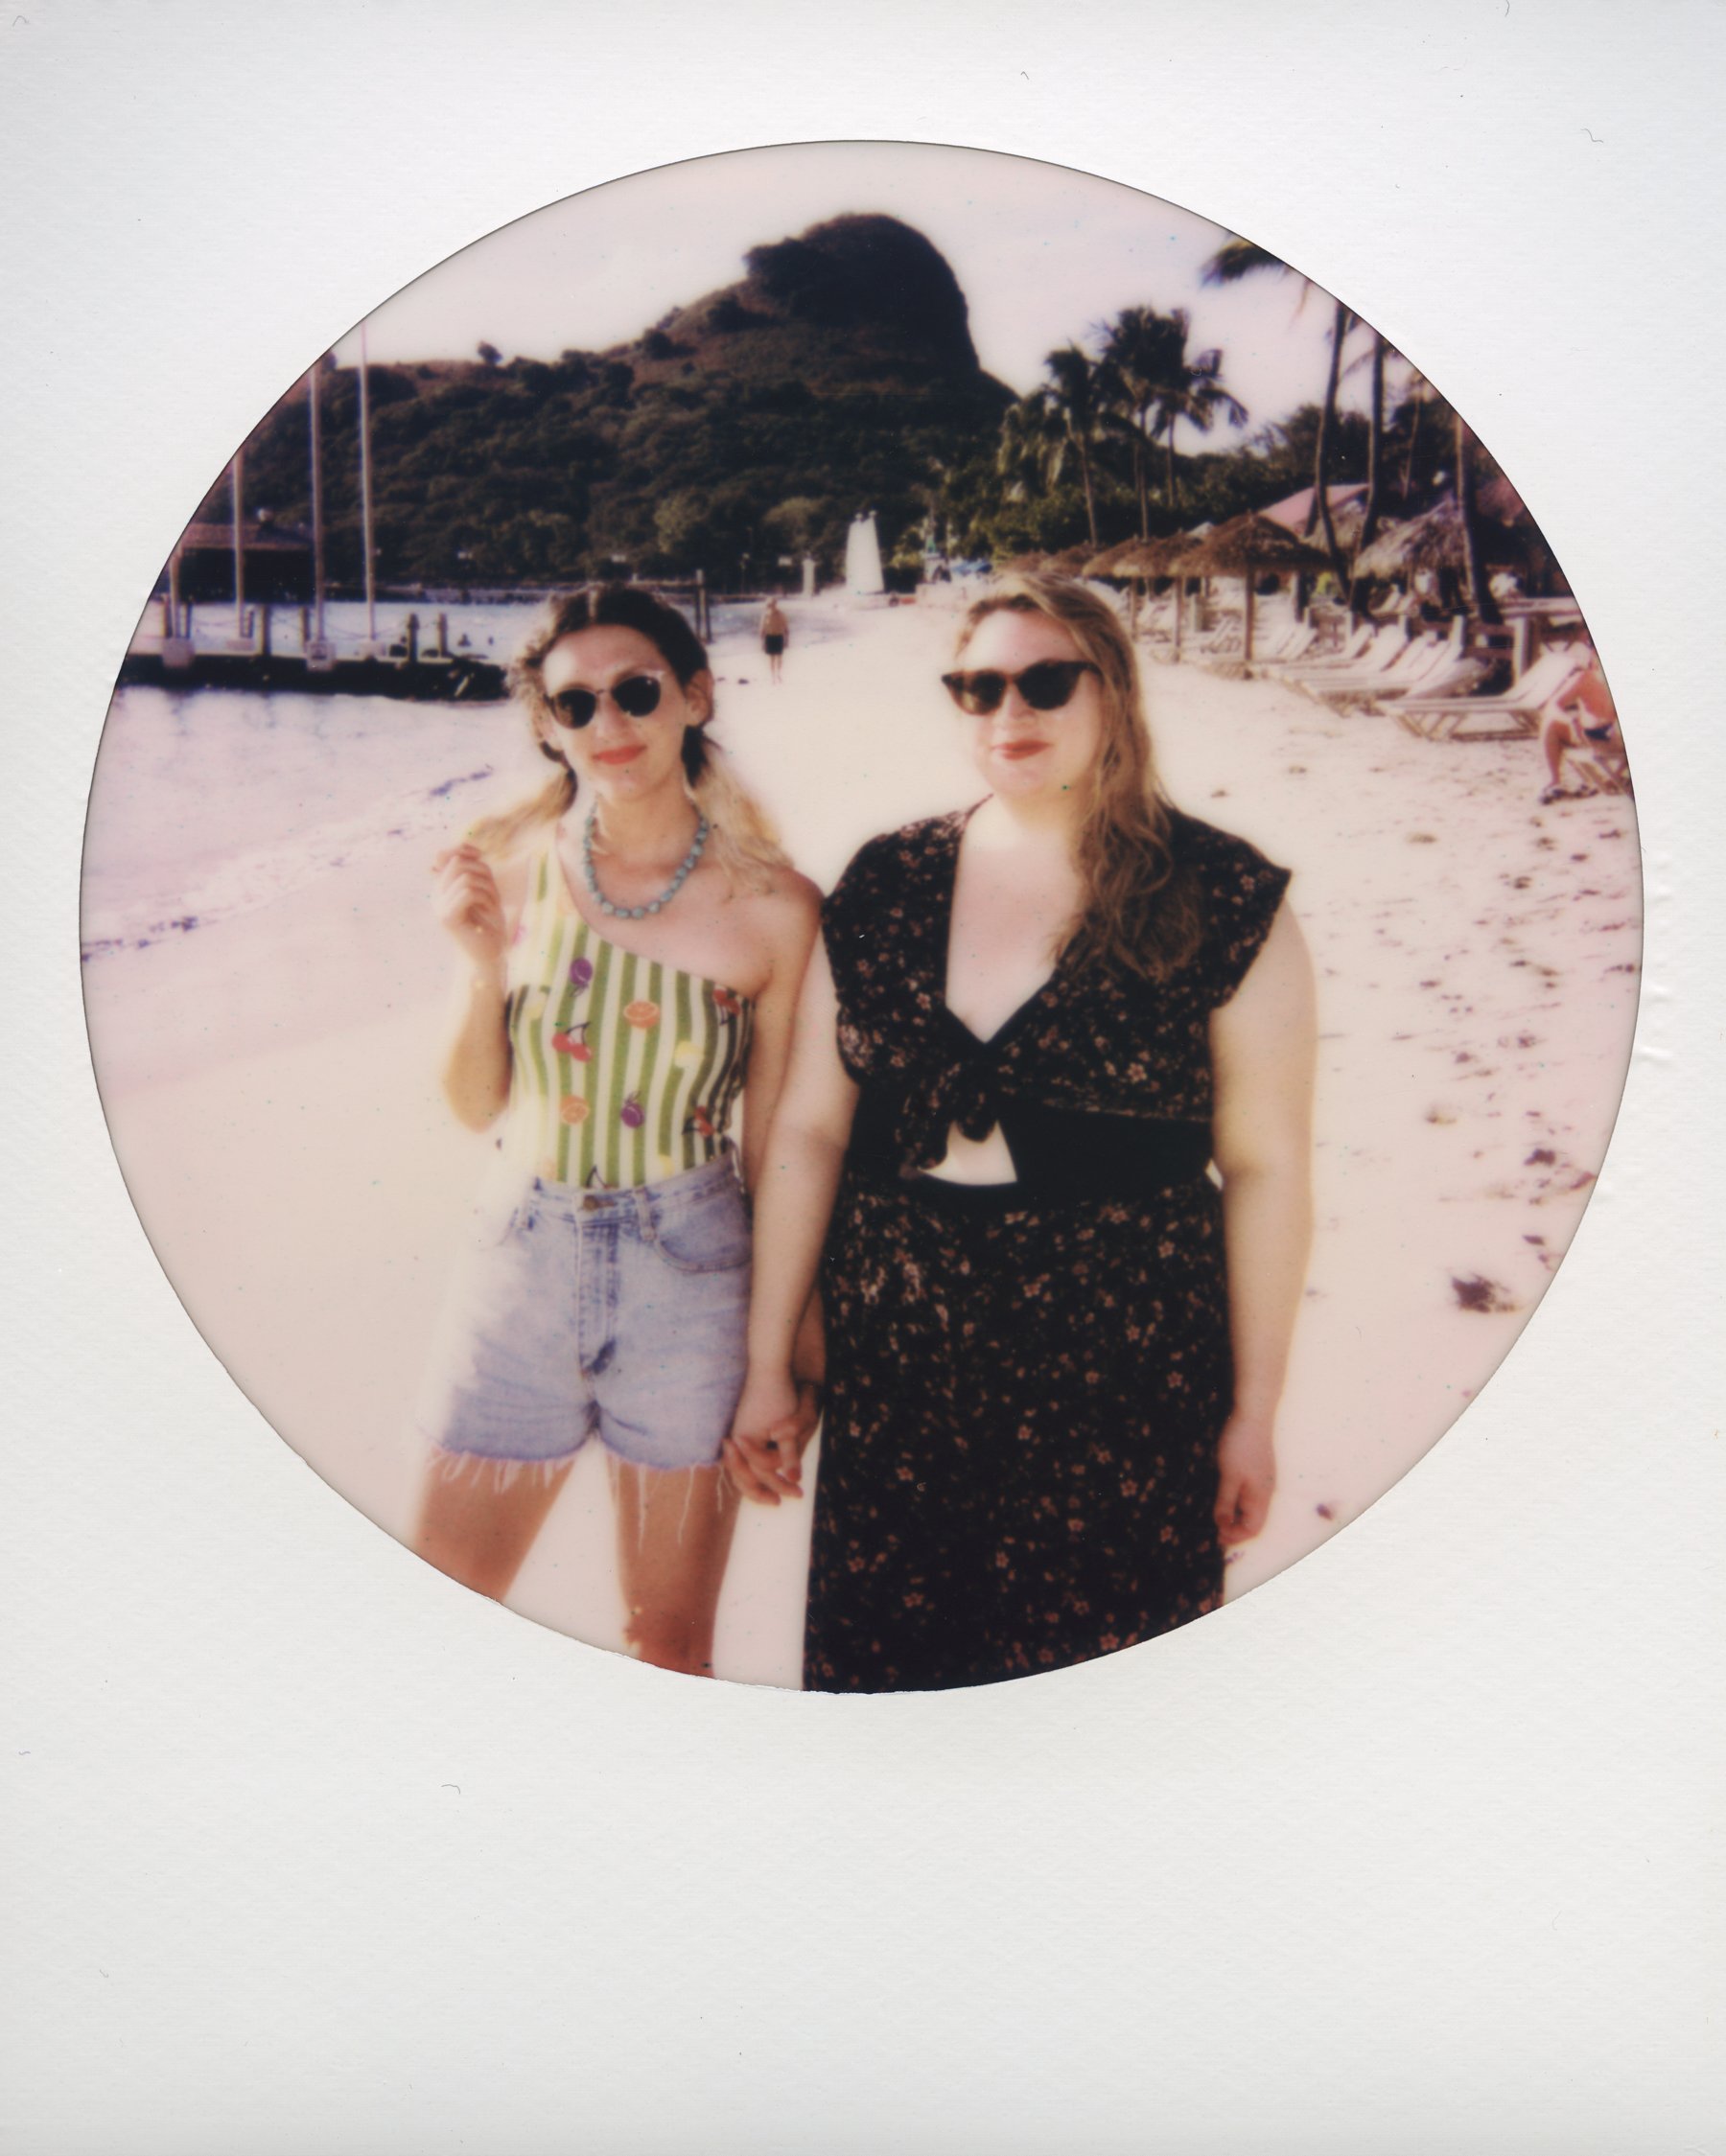
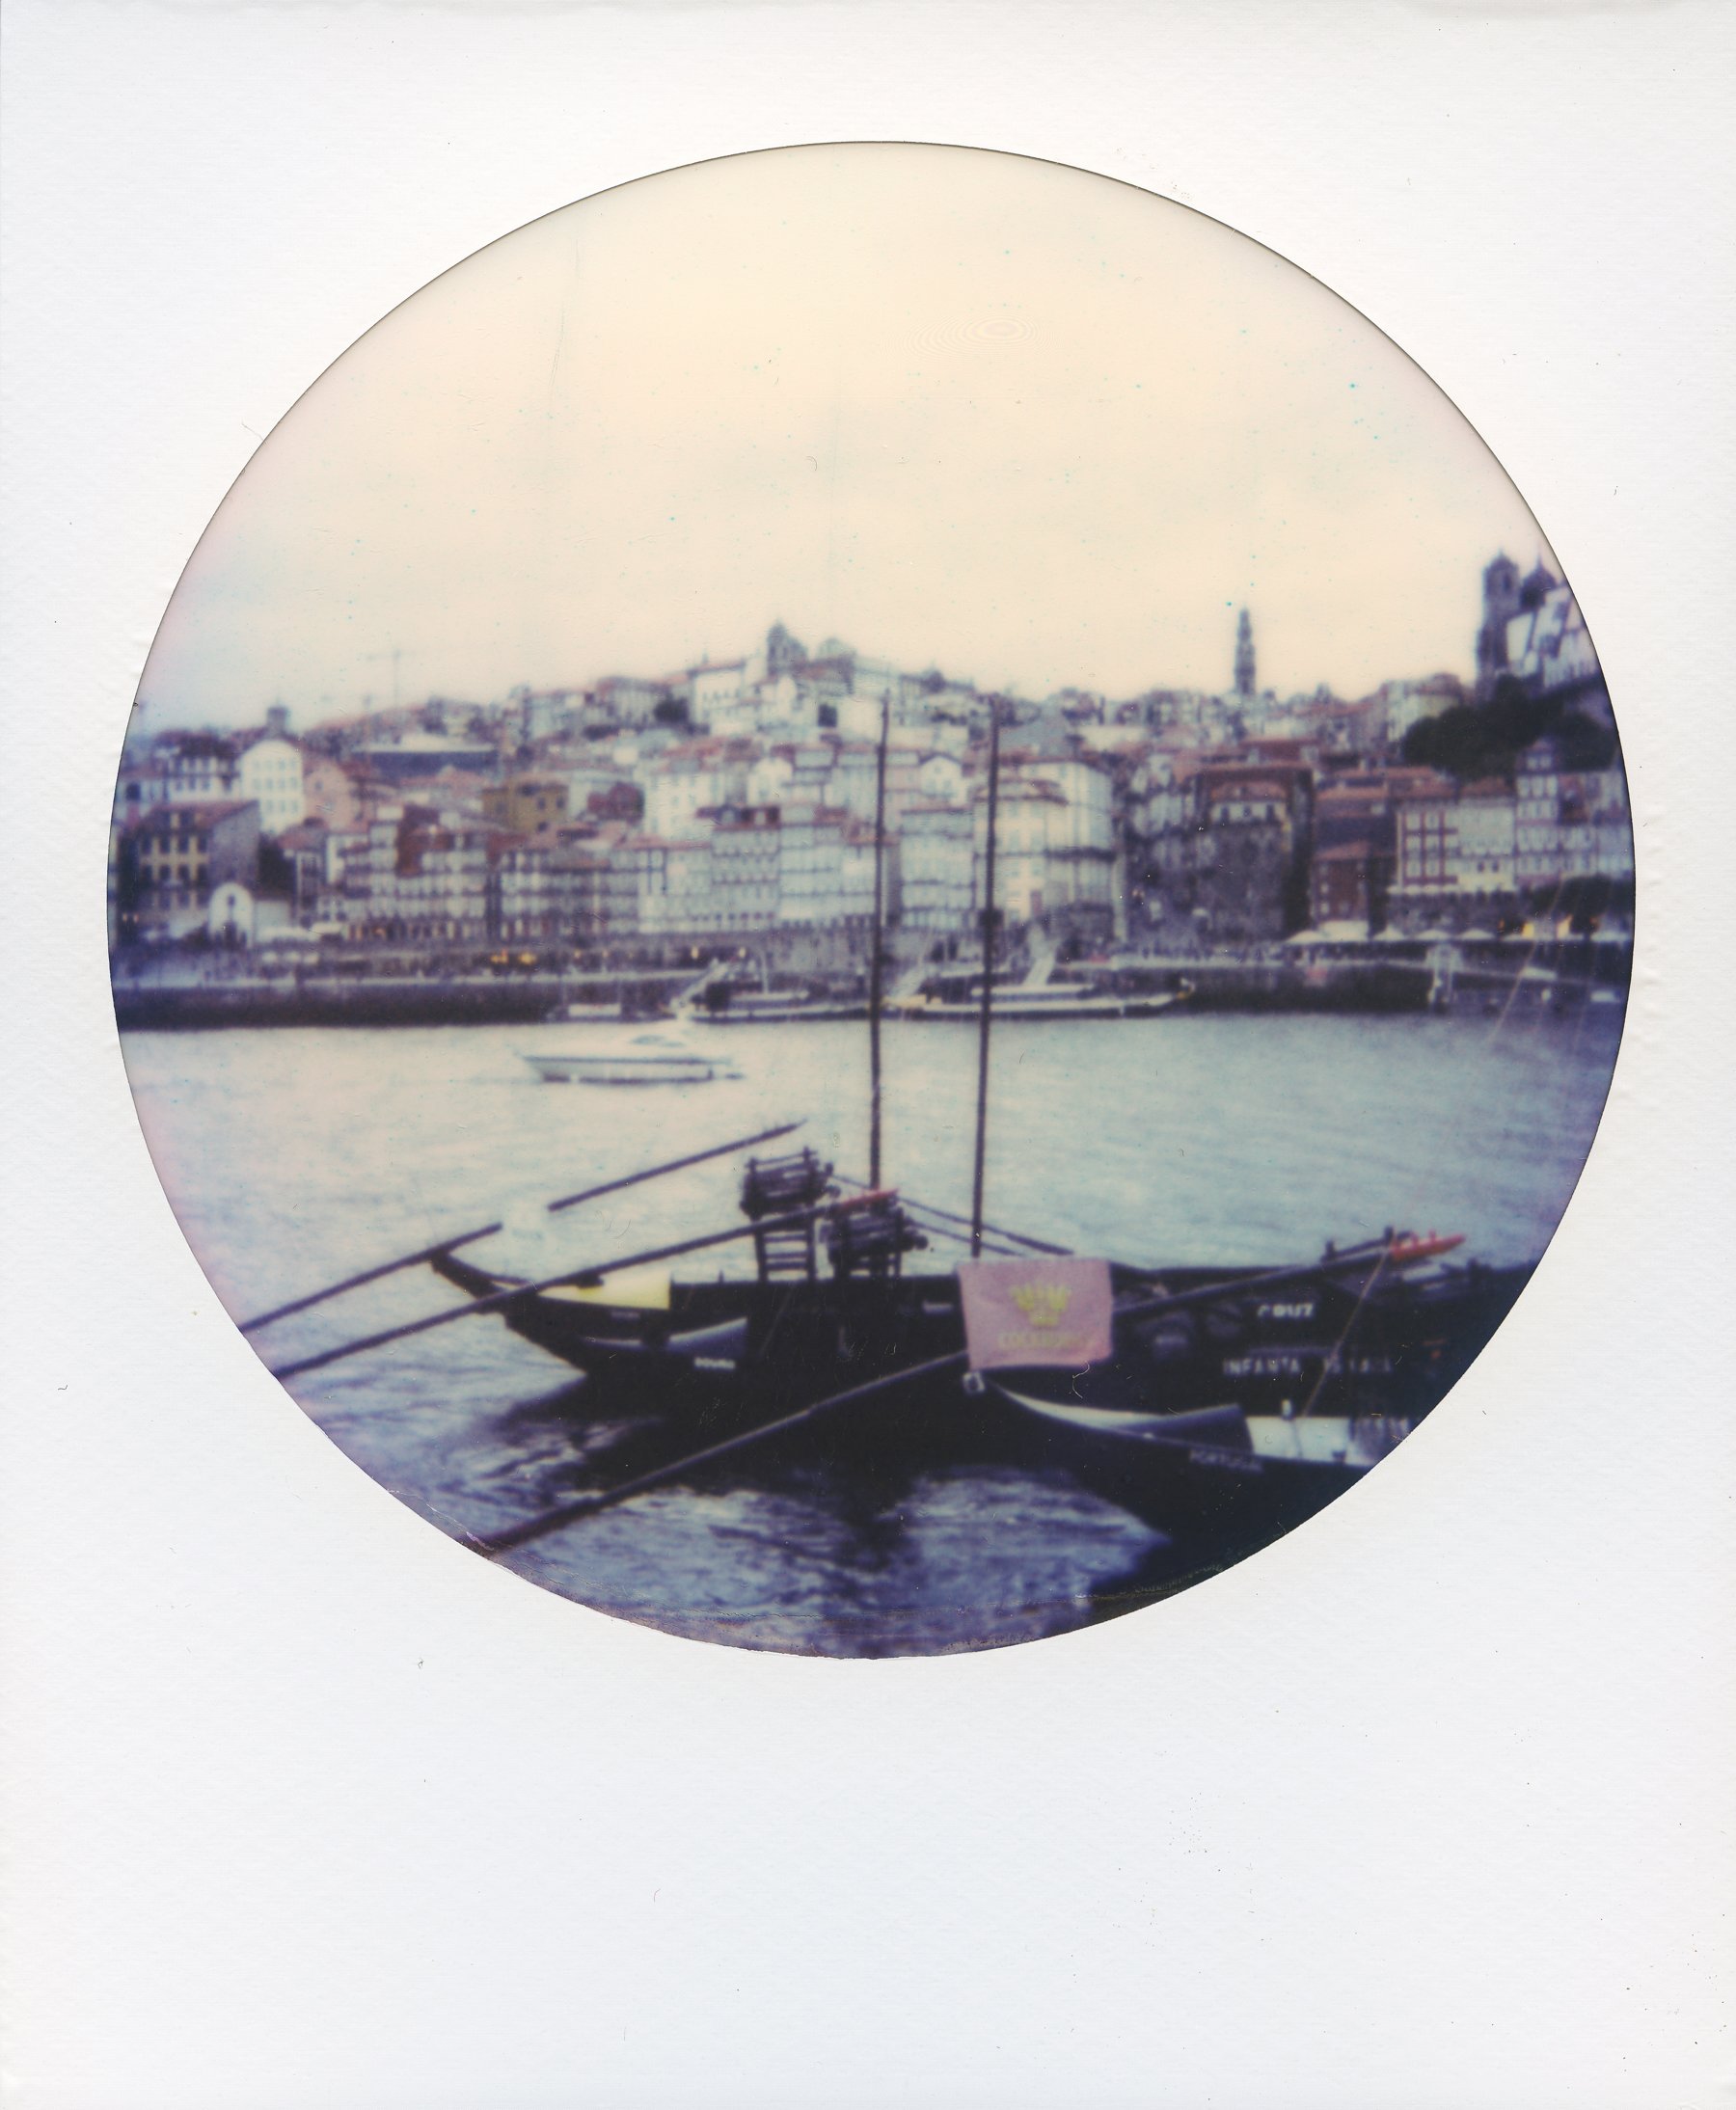
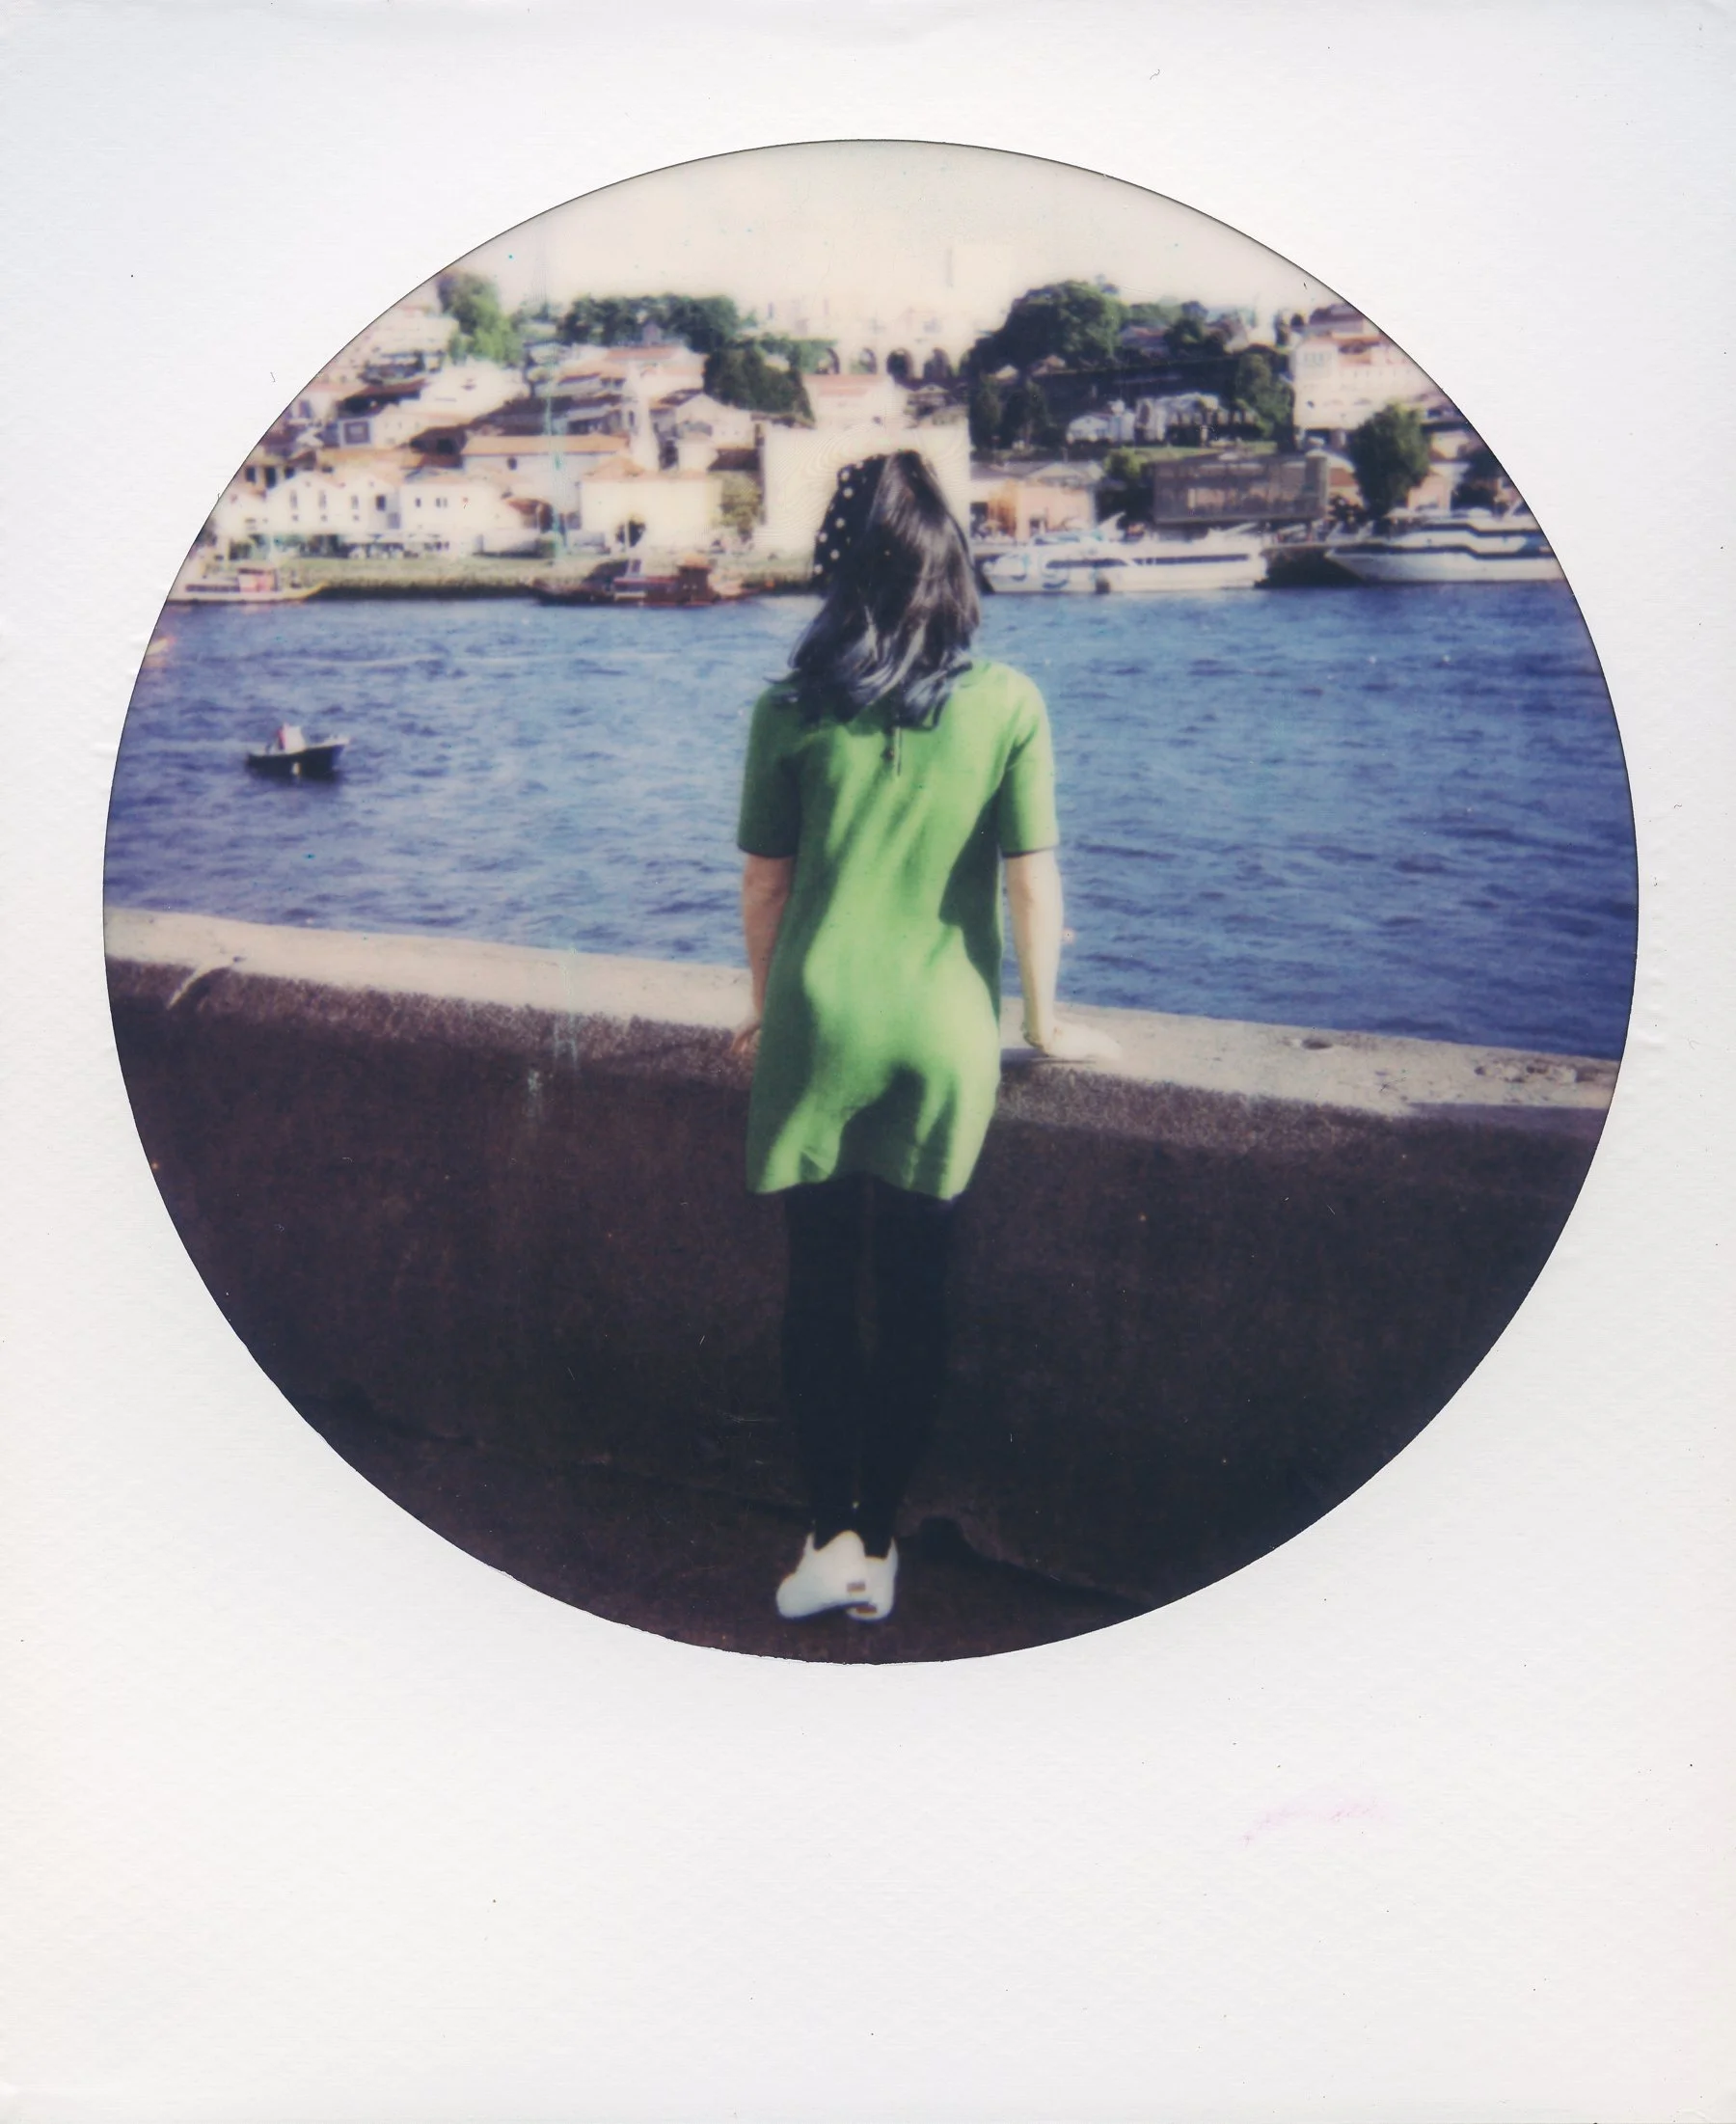
Try not to get too stressed out if you take a few polaroids that don’t turn out. It takes some getting used to, but once you get the hang of it, Polaroids are a great way to impress the photography community because some people just don’t have the patience to learn the quirks of these vintage cameras. Yes, they can be frustrating in some ways, but they are also incredibly straightforward in other ways. It’s taken me years to feel like I’ve fully figured out the best way to get a good Polaroid, and even now, I’ll take one that doesn’t turn out the way I’d hoped. Mostly, it’s when the weather outside isn’t cooperating temperature-wise. I’ve photographed a few weddings outside in winter temperatures and the Polaroids have a slightly dark and blue cast to them. That’s why it’s so important to use your body heat from your pockets to keep them warm while developing. But make sure not to put the developing part of the image directly against your skin or you will get oil on the polaroid that will affect the development process. That’s why a pocket is best! It takes about 10-15 minutes for them to fully develop, so after that you can store them in whatever temperature you’d like because they won’t be changing after that point. My absolute favorite 600 film to shoot with is the round frame 600 film. There’s just something so nostalgic and calming about the round Polaroids. It’s almost like they’ve already been framed and are ready for an art gallery.

WHERE TO BUY THE POLAROID IMPULSE CAMERA

Amazon

KEH Camera

eBay

WHERE TO BUY POLAROID 600 FILM

Polaroid.com

Amazon

WHERE TO BUY POLAROID 600 ROUND FRAME FILM

Polaroid.com

If you prefer to buy a NEW Polaroid-style camera (as opposed to vintage), Polaroid.com has the Polaroid I-2, the Polaroid Now+, and the Polaroid Go cameras. They are all super cute and it’s definitely on my list to pick up one of these soon. I just have to decide which one!!!

If you found this post helpful or if you’d like to see more of my work, I’d love it if you considered signing up for my Patreon! For as little as $1 a month, you’ll get early access to all of my YouTube videos, plus tons of photos that I don’t post anywhere else. Depending on which tier you choose, you could also receive seasonal prints and/or discounts! I always use all of the proceeds towards cameras, film & processing. Find out more here!

If you have any questions, I’m always happy to help! You can contact me here, or leave a comment below! Thanks so much for stopping by! You can also check out my Amazon storefront for more camera/film recommendations. :) Have a magical day!

<3 Myles Katherine

The Best Film Cameras For Travel | My 8 Favorite Travel Cameras | Film Photography in Portugal

I can’t help it. I fill my camera bag to the brim every chance I get! I love to have a combination of digital, 35 mm, medium format, and polaroid cameras for every shoot or travel adventure. They each have a different purpose in my mind and have their own advantages. I typically have around 8 cameras with me at any given time and I’ve learned it’s just a part of who I am! I recently went to Portugal for 10 days and it took me forever to decide which cameras to bring along with me. At this point, my camera collection is nearing 100 and is always growing. There are so many cameras I want to try out and review for my YouTube channel!

I wanted to share the 8 cameras I took with me to Portugal and share a few of my favorite features of each one. And of course, I’ll share a few photographs I took during my trip with each camera! I also posted a YouTube video about these cameras if you’d prefer to watch rather than read!

1. CANON G7X MARK II

The Canon G7X Mark II is the only digital camera I brought with me to Portugal. It’s a tiny powershot point-and-shoot camera with a 24-100 mm zoom lens. I was dreading lugging around my giant 5D Mark IV DSLR with my massive 24-70 mm zoom lens, so I decided to take a risk and only bring along this little point-and-shoot for my digital images. While I love my 5D Mark IV, it just doesn’t make sense to carry it around all day when I’m walking 10 miles a day up and down hills in Portugal! I was pretty nervous about leaving my best camera at home, but I had seen images my mom had taken on a trip to Africa with the G7X Mark II and I was pleasantly surprised by the outcome. I’d say the G7X pretty much fulfilled my needs throughout the trip and my body was extremely grateful for my decision not to carry around a DSLR. The G7X Mark II does great with landscapes and touristy snapshots. It’s not the greatest for super low-light environments but nonetheless, it surprised me with its capabilities. With an f/1.8 lens it can take some pretty remarkable photos for such a small camera. I’ve always had an affinity for Canon Powershot cameras. My very first digital camera was one of Canon’s Powershot point-and-shoot in the early 2000s. Sadly, it was stolen, but if I still had it today, I’d probably still use it! Canon never ceases to amaze me. You can read my full review of the Canon G7X Mark II here!


WHERE TO BUY THE CANON G7X MARK II:

Amazon

Adorama

eBay (used)

#ad #sponsored #affiliate

Sample photos:


2. HOLGA GCFN

You all know I’m obsessed with the Holga. Particularly the Holga GCFN. It’s a toy camera made of plastic and it’s extremely limited with it’s features. But there’s something incredibly magical about the vignetted images, light leaks and multiple exposures. This is the one camera I never leave home without. I’ve racked up quite a collection of these little guys over the years and my goal is to eventually own every single color! They weigh absolutely nothing which is perfect for traveling and they’re surprisingly resilient. I dropped mine in a river in Japan once and it still worked! These cameras take some patience and experimentation, but once you get the hang of it, it’s kind of hard to hate on it. It’s my favorite camera in the world, truly. You can check out my full blog post about the Holga here, or watch my YouTube video here!


WHERE TO BUY THE HOLGA GCFN:

Amazon

eBay


FILM RECOMMENDATIONS:

Lomography 400 120 film

Kodak Portra 160 120 film

Kodak Portra 400 120 film

#CommissionsEarned


3. DIANA F+

I’ve had my Diana F+ for years but I’ve only recently been using it more consistently. It falls into a similar category as the Holga and is basically a plastic toy camera. It’s super cute to look at and there are a ton of different lenses you can experiment with. While I find the Diana F+ to be a bit more difficult and fickle to use than the Holga, I’ve been learning it’s quirks and have been getting better results. I actually like the fisheye lens of the Diana F+ better than the Holga fisheye so I’ve pretty much been using the Diana F+ as my fisheye camera on my trips. Plus, it’s nice to have a backup toy camera in case something happens to my Holga! I recently posted a full review of this camera too, or you can see it in action on my YouTube channel.


WHERE TO BUY:


Diana F+ 120 camera on Amazon

Diana Mini 35 mm camera with flash on Amazon

Diana F+ Instant Square Deluxe Kit on Amazon

Diana Baby 110 on eBay

#ad #sponsored #affiliate


4. POLAROID IMPULSE 600

Polaroid 600 cameras are probably the easiest of the polaroid cameras to use. They are essentially point-and-shoot instant film cameras. I have probably 7 or 8 different polaroid 600 cameras and I’ll try out different ones from time to time, but end up getting pretty much the same results. For this trip, I decided to bring the Polaroid Impulse 600. It’s a vintage camera that actually belonged to my dad back in the day. I particularly love using the round-frame 600 film, which you can find on Polaroid.com! There’s just something so magical about instant photography and that immediate gratification of seeing a film photo form in front of your eyes! It’s like carrying a little darkroom around with you everywhere you go. Except way less messy and time-consuming and without all of the hassle of figuring out film development yourself! I have a full blog post about the Polaroid One-Step, a very similar camera, if you’re interested in reading more about 600 cameras!


WHERE TO BUY THE POLAROID IMPULSE:

Amazon

eBay

KEH Camera


POLAROID 600 FILM:

Square Frame 600 Film on Amazon.com

Square Frame 600 Film on Polaroid.com

Round Frame 600 Film on Amazon.com

Round Frame 600 Film on Polaroid.com

#ad #sponsored #affiliate


5. KODAK DUAFLEX 620 CAMERA

This was one of those “mystery cameras” I brought with me to Portugal. I’d never used it before and was taking a bit of a risk bringing it. But I tested the shutter before I left home and everything seemed to be in working condition. The Kodak Duaflex is a 620 film camera from the 1940s & 50s. While they don’t make 620 film anymore, you can buy any 120 film and roll it onto a 620 film spool yourself, or you can buy 620 film from the Film Photography Project or other company that pre-spools 620 film. I’m in love with the photos I got with it and I recently posted a YouTube video from our trip about this camera too! I just wish I’d shot more rolls! I just love super vintage/retro images, especially when they’re produced with a camera that’s so old and somehow still functions! Read more about the Kodak Duaflex here!


WHERE TO BUY THE KODAK DUAFLEX CAMERA:

Amazon

eBay

KEH Camera


FILM I USED:

Kodak TMAX 100 by the Film Photography Project

#ad #sponsored #affiliate

6. MINOLTA MAXXUM STSI

The Minolta Maxxum STsi is becoming one of those cameras I can’t leave home without. It has so many functions and features, including a super fun panorama mode. I have an AF 28-85mm 3.5-4.5 zoom lens but you can buy other lenses for it if you prefer a fixed focal length or something else. While it’s not the sharpest camera that I own, it’s sharp enough for me in most situations. But what I really love about it is the fact that it has that panorama mode, a flash, a zoom lens option, autofocus, aperture priority and a multiple exposure function. It has almost everything I’d ever want in a travel camera. It’s becoming harder and harder for me to leave it behind so it might just become as special to me as the Holga one of these days! Watch my YouTube video if you want to know more about it!


WHERE TO BUY THE MINOLTA MAXXUM STSI:

KEH Camera

Amazon

eBay


AF 28-85MM 3.5-4.5 ZOOM LENS:

eBay

#ad #sponsored #affiliate

7. NIKON FE2

The Nikon FE2 is the fanciest 35mm camera I own. I still remember the day I bought it! I visited Blue Moon Camera in Portland, Oregon with a Pentax K1000 on my mind. But after discussing my style of shooting with the store associate, they convinced me to go with the Nikon FE2 and I’m so glad I did! I LOVE this camera. The images are stunning, the lens is super sharp, and it has a multiple exposure function. It has the classic retro film camera look to it and feels super sturdy and reliable in your hand. It’s just perfect. I use a 50mm f/1.4 lens and I find it to be the perfect lens for the Nikon FE2. A zoom lens would be a bit too much to handle with this camera because it is a manual focus camera. I considered leaving this one at home, but looking at my images from Portugal, I’m thrilled with the images and need to remember that this camera never deserves to be left at home. It’s just too incredible!


WHERE TO BUY:

Purchase a Nikon FE2 on Amazon!

Purchase a Nikon FE2 on eBay!

Purchase a Nikon FE2 on KEH Camera!


LENS:

50mm f/1.4 AF Nikkor

35-70mm f/3.3 AF Nikkor (more affordable zoom lens)

#ad #sponsored #affiliate

8. MINOLTA HI-MATIC AF2

The Minolta Hi-Matic AF2 was my second “mystery camera” of the trip. And it was really a mystery because it wasn’t even working when I first pulled it out of a box in my house. The shutter was stuck, the battery compartment was corroded and it wasn’t making any sort of sounds at all! But I spent a day cleaning the battery compartment with rubbing alcohol and q-tips, and I messed with the shutter clasp and eventually, by some miracle, I got it working! The shutter was intermittent at first, but the more I warmed it up, the more reliable it became. I was so surprised that I was able to get through two rolls of film on my trip without a hiccup at all. While it’s not the sharpest camera in the land, it has a special sort of grainy, retro film vibe that is unique and fun. It’s a very simple point-and-shoot camera with an f/2.8 lens. I’m excited to try it out again sometime soon because I want to see more from it! And yes, I have a full blog post and YouTube video about this one too!


WHERE TO BUY THE MINOLTA HI-MATIC AF2:

Amazon

KEH Camera

#ad #sponsored #affiliate

FINAL THOUGHTS

It’s hard for me to hate on any cameras really, but this combination of digital and film cameras really covered all my bases throughout my trip. Plus, none of them are crazy heavy or bulky. The only camera I missed having was my Polaroid Land Camera. But it’s quite heavy and I only have a few boxes of film left to use with it, sadly. I’m patiently waiting for Polaroid to start producing film for it again, but I’m trying not to get my hopes up in case it doesn’t happen! :( You can still buy old boxes of film for land cameras on eBay but they are so pricey now. It’s such a beautiful camera to use though and the images are irreplaceable. Ugh, maybe one day they’ll have a much-deserved resurgence!

I hope these cameras and photos inspire you in some way to try out a new camera! It’s always intimidating shooting with a new camera for the first time, but it’s also so exciting!

If you found this post helpful or if you’d like to see more of my work, I’d love it if you considered signing up for my Patreon! For as little as $1 a month, you’ll get early access to all of my YouTube videos, plus tons of photos that I don’t post anywhere else. Depending on which tier you choose, you could also receive seasonal prints and/or discounts! I always use all of the proceeds towards cameras, film & processing. Find out more here!

If you have any questions, I’m always happy to help! You can contact me here, or leave a comment below! Thanks so much for stopping by! You can also check out my Amazon storefront for more camera/film recommendations. :) Have a magical day!

<3 Myles Katherine

This post contains affiliate links and I will be compensated if you make a purchase after clicking through my links.