(By using the links and/or codes below it supports Myles Katherine Photography. We may get a small kick back by you doing so.)
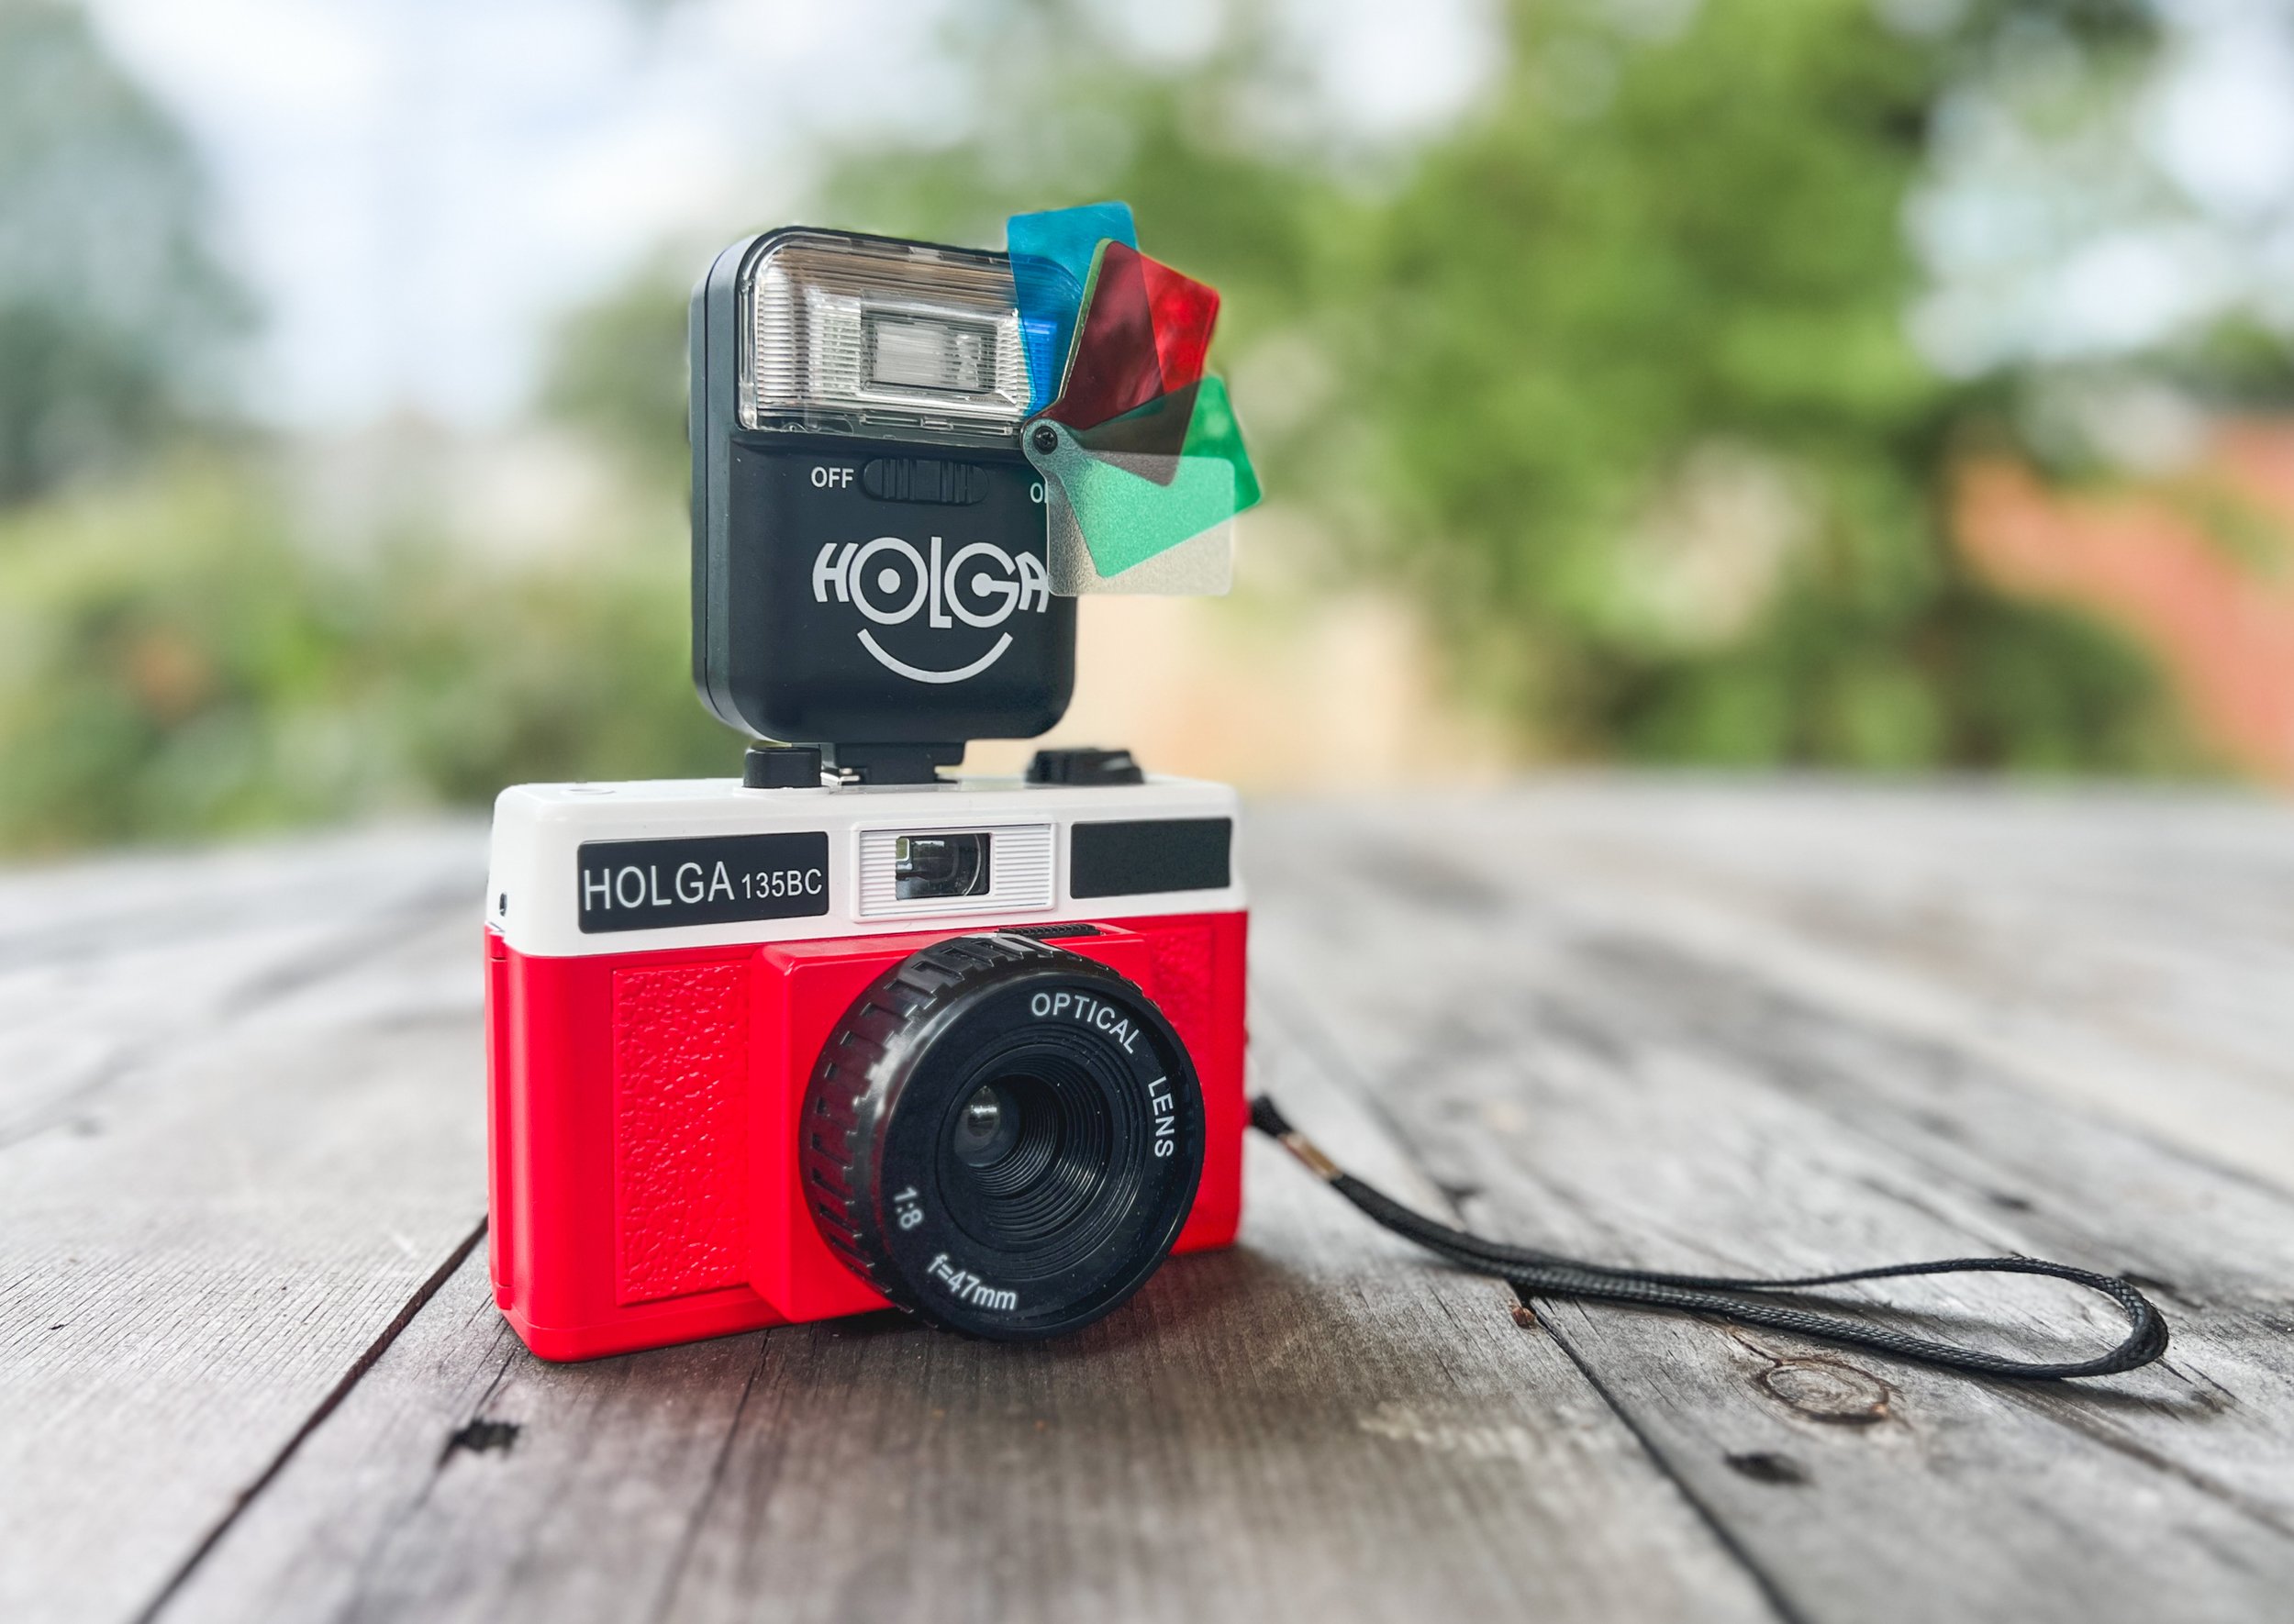
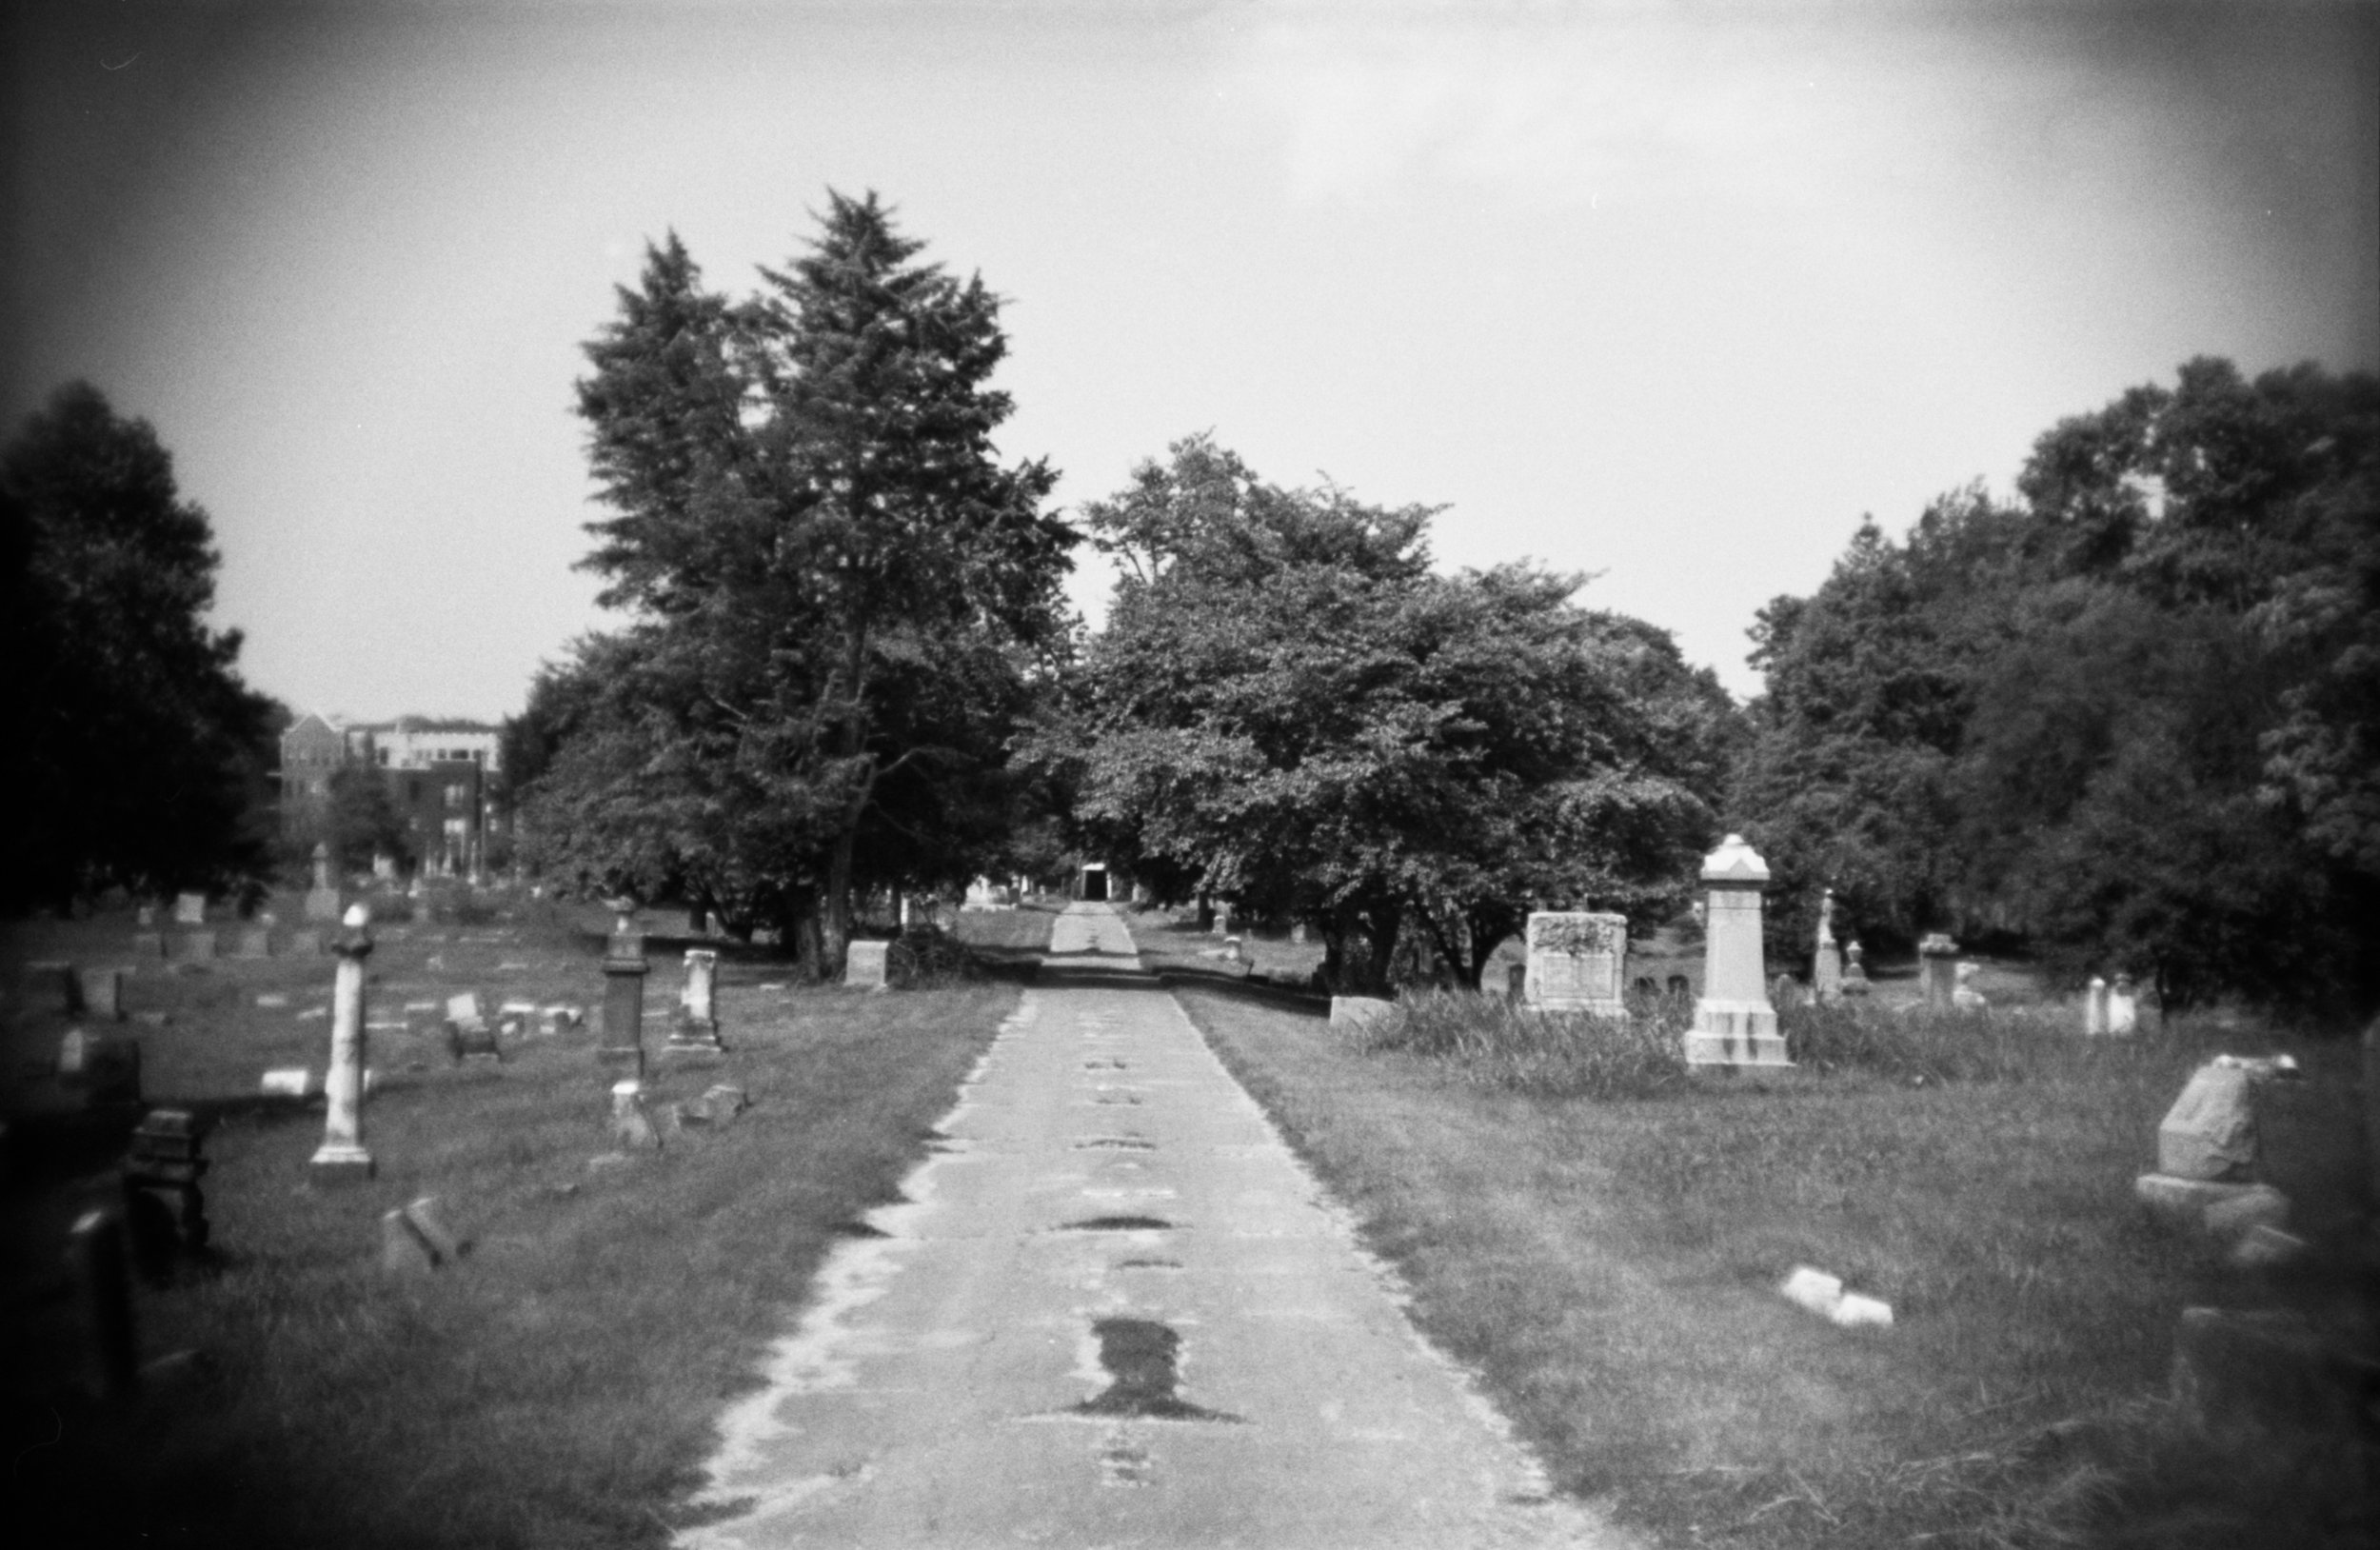
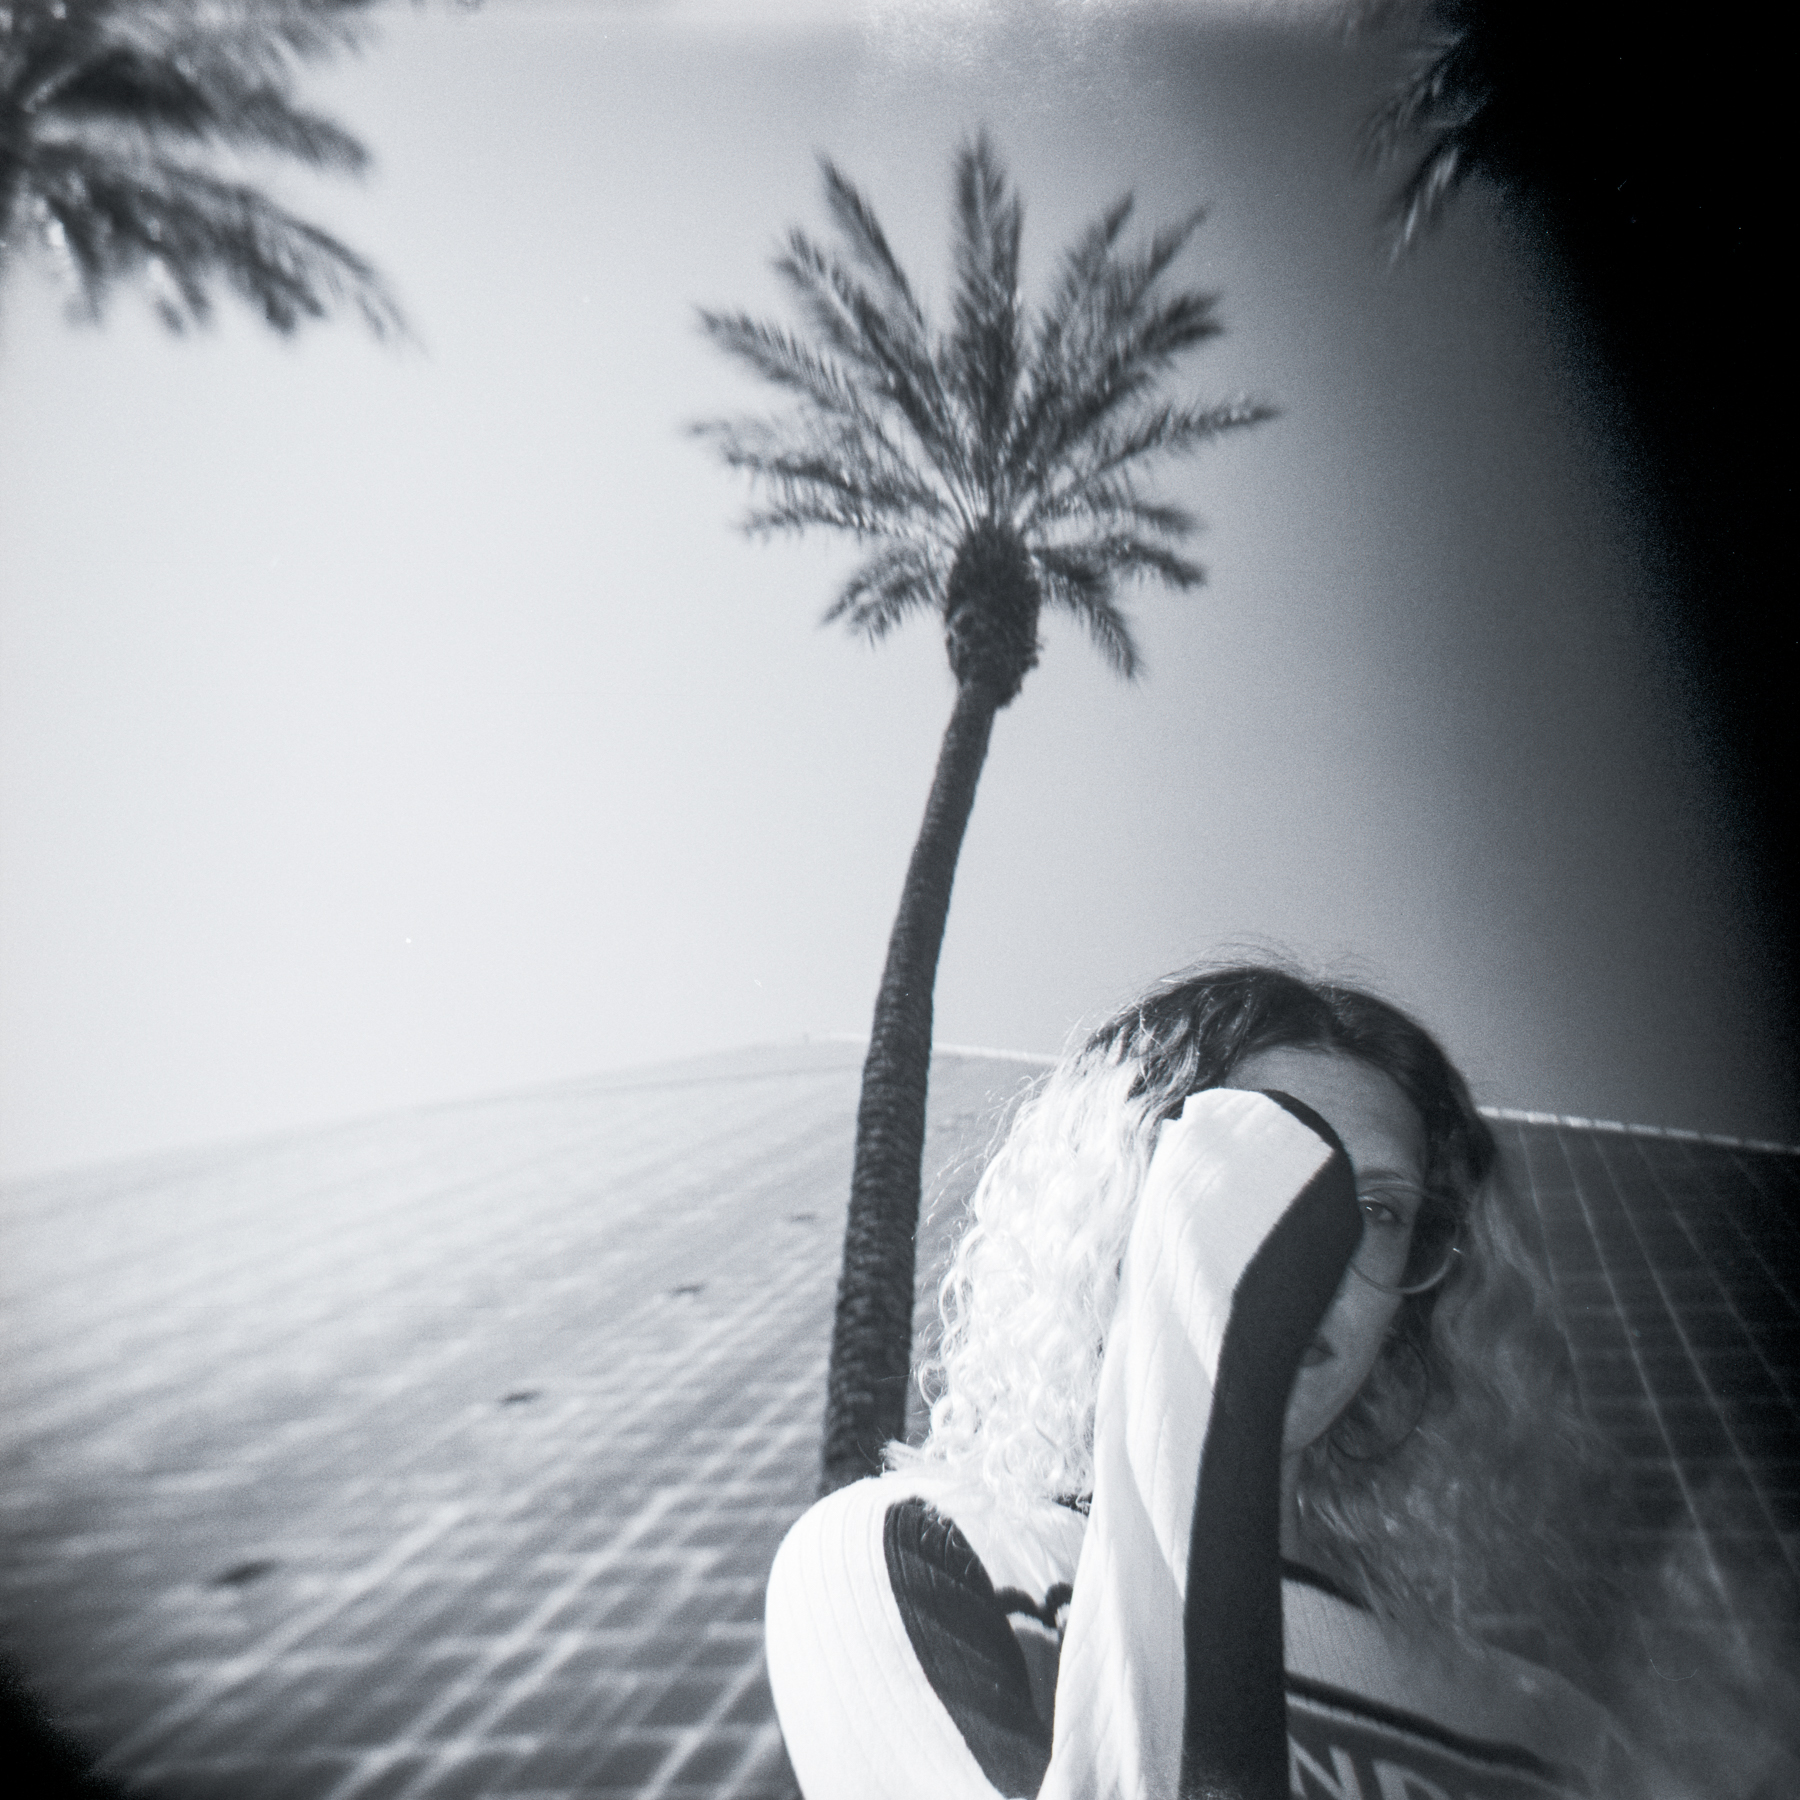
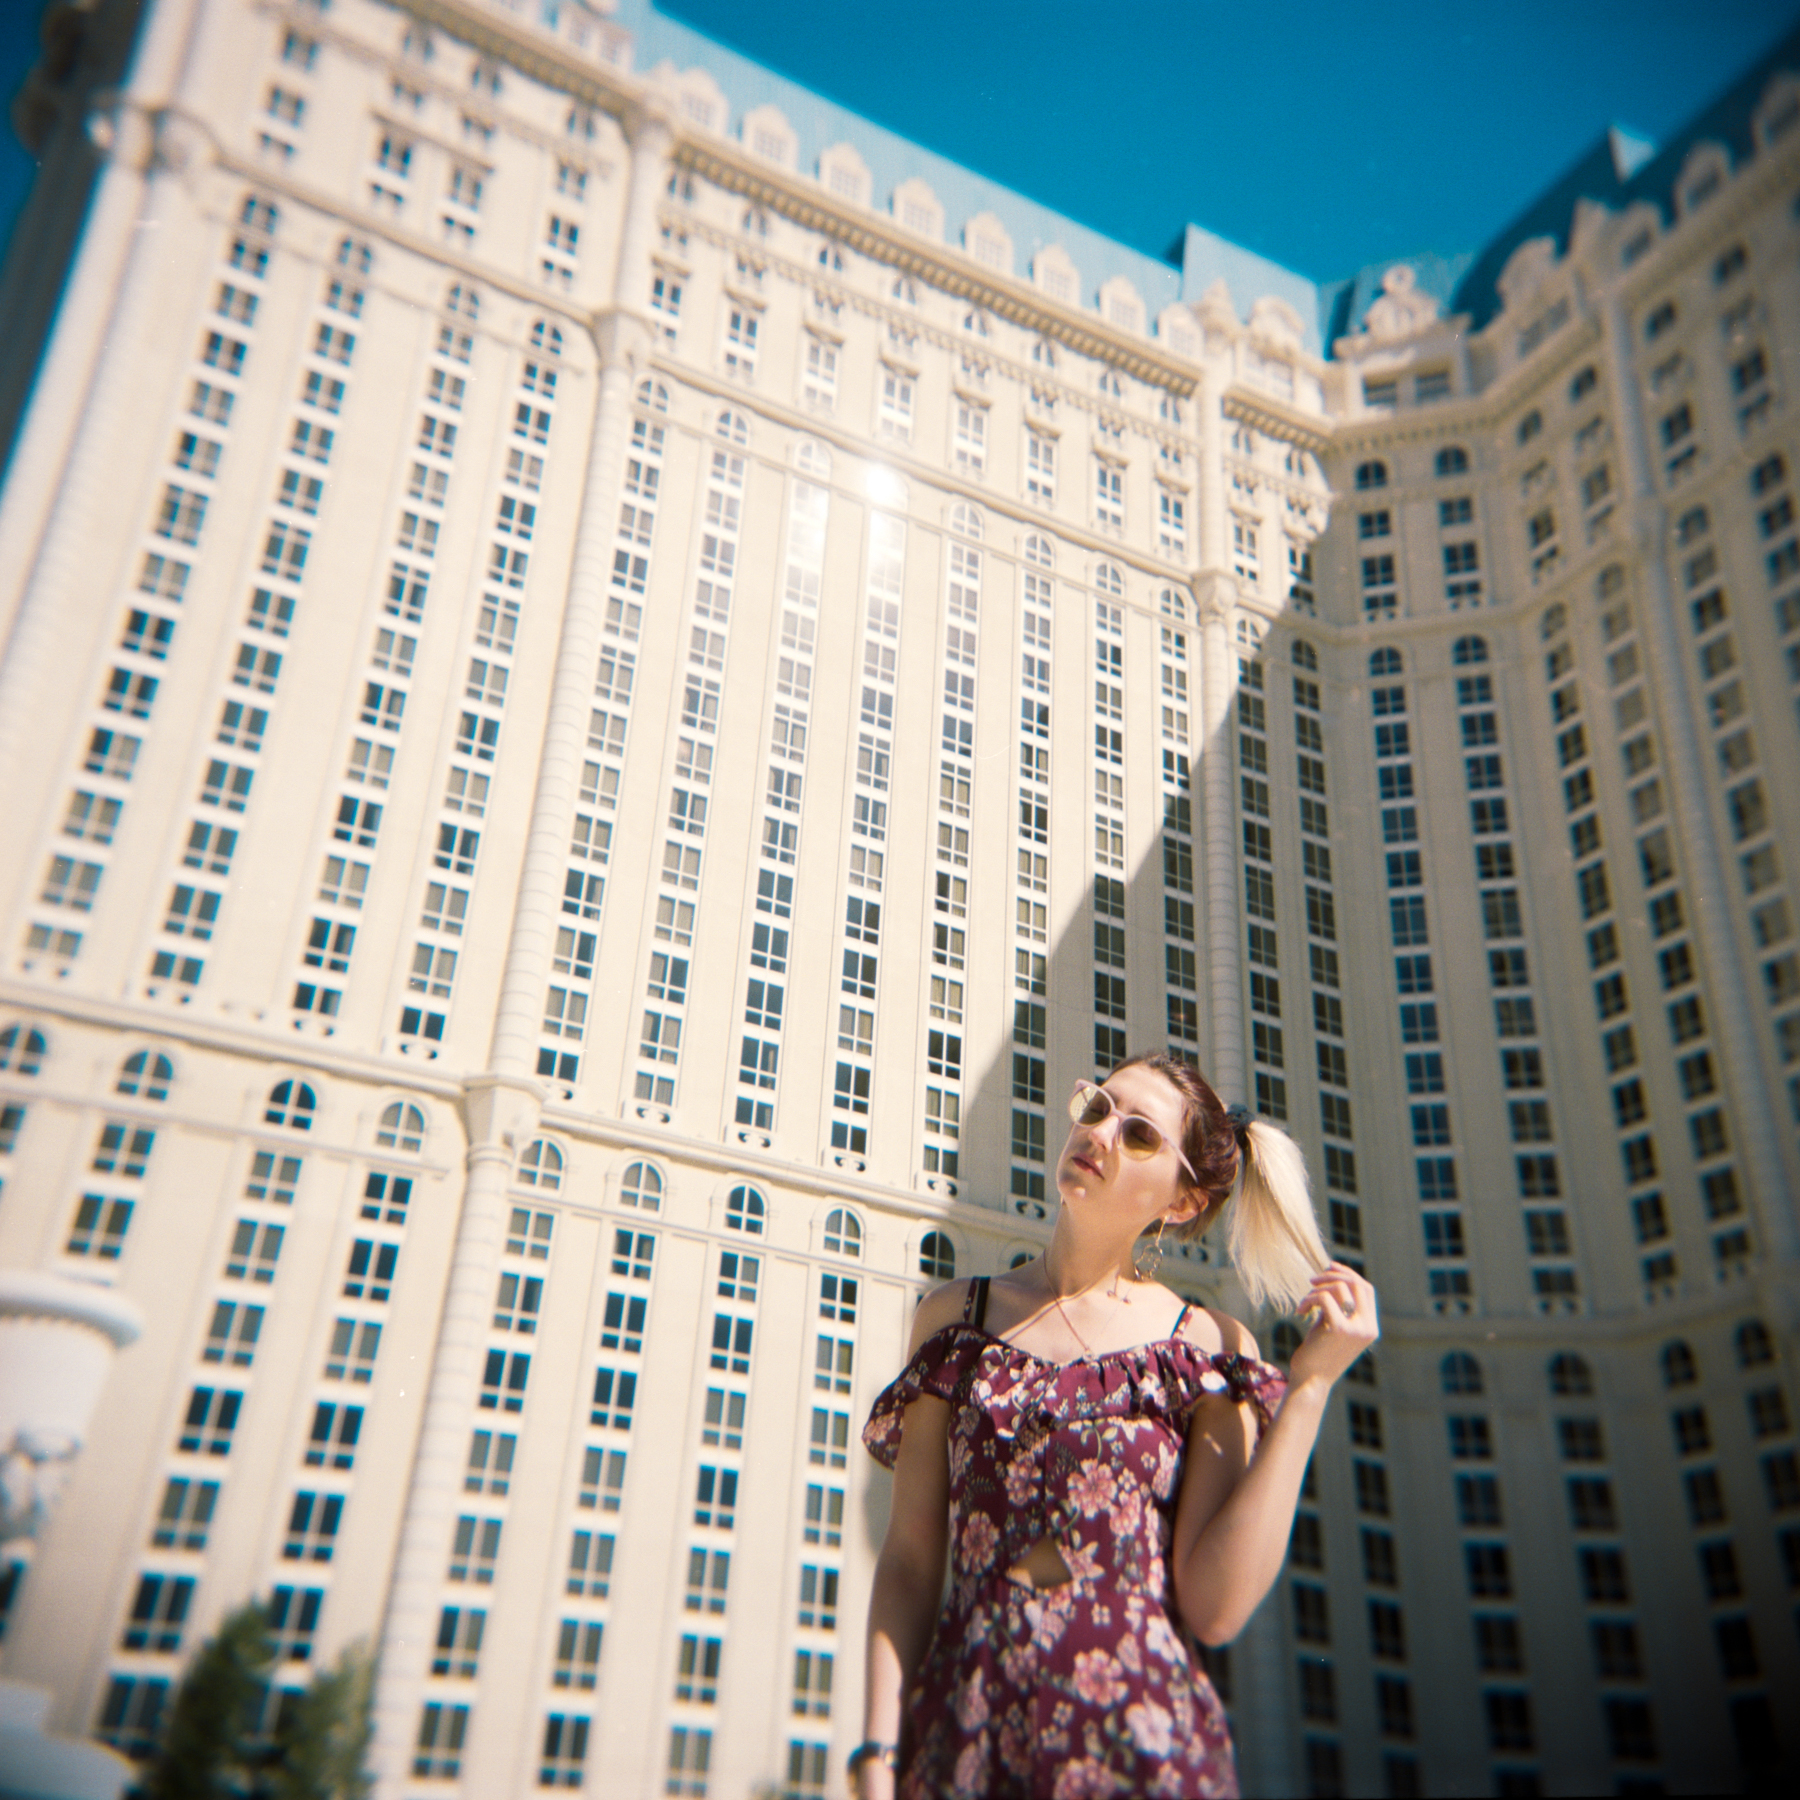
If you’ve been following my work at all, you know I’m obsessed with the traditional 120 Holga. I’ve written a blog post and filmed a YouTube video about it! When I unexpectedly received the 35 mm version of this camera, the Holga 135BC, as a Christmas gift last year, I was SO excited. I always assumed that I wouldn’t like the 35mm format as much, just because the square format is so unique. But as soon as I got the images back, I realized that the 35mm version is unique and different in it’s own way. Because of the BC, “bent corners”, or vignetting, created by the Holga, the images still have that dreamy, surreal vibe that I love so much. In fact, I think the 135BC has renewed by excitement about the Holga. I now have a new way to create my beloved Holga images.
In my latest YouTube video, I bring the Holga 135BC with me on a trip to Louisville, Kentucky to try it out for the first time. The video includes an unboxing, how-to, film loading and tips for creating multiple exposures, as well as all of my favorite photos from my first roll of film. But if you’d prefer to read about it, rather than watch the YouTube video, keep scrolling! :)
HOW TO USE THE HOLGA 135BC 35MM FILM CAMERA
In terms of camera settings, it’s pretty much exactly the same as the traditional Holga. It’s extremely easy to use once you get the hang of it! Just be patient and show yourself some compassion with your first roll while learning the camera. :) Sometimes, crappy film cameras can be intimidating because it seems impossible to create a “good” image with it. But that’s the whole point! You have to embrace that they are unpredicatable, unusual and low-quality. It’s about taking those features, turning them into something positive and using them to your advantage.
LENS SETTINGS
The lens only has 4 options for distance from your subject - landscape, large group of people, small group of people and single-person. I tend to leave it on the landscape option most often because it’s the most likely to end up in focus, in case you forget to switch it in-between photos. But if you plan on being within a few feet of your subject, I’d use the single-person setting for best results. I don’t really use the other two options very often, just because I tend to forget to switch the lens setting in general. It’s safest for me to just leave it on landscape so I don’t end up with blurry, out of focus images!
SHUTTER SPEED
On the bottom of the camera, there is a switch with a B and an N. These letters stand for “Bulb” and “Normal”. So, unless you’re trying to do long/slow exposures for light painting or something similar, then the Normal setting is what you want. I actually tape it onto the N setting, because I’ve had it accidentally switch back to B while in my camera bag, and then I end up with blurry images. “Bulb” basically means that the shutter stays open as long as you hold down the shutter button. Using the N setting is a shutter speed of about 1/100th of a second. That’s really what you want for everyday use.
FLASH
The Holga 135BC comes with a removable flash. I love using a flash with my Holga, which is why the Holga GCFN is my favorite version of the 120 Holga. The Holga, in general, needs quite a bit of light to perform well. If you plan on using the Holga at night, inside or in another type of low-light situation, then I’d recommend using the flash. The Holga 135BC also comes with a bunch of colorful gel filters you can use to get creative. I haven’t tried it out yet with the 135BC camera, but I will definitely do that soon and update this blog post with some flash photos. :)
MULTIPLE EXPOSURES
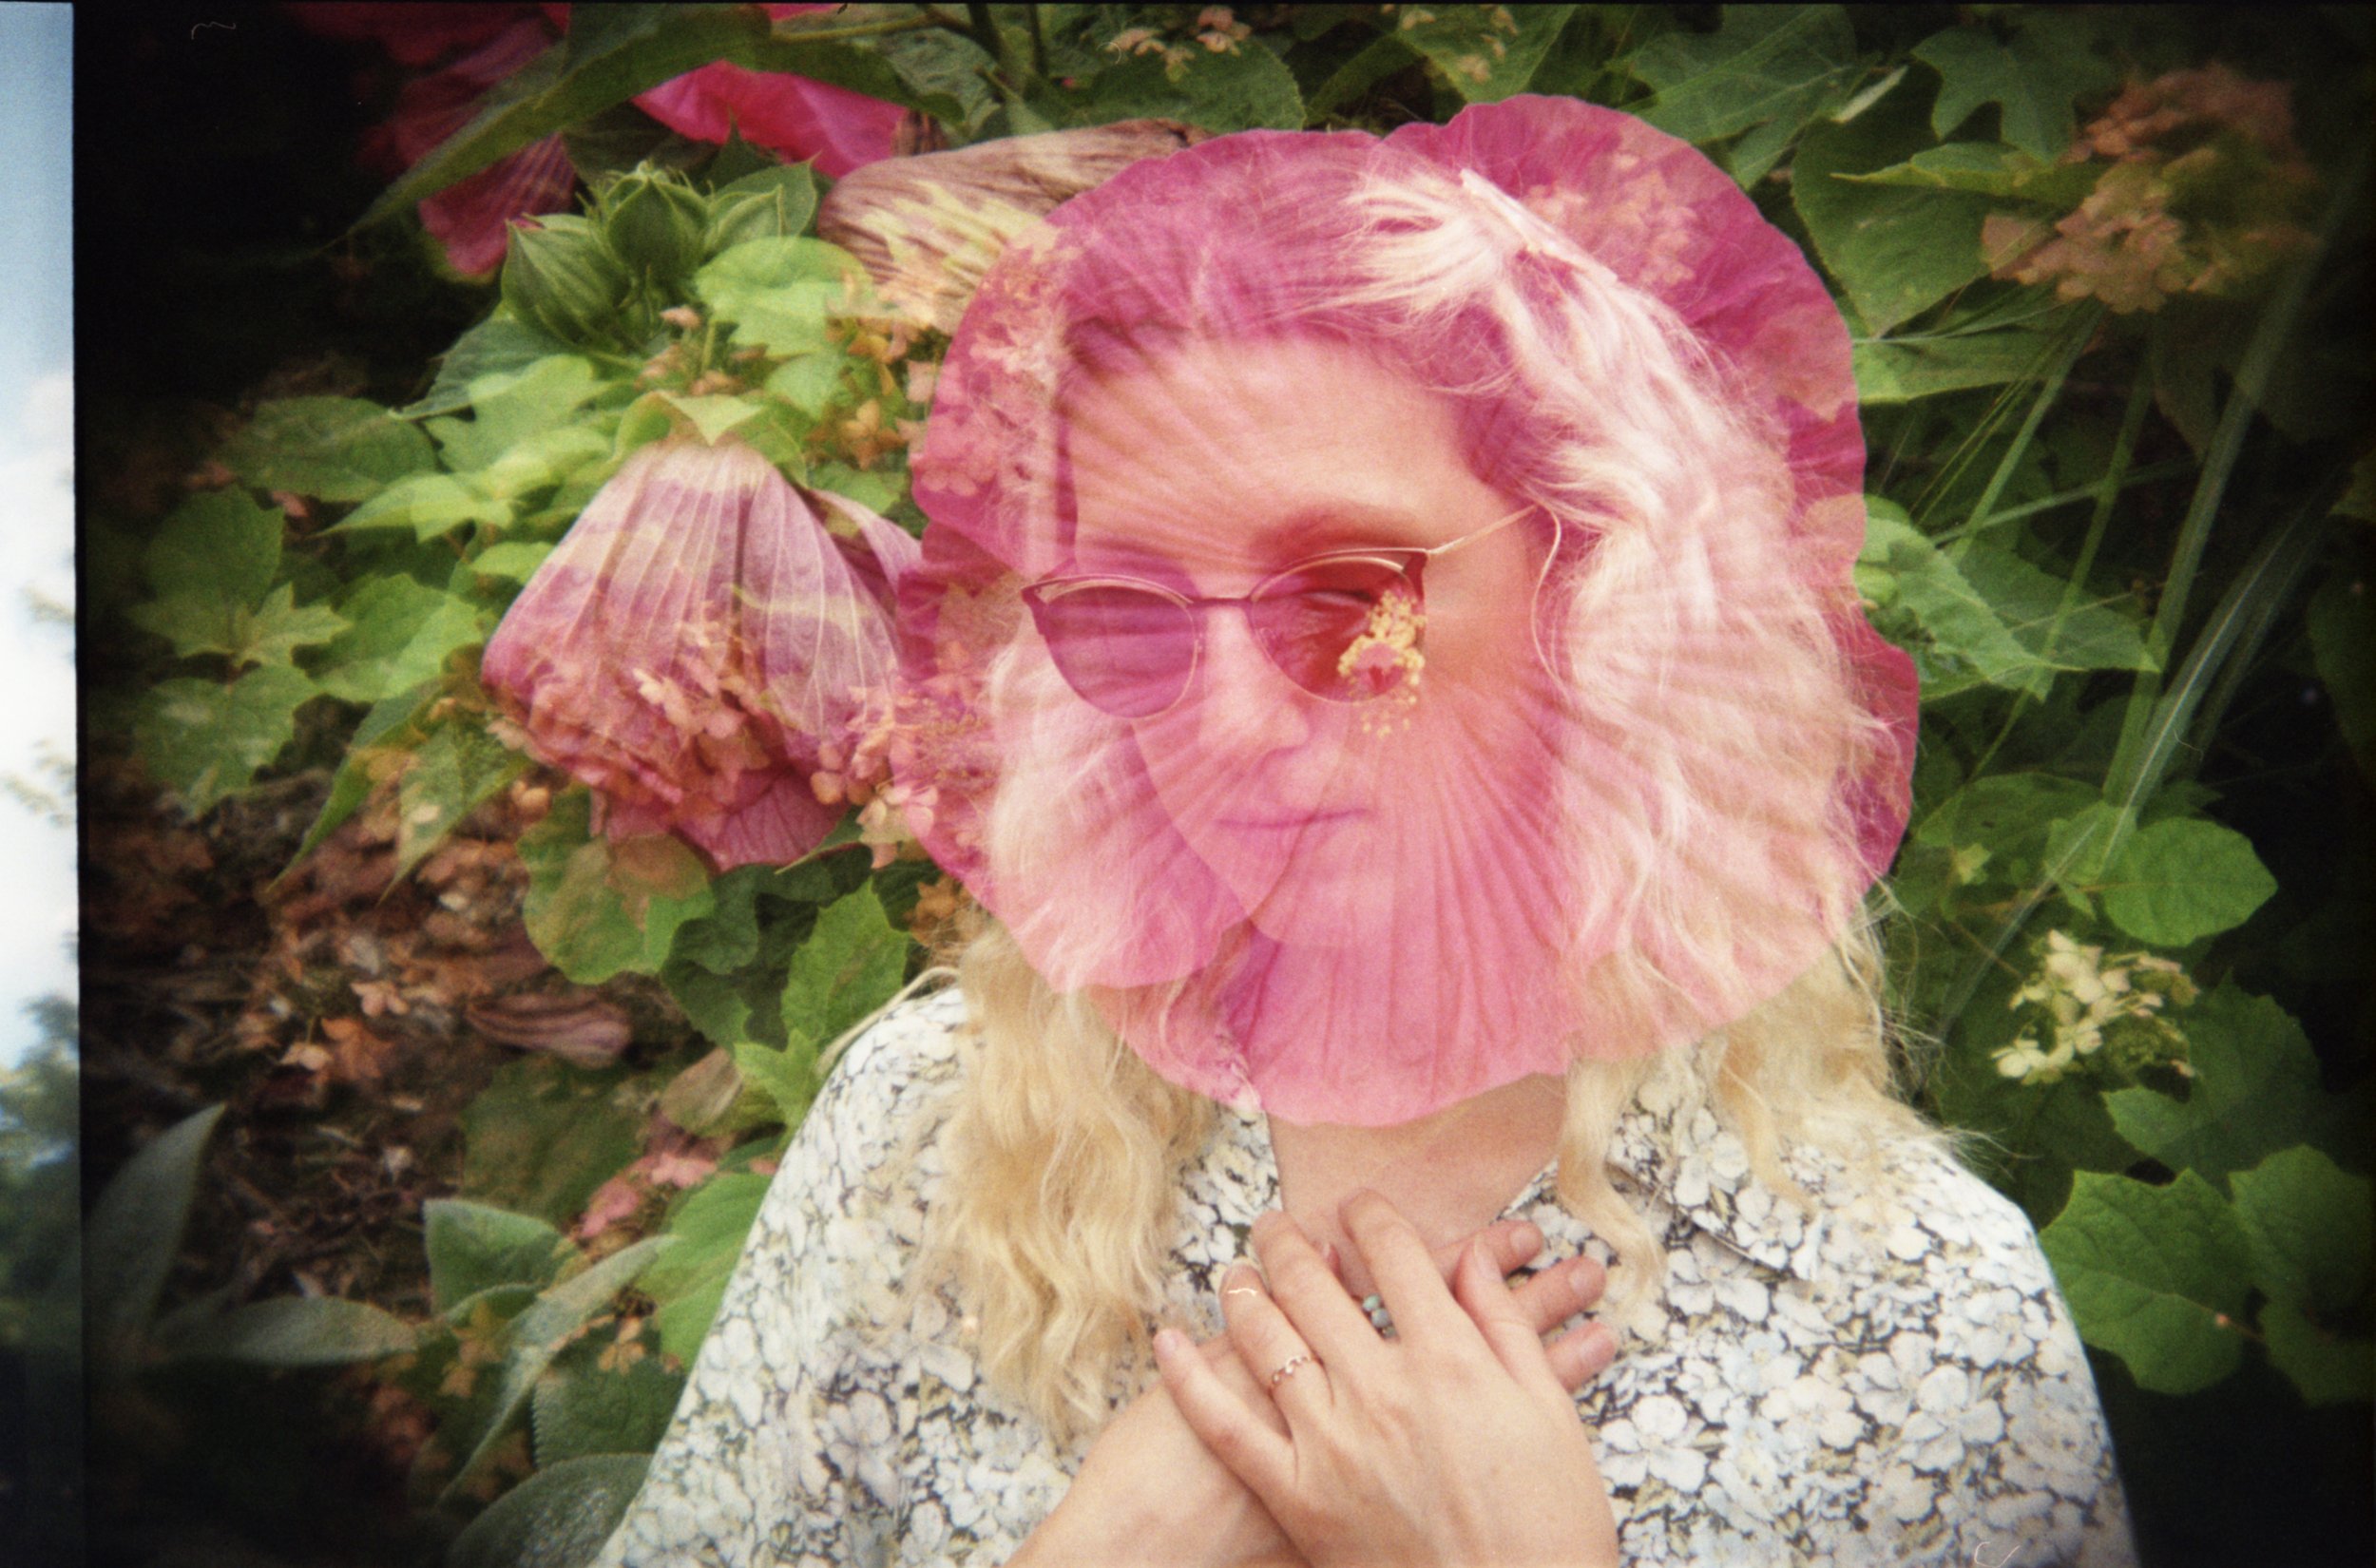
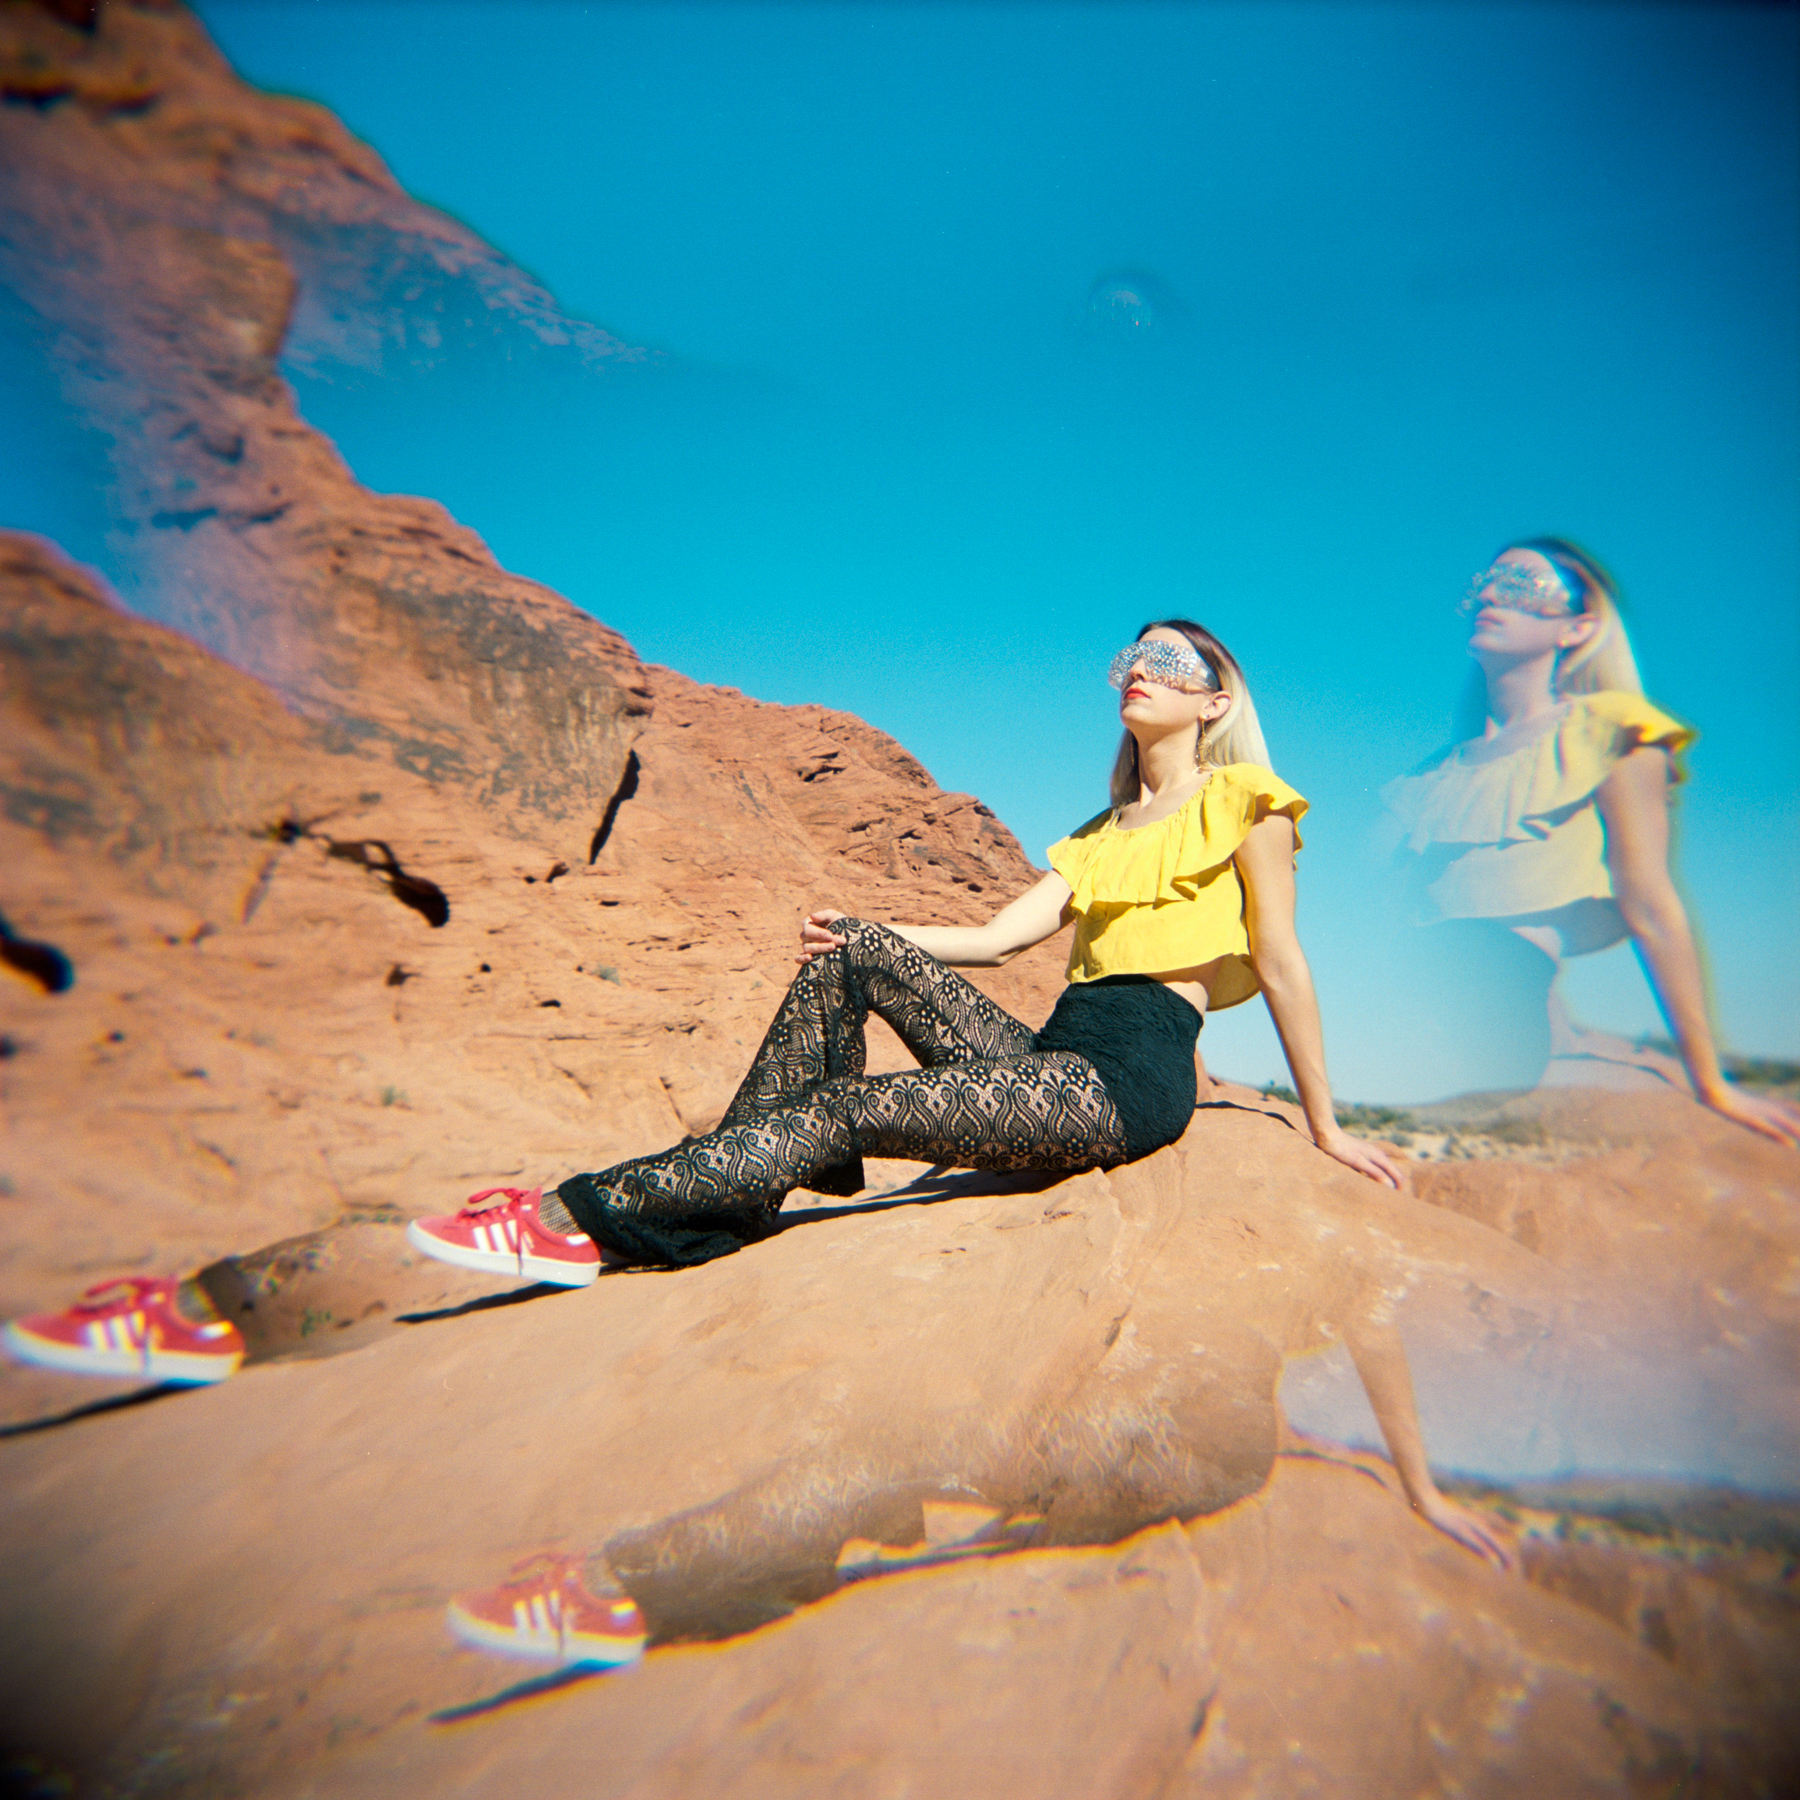
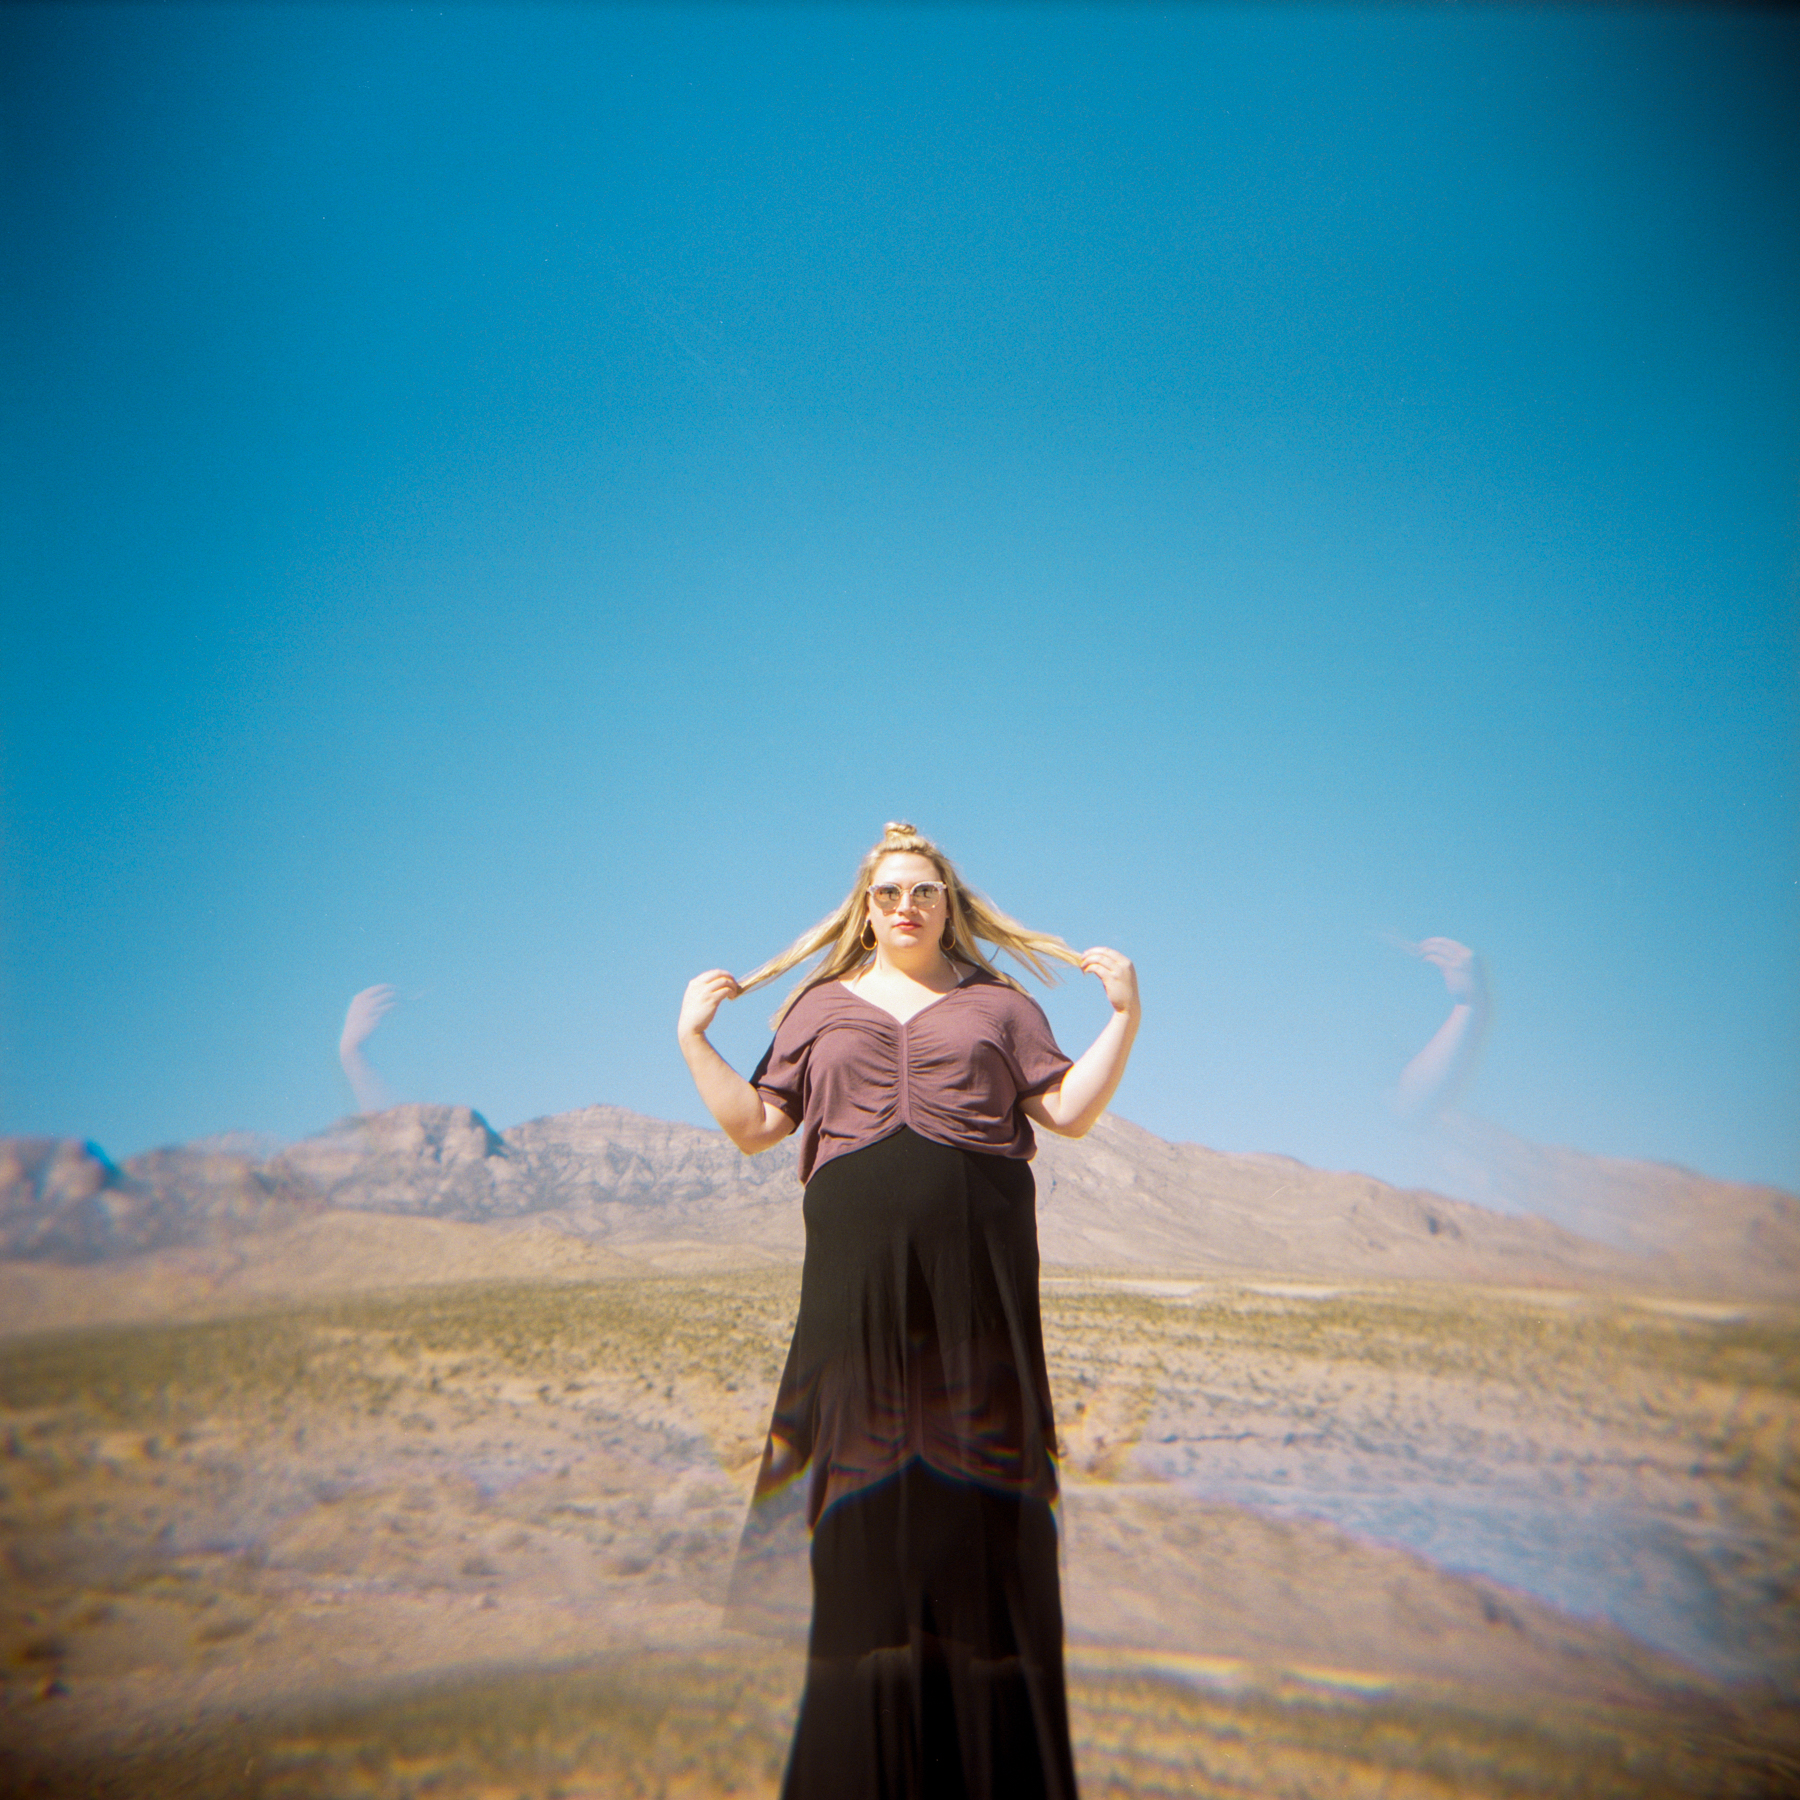
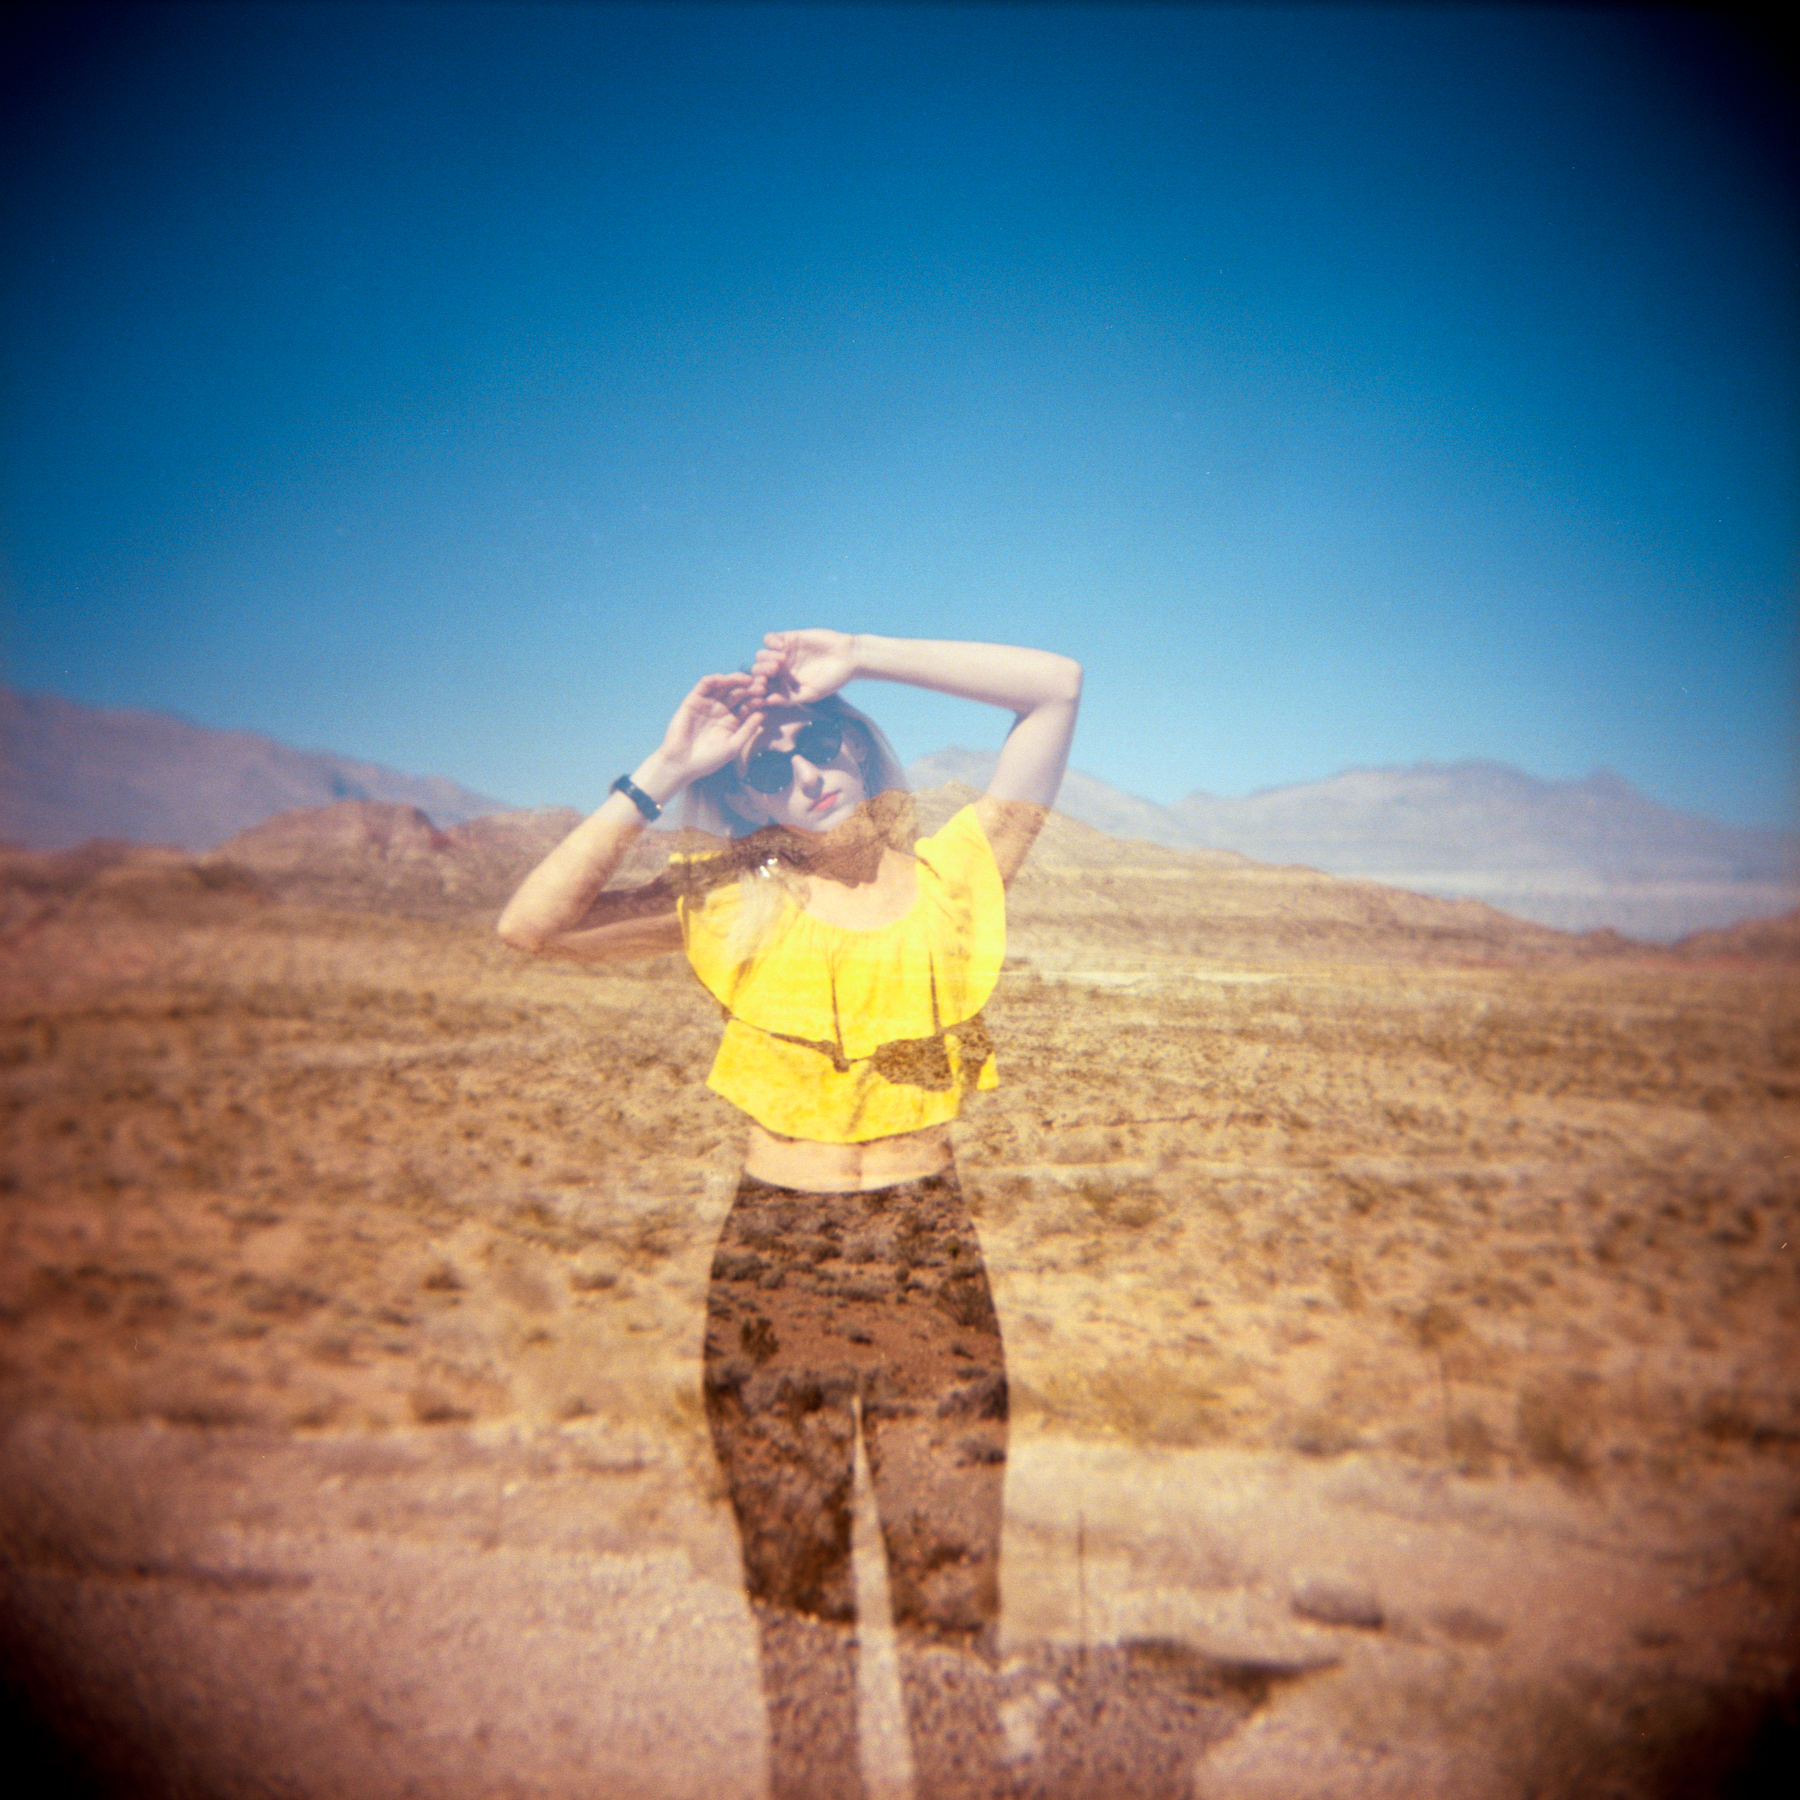
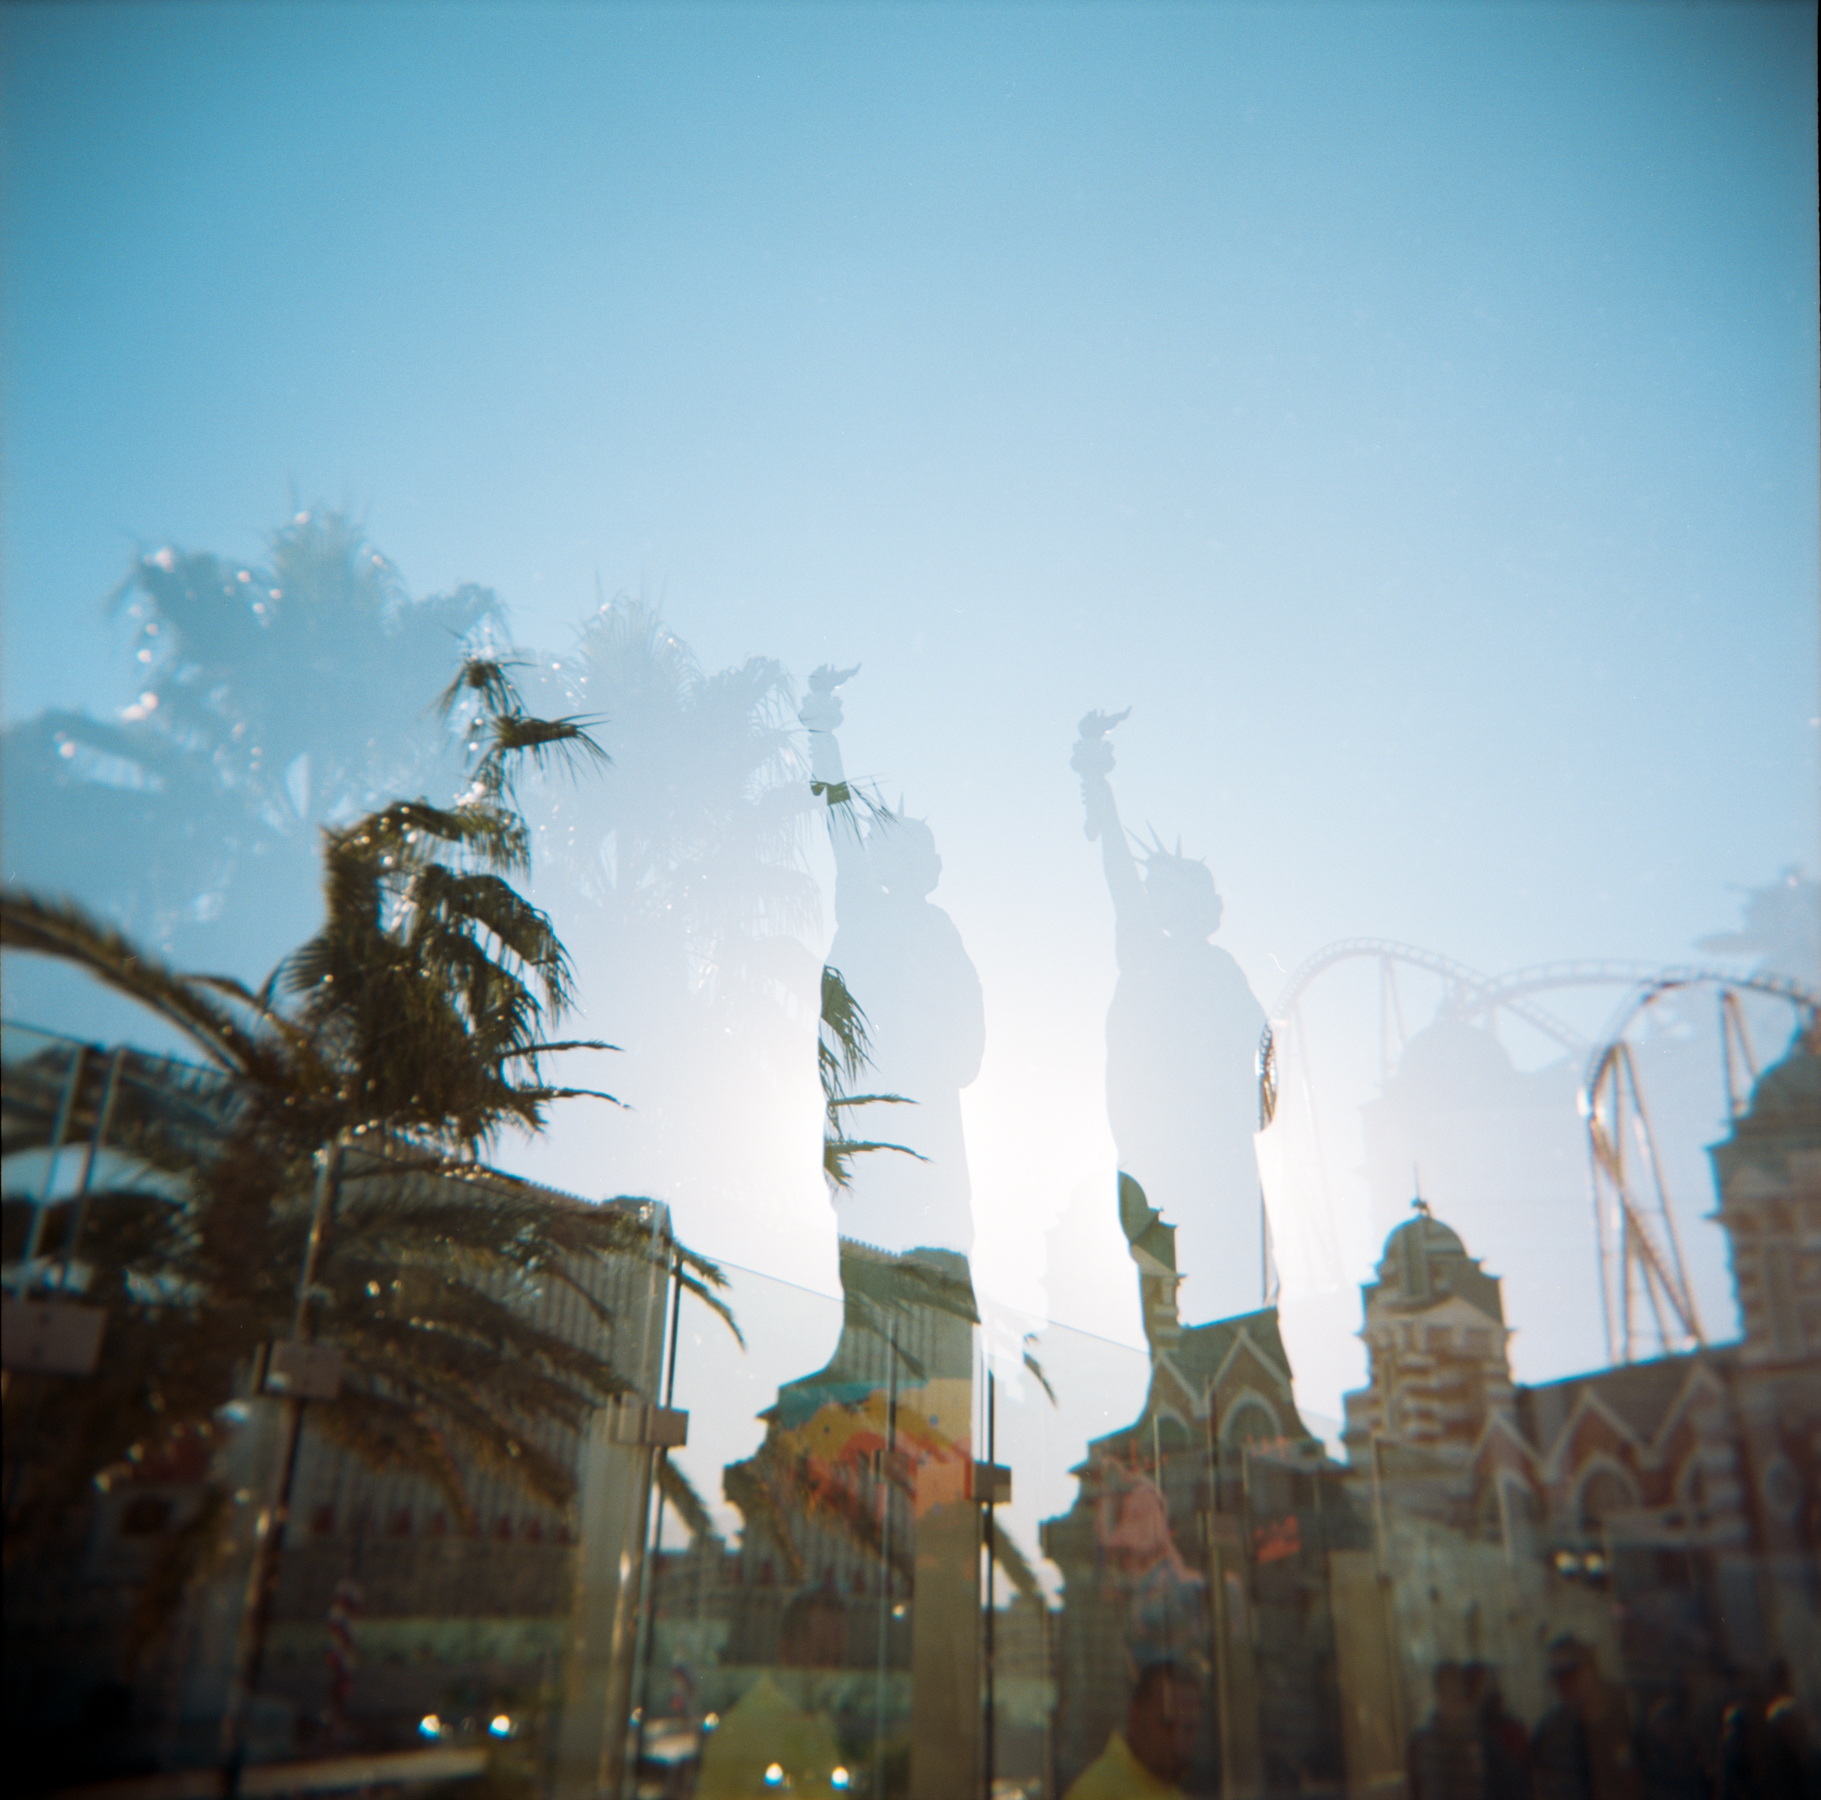
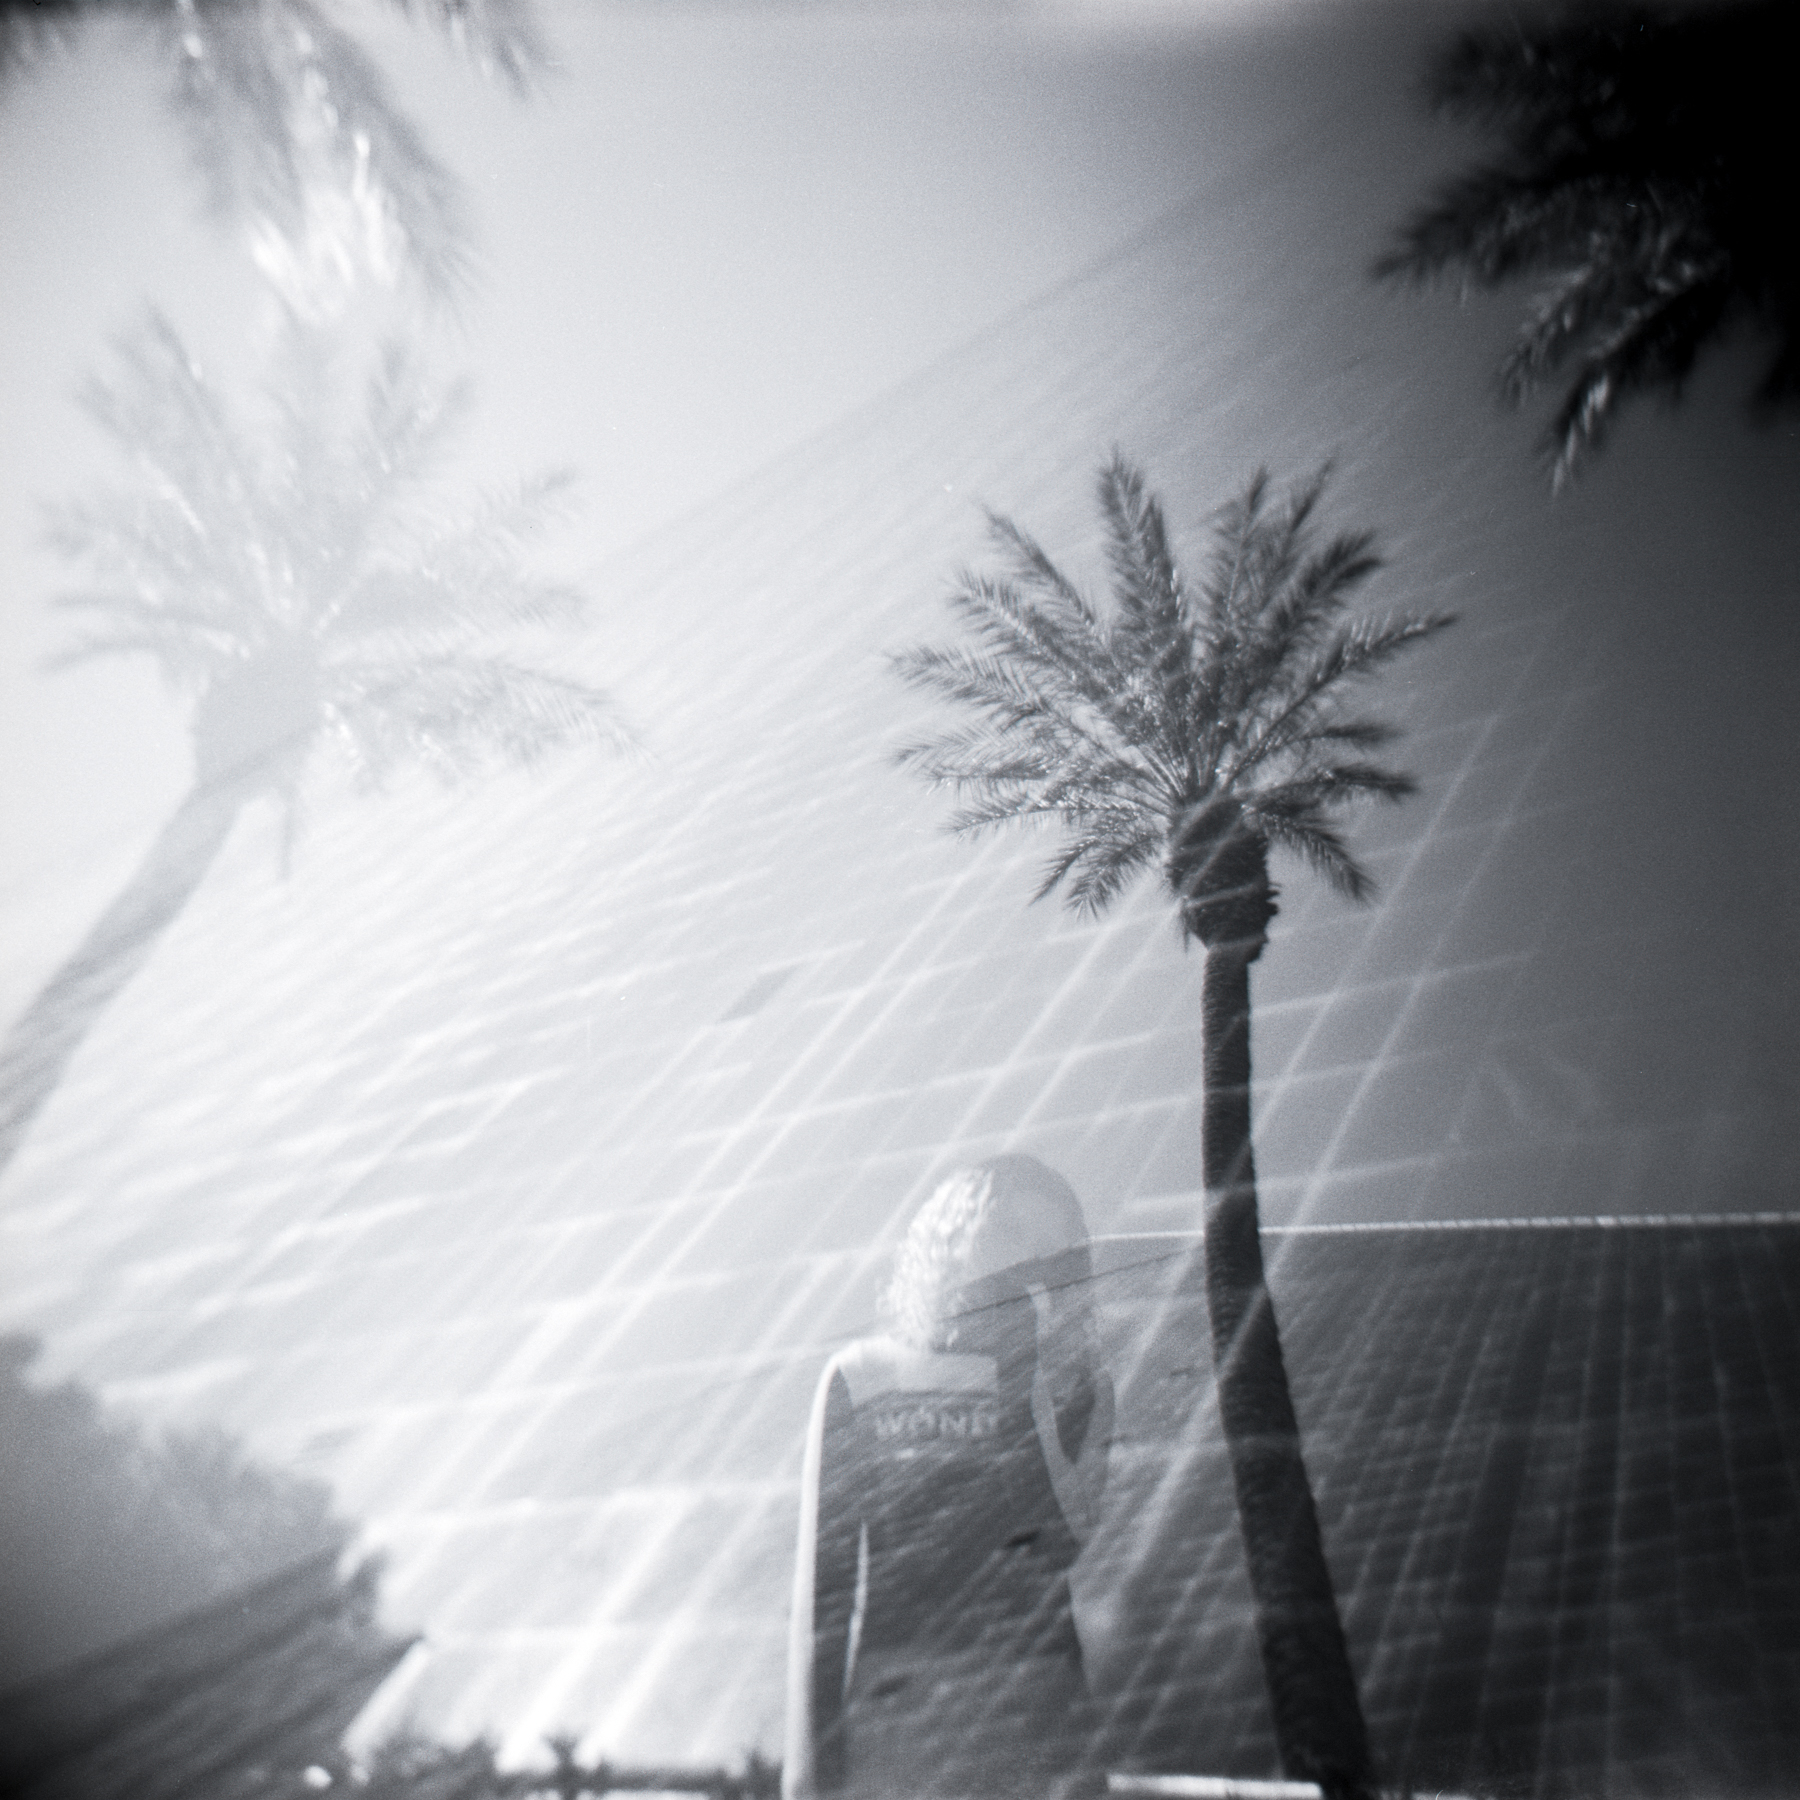
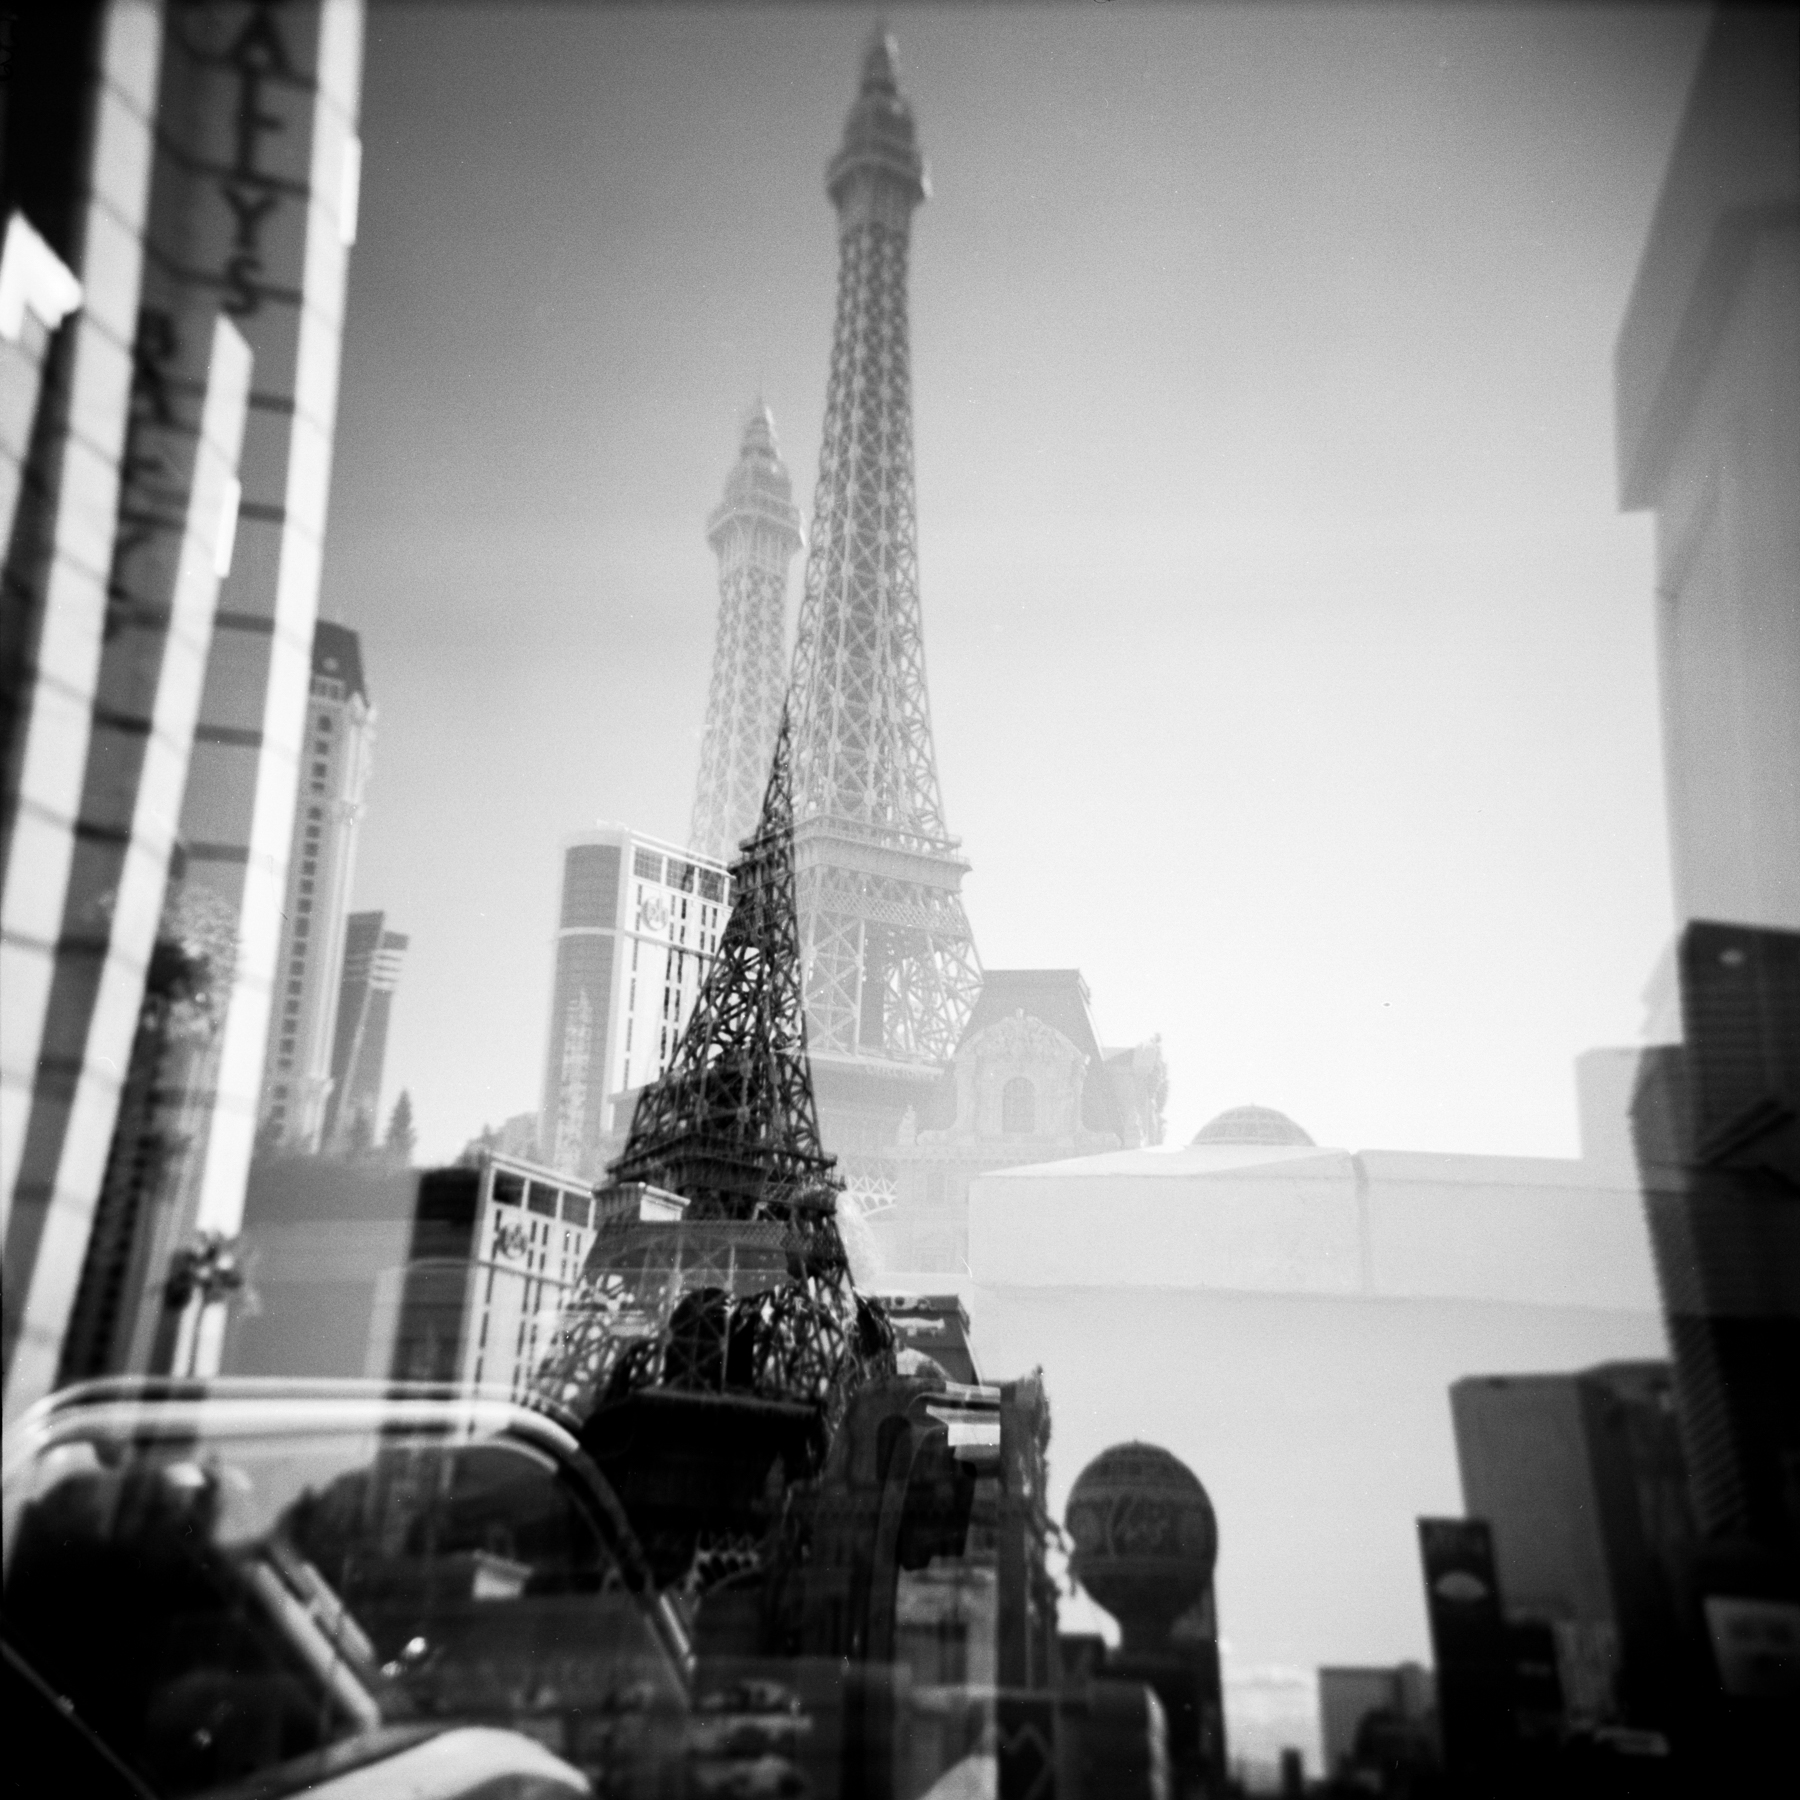
The main reason I love the Holga camera so much is because of how easy it is to create double and multiple exposures. I’ve been using the 120 Holga since 2008 and it quickly became my favorite camera when I discovered the surreal and ghostly world that I could create with multiple exposures. I’ve even won a handful of awards with my multiple exposures, including first place in my senior thesis exhibition and one of the winners in the Lomography’s Ten and One Awards in the “Human Stories” category! If I had to choose one camera to use for the rest of my life, it would be the Holga. When I discovered that the 35mm camera was just as easy to use when creating multiple exposures, I fell in love even more! To create a multiple exposure with the Holga 135BC, you simply just DO NOT wind the film in-between shots. You click the shutter button for your first image and then click it again for your second image, right over top of the first. You can do this as many times as you want, creating triple or quadruple exposures if you’d like! Just keep in mind that every image you add will increase the exposure of the image overall, meaning that after three or four images, you will be losing detail in the highlights and will eventually just become a purely white image if you took too many. I usually stick to doubles and will occasionally try a triple.
FILM LOADING
This is my one source of contention with the Holga. They are sort of known for being difficult to load. The 135BC is no different. I recommend watching my YouTube video to get a better idea of how it works. But as long as you notice the knob on the top left of the camera spinning while winding your film in-between shots, then you’ve loaded the film correctly and it is winding through the camera. I typically start with bending the leader of the film before inserting it into the slit on the right side of the camera, to help it catch. Then, you’ll have to click the shutter button once or twice as you’re winding it and getting it started, before closing the back and taking another photo or two to prevent light leaks. Just make sure you can see the film sprockets catching on the grooves inside the camera before closing the back. A lot of crappy 35mm cameras work this way, so if you plan on shooting a lot of film in your future, unfortunately you’ll just have to get used to this process!
APERTURE
On the top of the lens you’ll notice a switch with a lightning setting and a sun setting. Technically, the lightning setting is supposed to be f/8 and the sunny setting is f/11. Most people who use the Holga would argue there’s not really a difference, but I tend to leave it on f/8 with the hope that it will let in a little bit of extra light, especially because I prefer to use lower ISO films in order to get sharper images.
WHERE TO BUY THE HOLGA 135BC
FILM OPTIONS
You can use any 35mm film with this camera, but I definitely have a few options I’d recommend. Keep in mind that Holgas in general need a lot of light to perform well. They are also known for not having the sharpest images in the world. This is why I tend to sick to ISO 200 or 400 film. When you get up to 800, the images become quite a bit grainy and less detailed. If you use ISO 100 or lower, just make sure you’re in a super bright environment, like the beach. Personally, I use ISO 100 pretty often with the Holga, but only when I know that my environment will be able to handle it, or I use a flash. You will definitely end up with much sharper images though, the lower ISO you use. If you’re a beginner, I’d recommend 200-400 ISO.
Here are a few of my favorite film options:
FINAL THOUGHTS
To be honest, I kind of love the images more than I thought I would! I was convinced that I’d always have more of an affinity towards the 120 version, but there really is something special and magical about the Holga brand in general. If you aren’t happy with your first roll of film, try again! It takes a bit of time to grow comfortable using the Holga, but once you do, you’ll love it! Especially, if you love the 35mm frame overall, this would be a super fun way to experience it differently. Personally, if I had to choose between 35mm and medium format, I’d choose medium format. But there’s nothing wrong with either choice, it’s really just a personal preference! If you think you might like the medium format version better, you can read more about it here!
SAMPLE PHOTOS
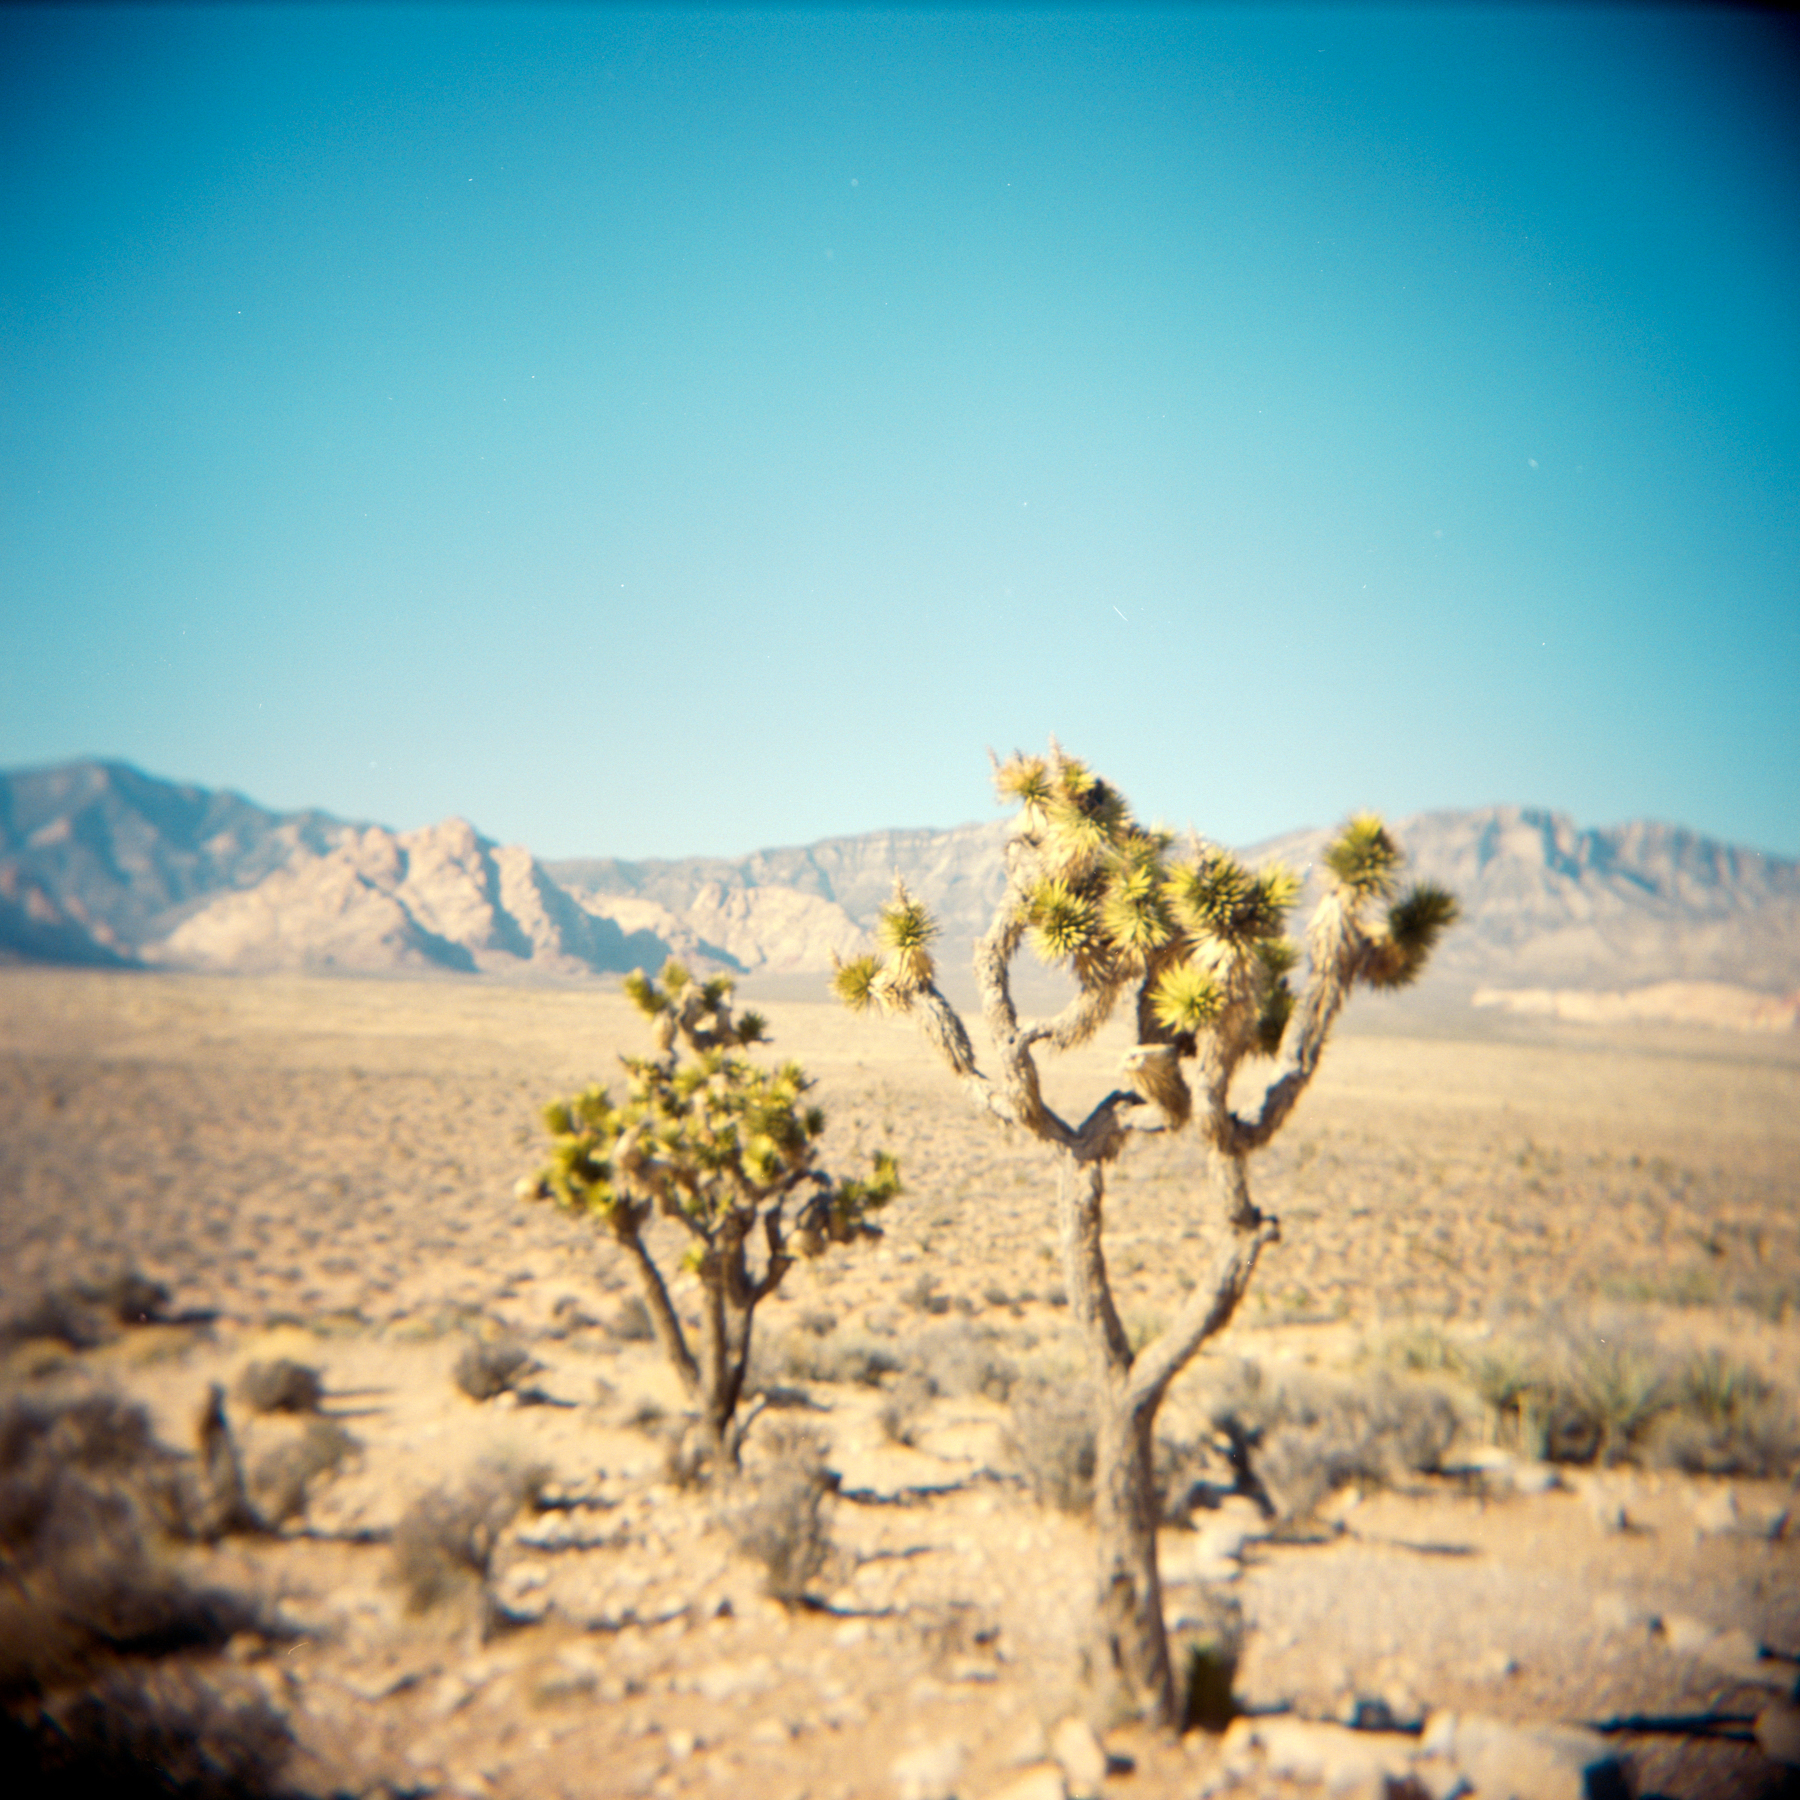
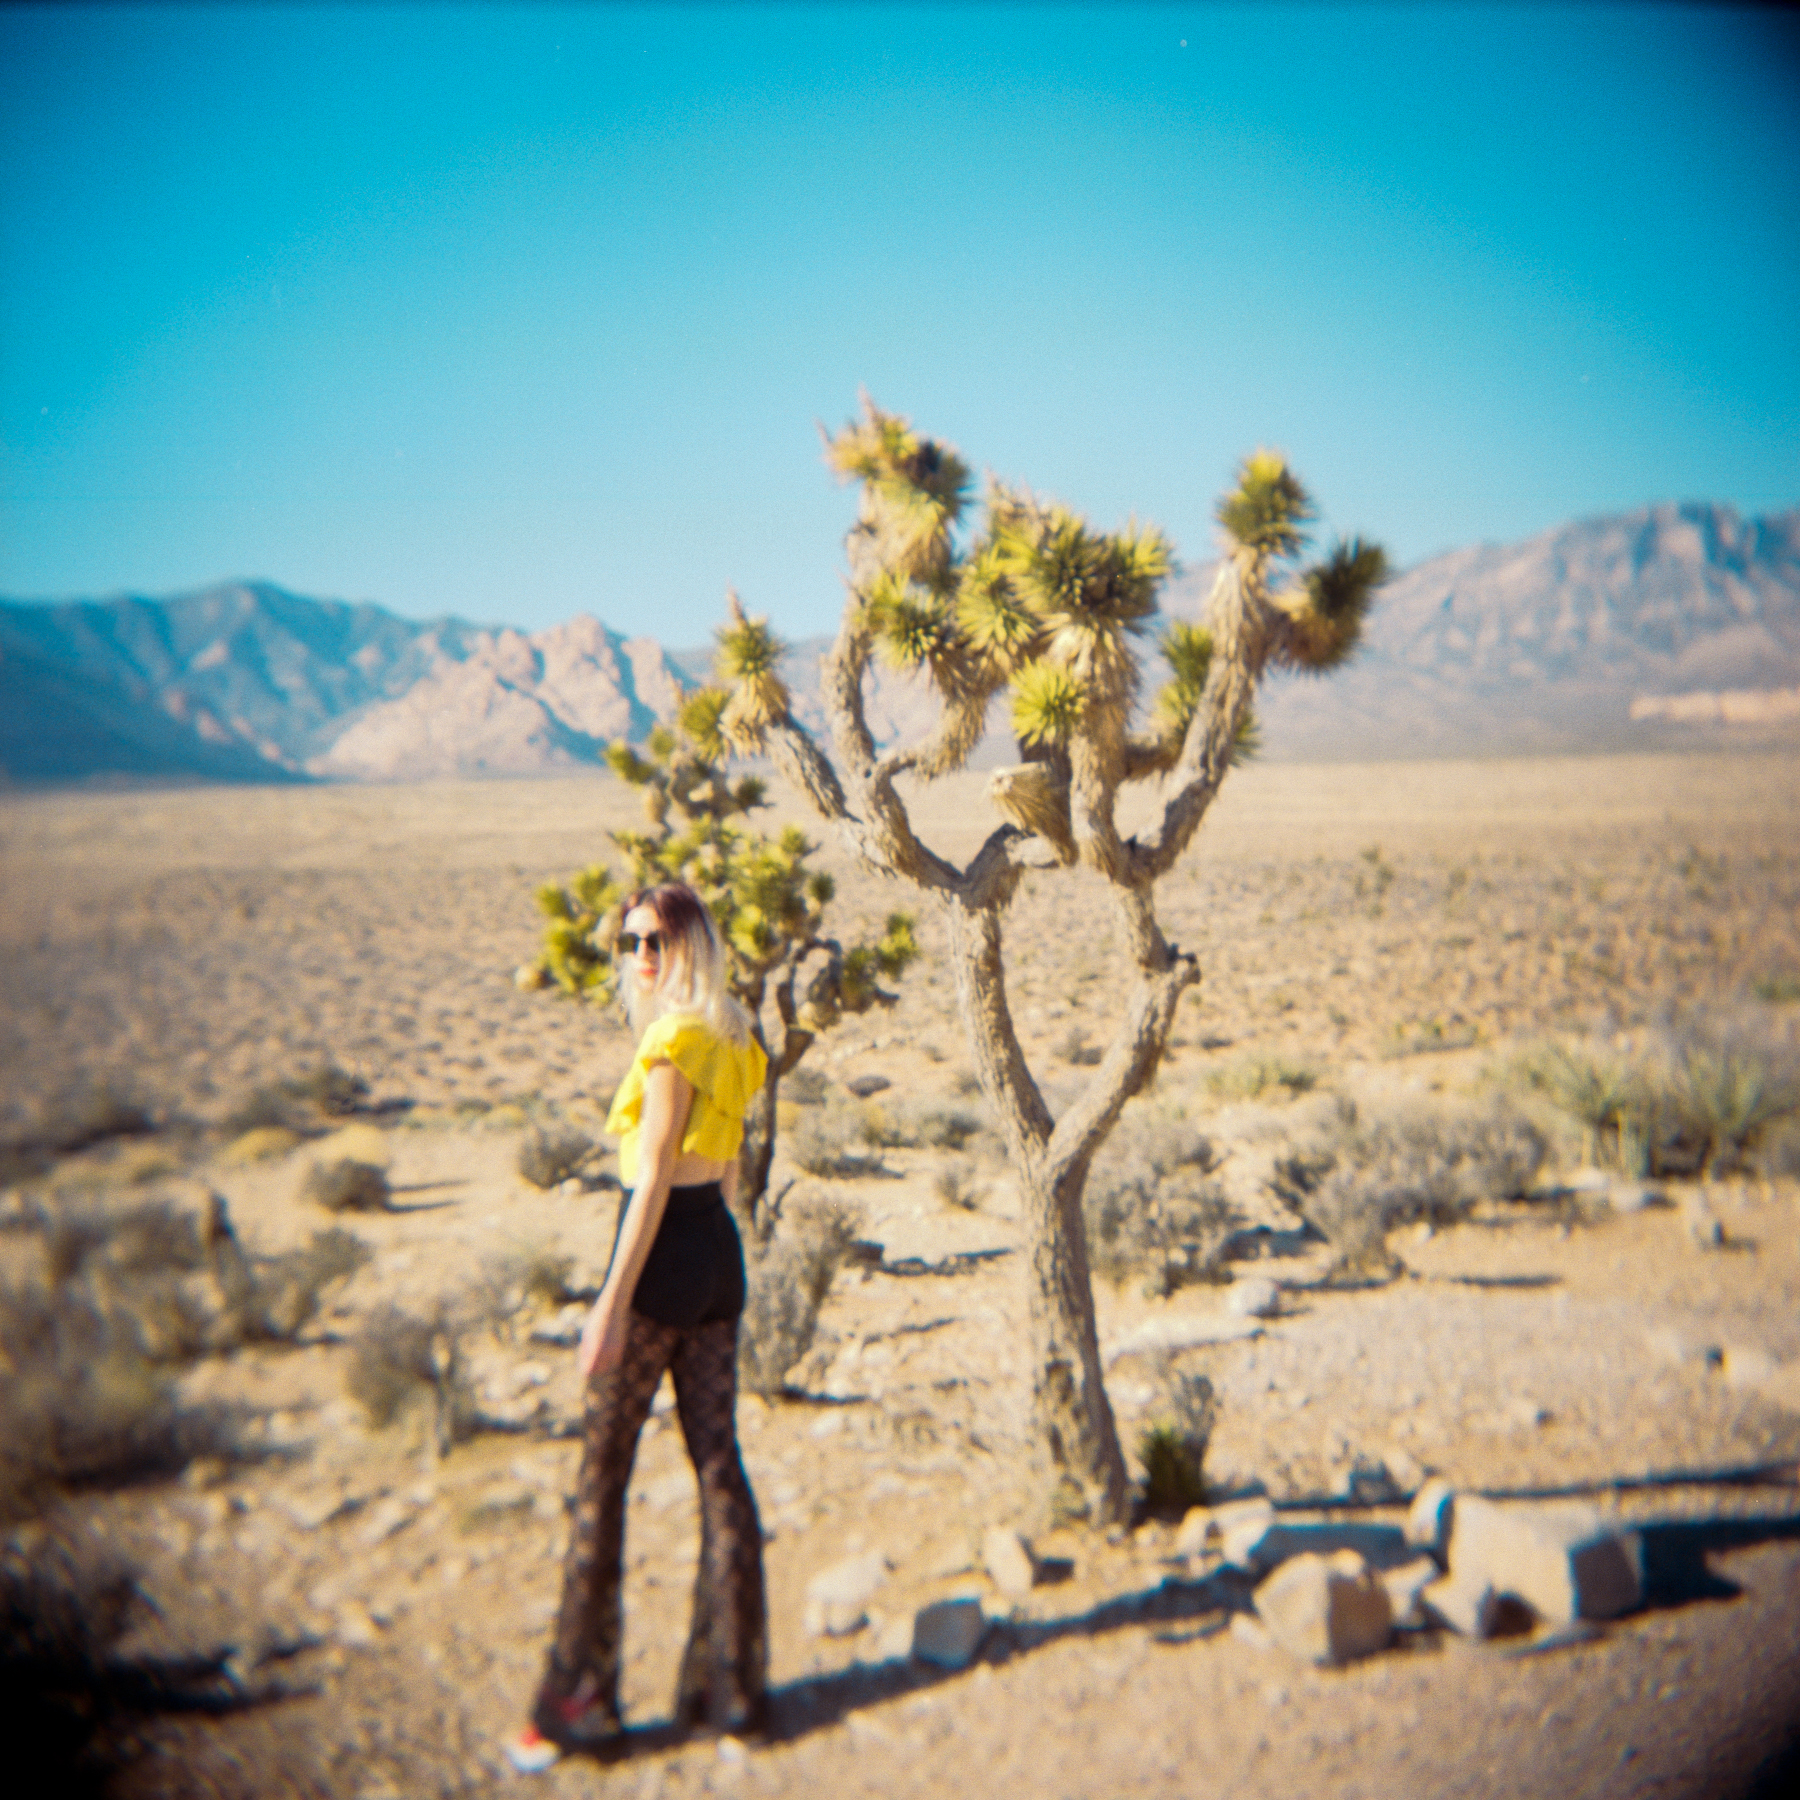
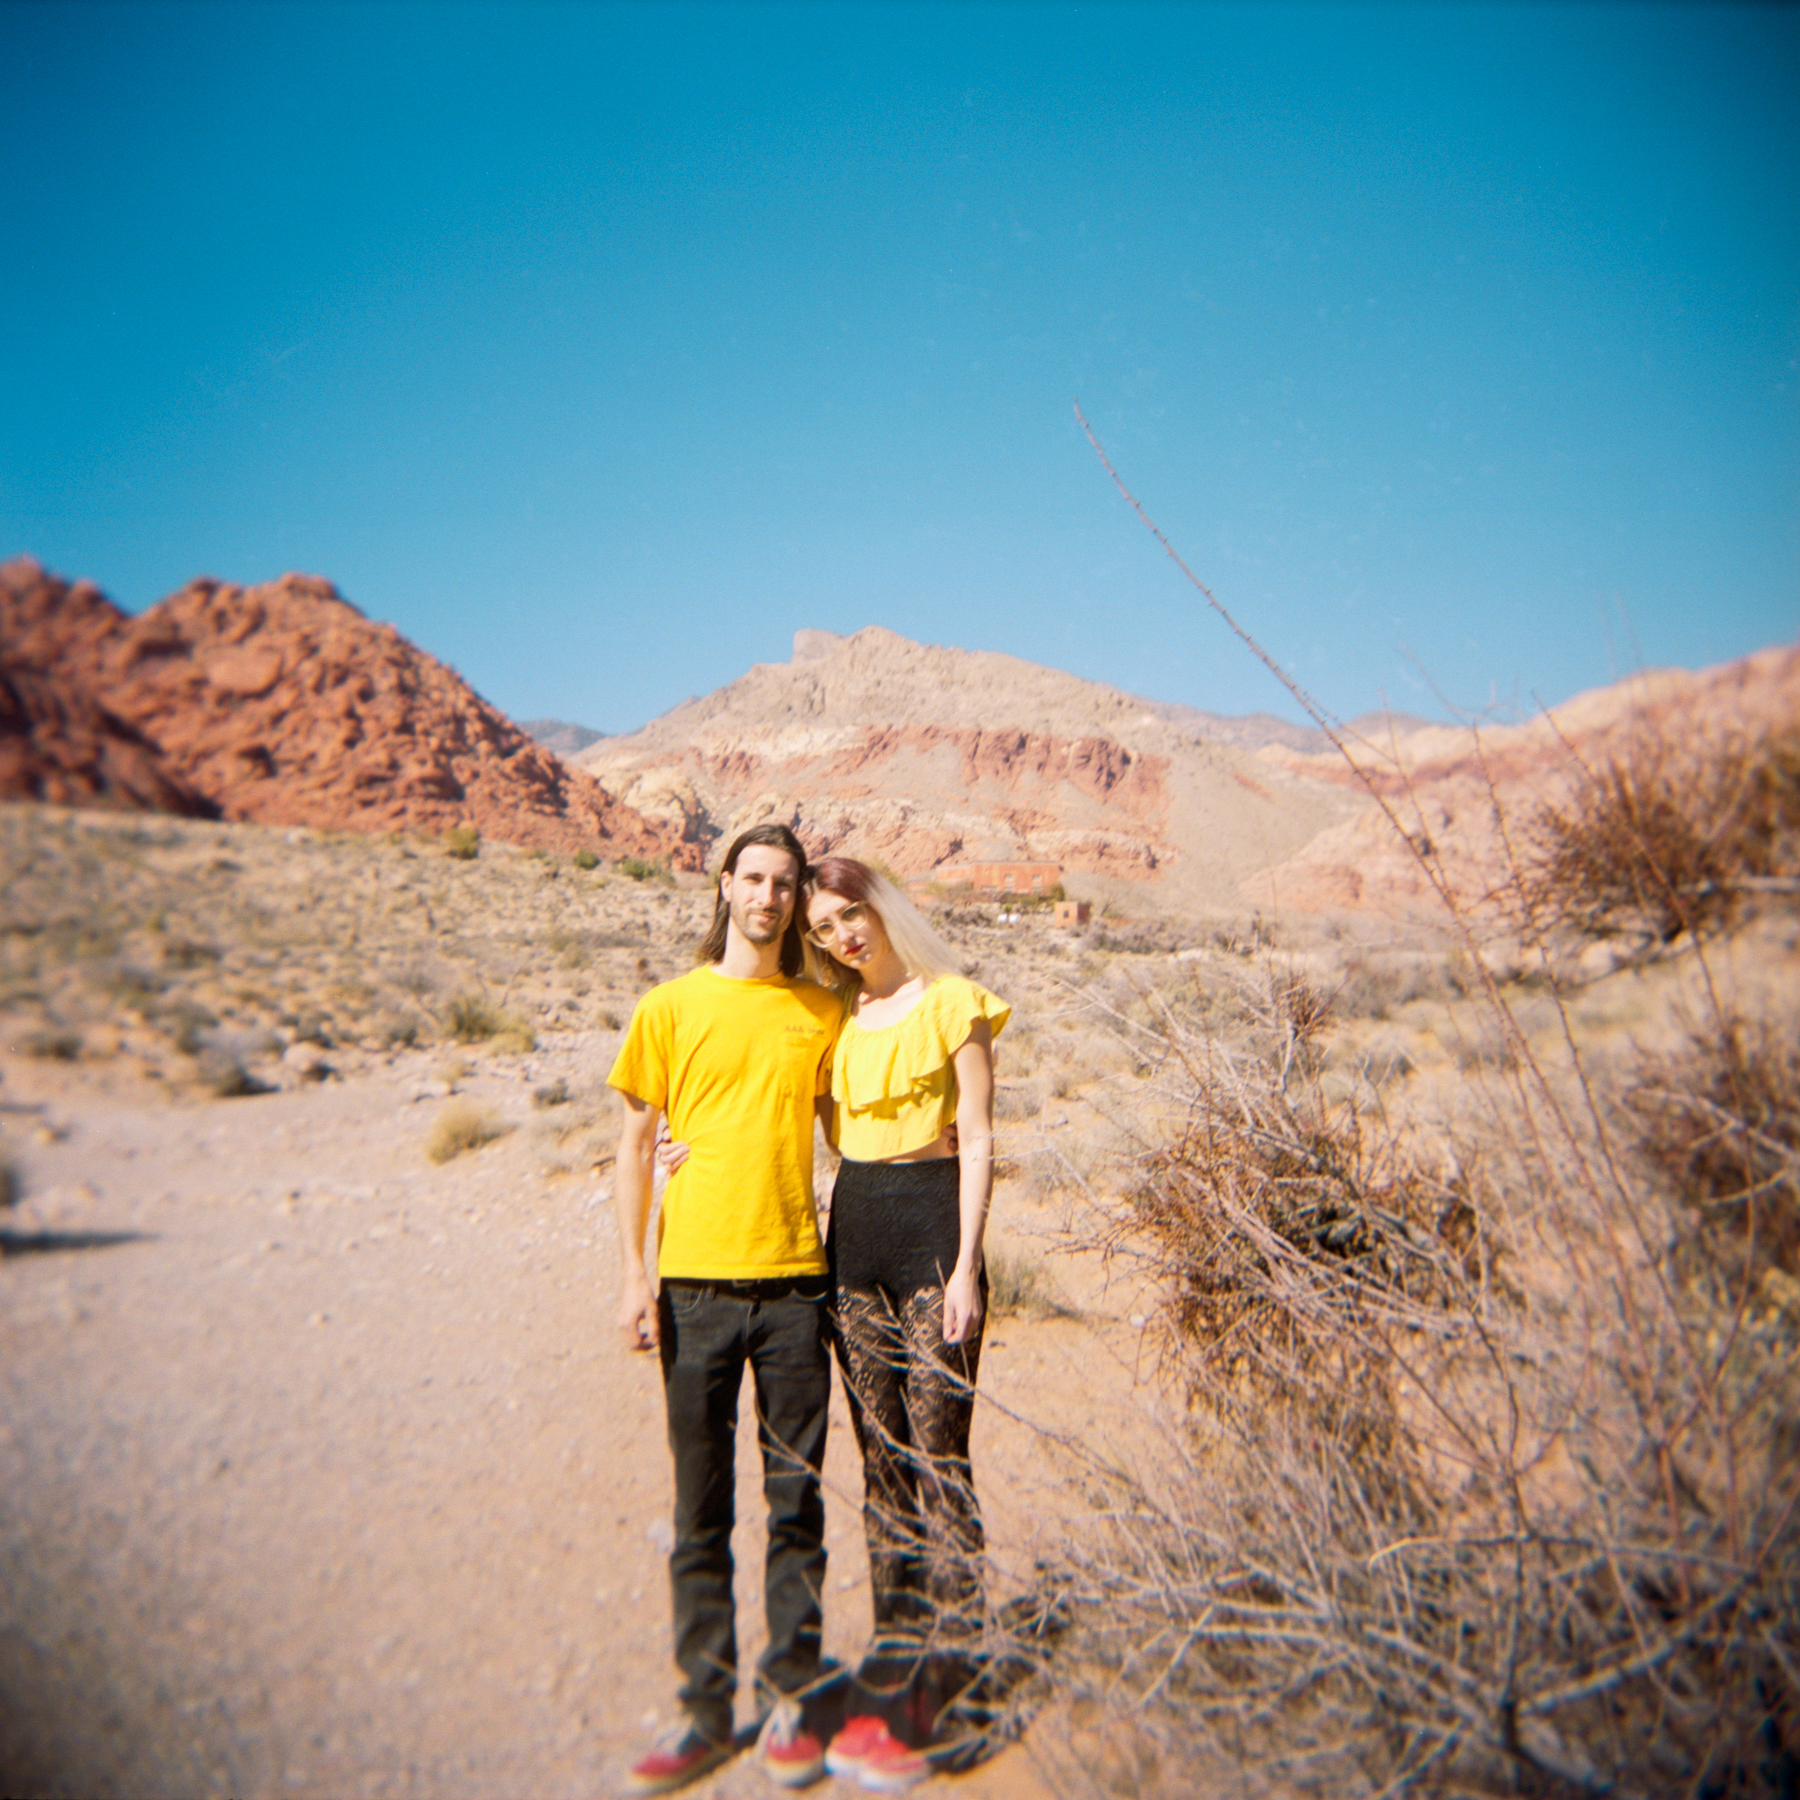
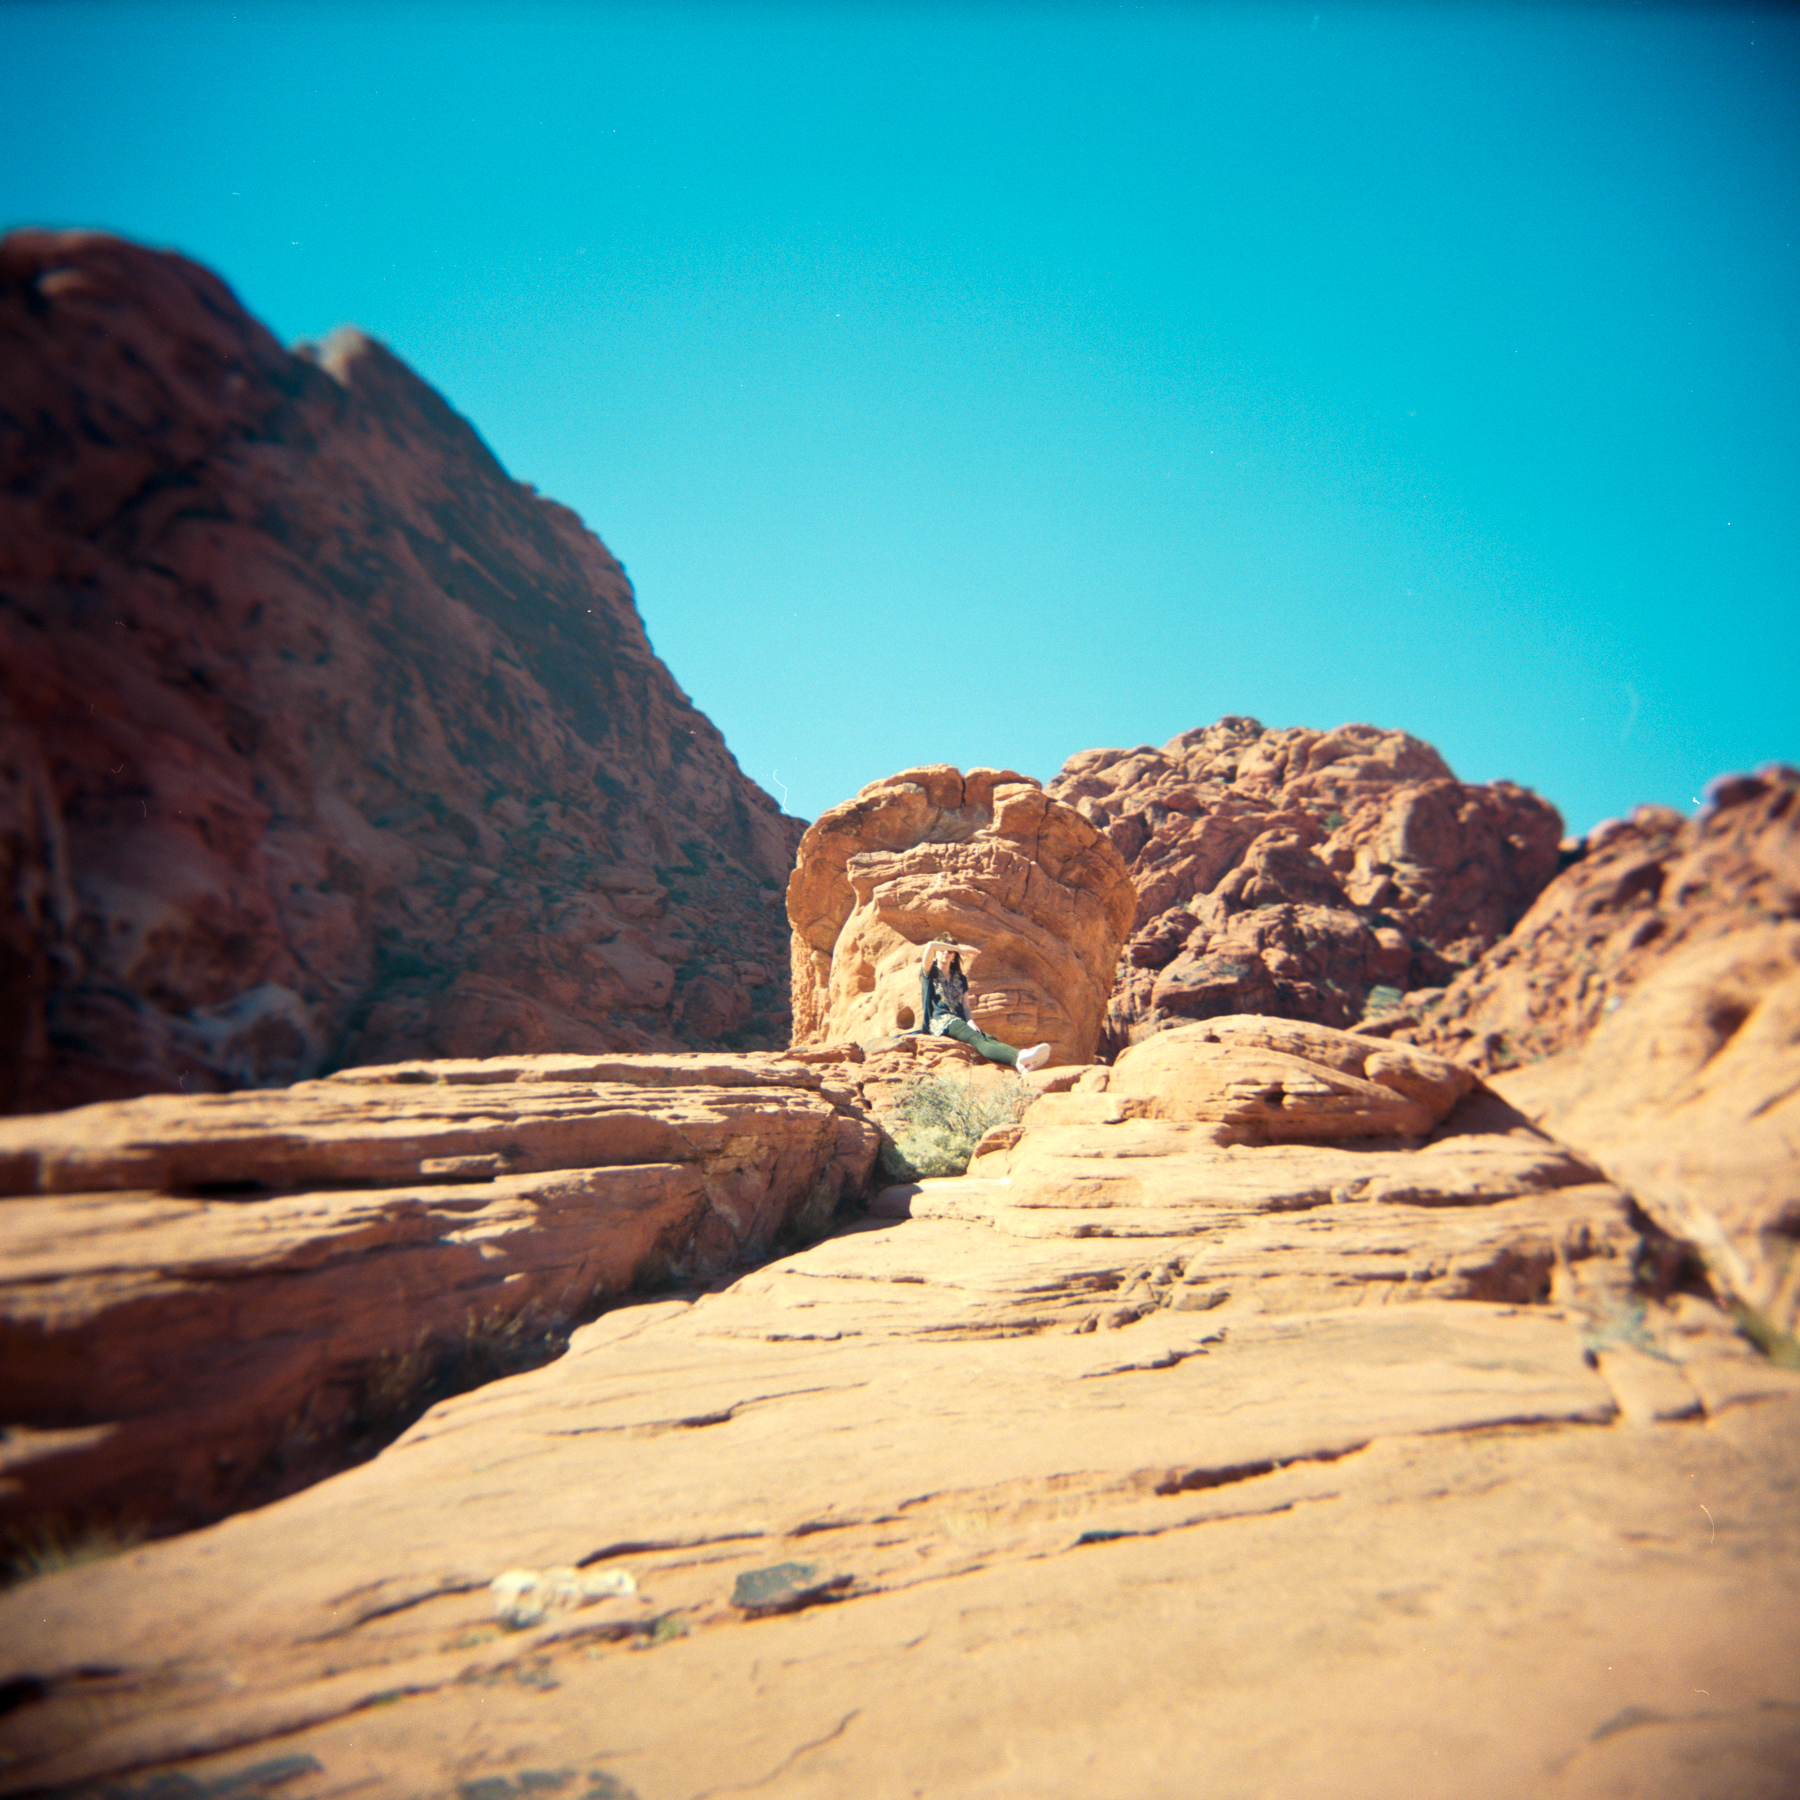
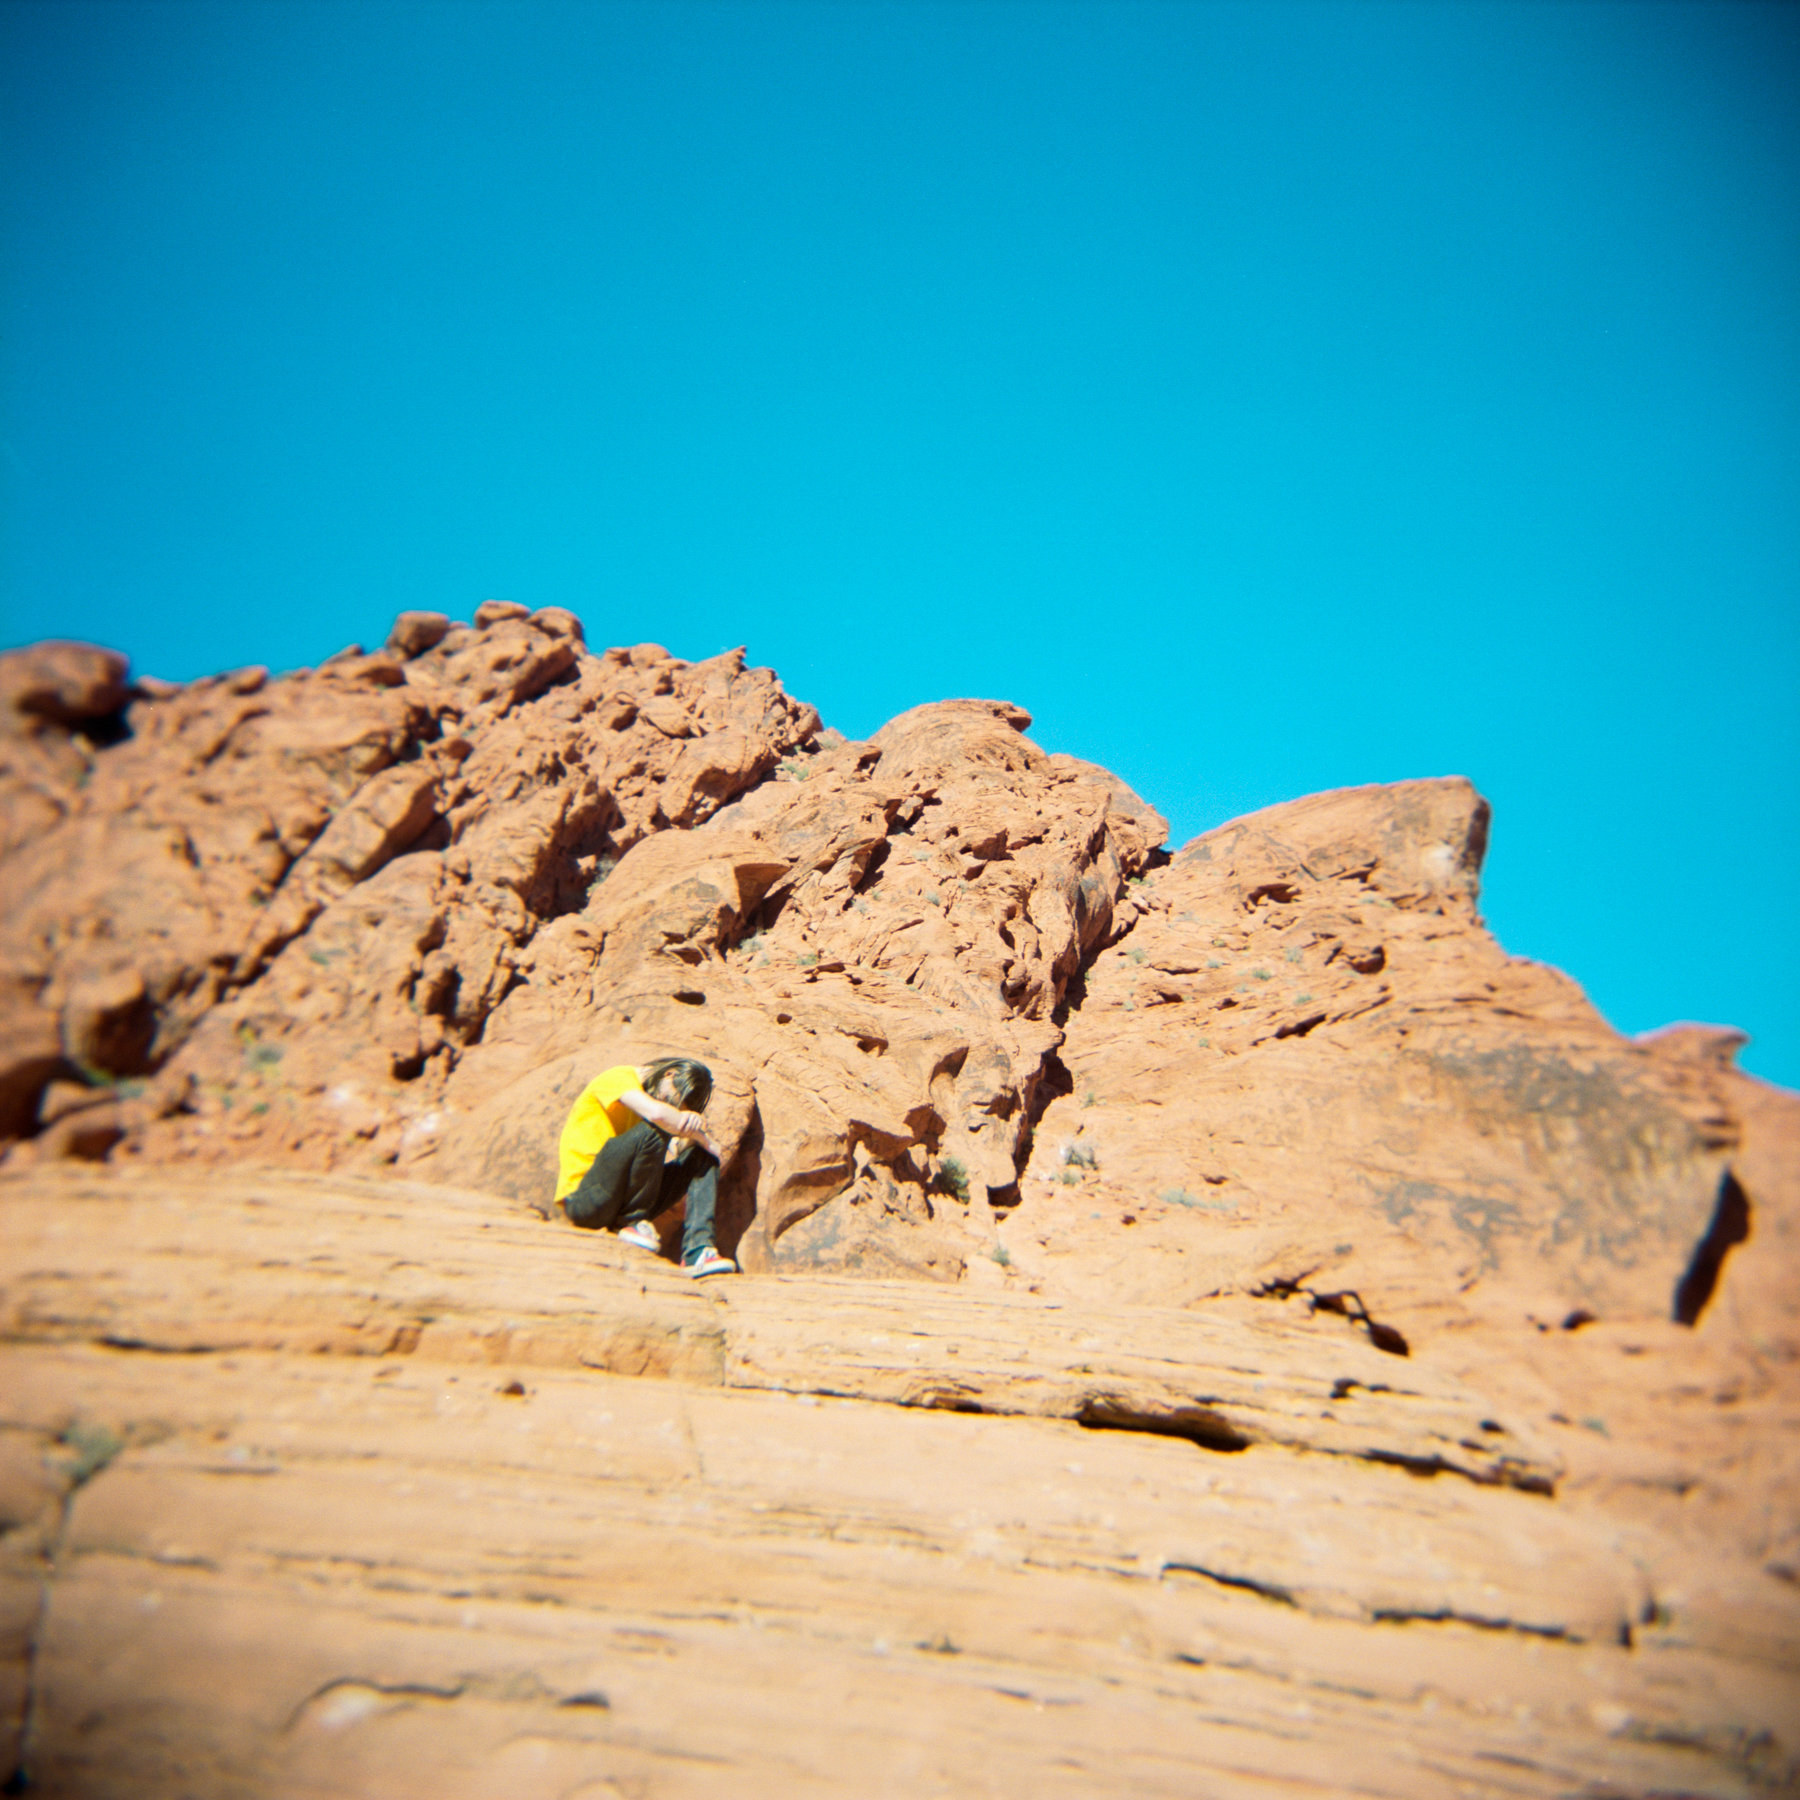
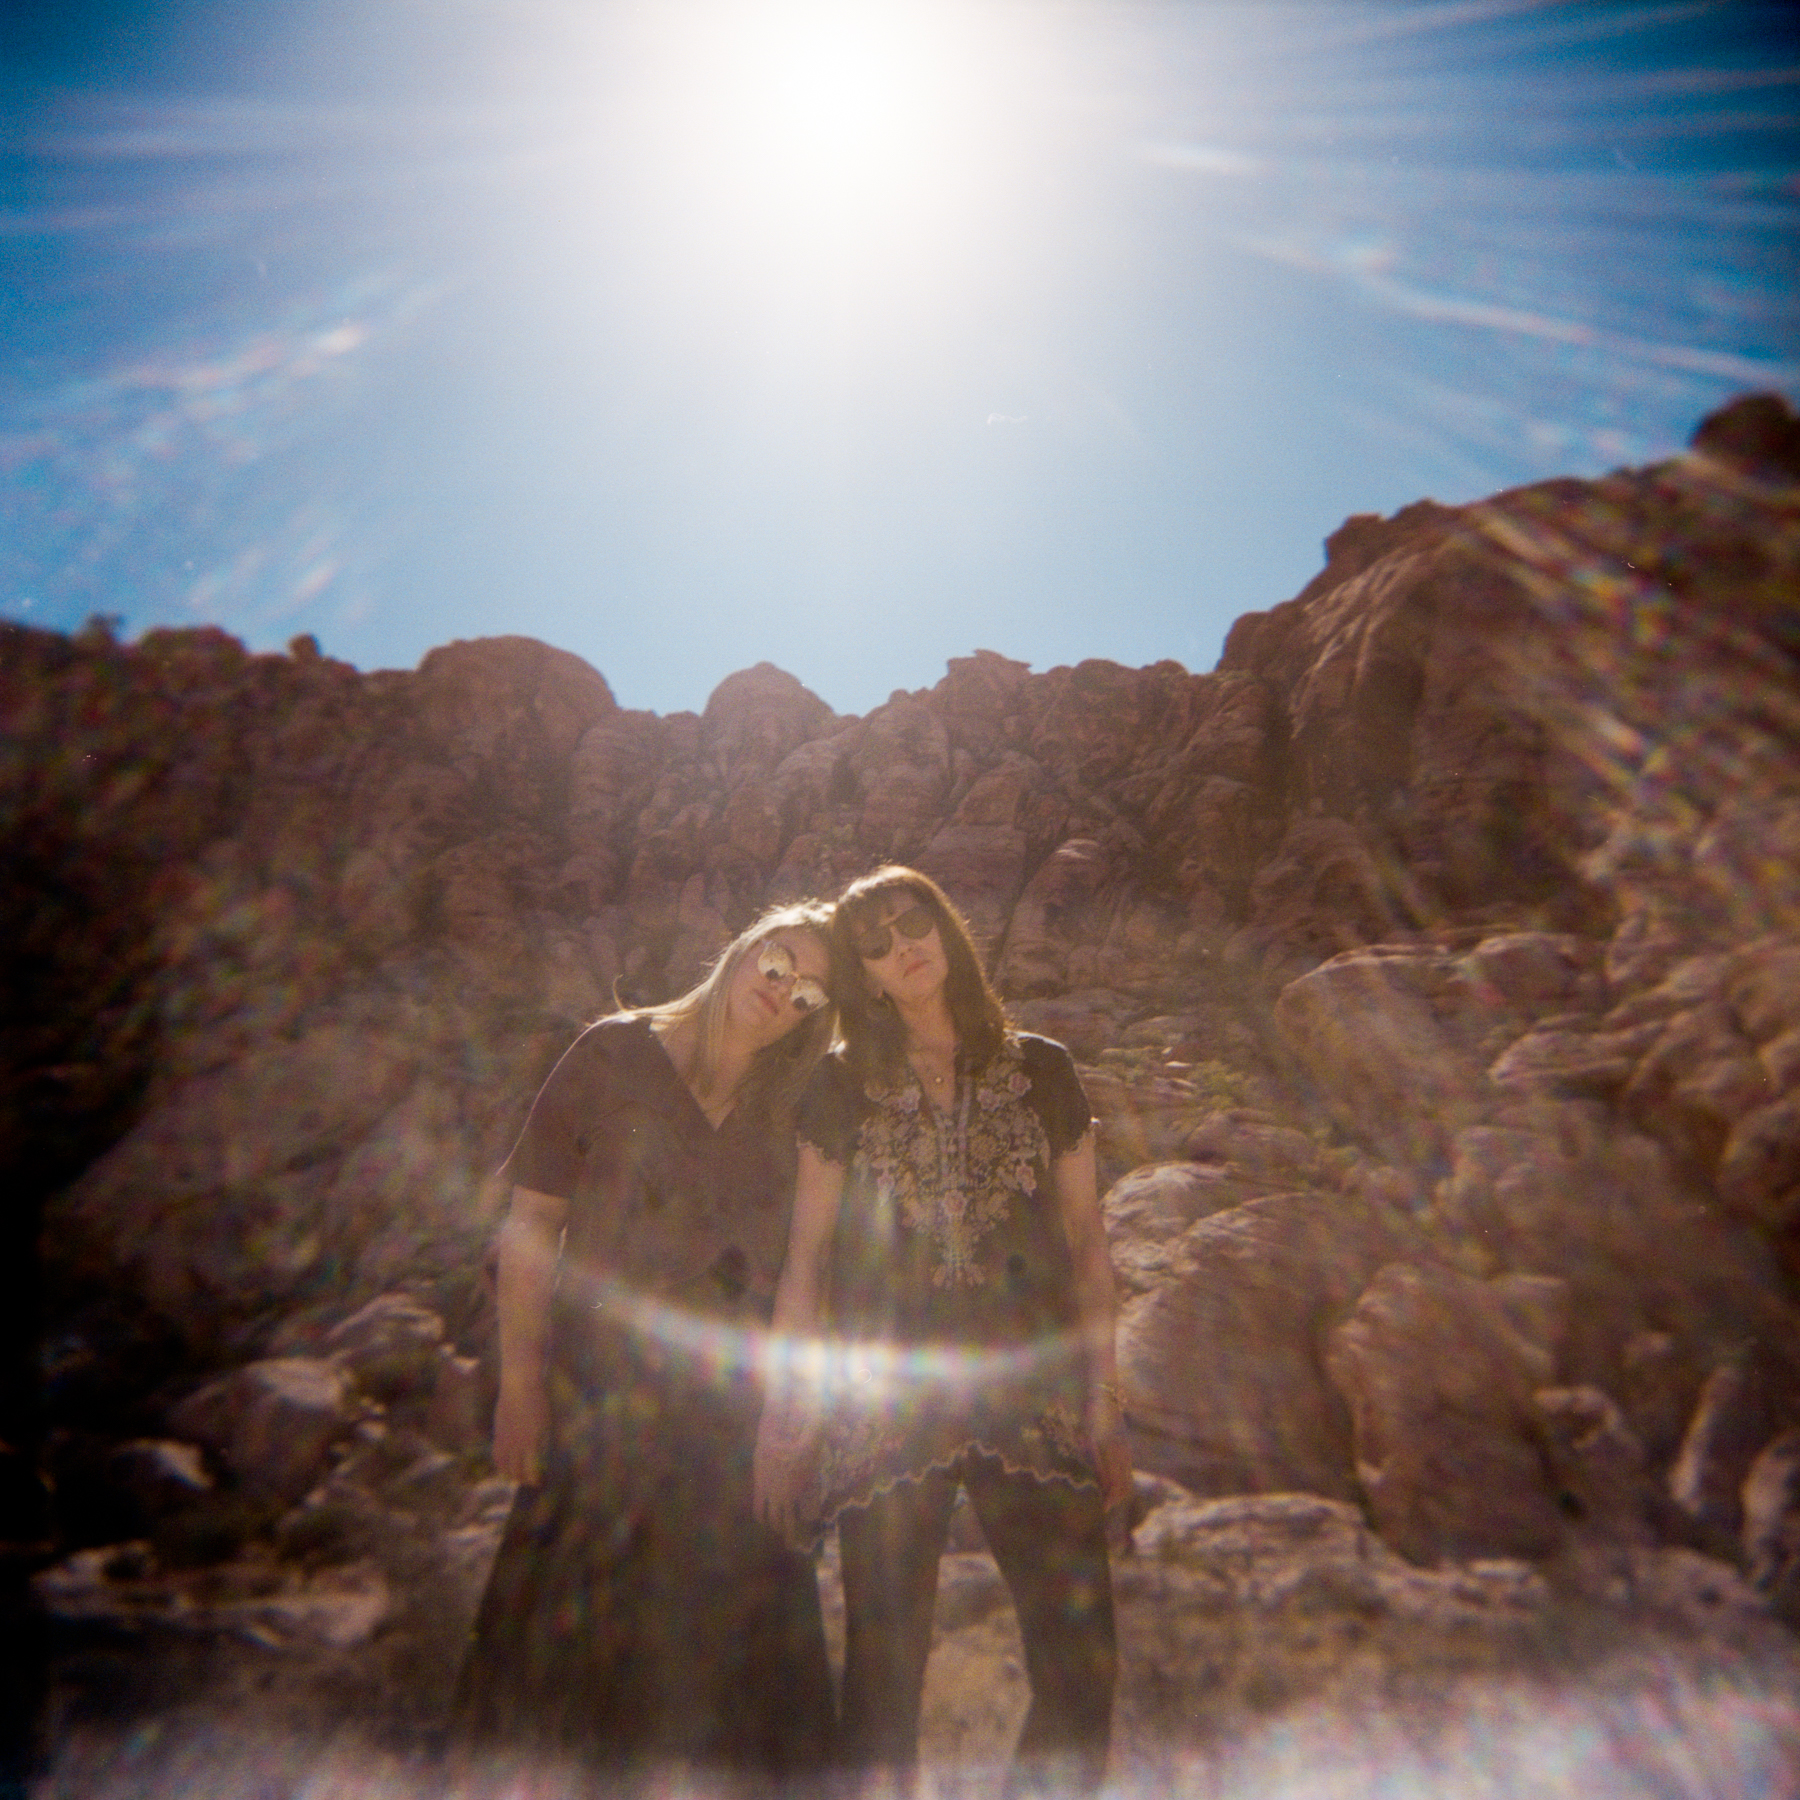
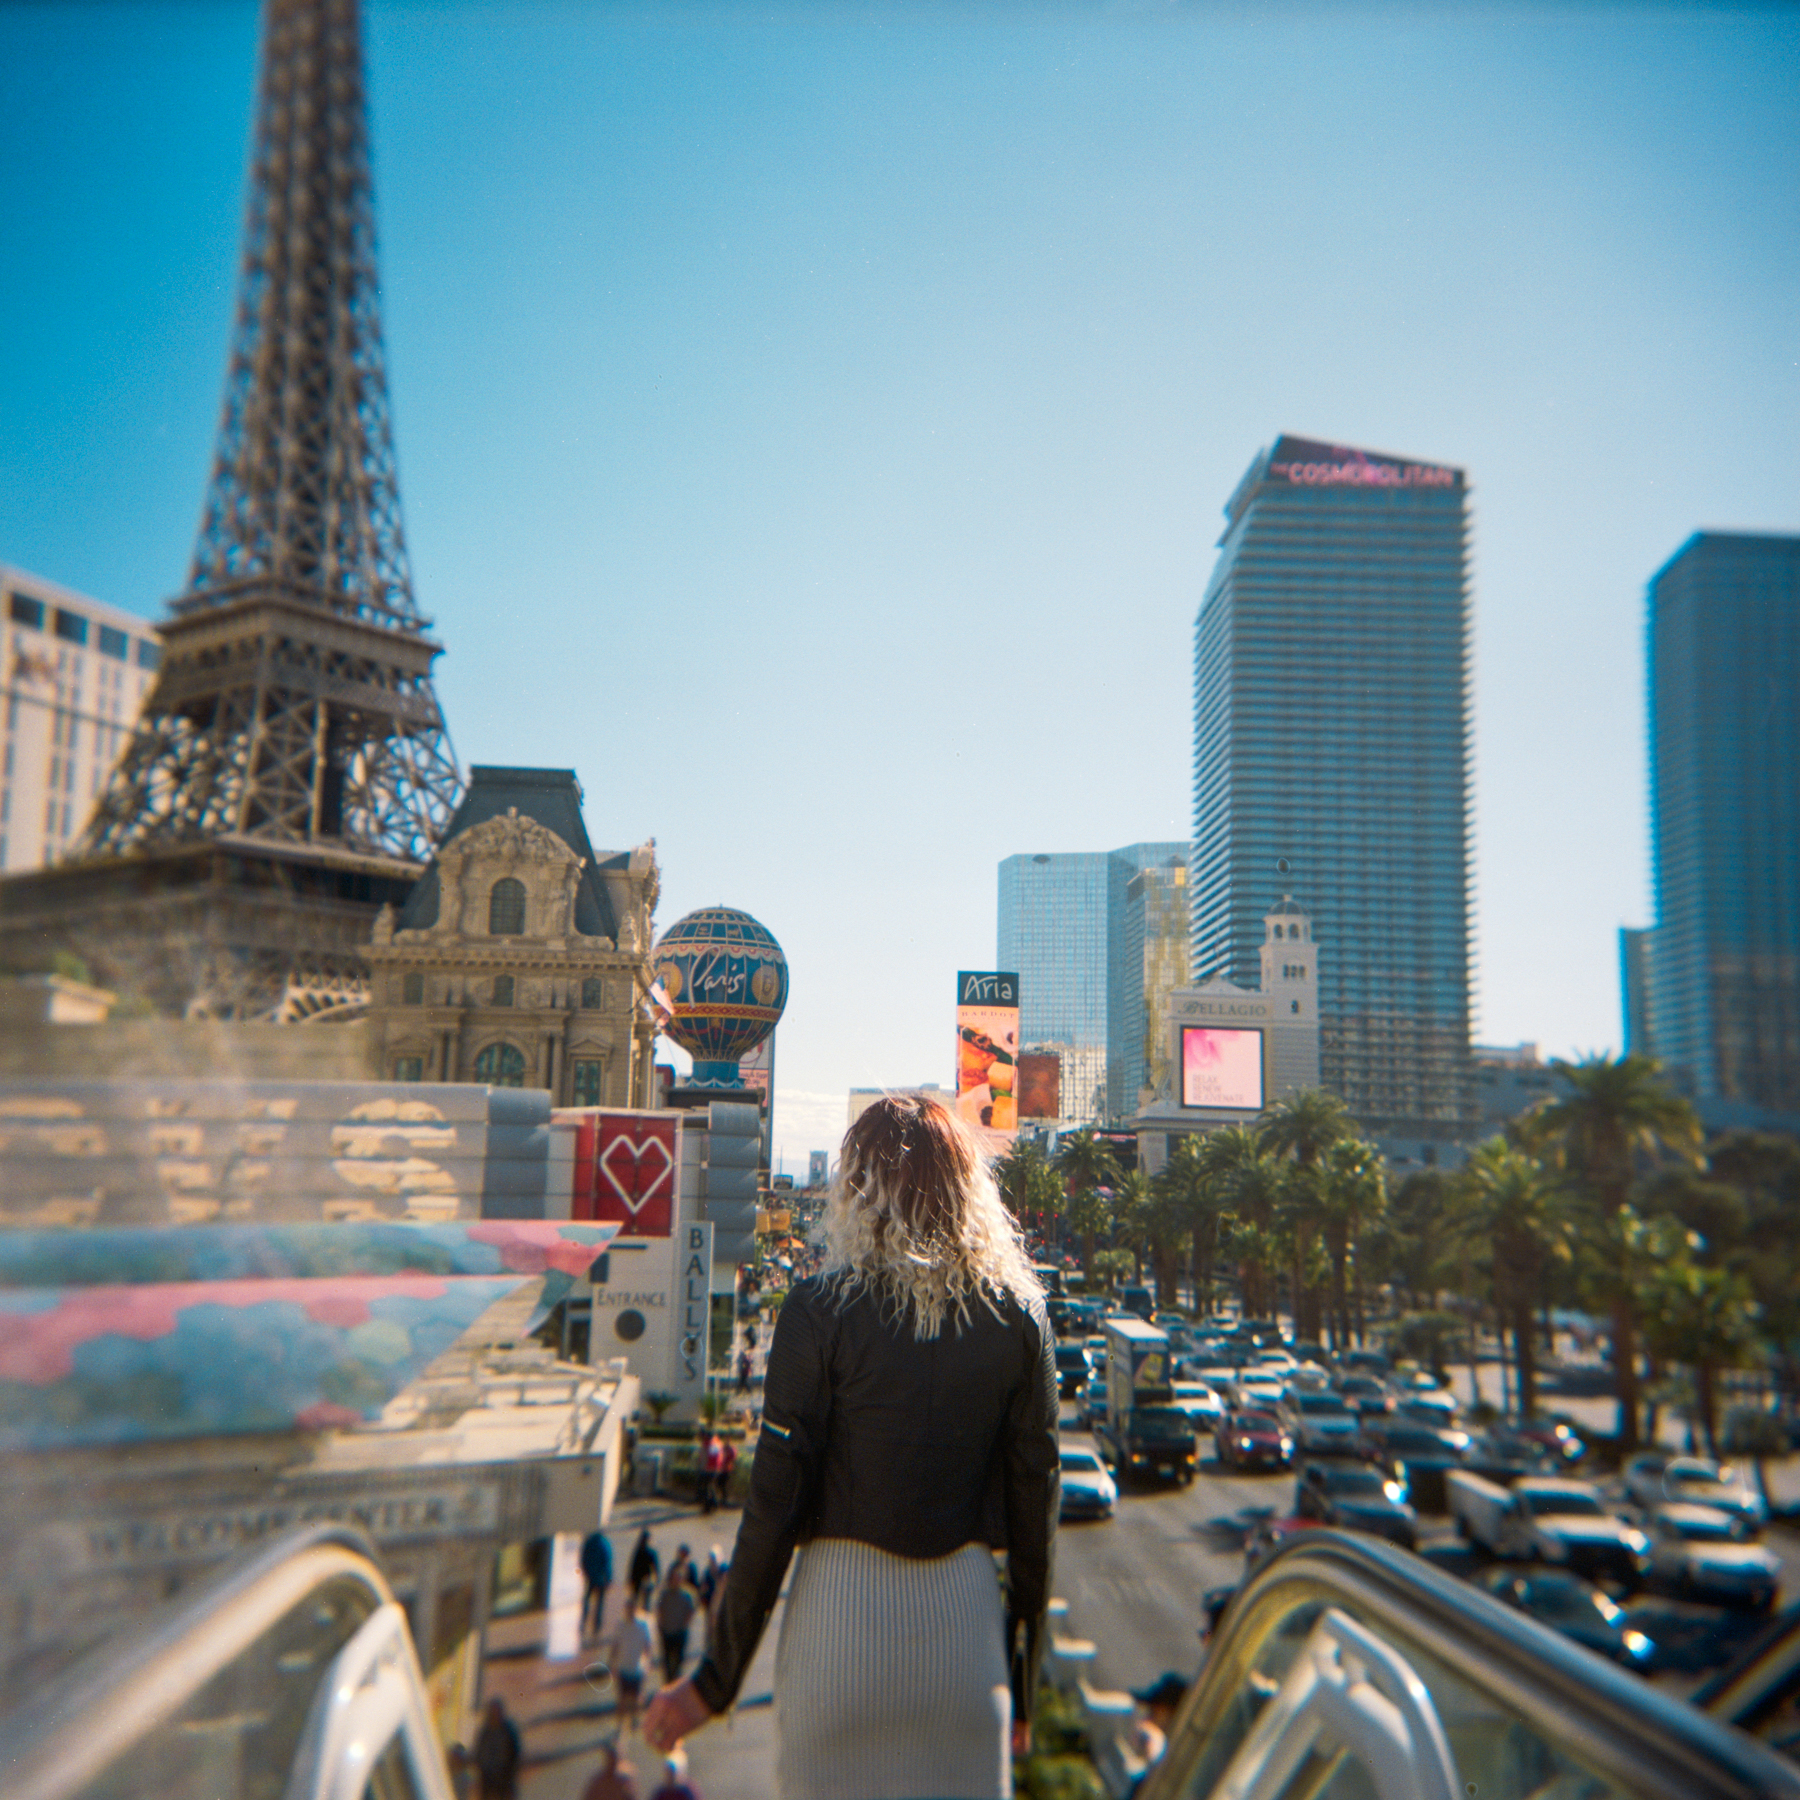
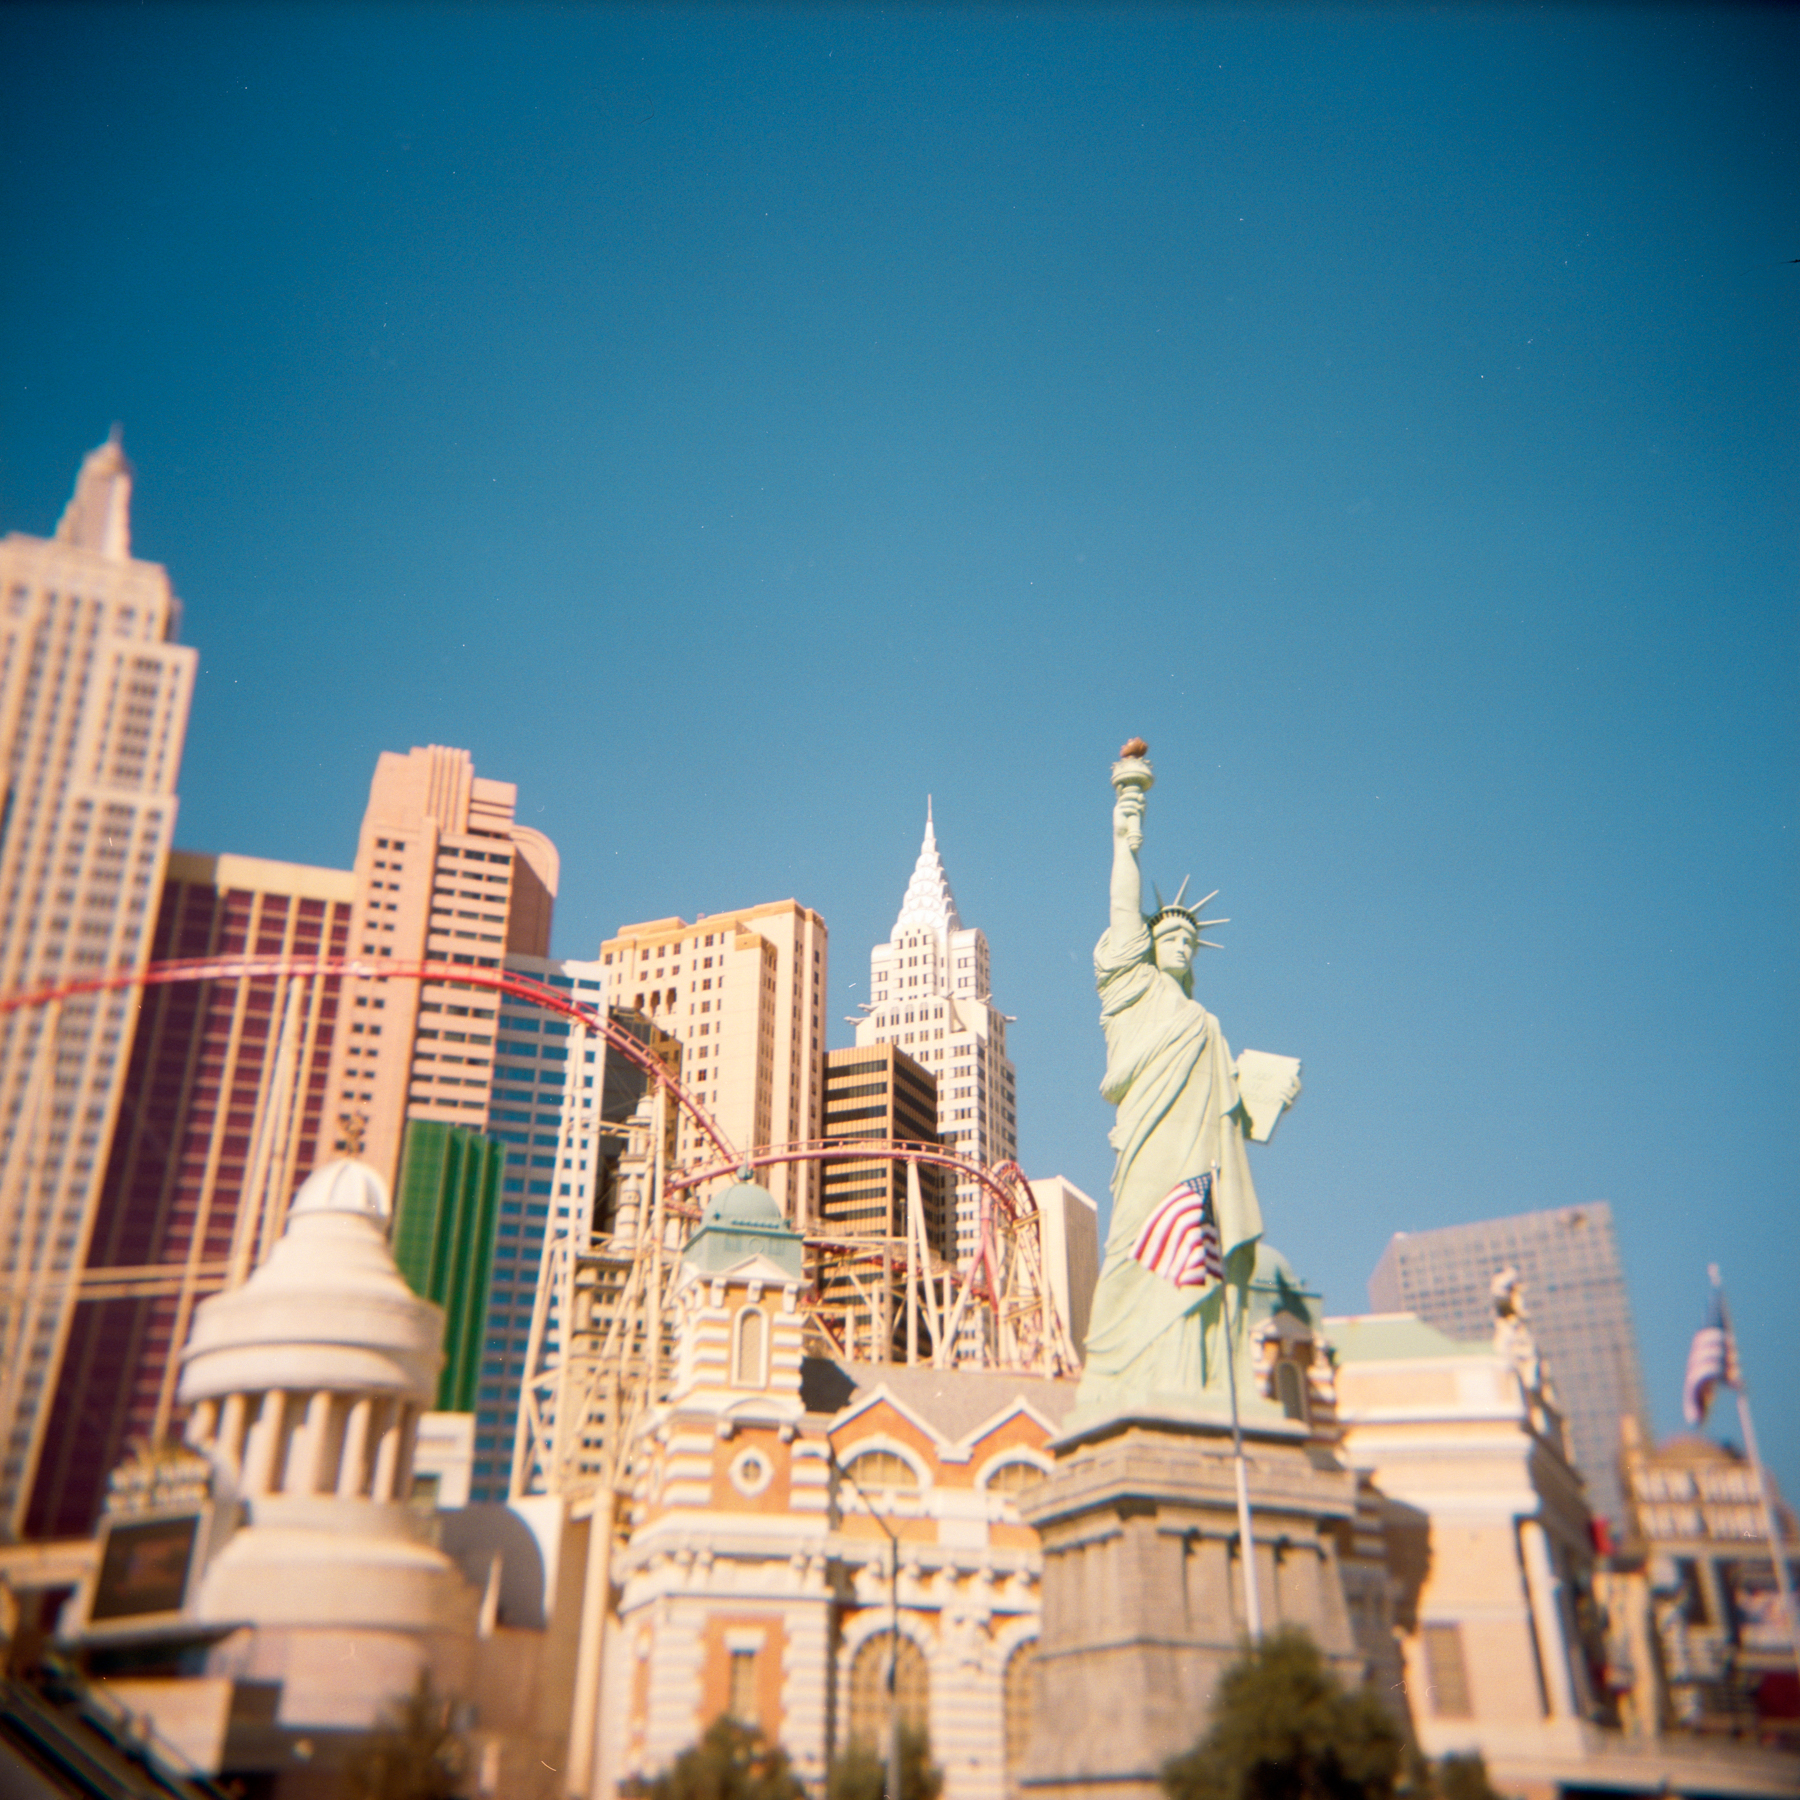
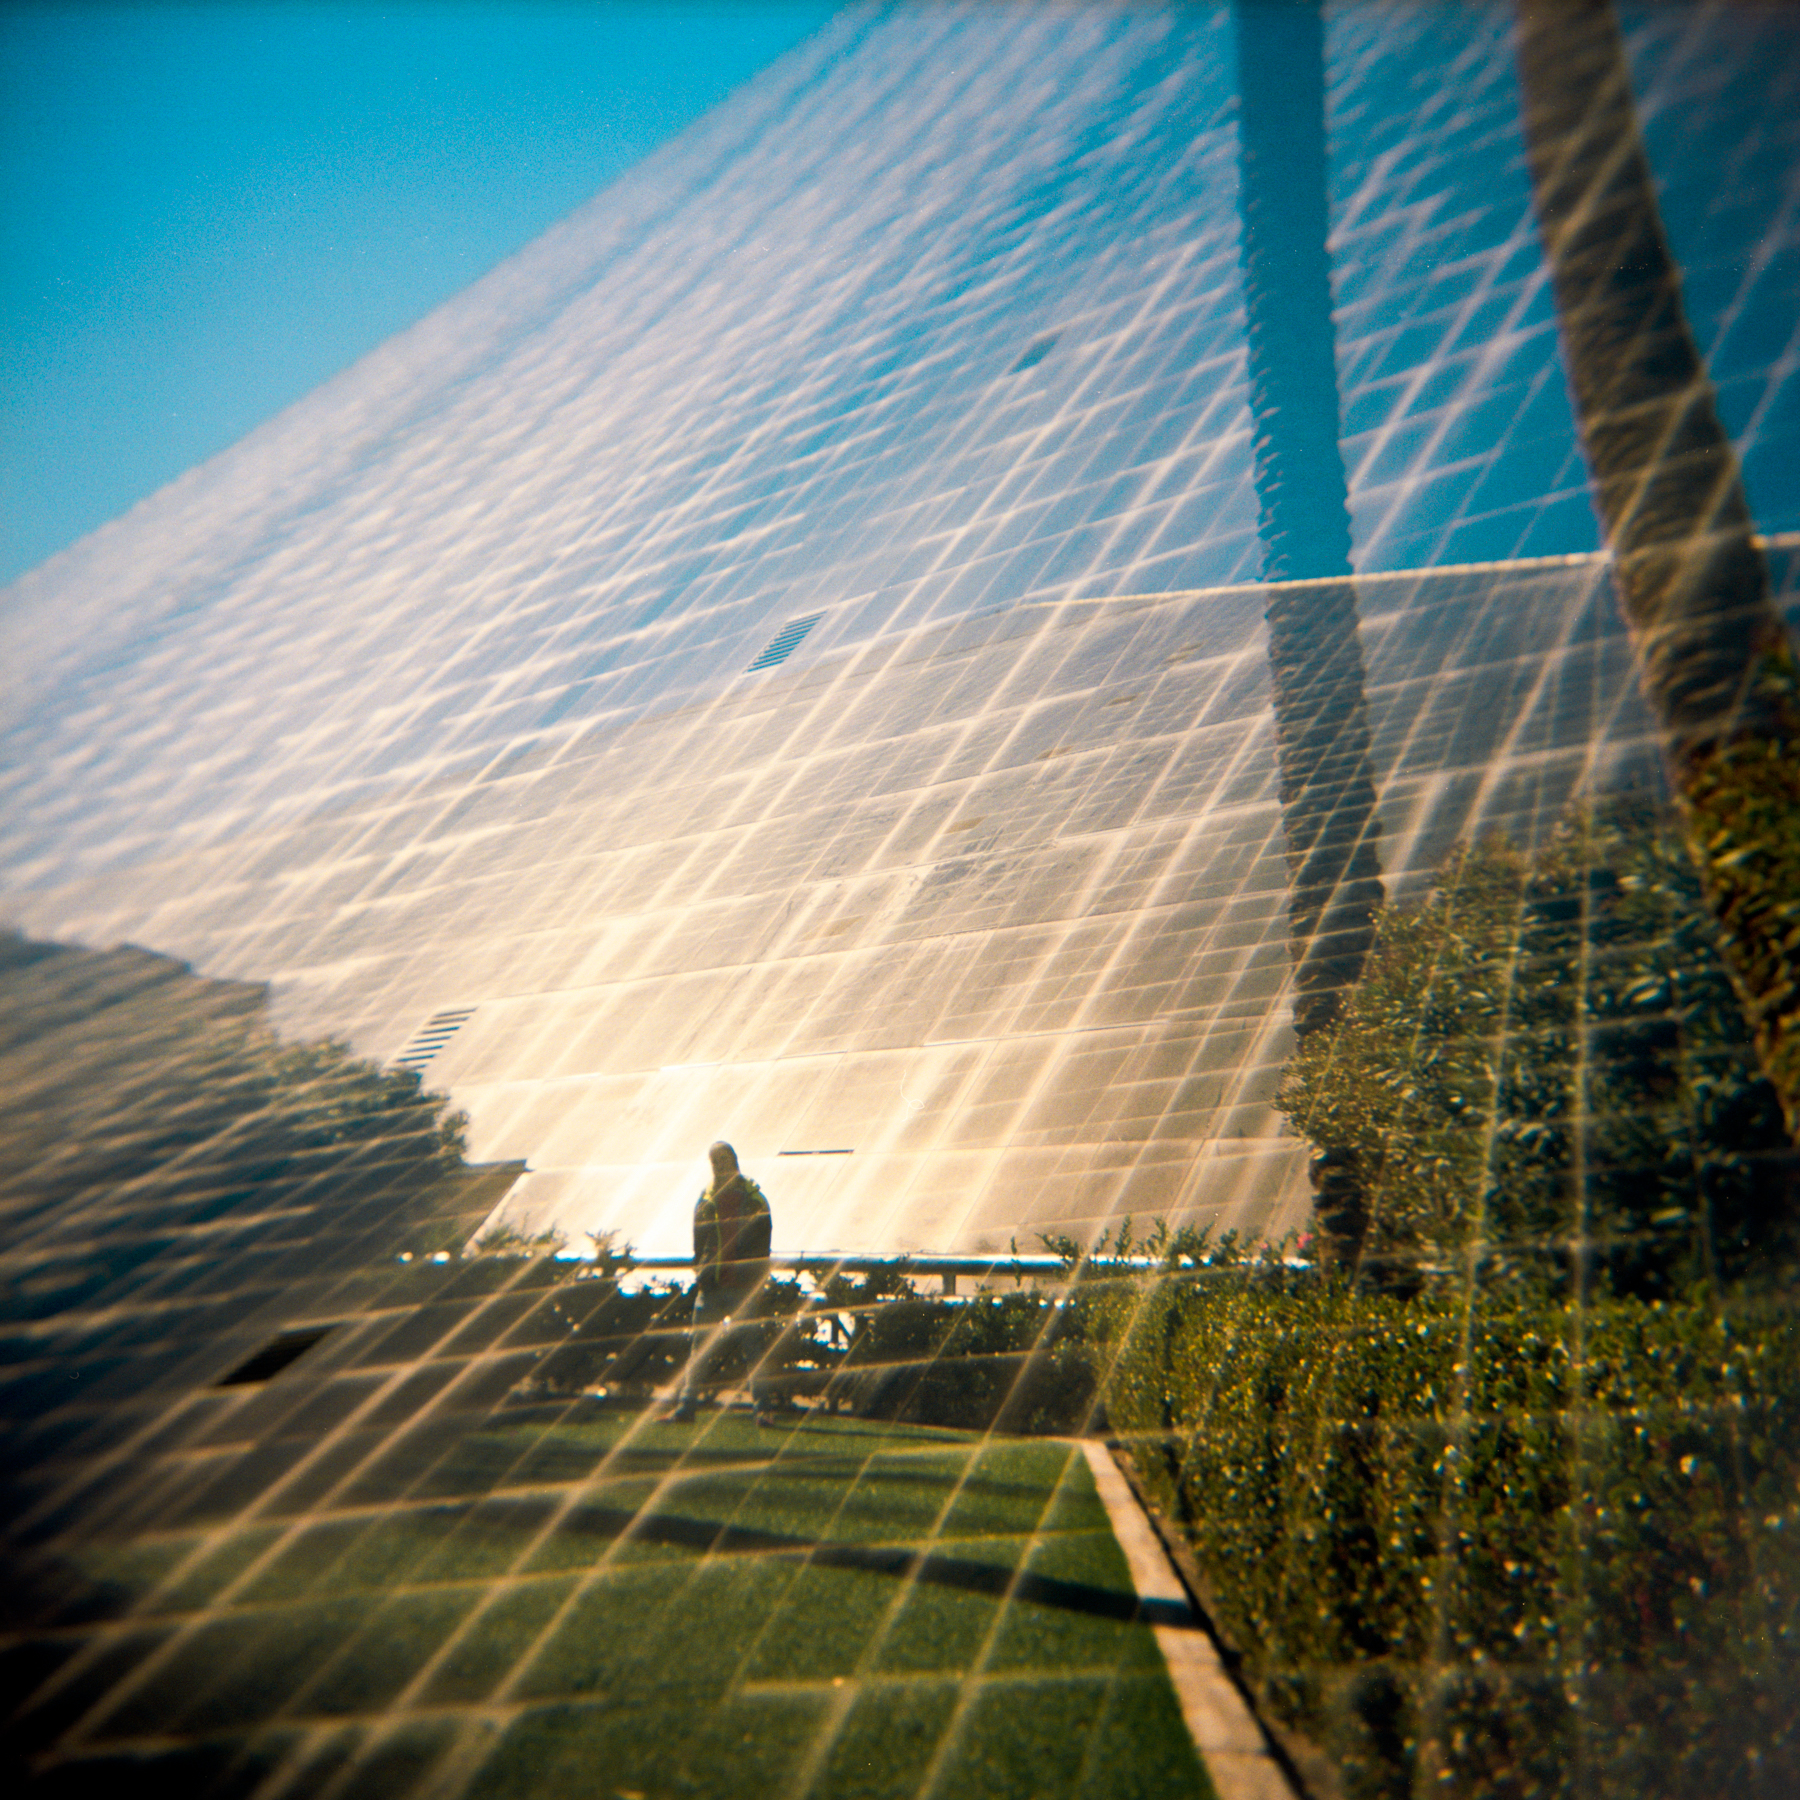
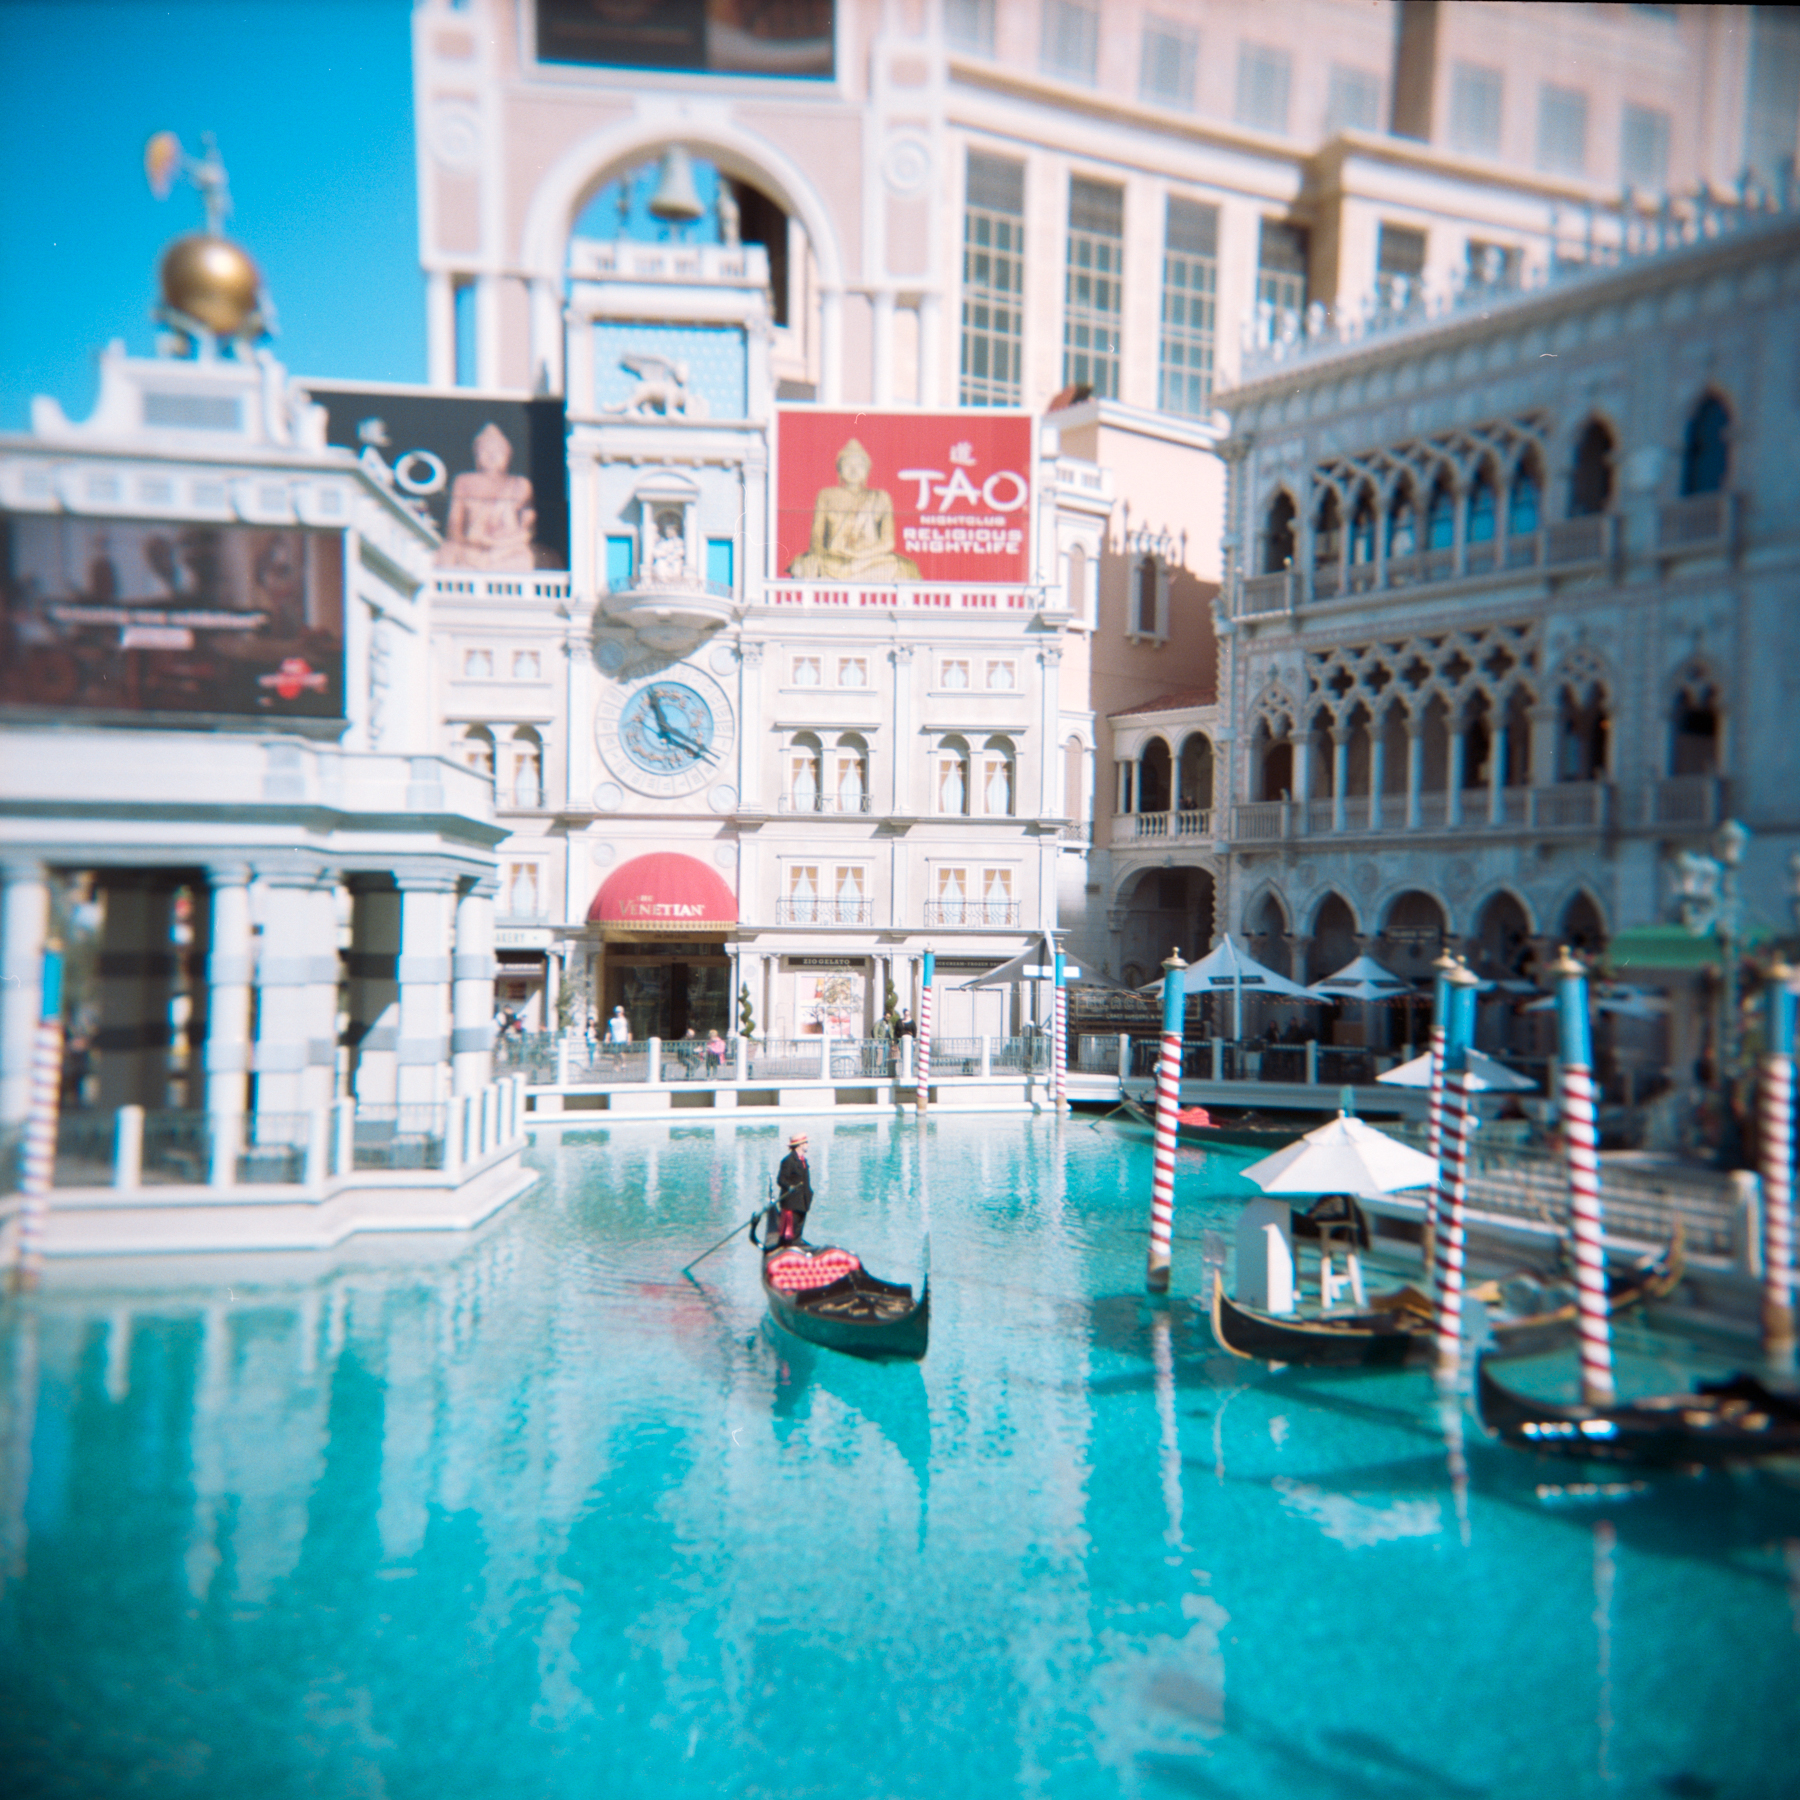
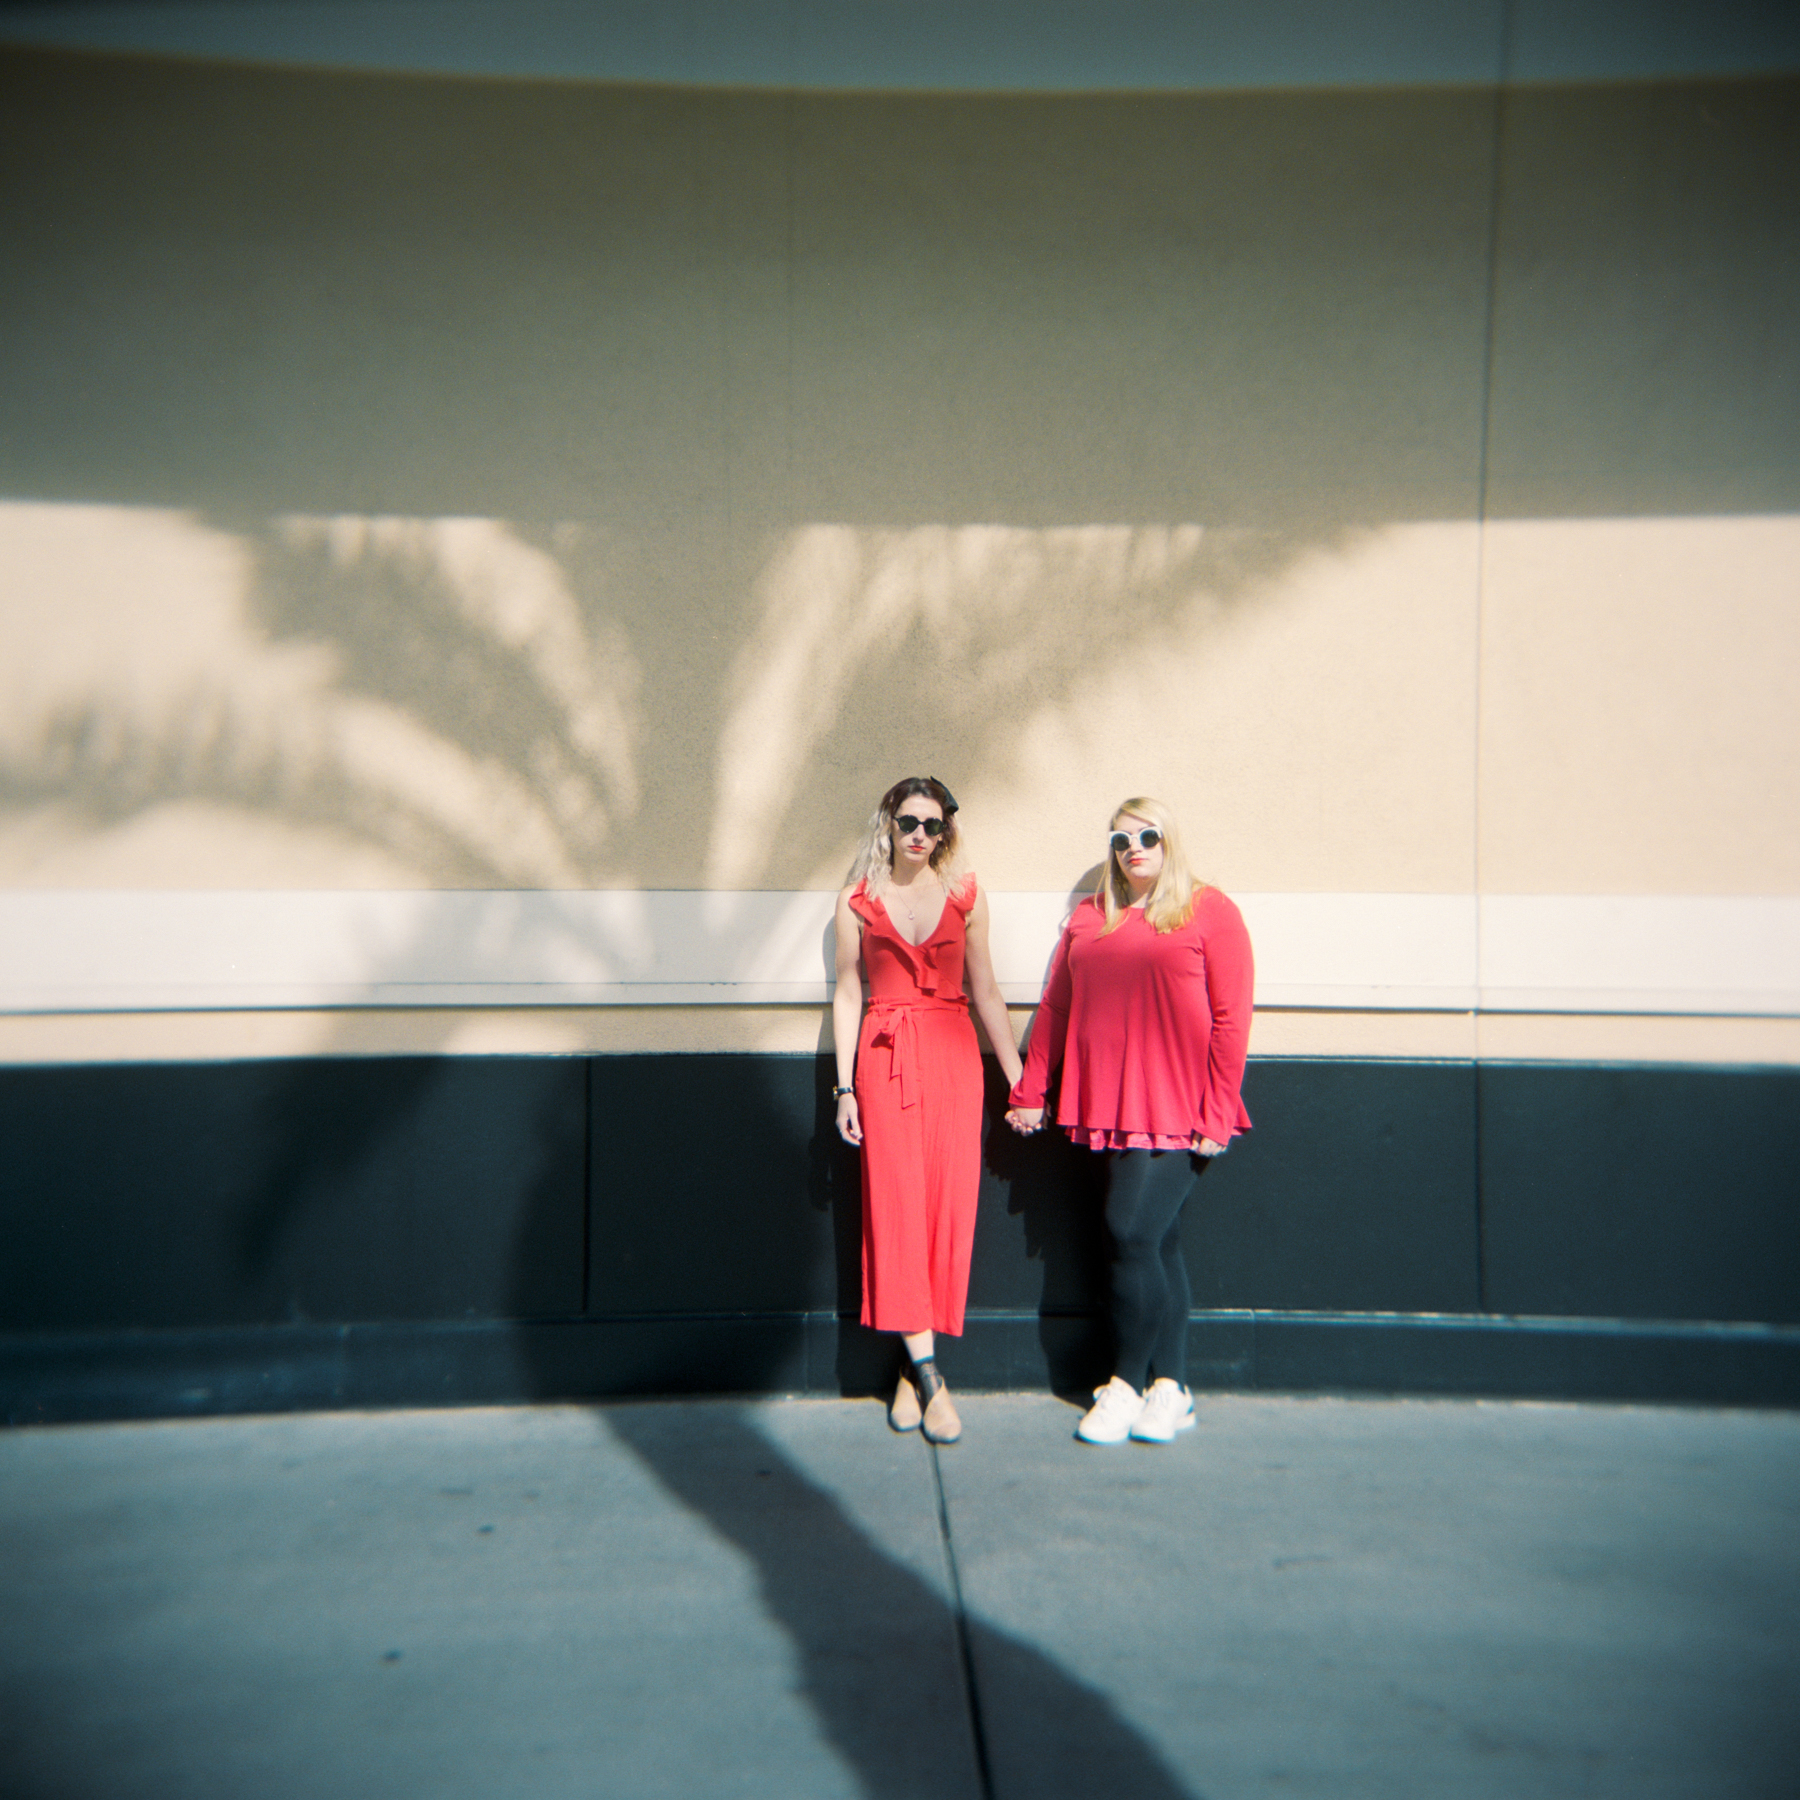
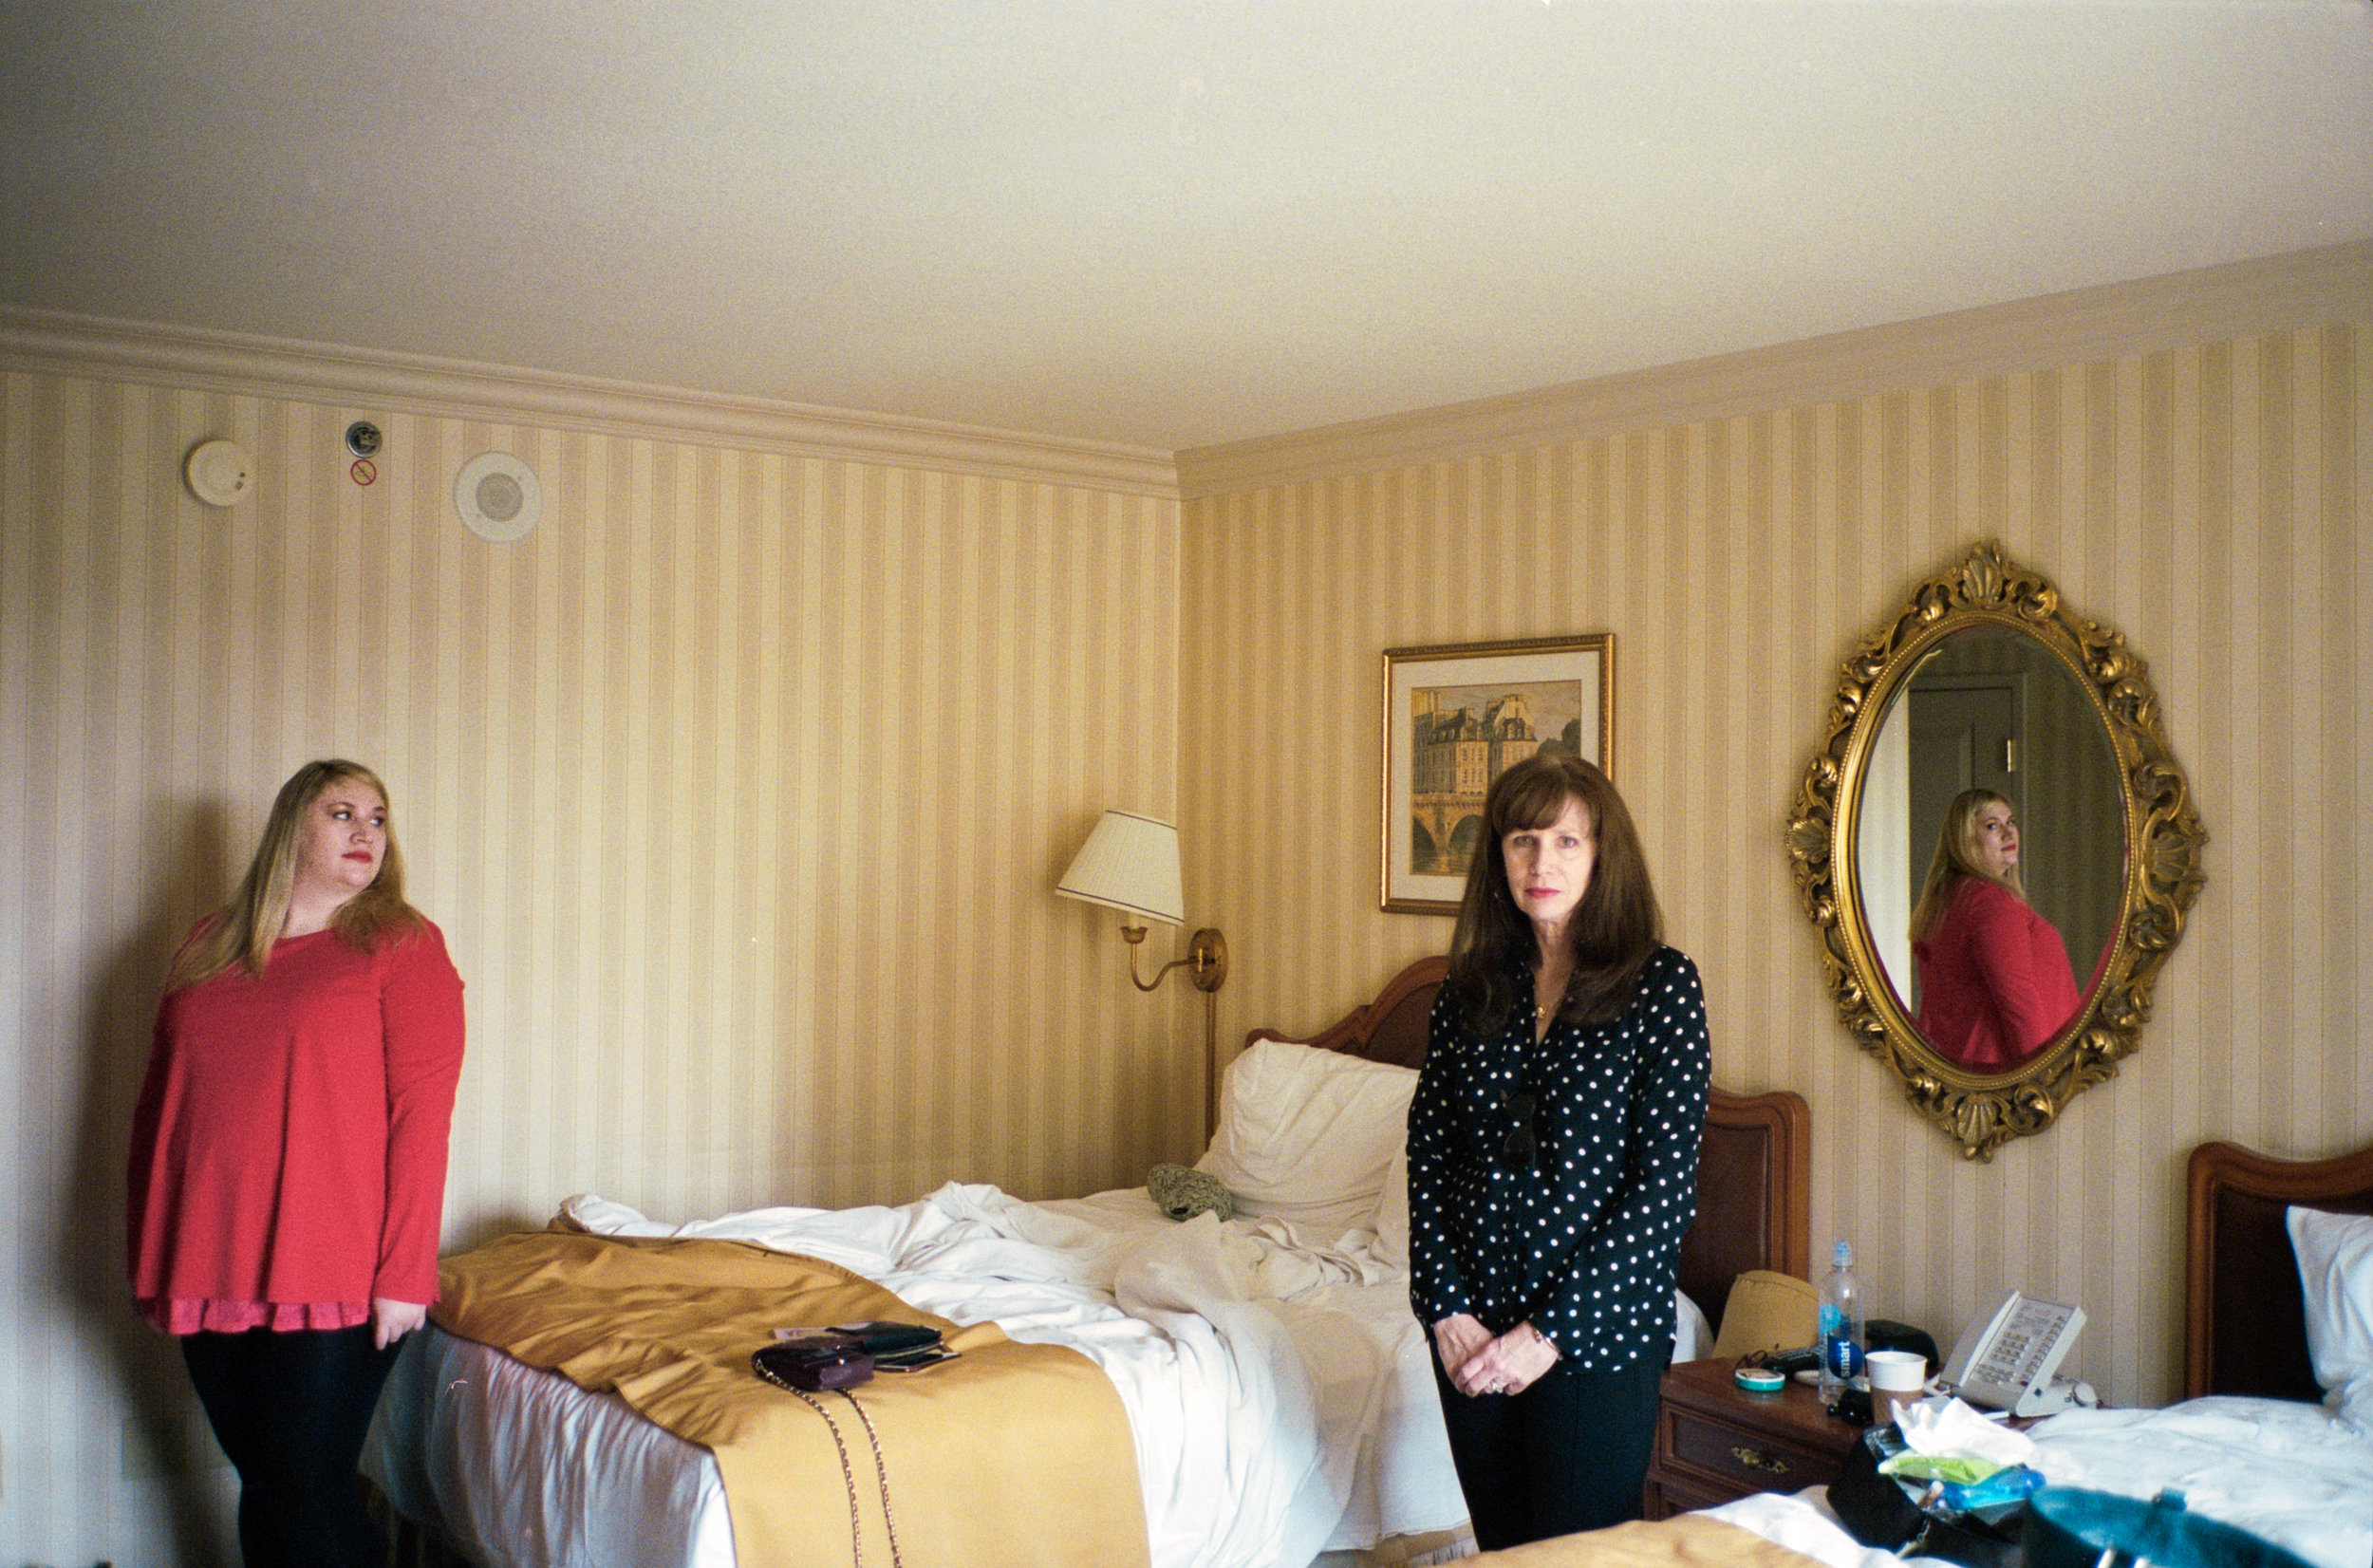
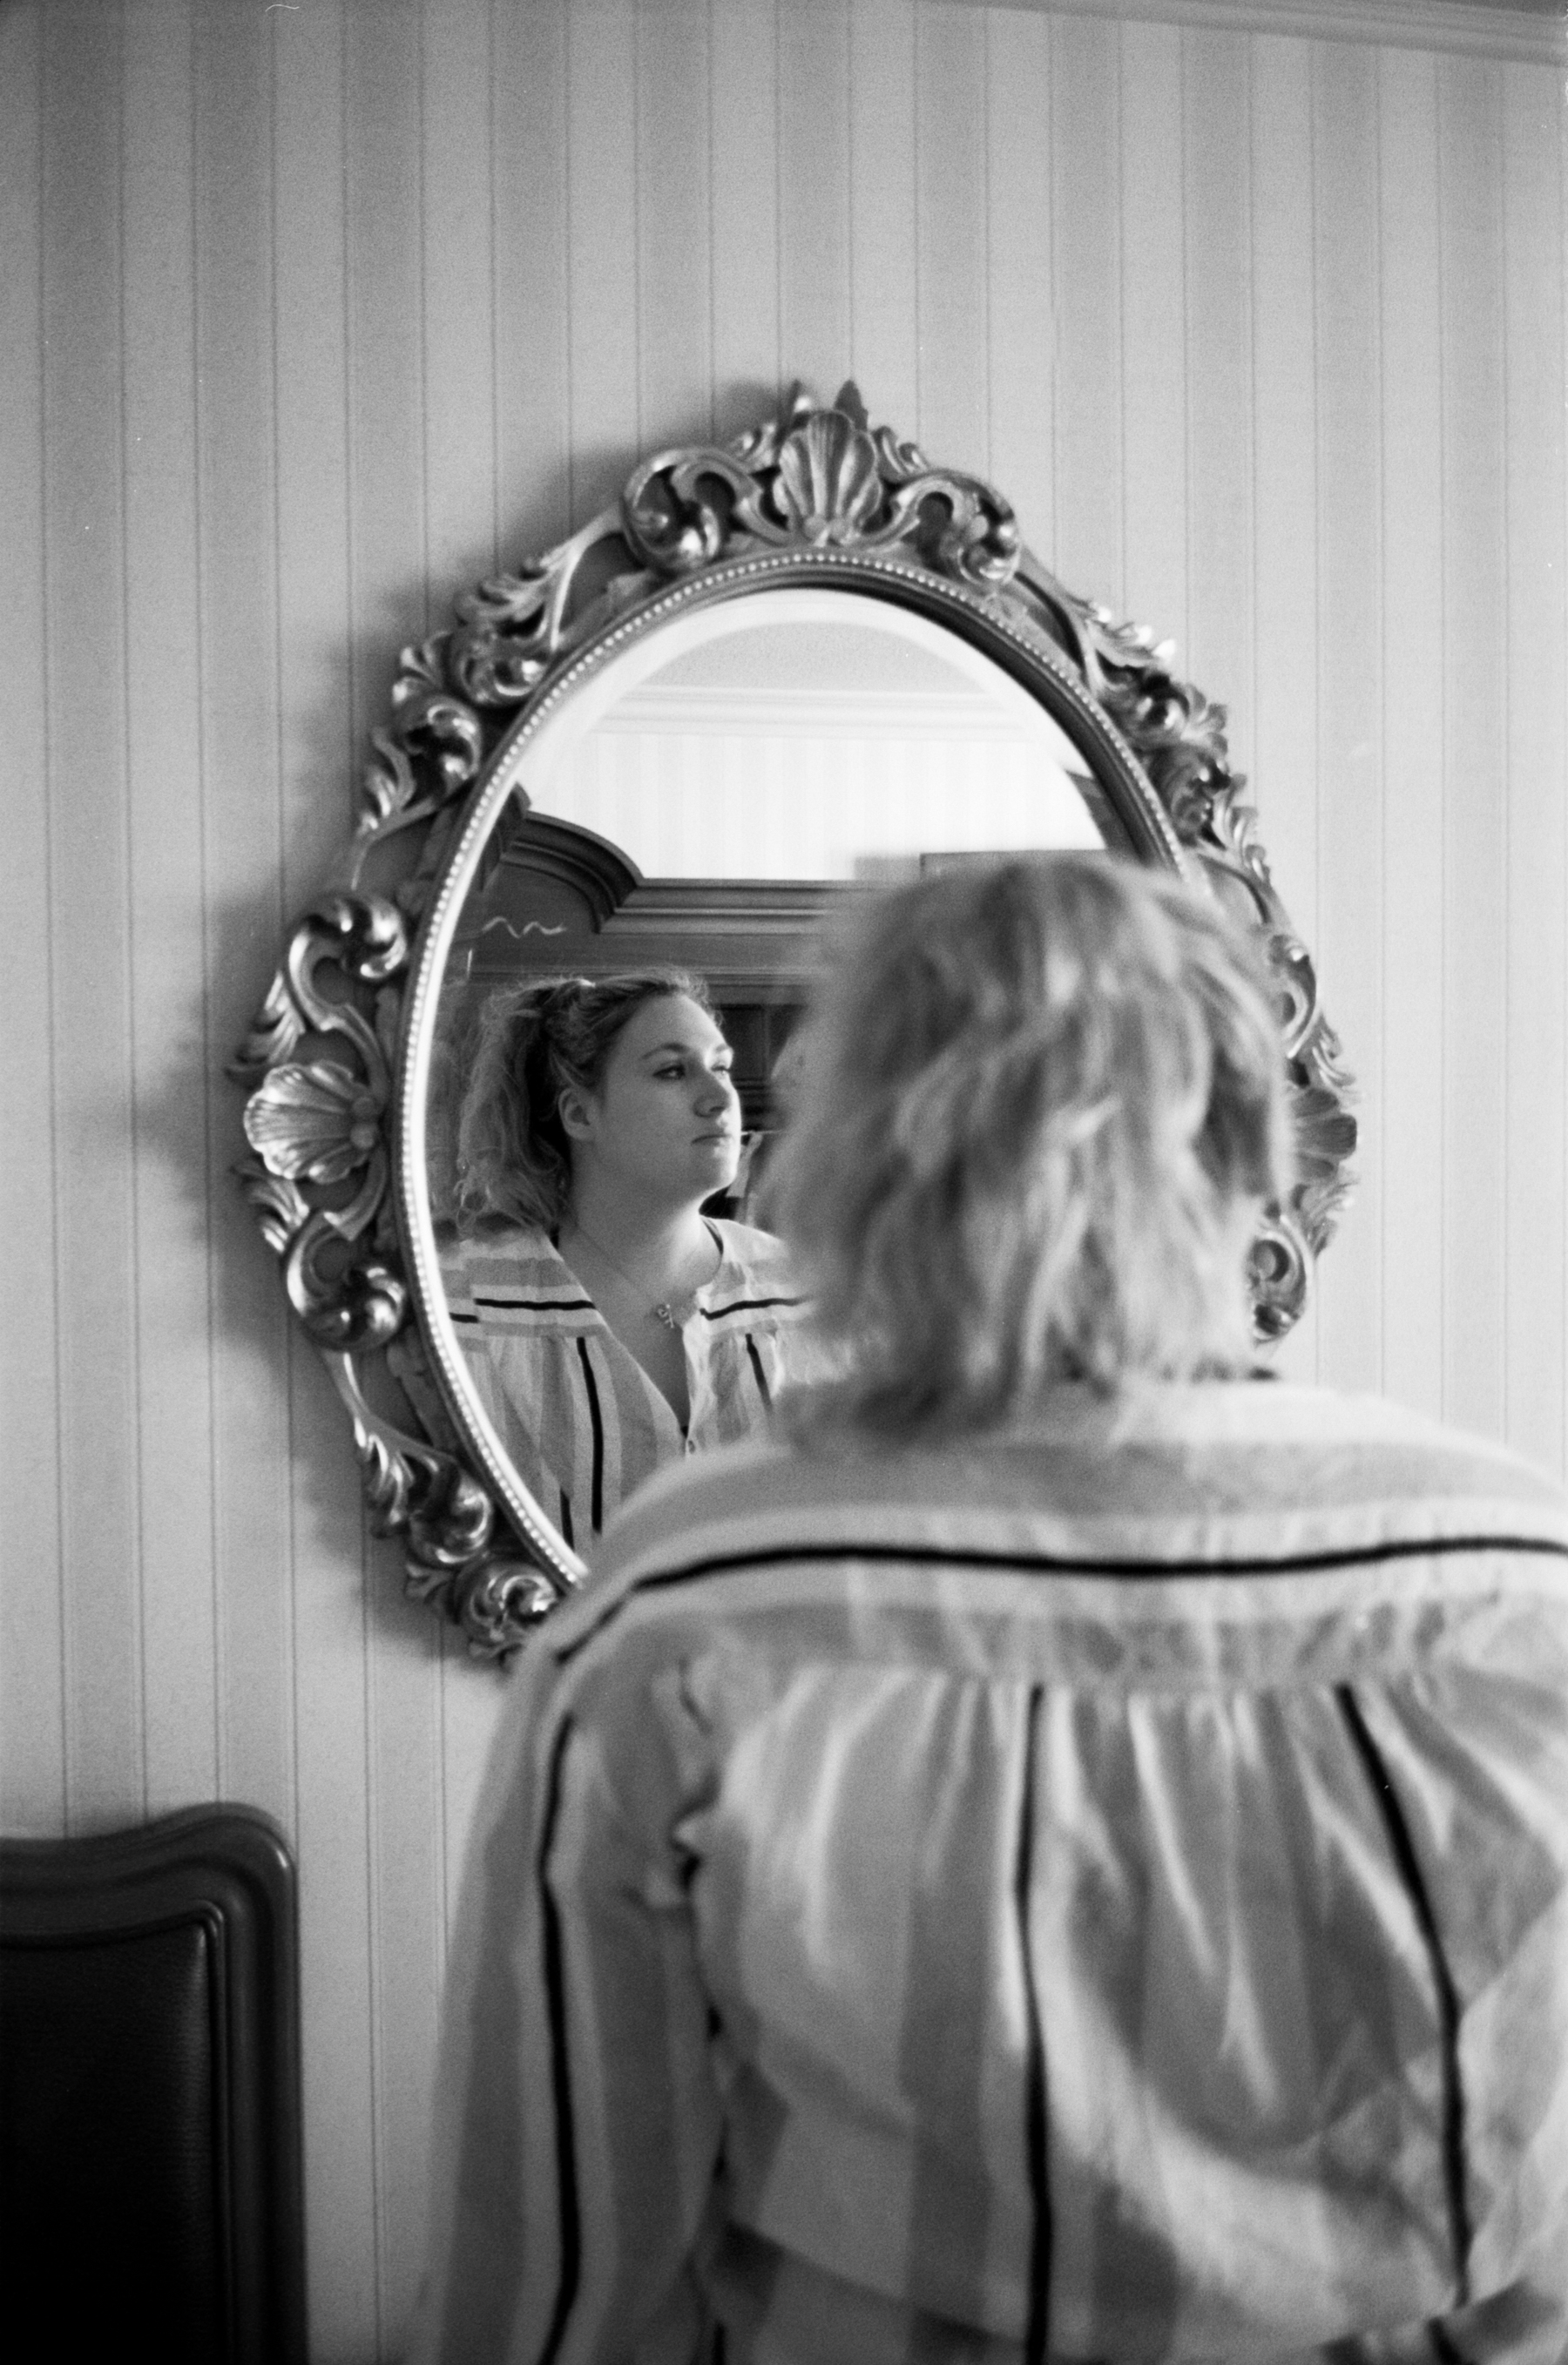
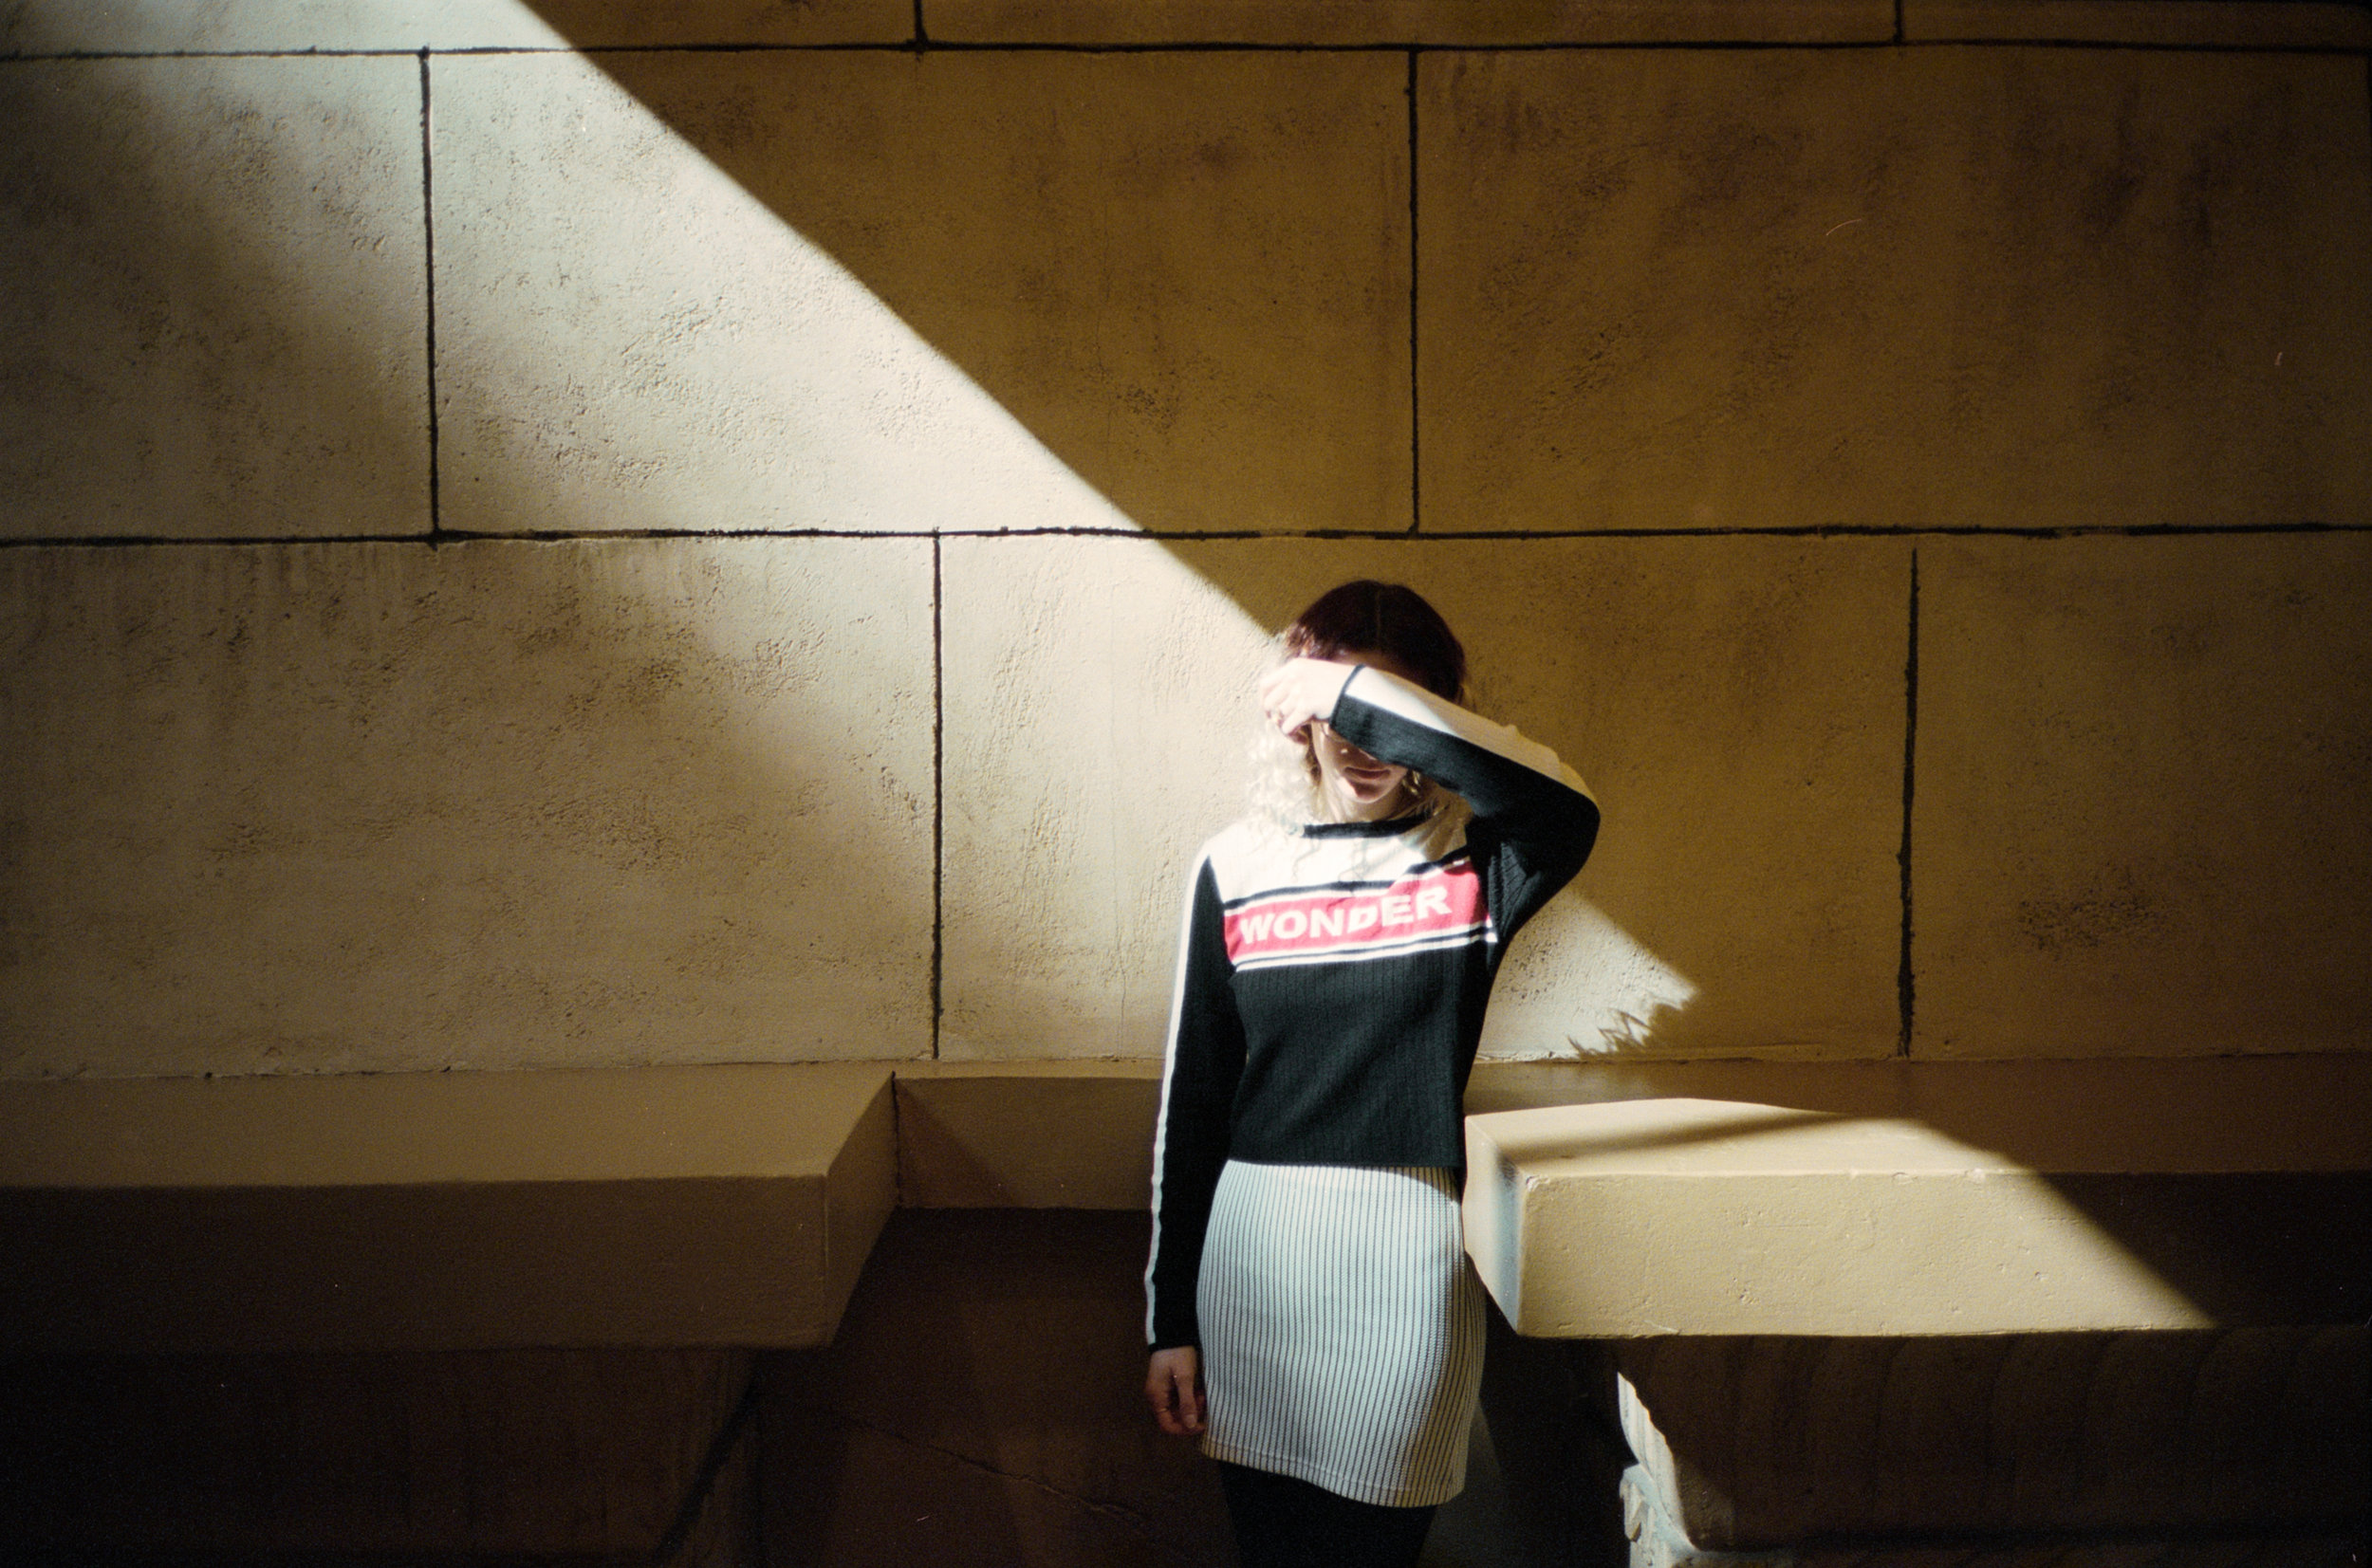
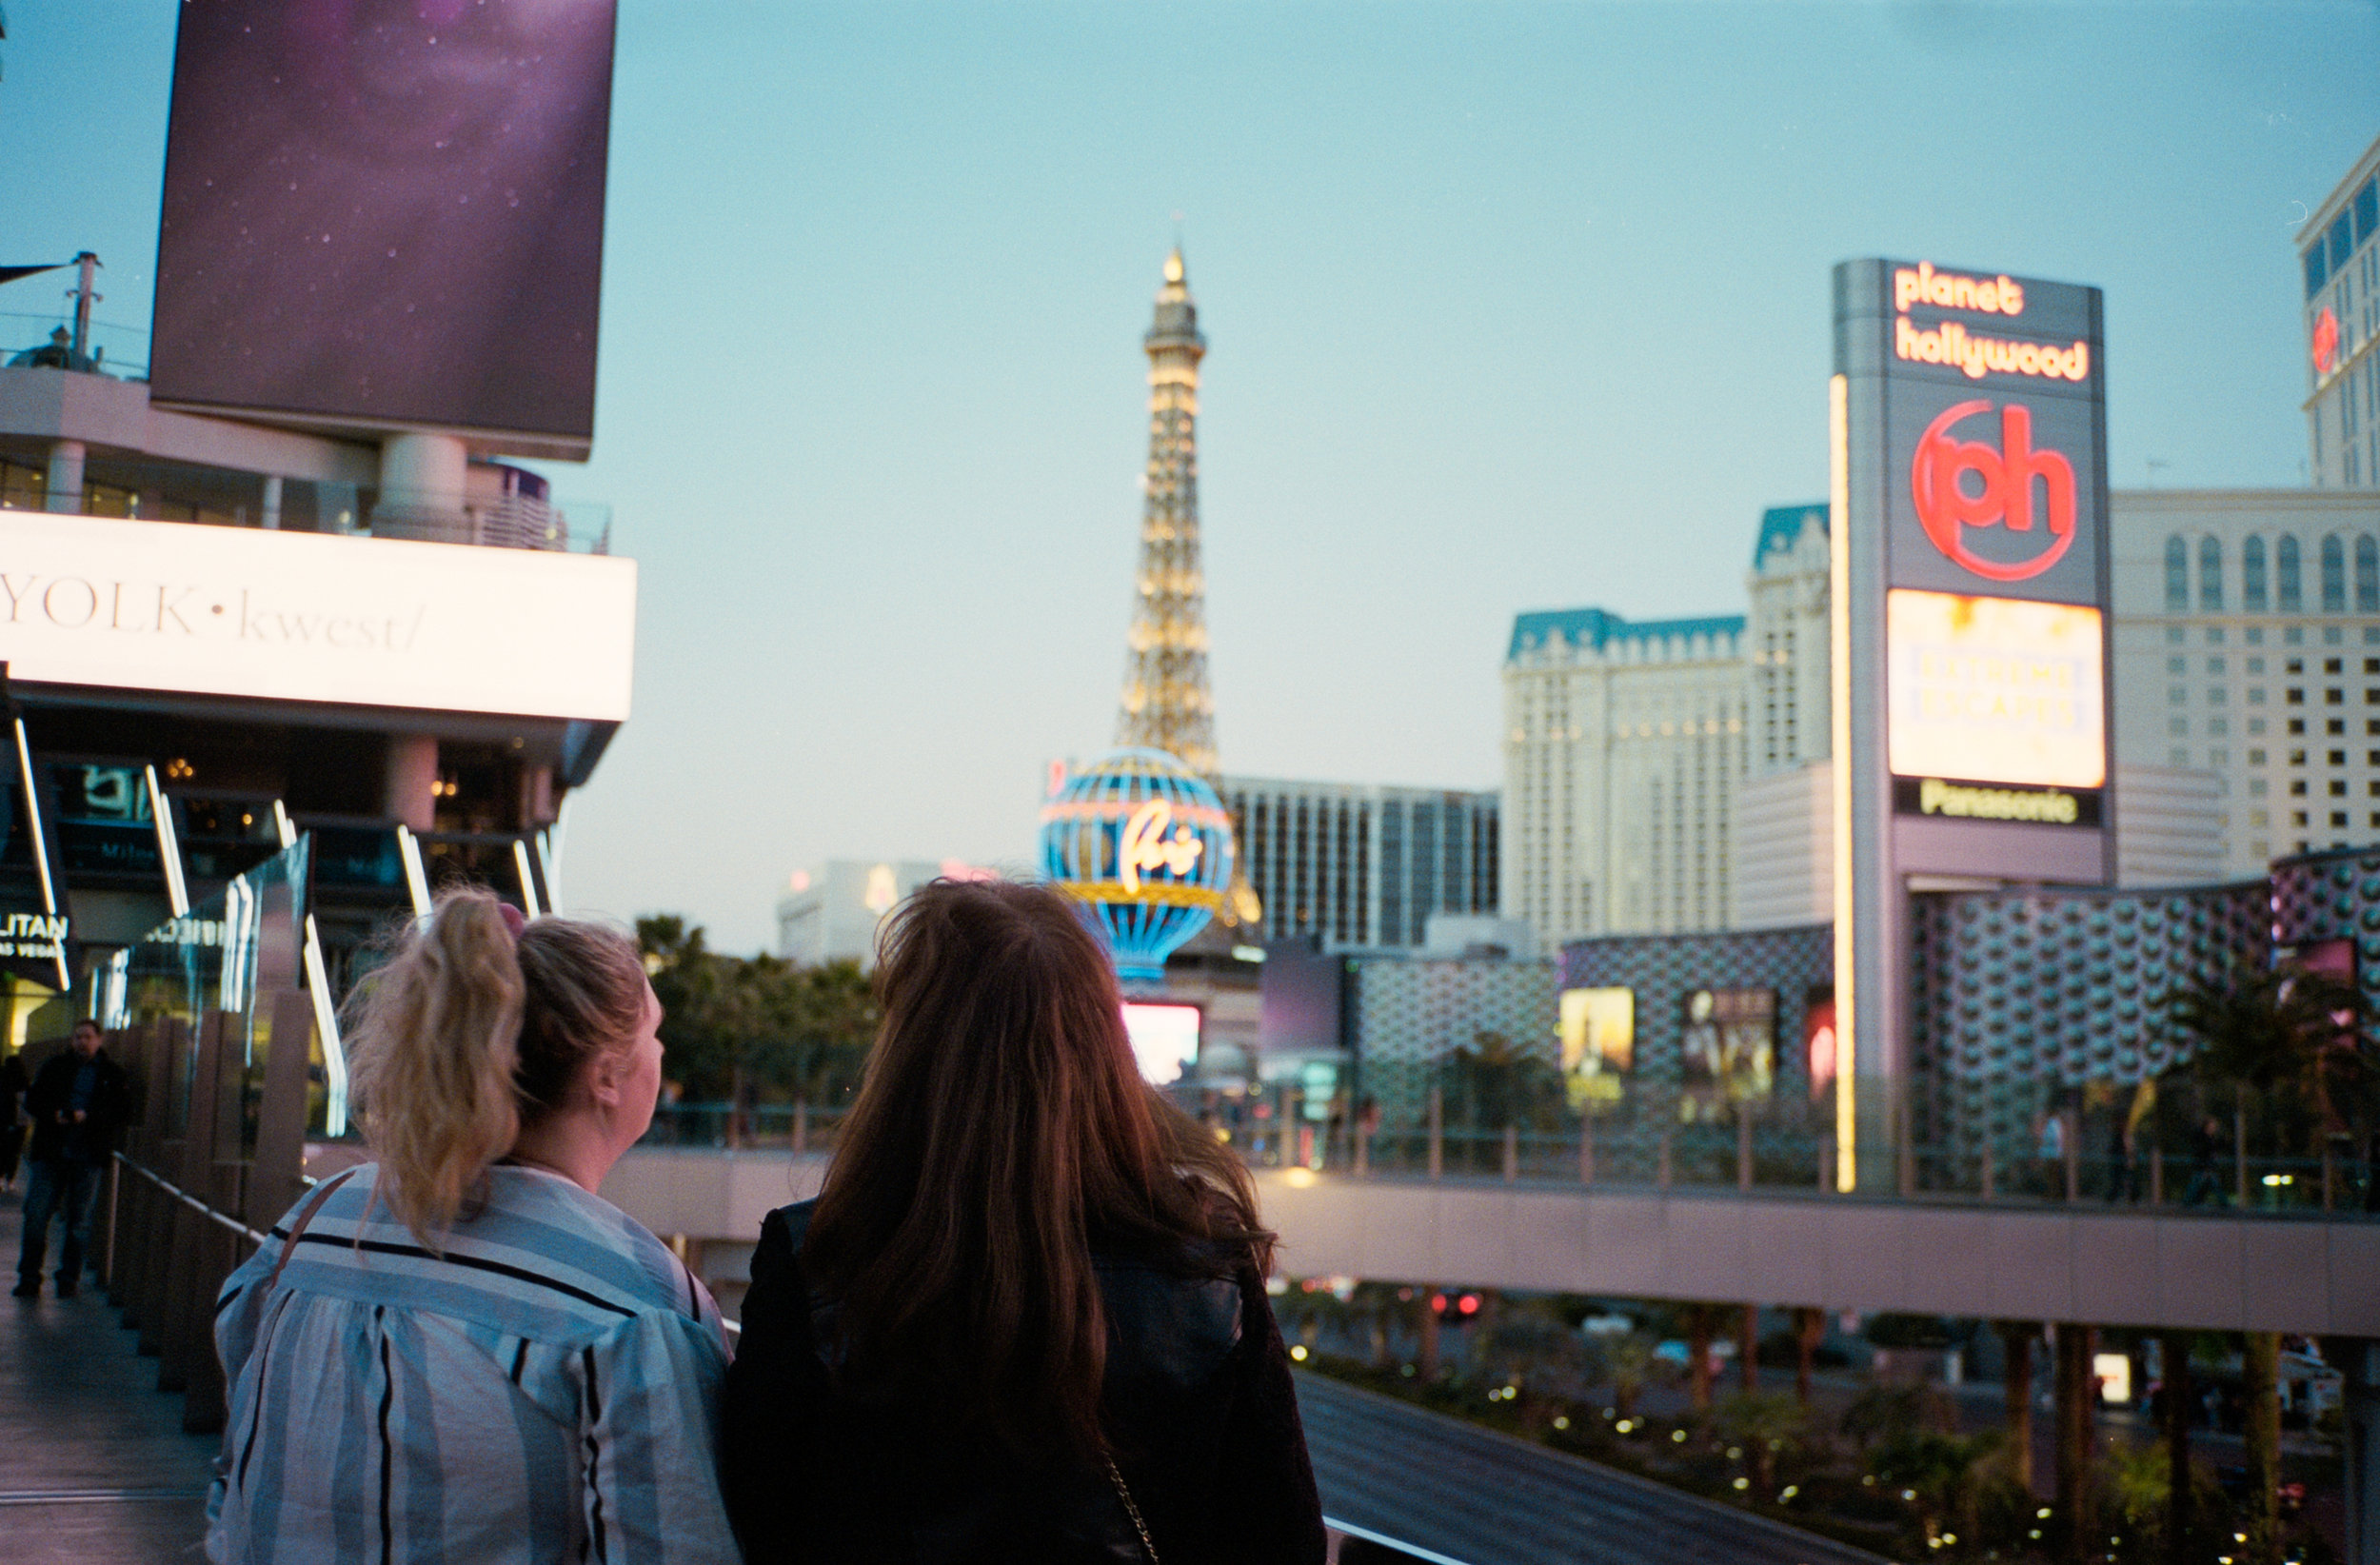
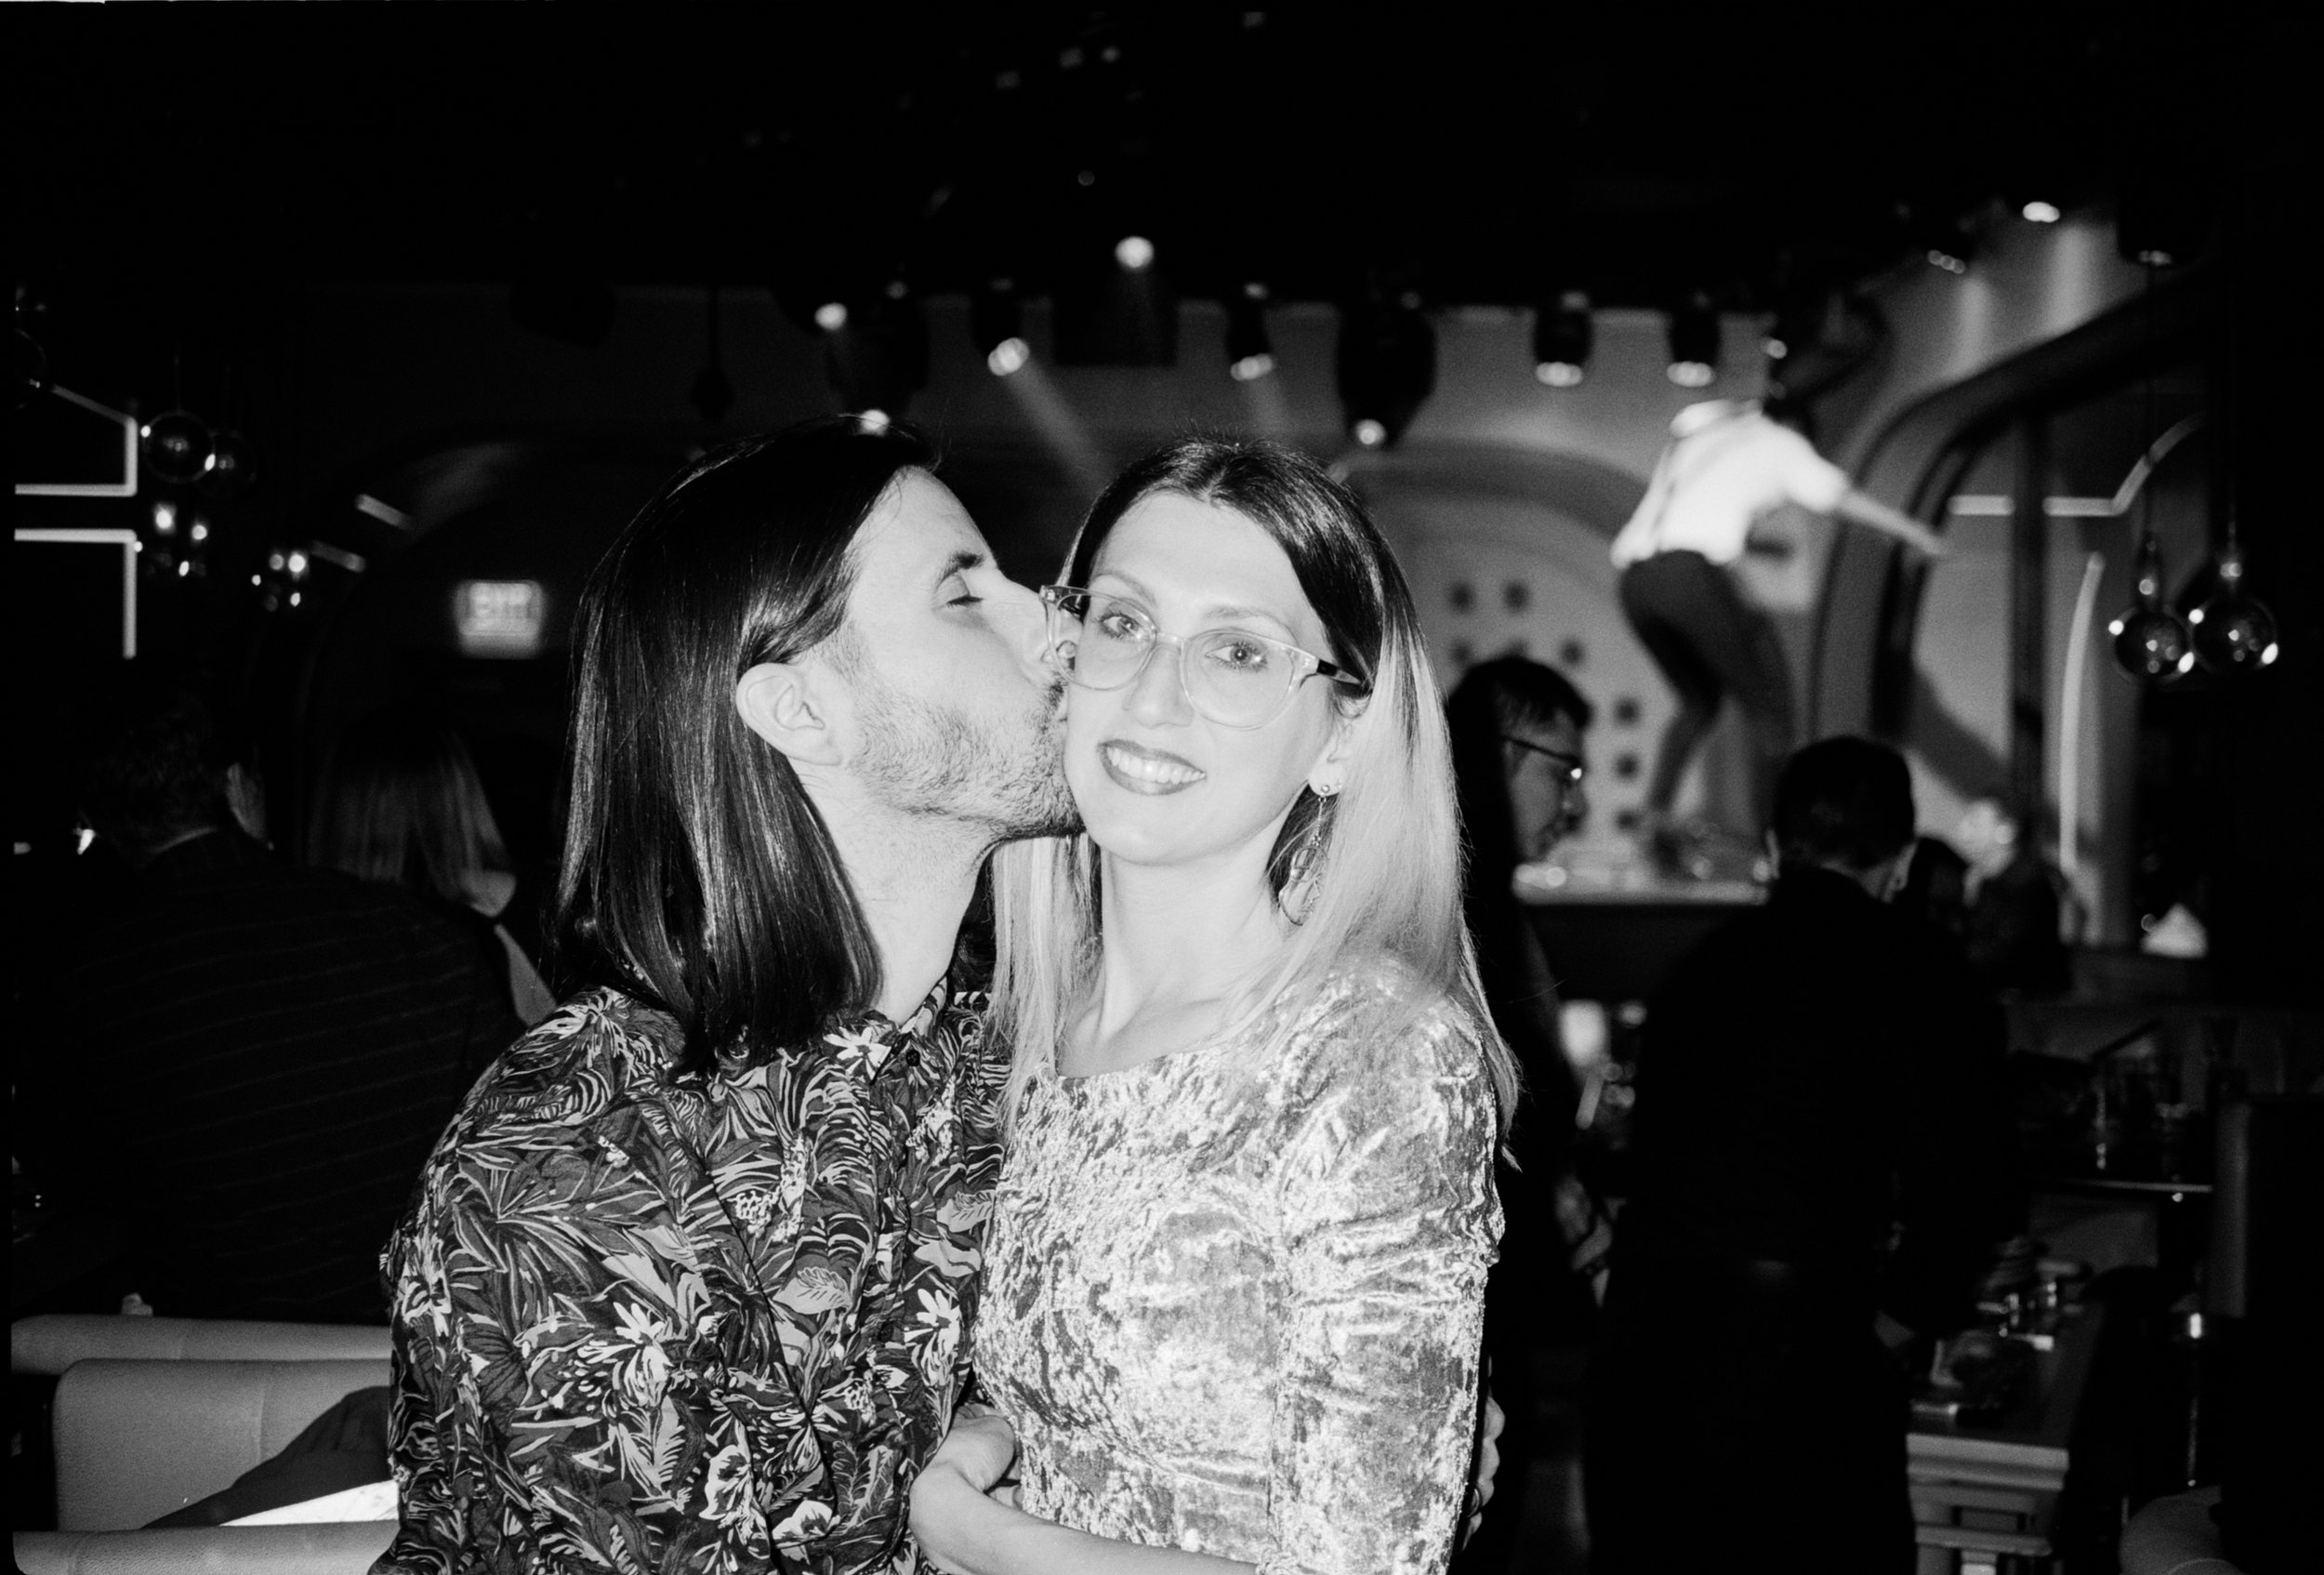
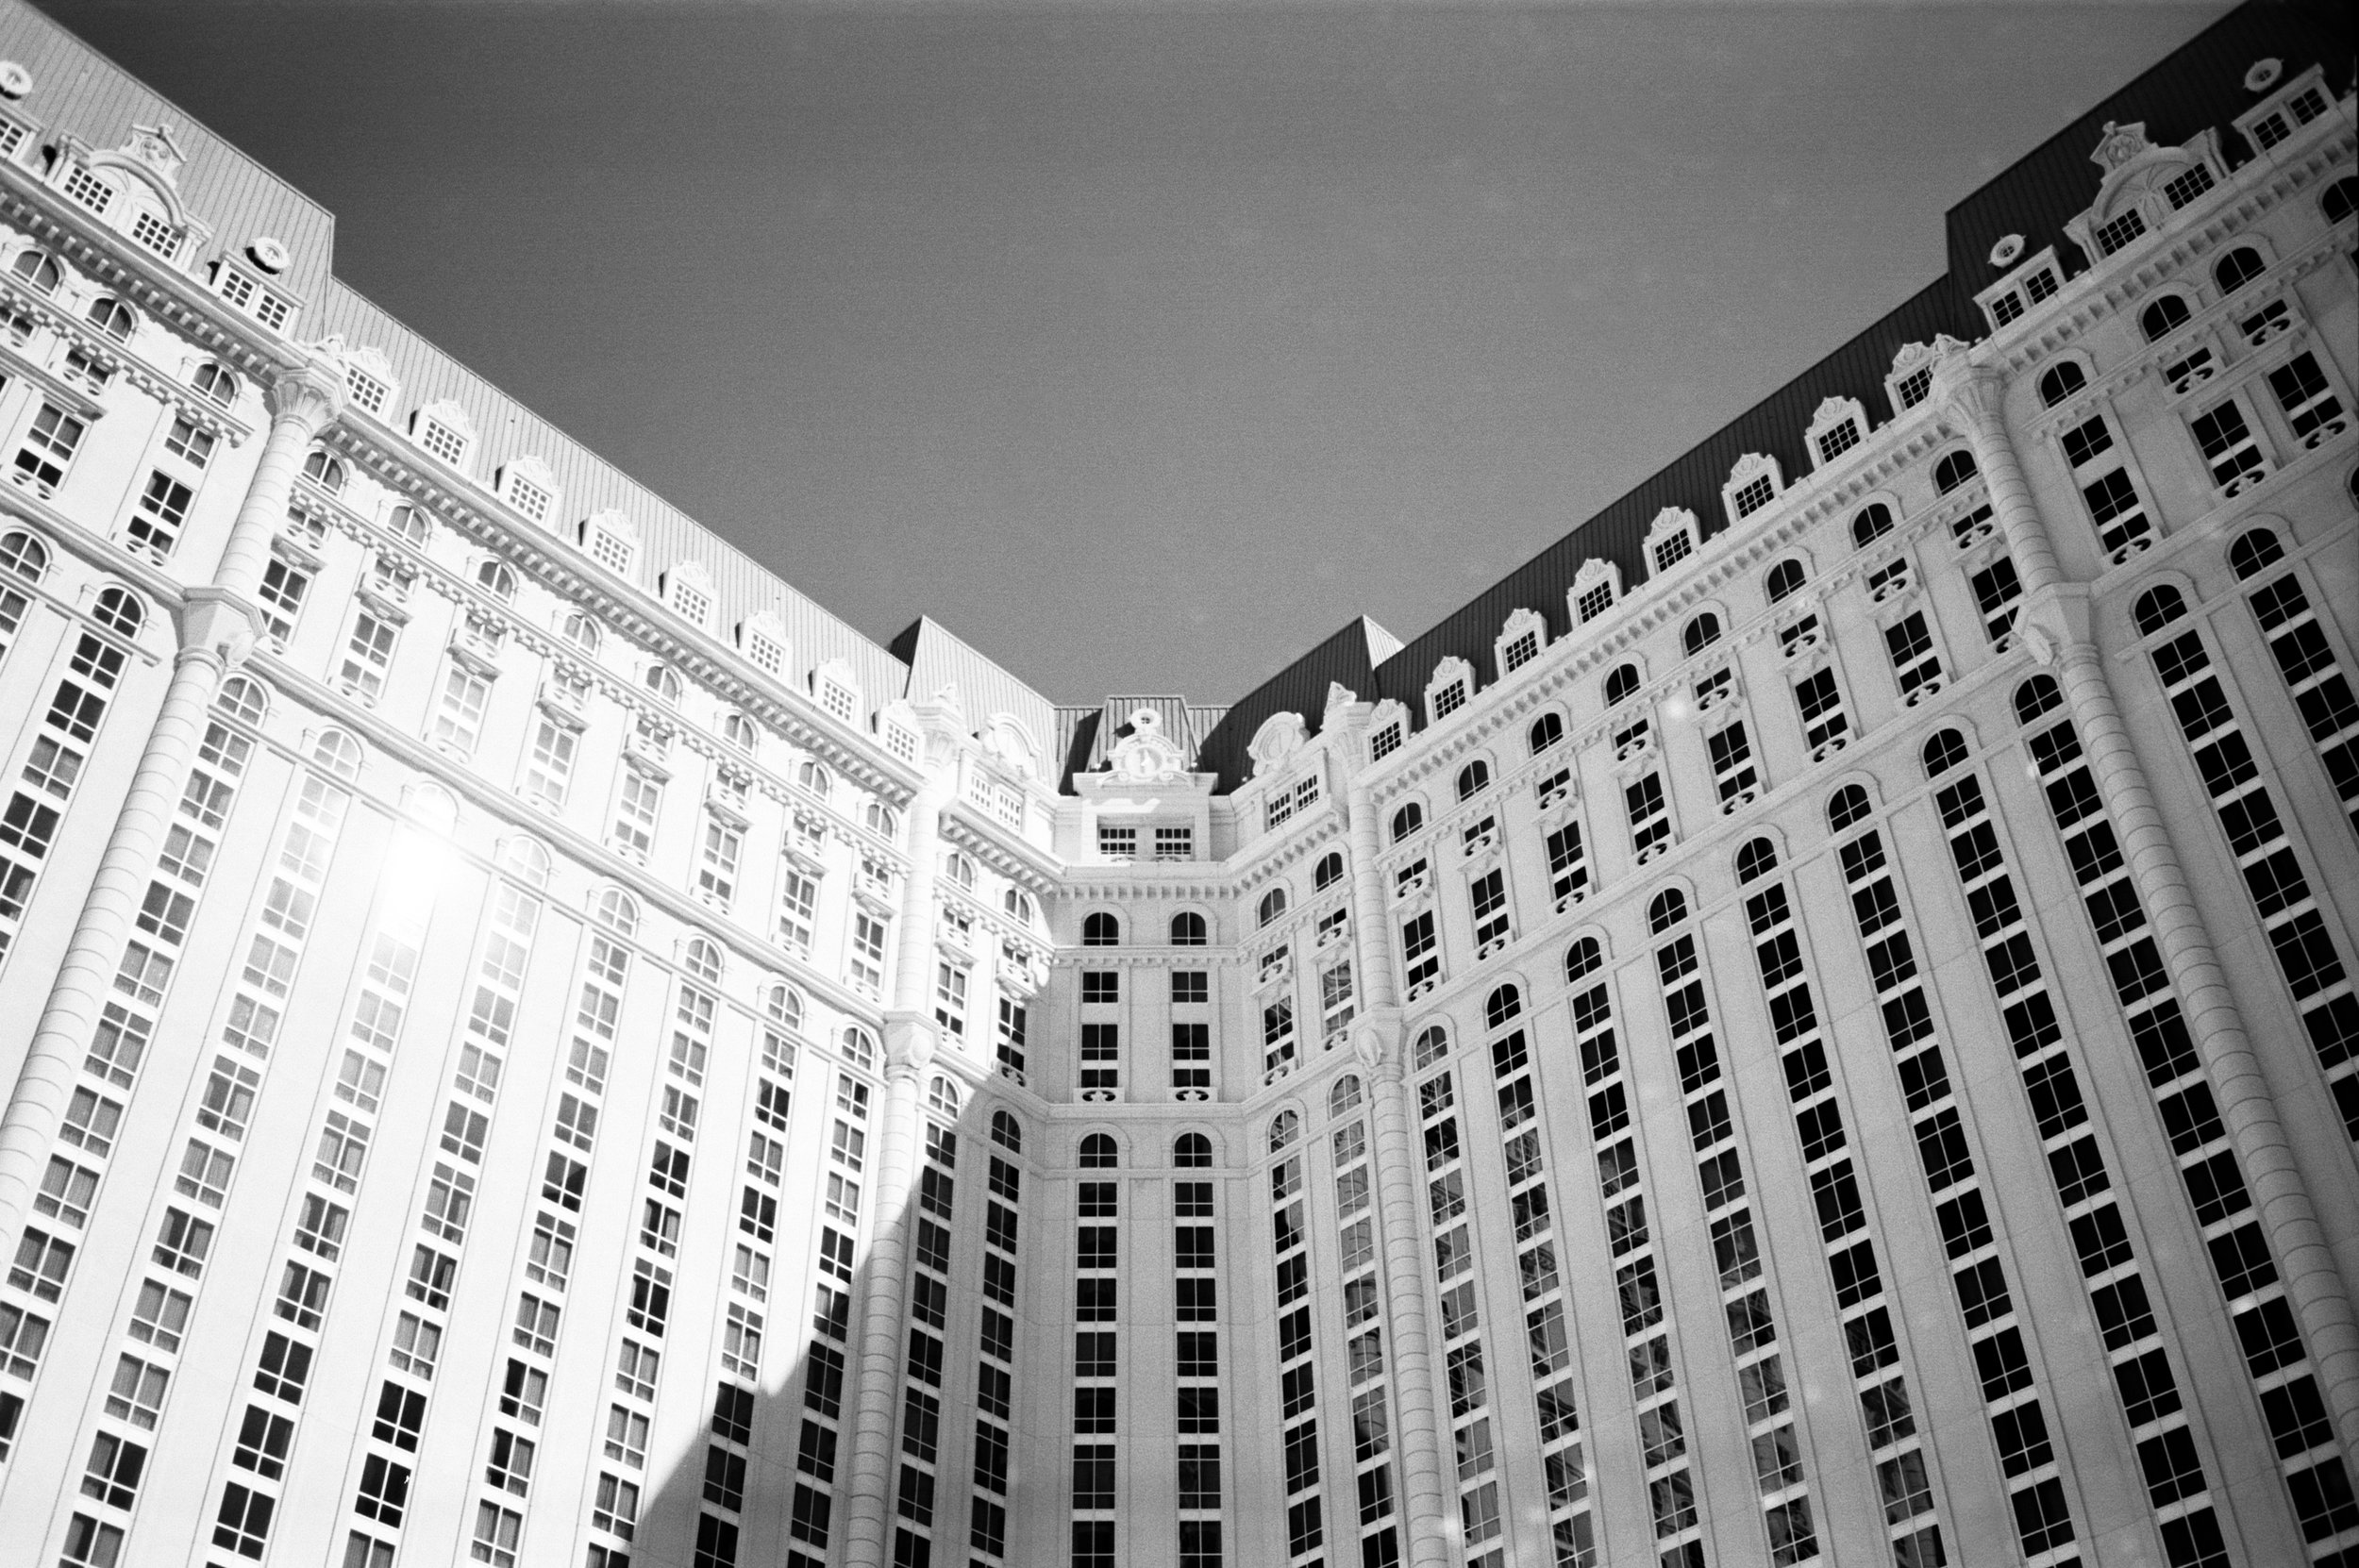
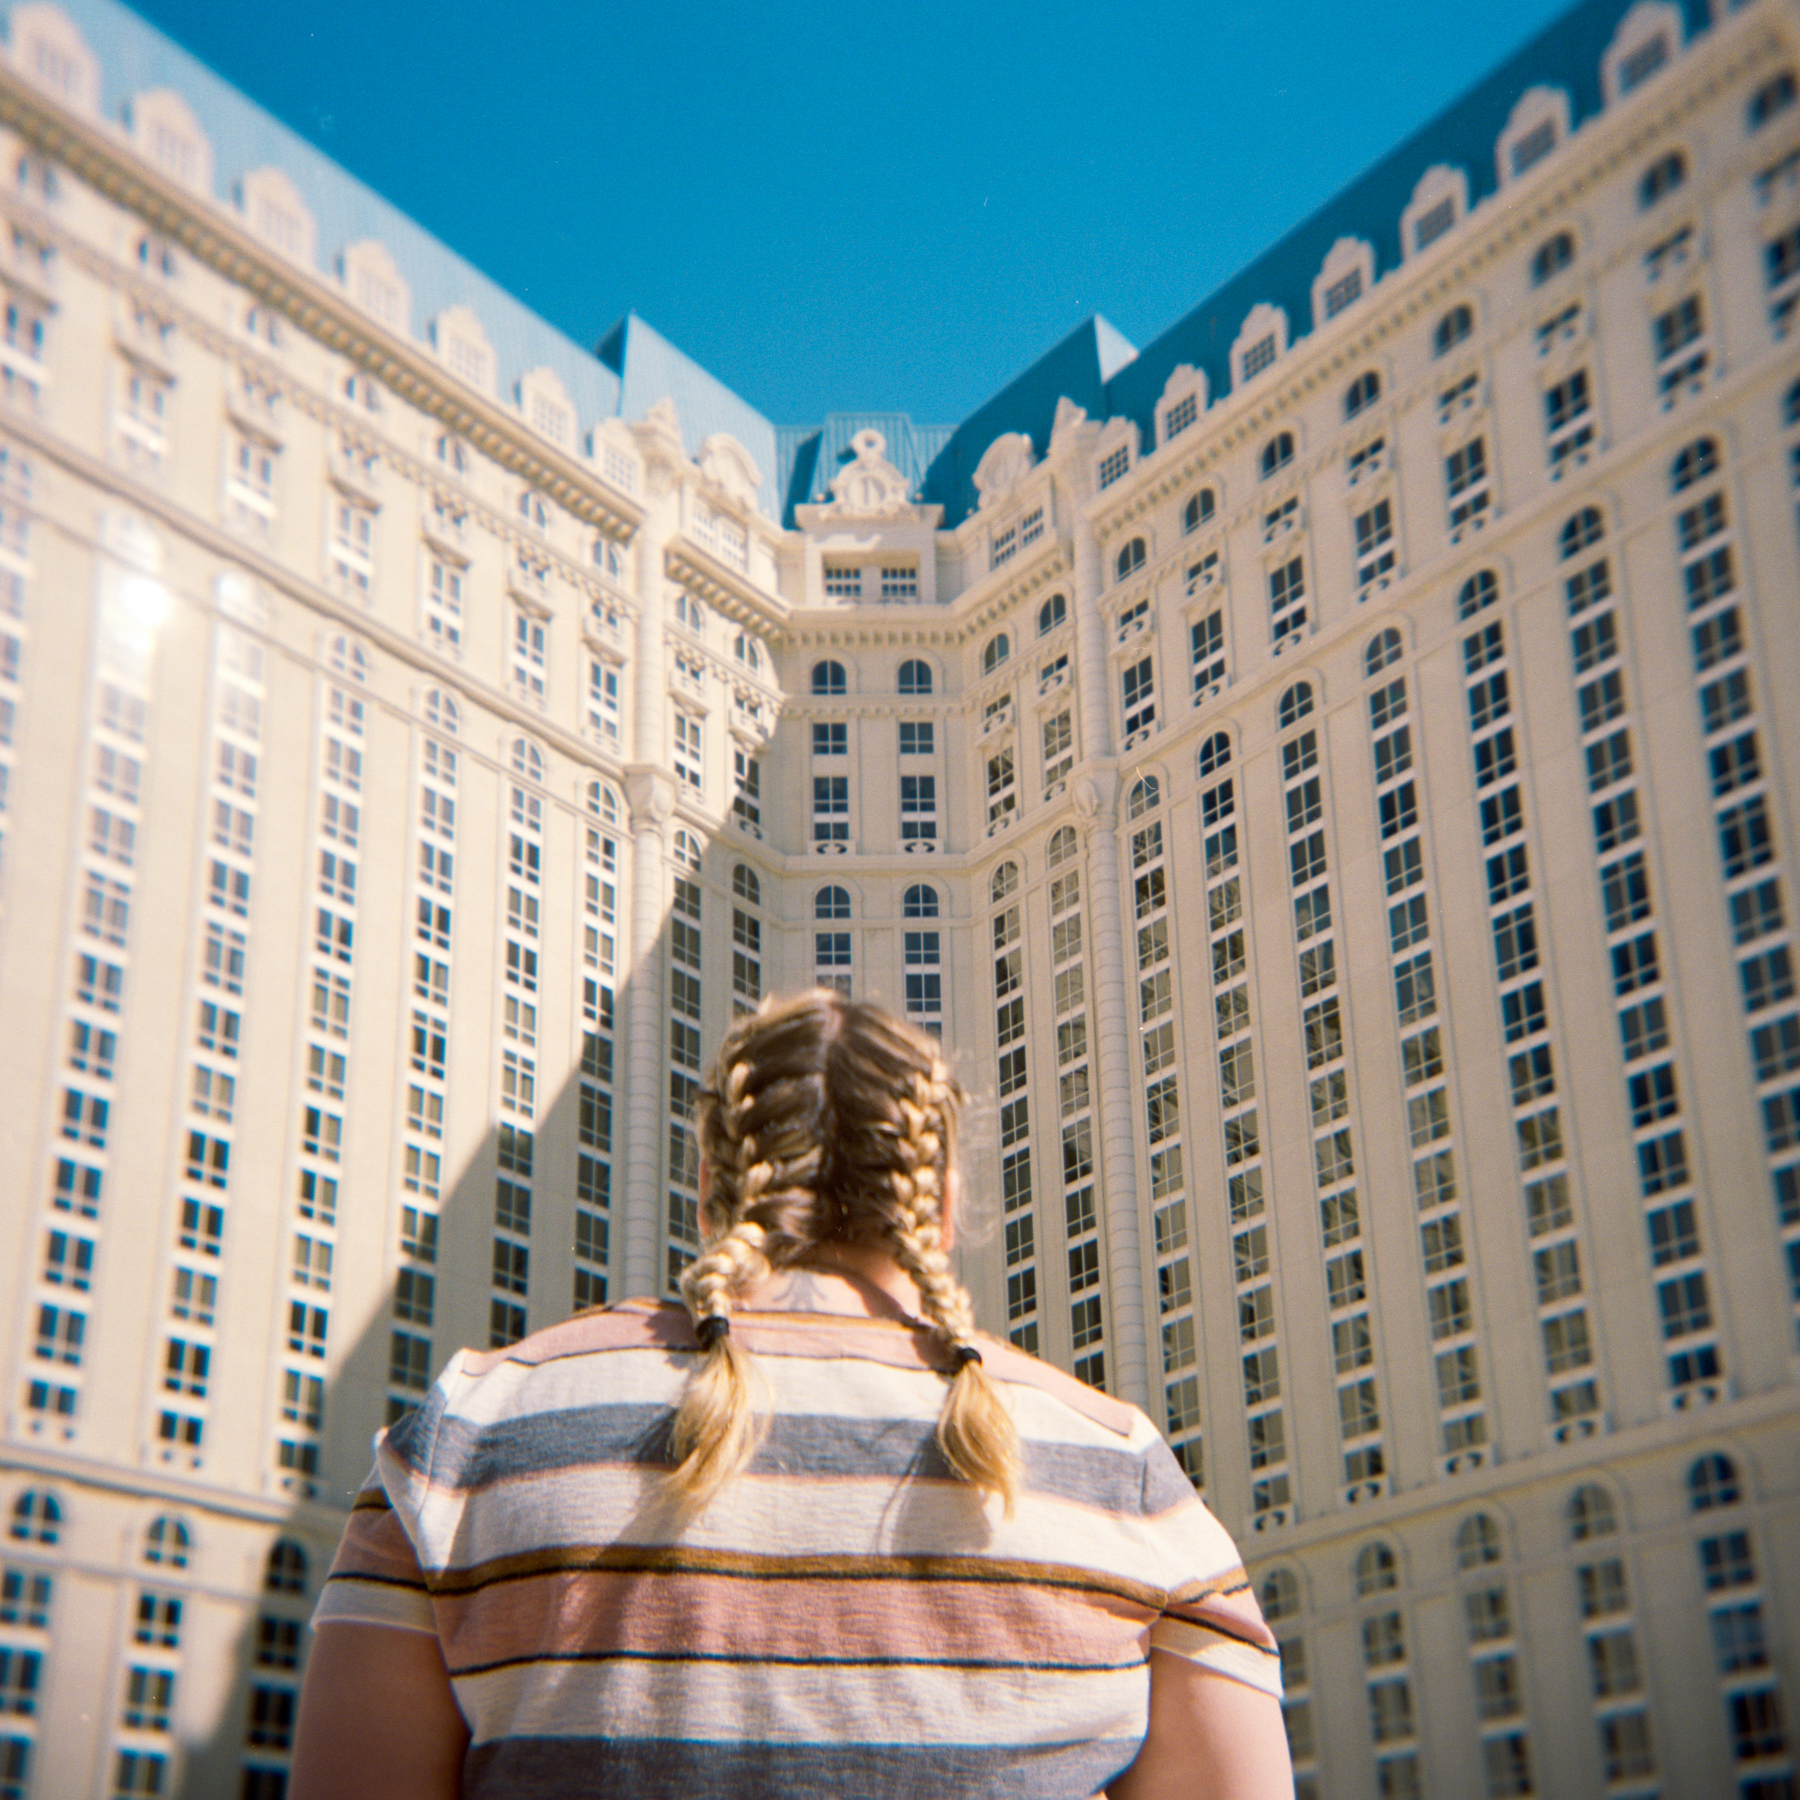
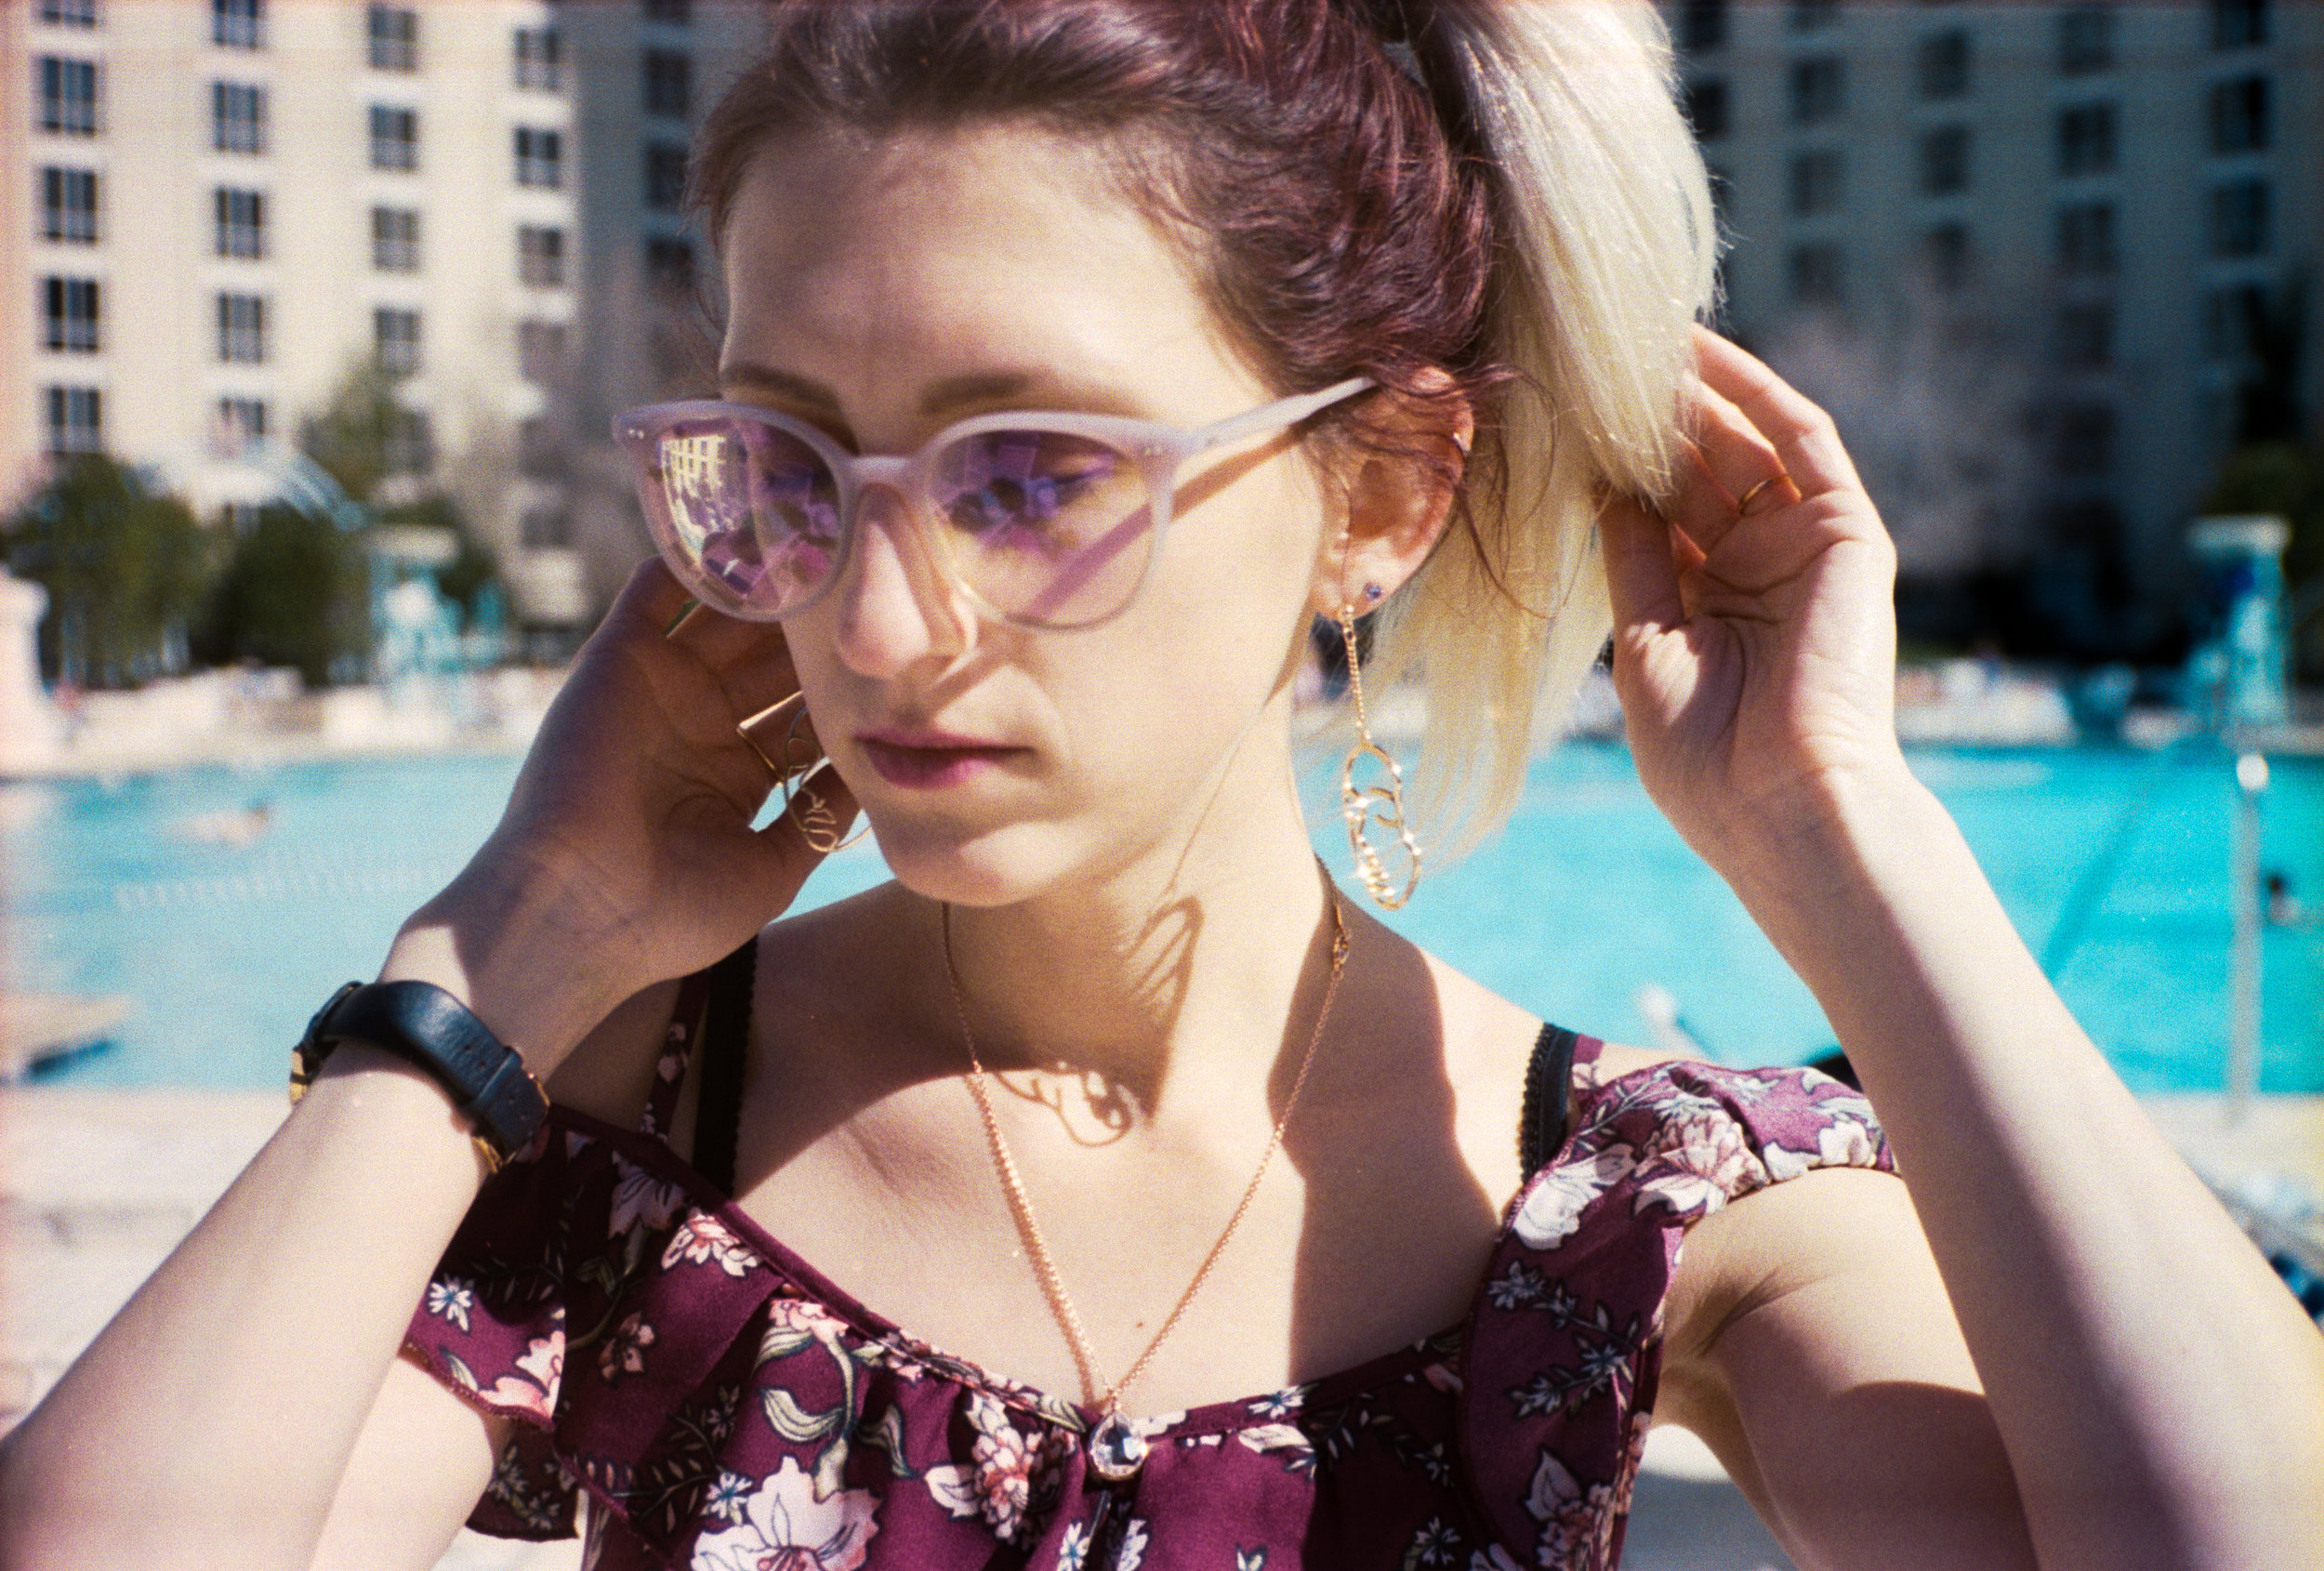
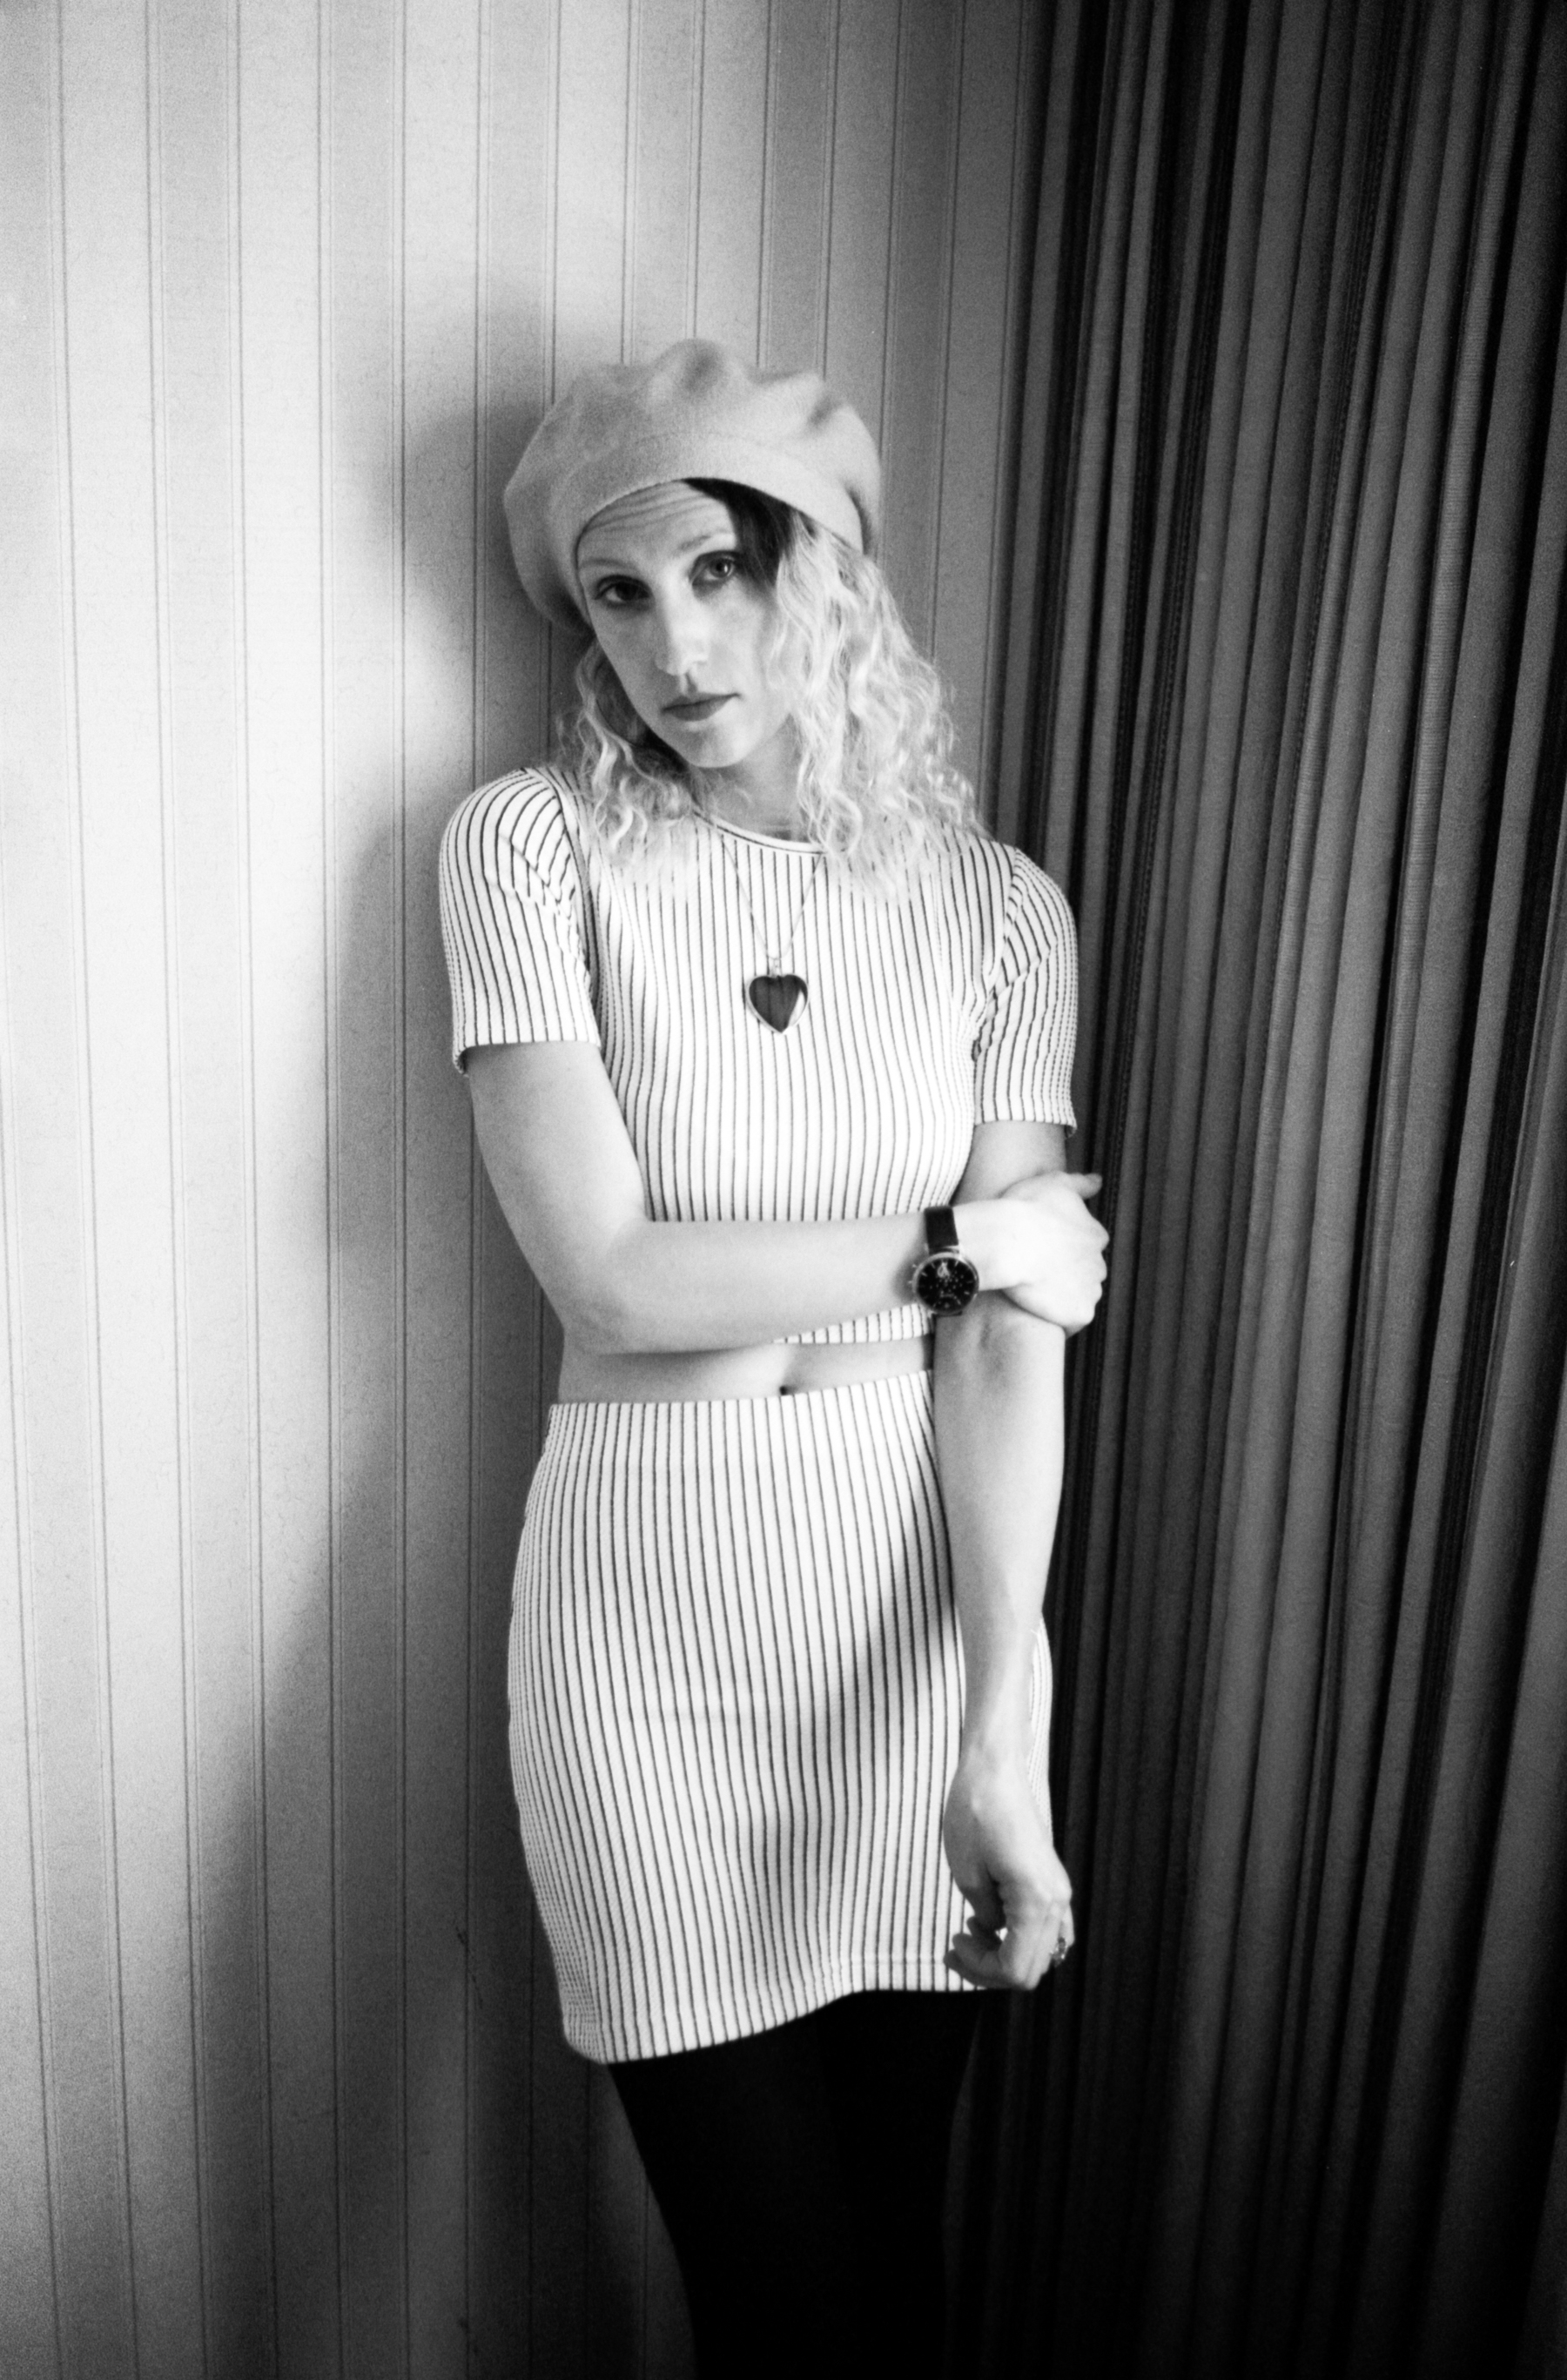
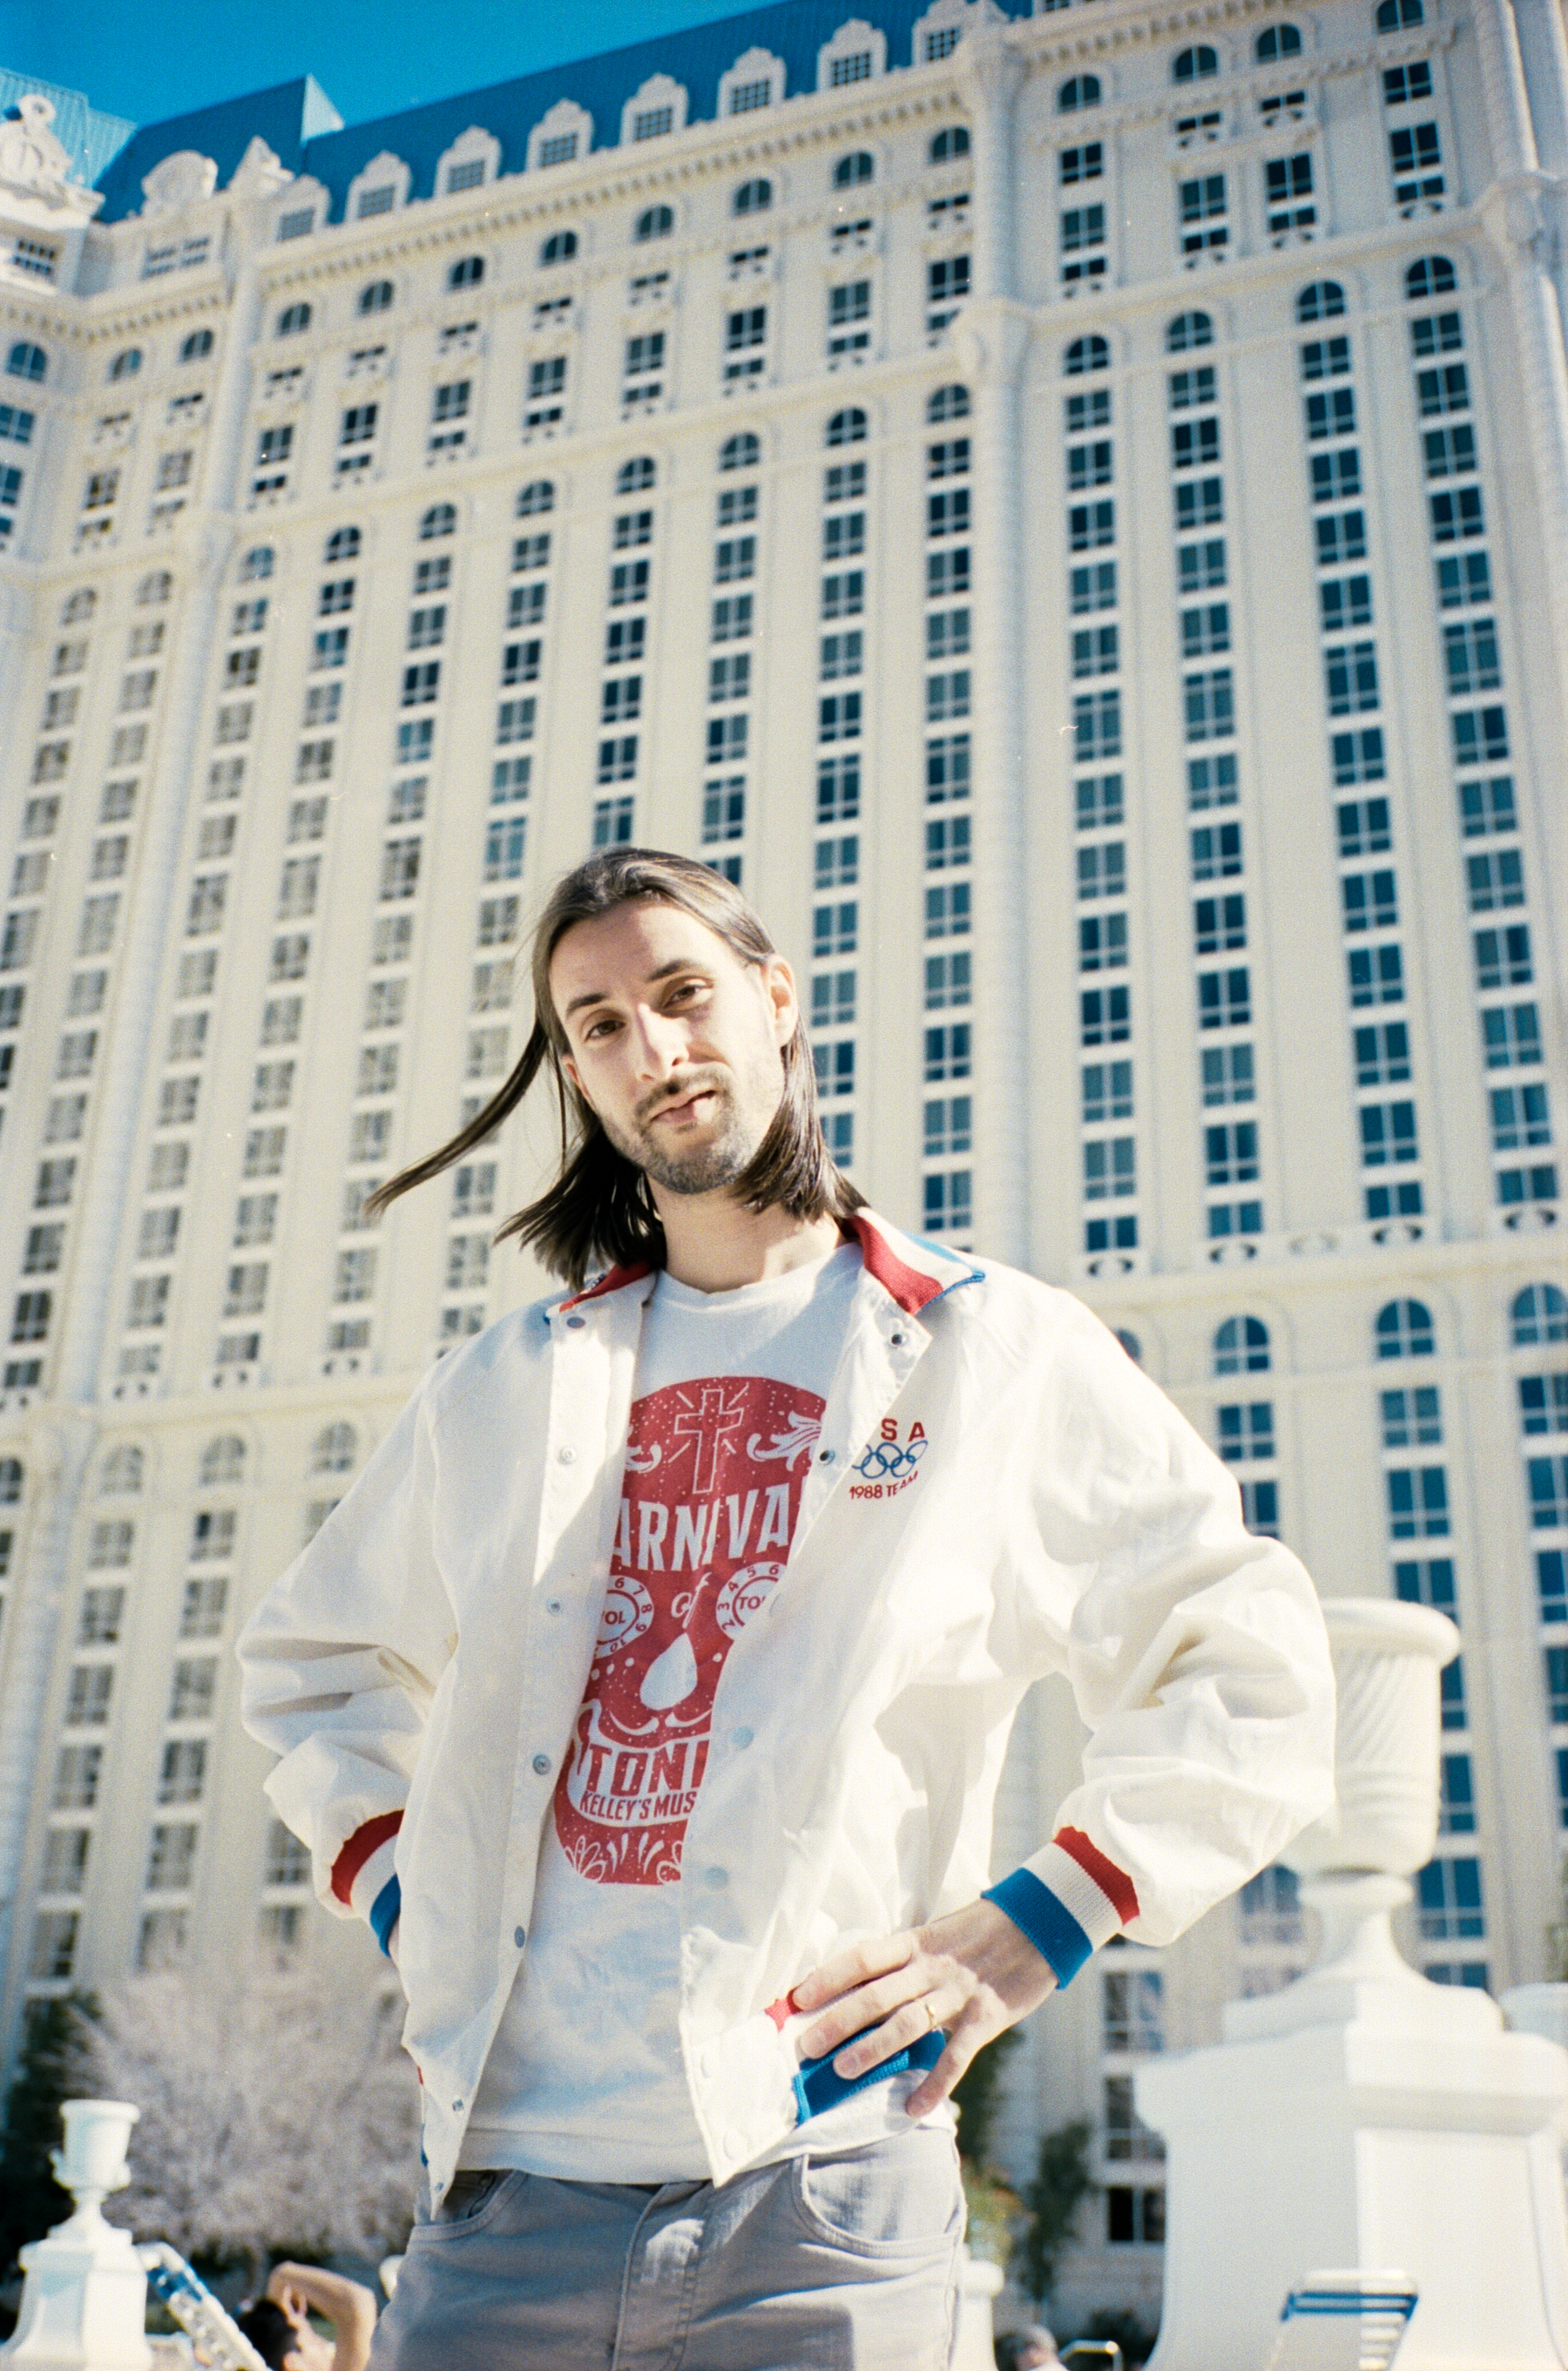
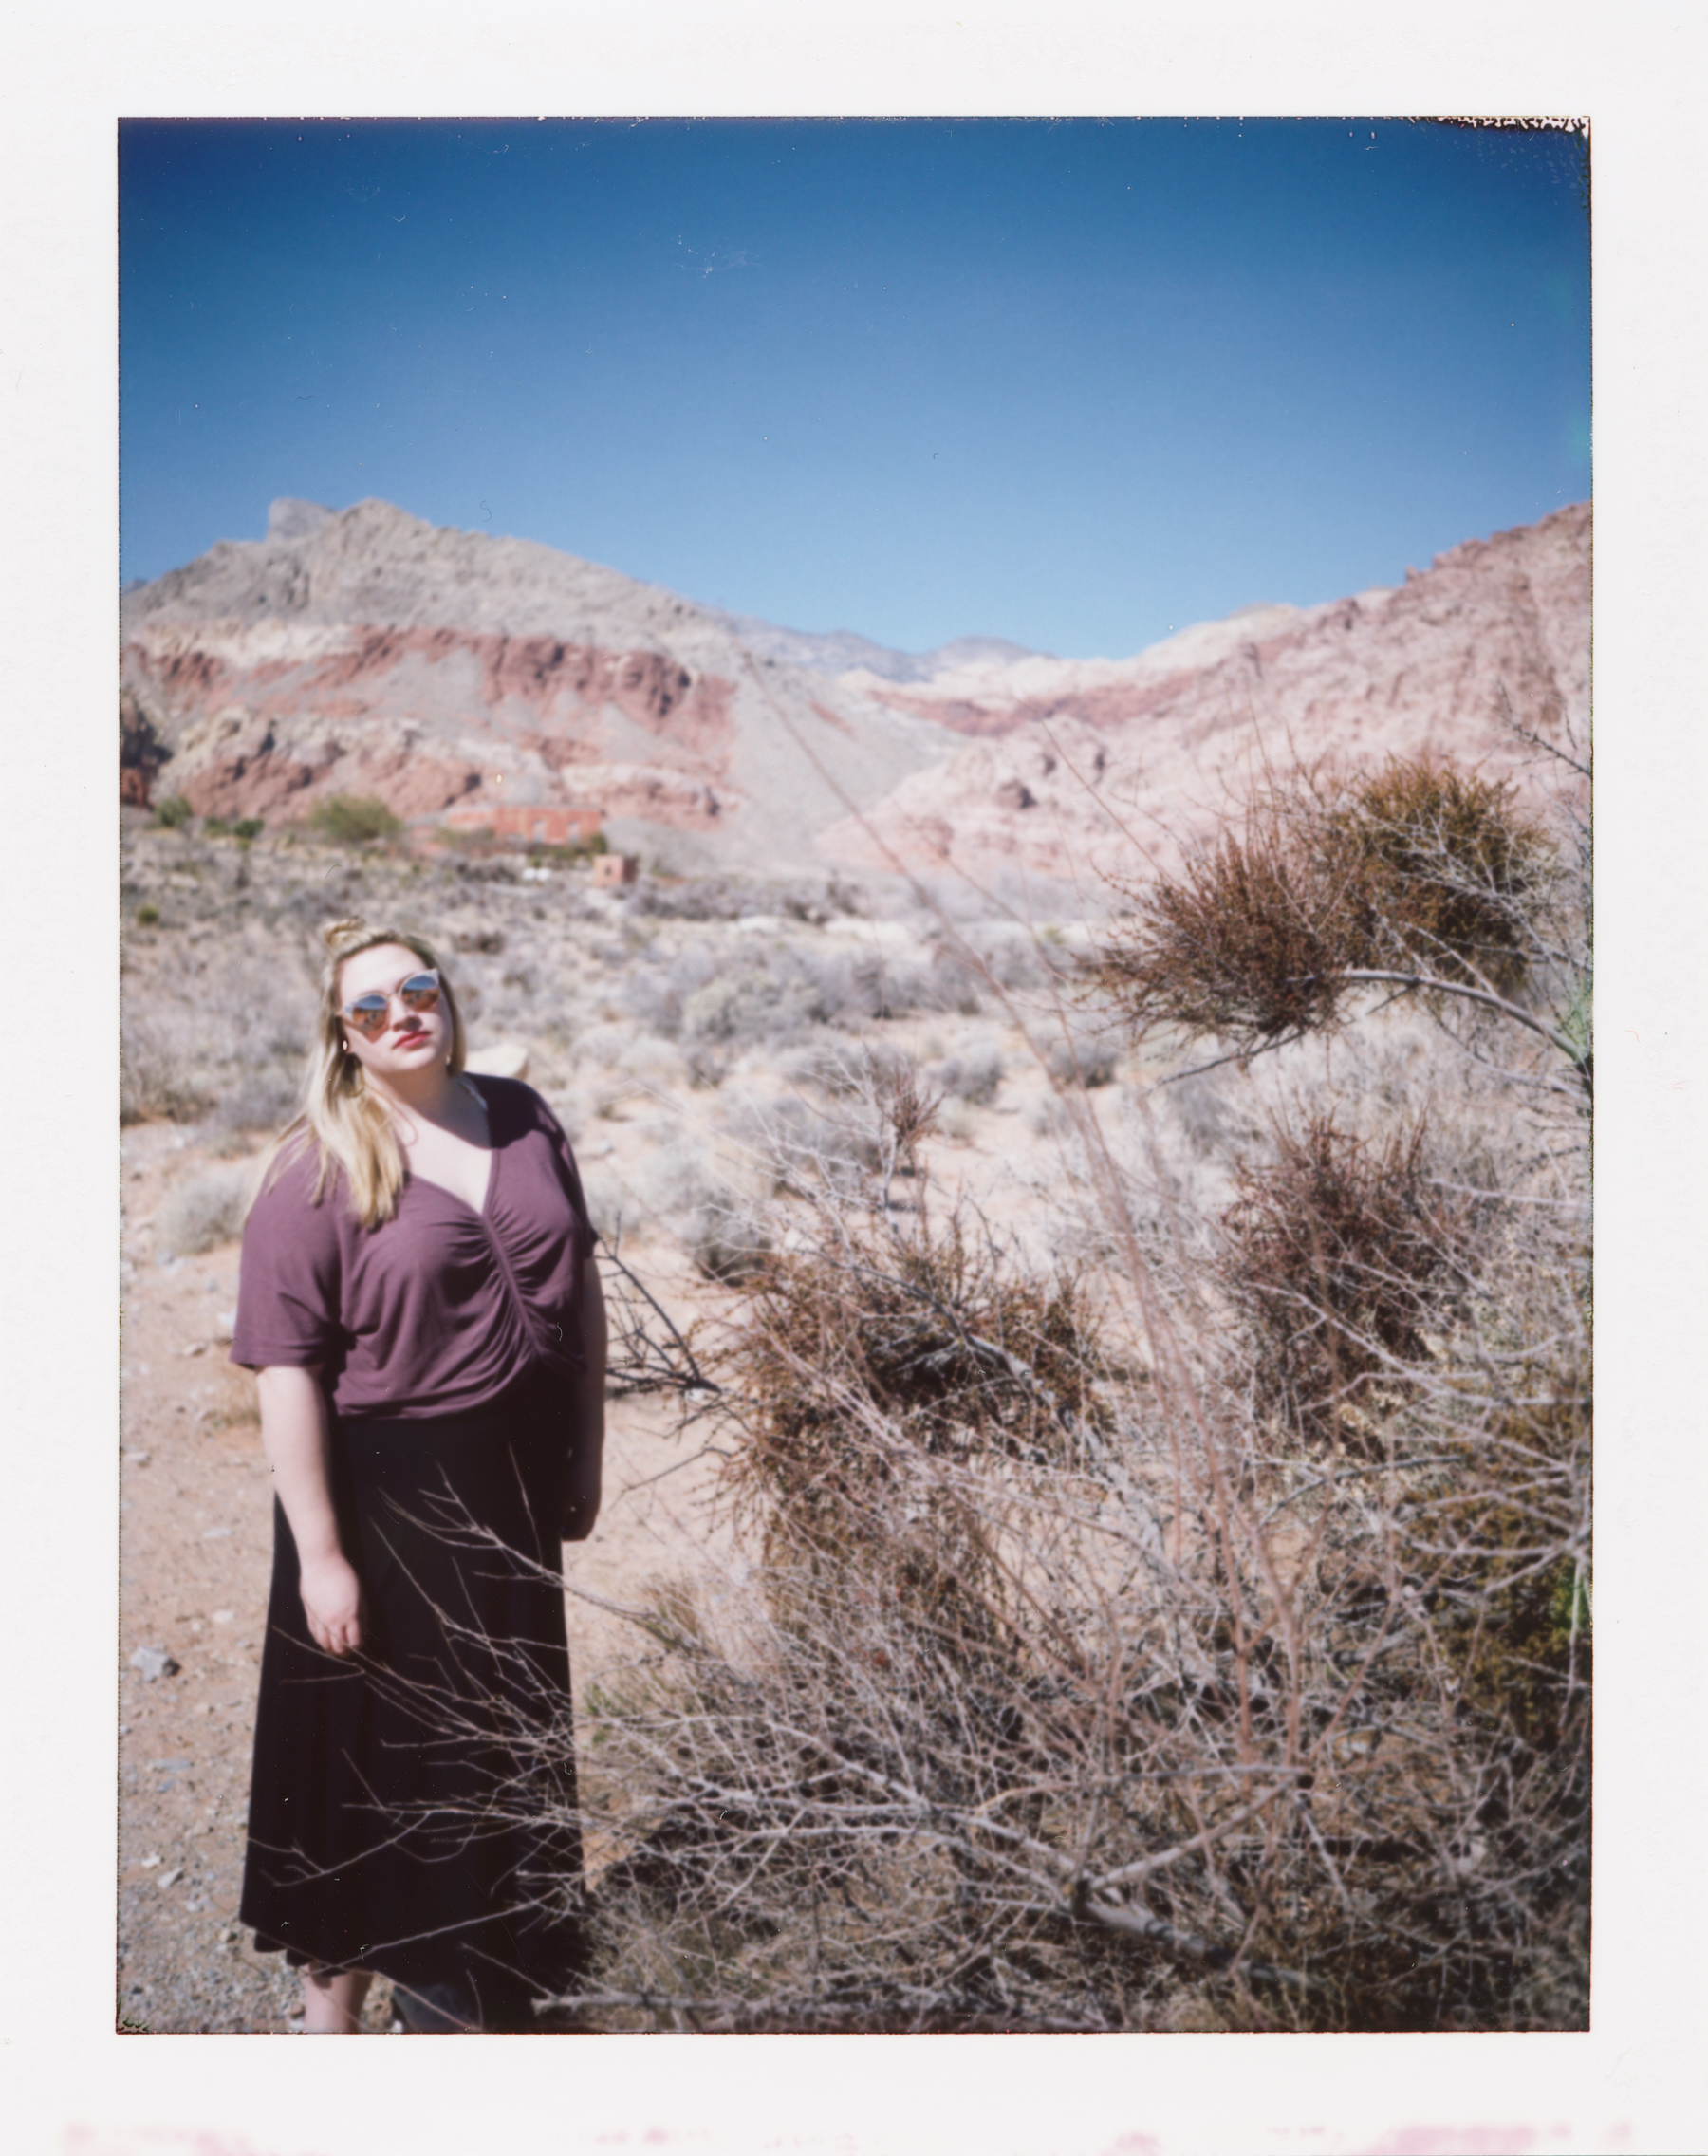
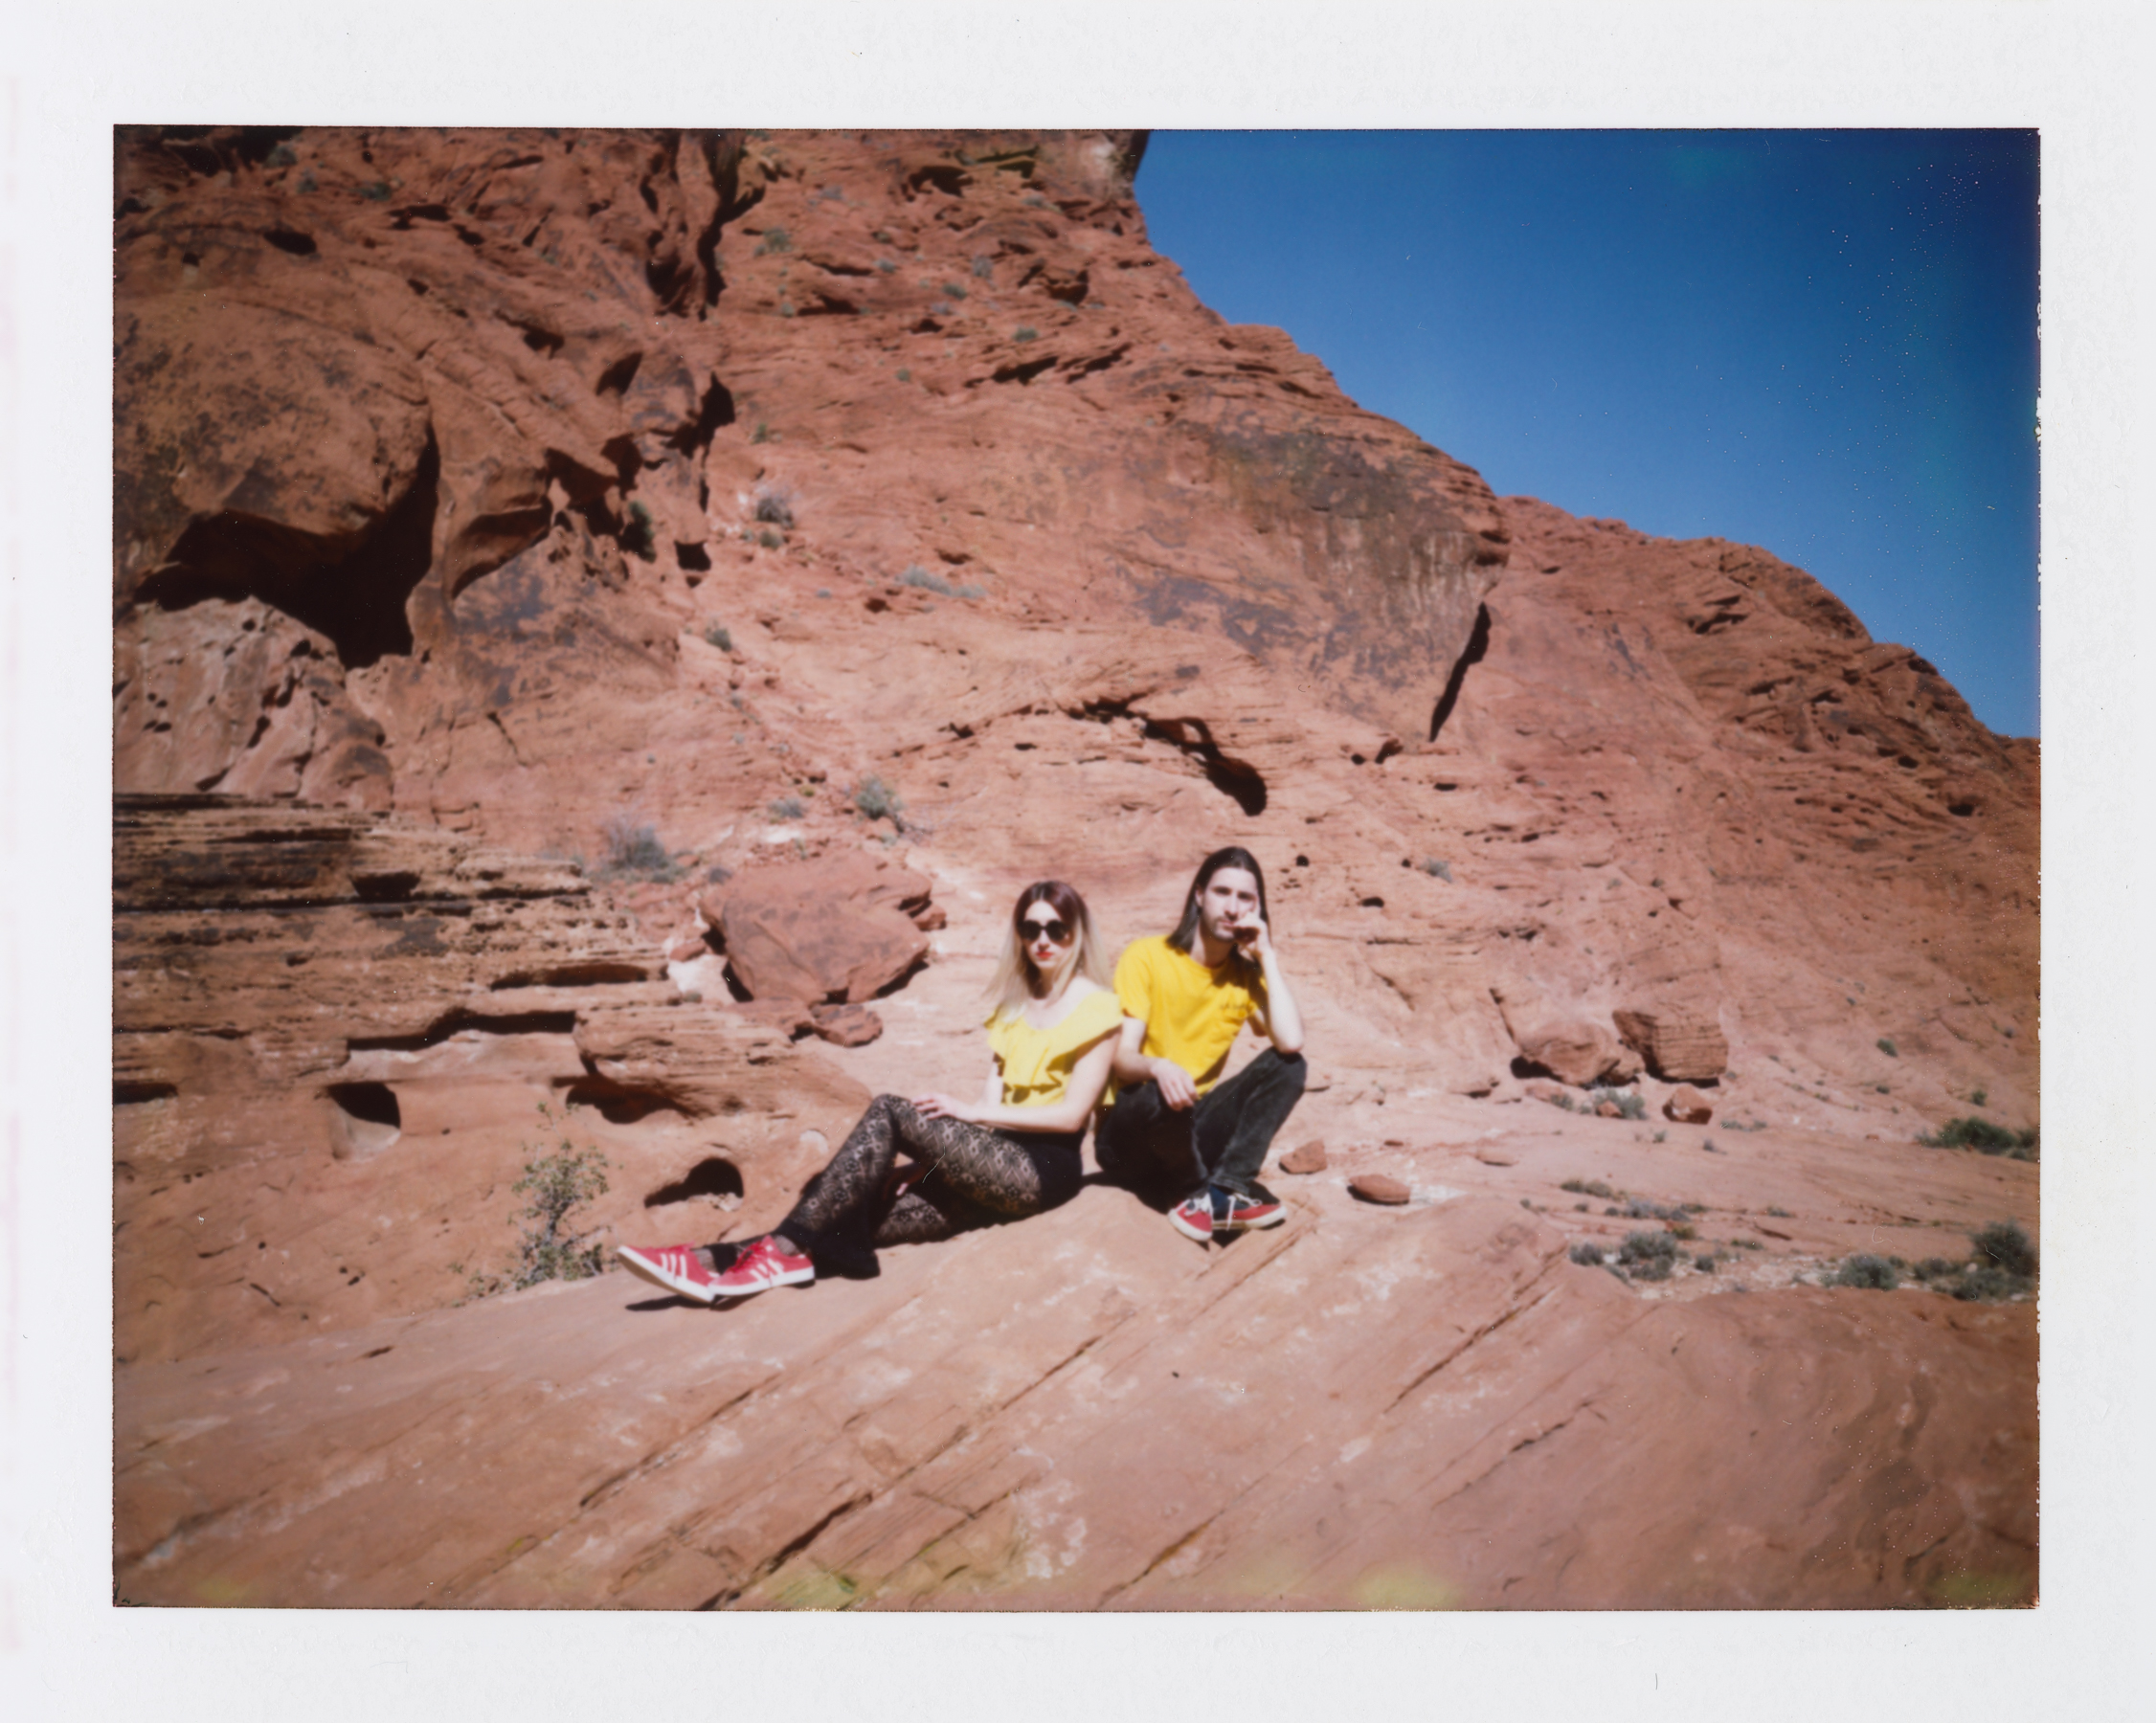
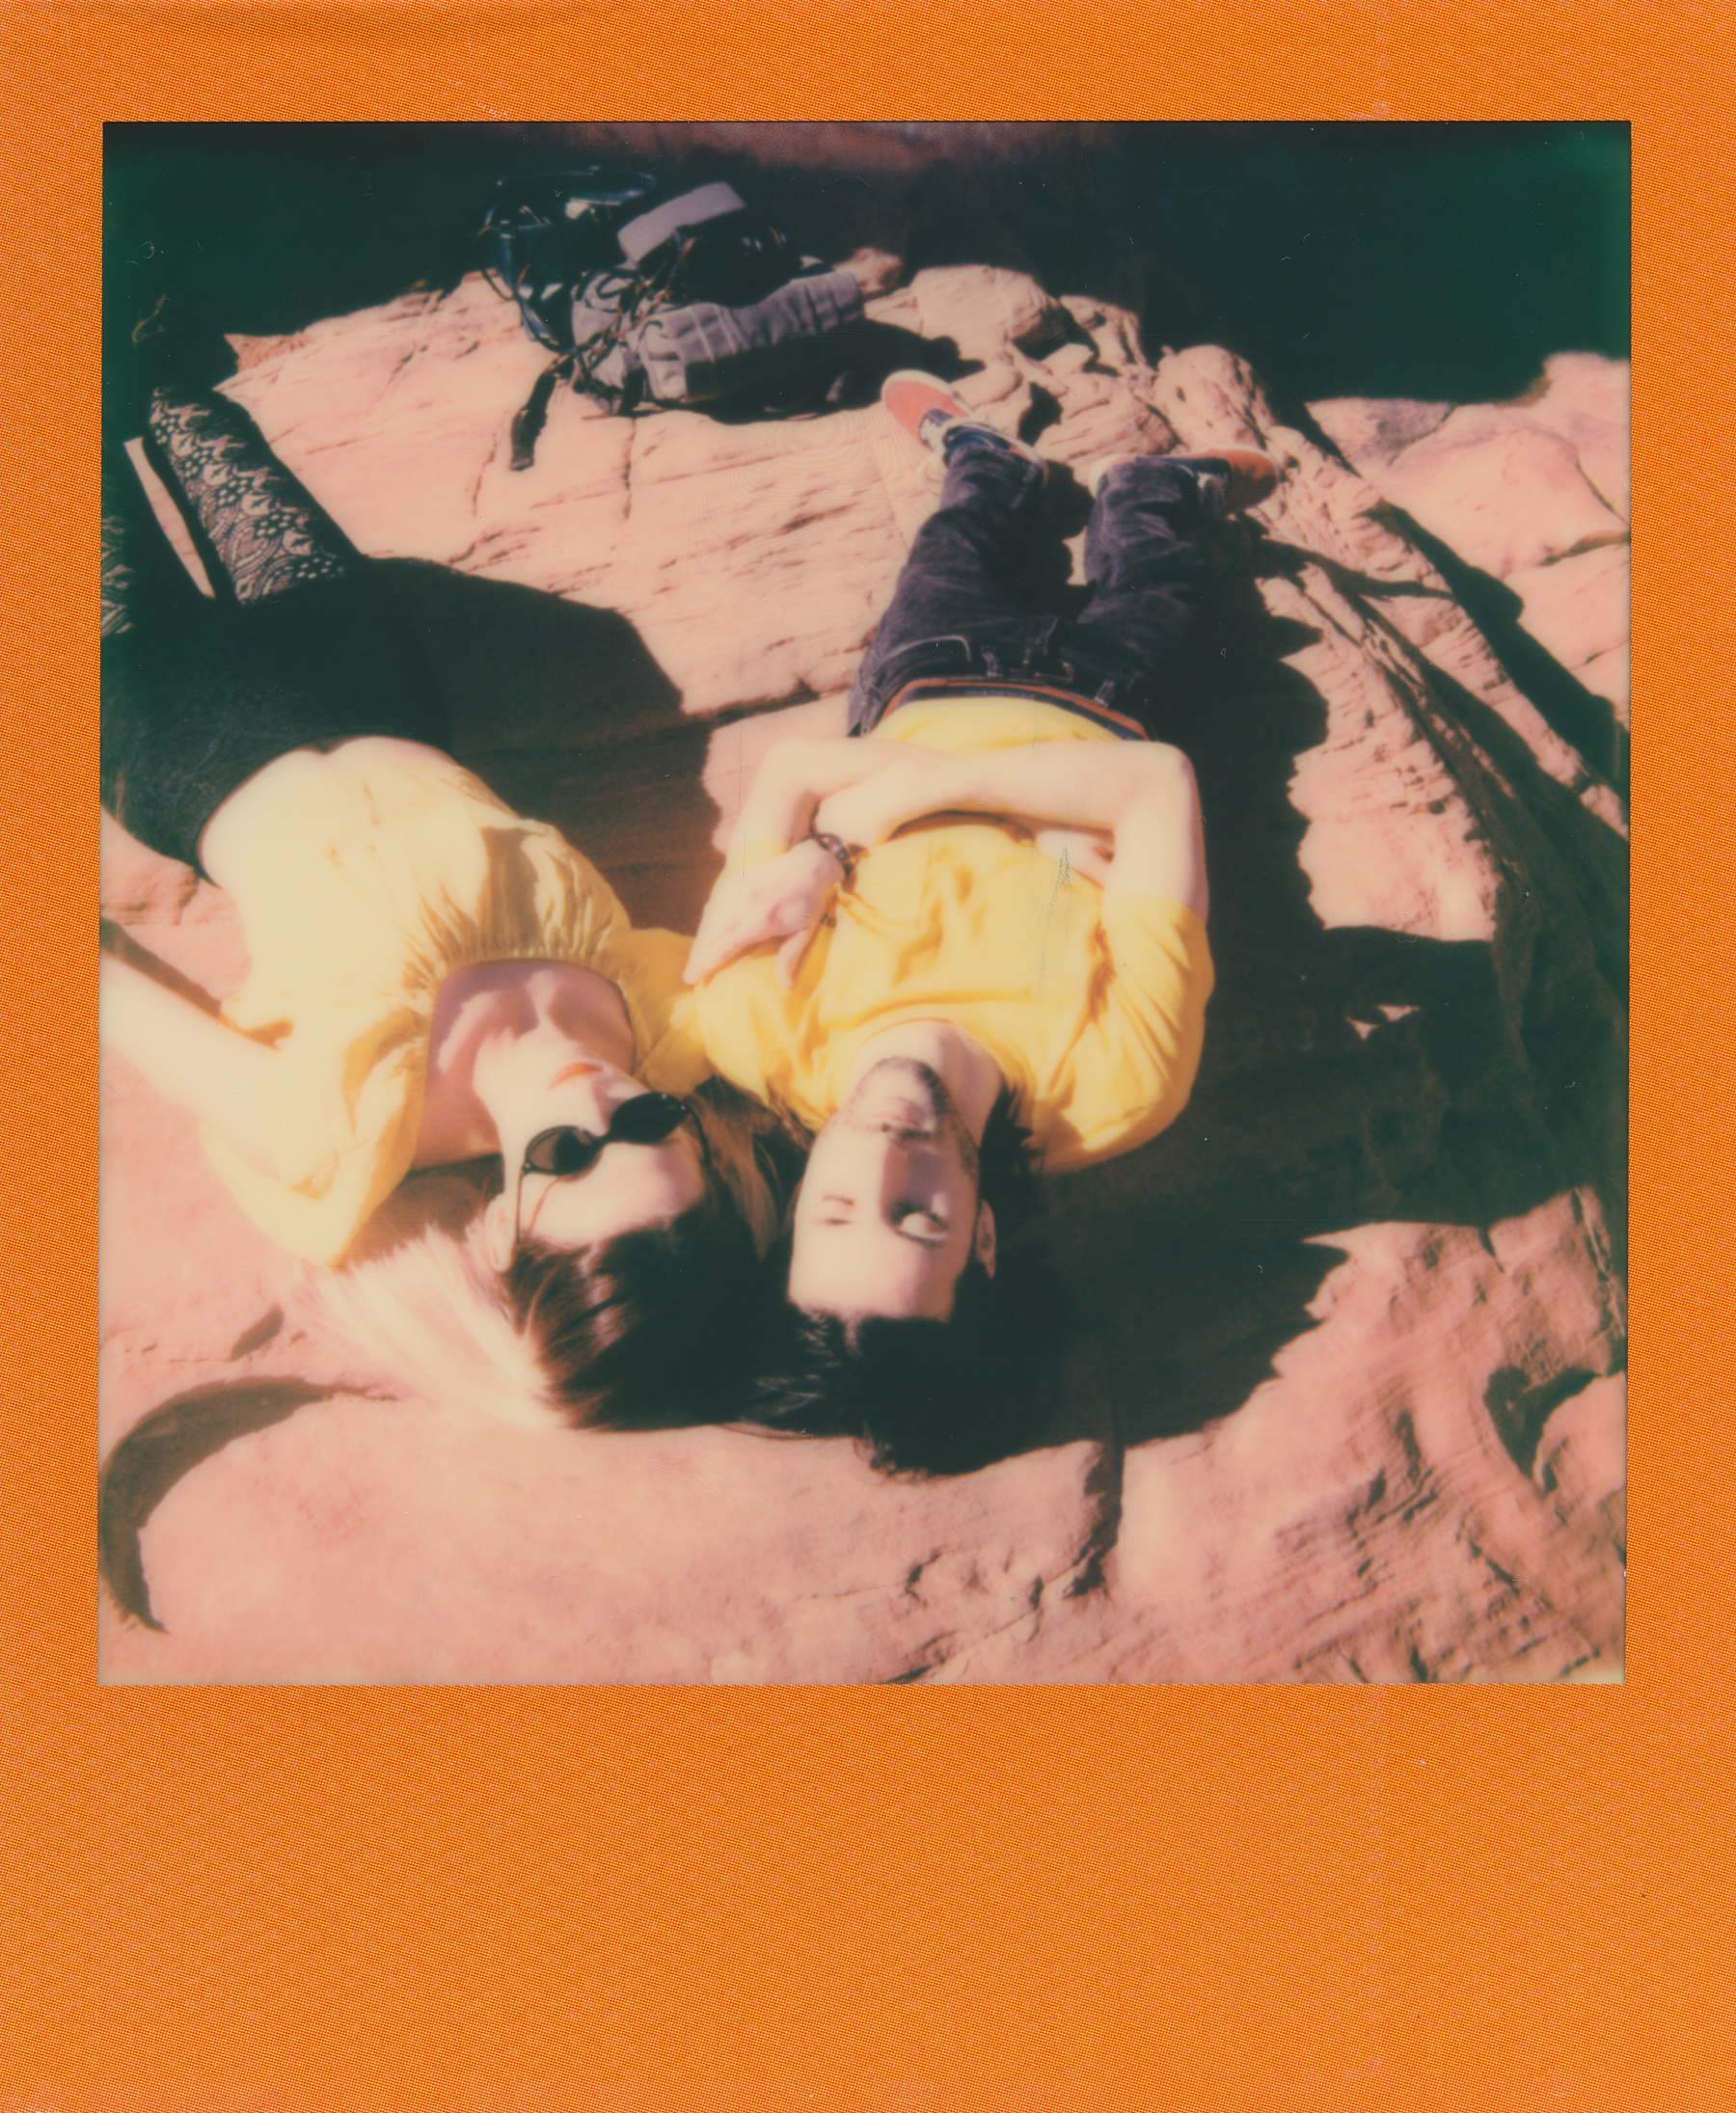
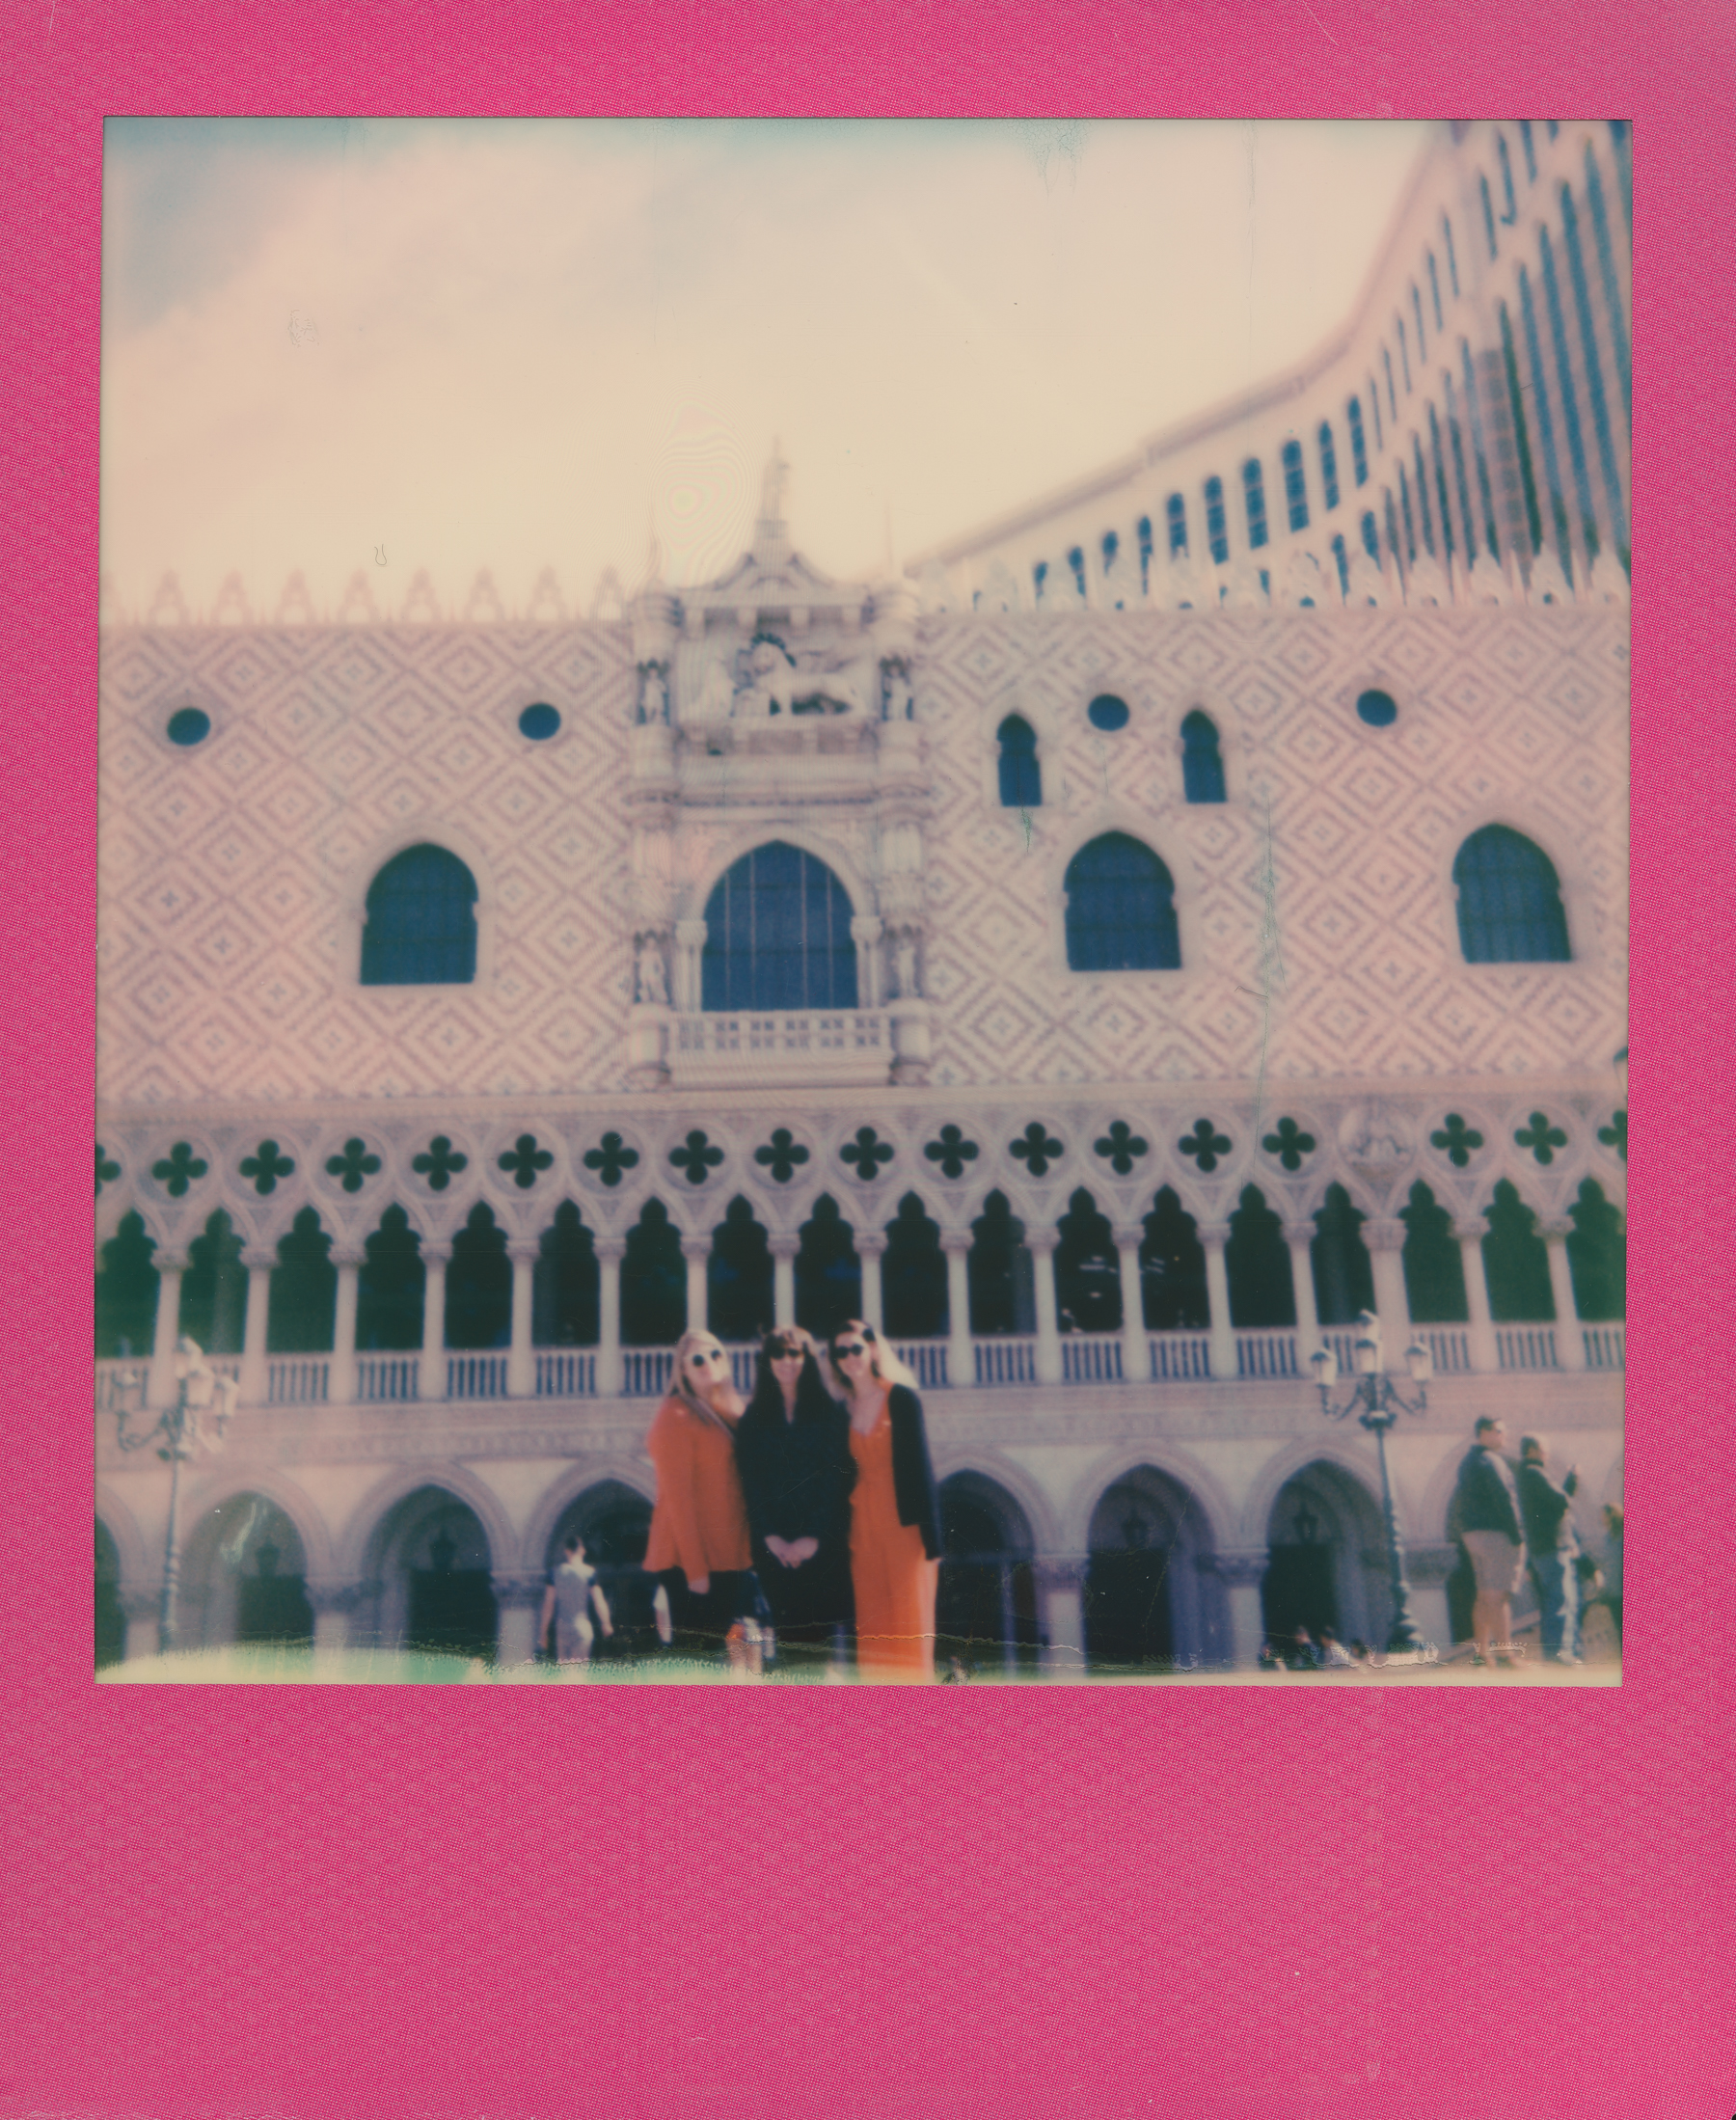
And of course, I can’t end this blog post without showing you a few sample images! These are all from my very first roll of film with this camera, so I’ll be sure to add more examples as I use the camera more.
Thanks so much for stopping by! Feel free to leave any questions/comments/thoughts below!
Have a magical day! And don’t forget to stop by my Amazon storefront for more camera/film recommendations. :)
<3 Myles Katherine
(click to enlarge)


