Updated July 5, 2026
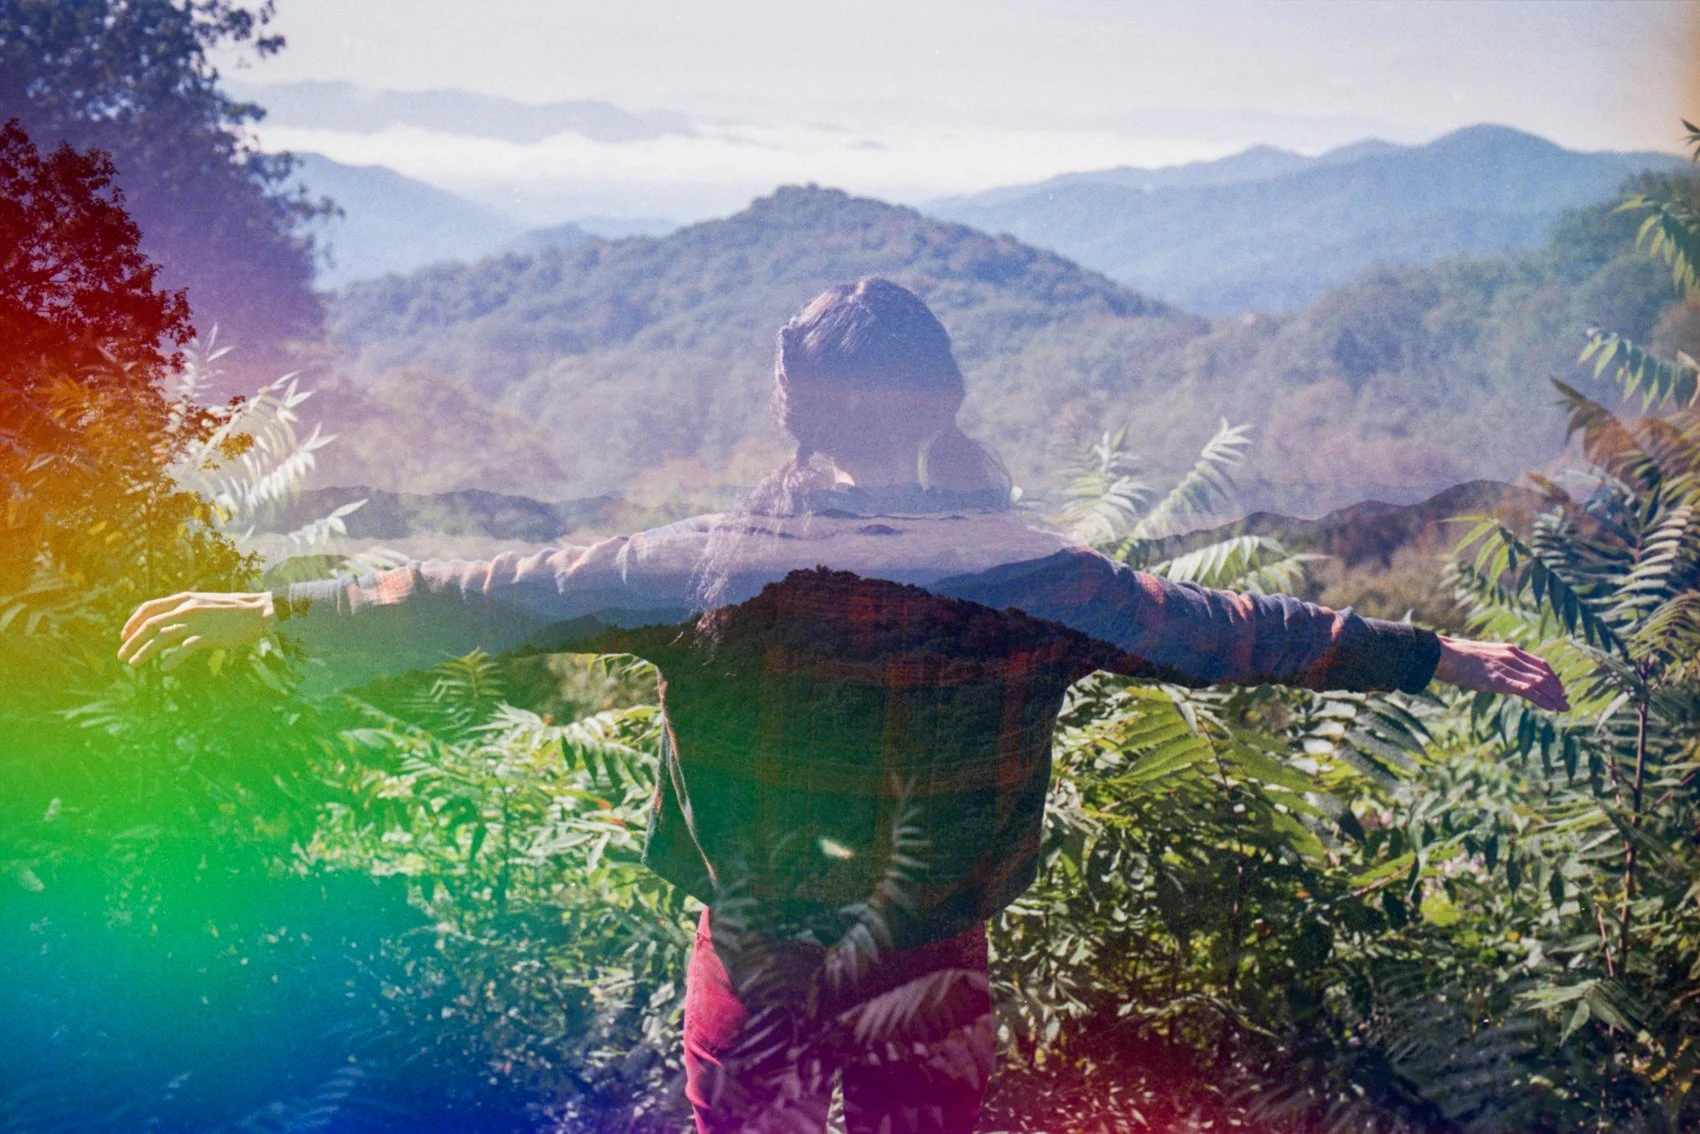
This is probably one of my most frequently asked questions. If you follow my work, you know I’m obsessed with double exposures and multiple exposures. At this point, I won’t even buy a camera if it doesn’t have the capability to create them! But what exactly is a “double exposure” or “multiple exposure”? And why would you want to make one?
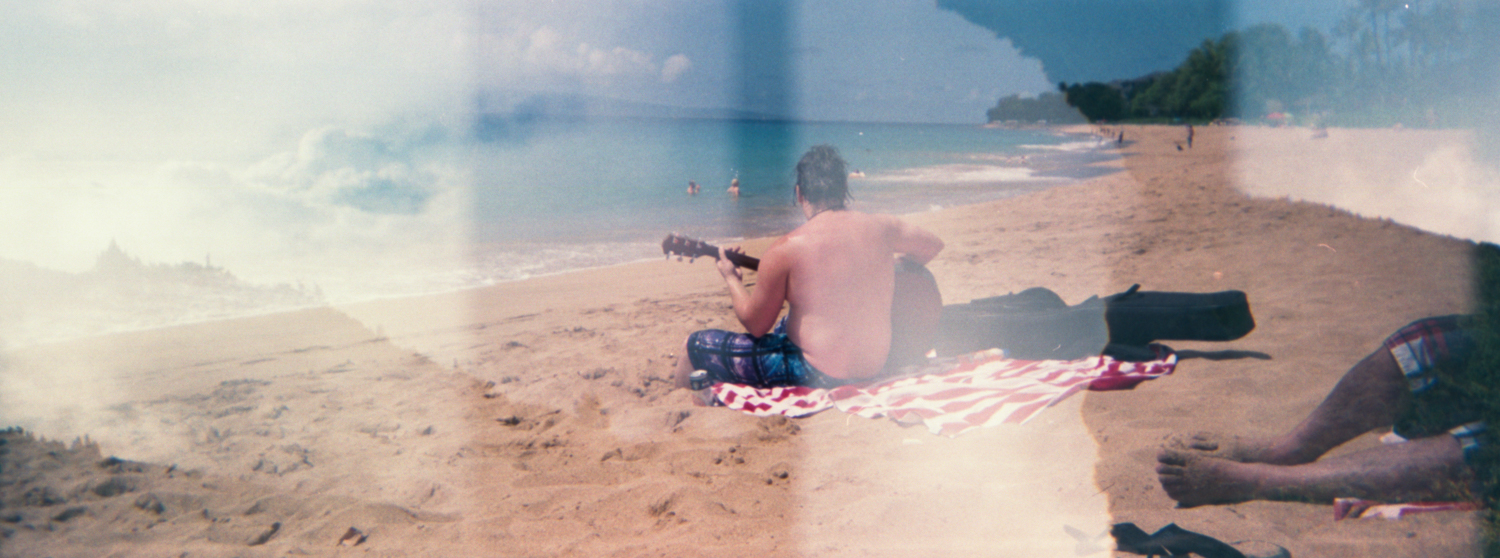
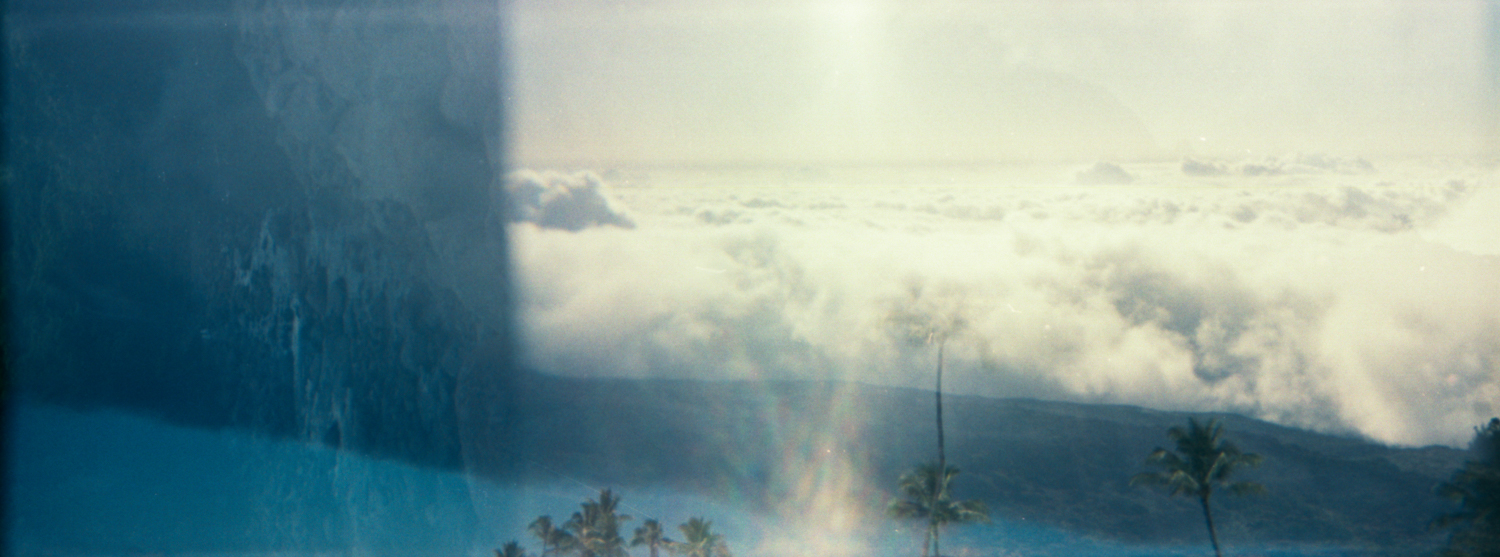
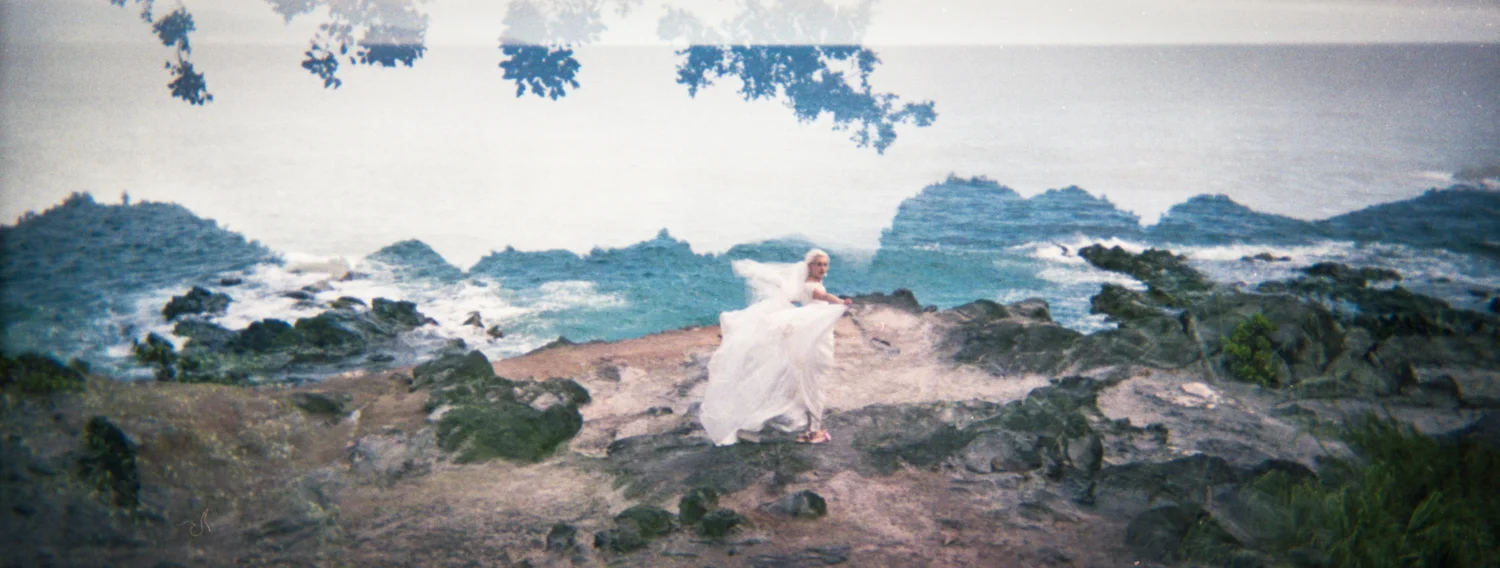
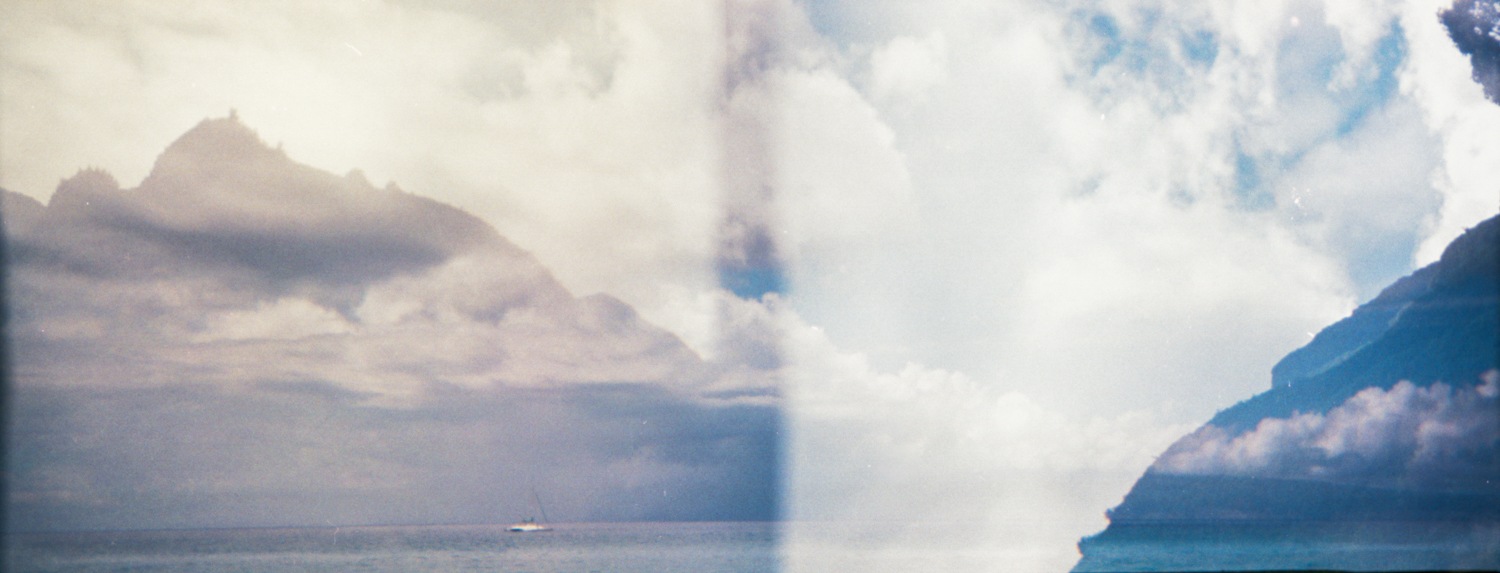
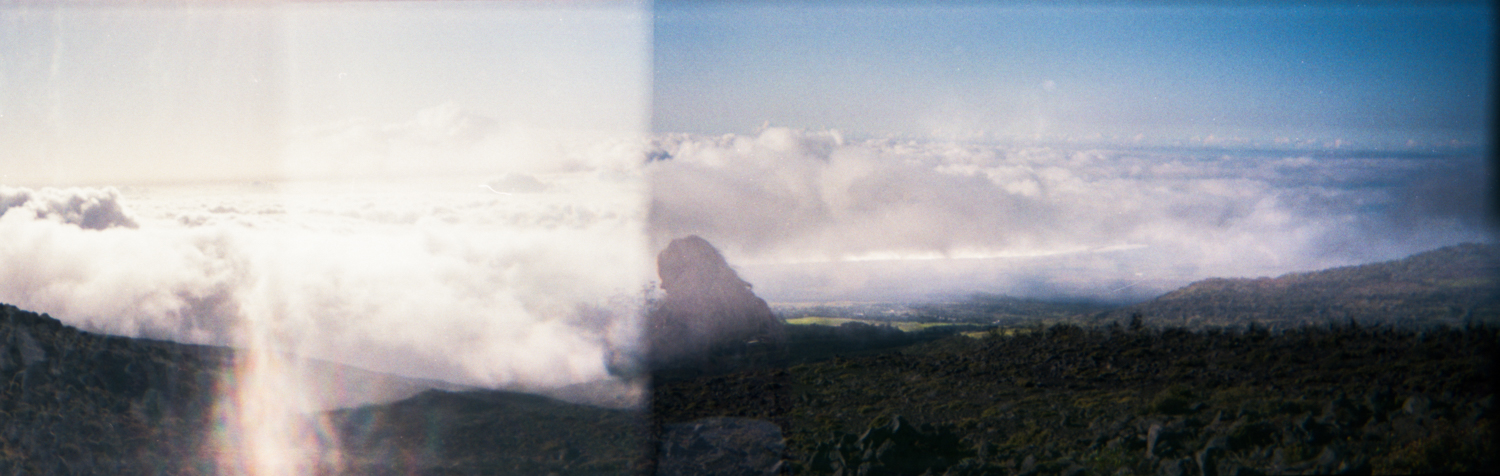
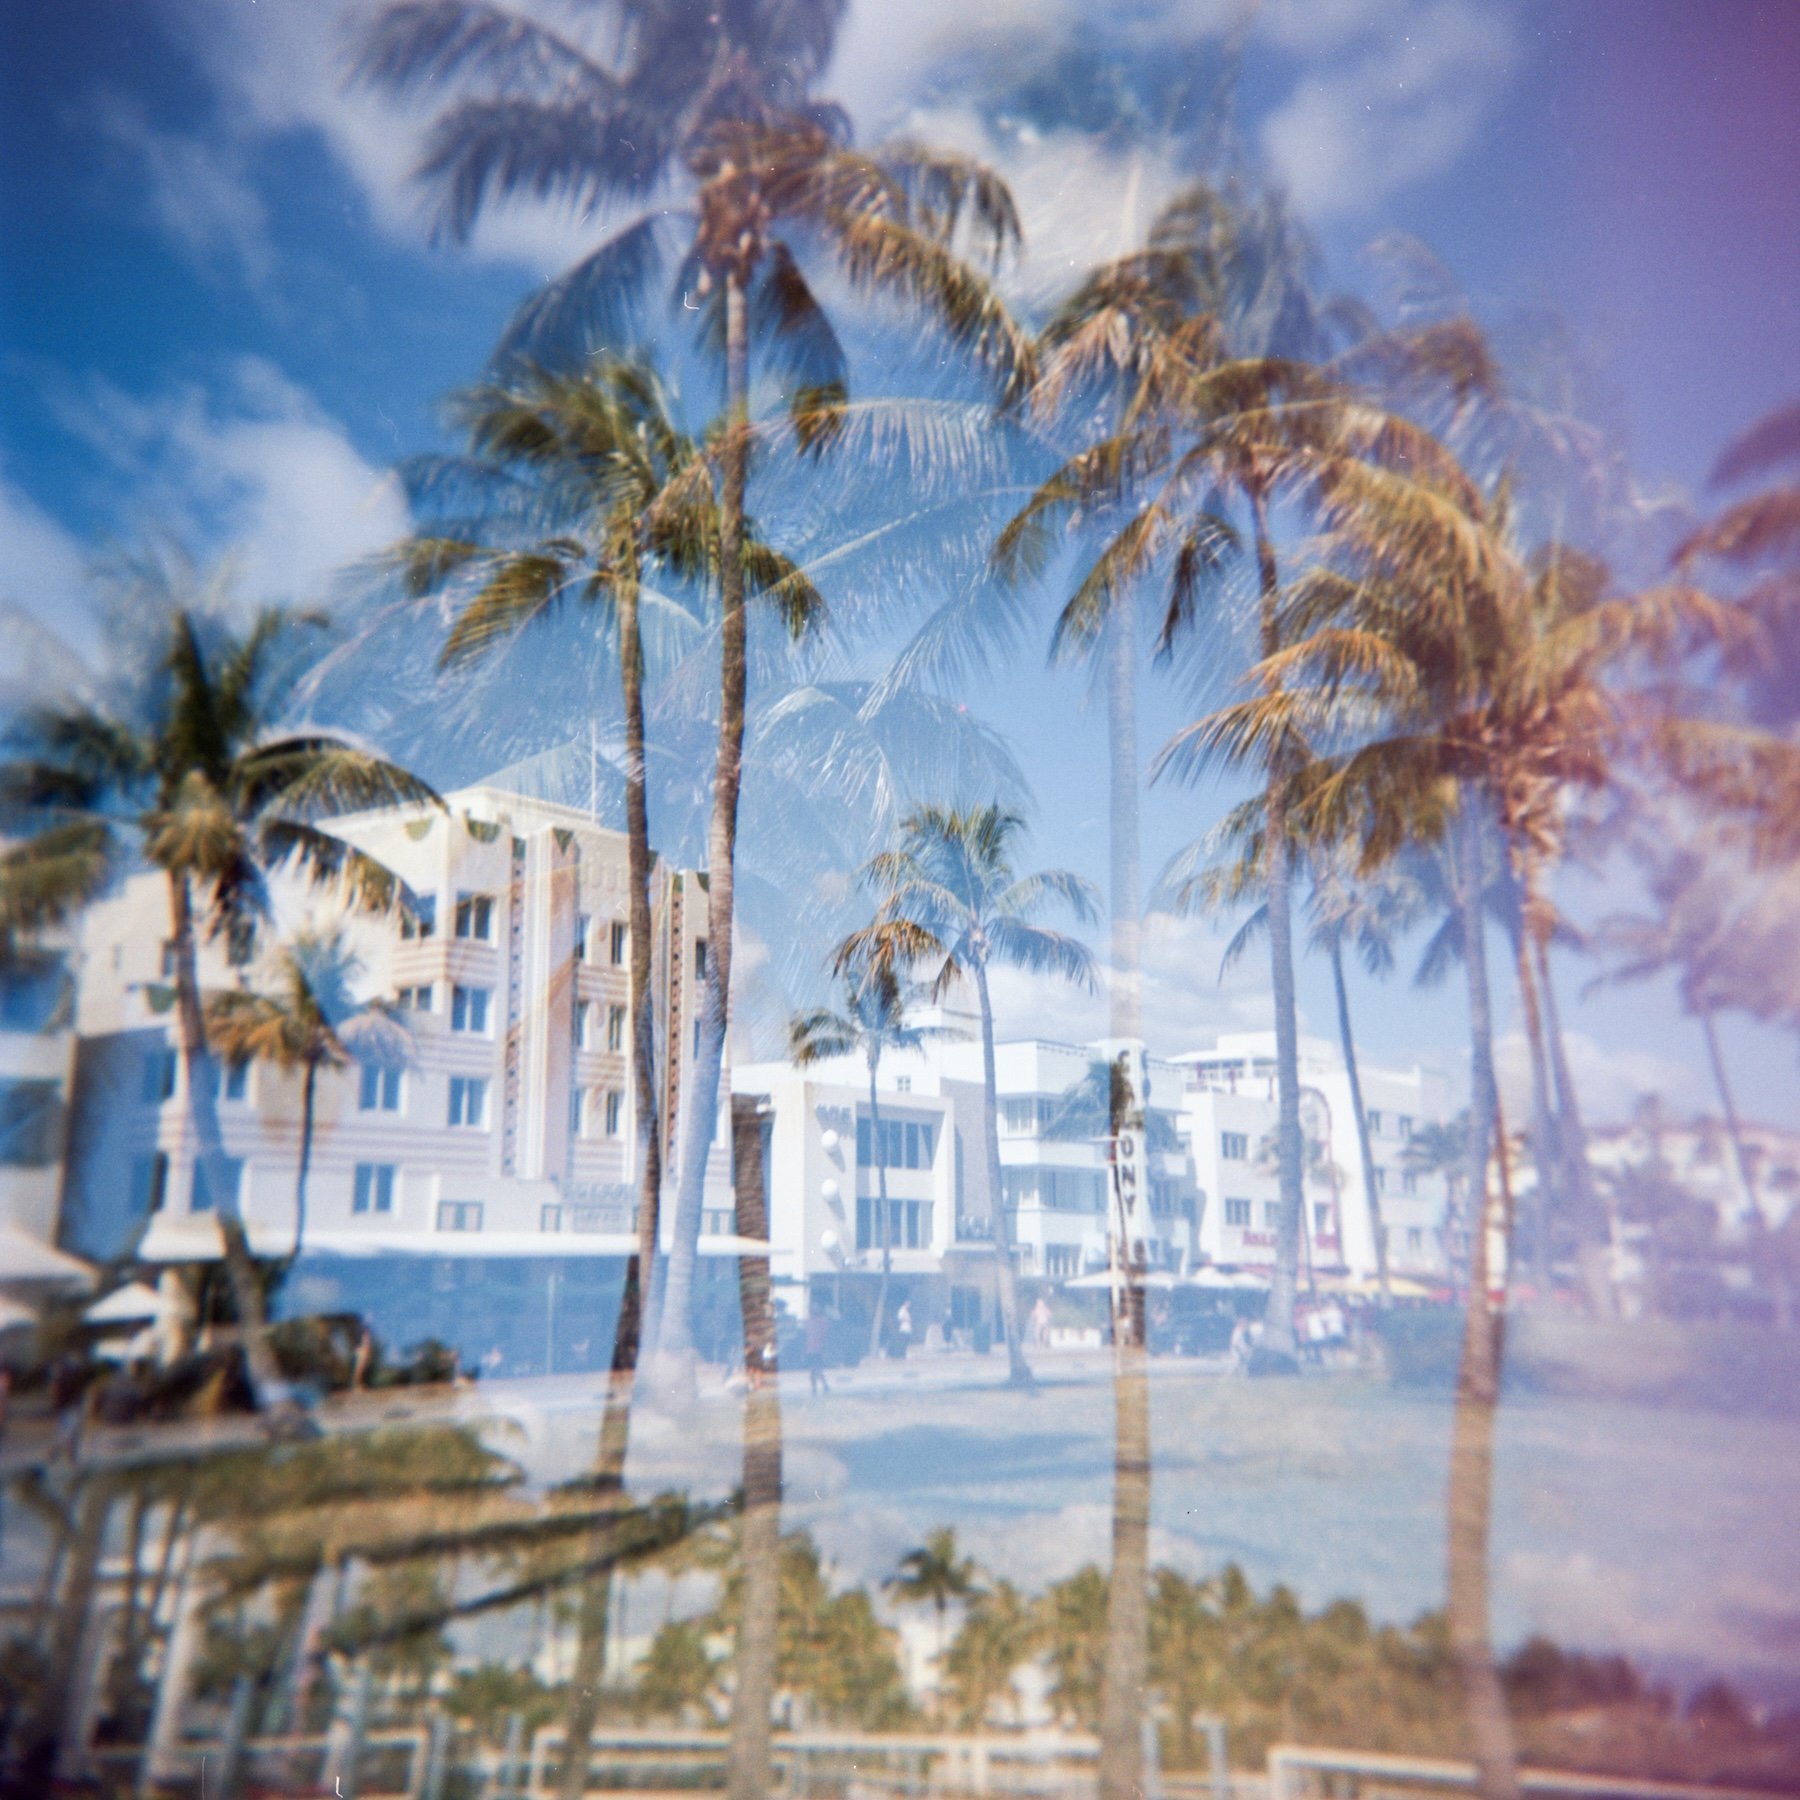
Well, it’s actually much more simple than you’d think. It’s essentially just an image over top of an image. For example, a “double exposure” is just one image with a second image taken over top of it. In film photography, it means the shutter was activated twice over the same film frame. Thus, the film was exposed twice, creating two images, one over top of the other. A “multiple exposure” is typically more than two images over top of each other. You could also refer to them as “triple exposures” or “quadruple exposures”, etc.
And for me, I love creating them because they are entirely unique. Anyone can take a standard photo of a popular landmark, like the Eiffel Tower, but if you create a multiple exposure of it, it suddenly becomes a surreal and unusual way of capturing it. I never want to be just like everyone else, so multiple exposures allow me to be more creative and look at the world a little differently.
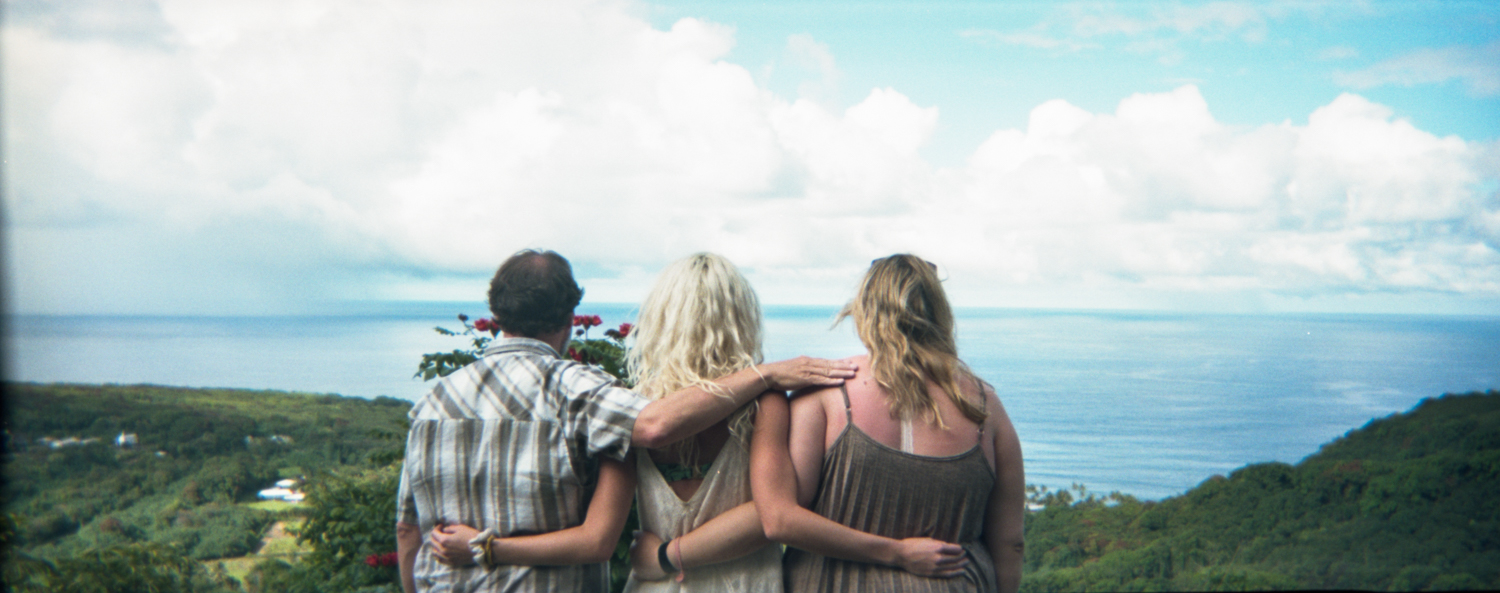
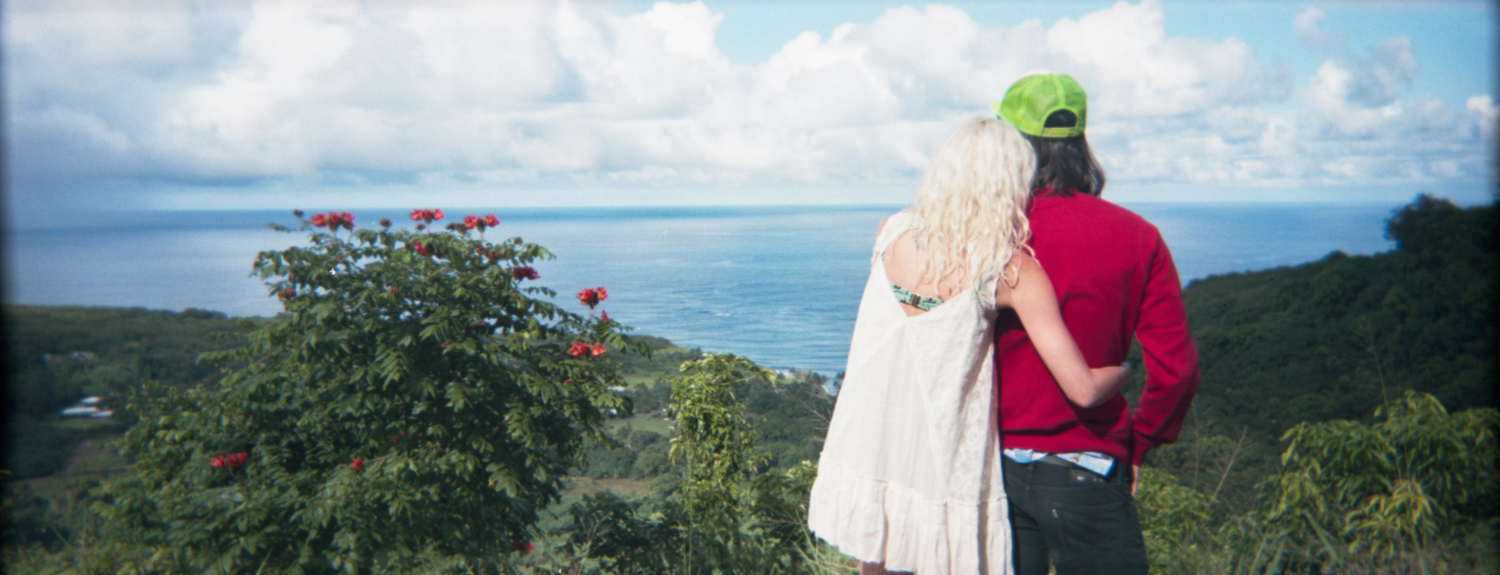
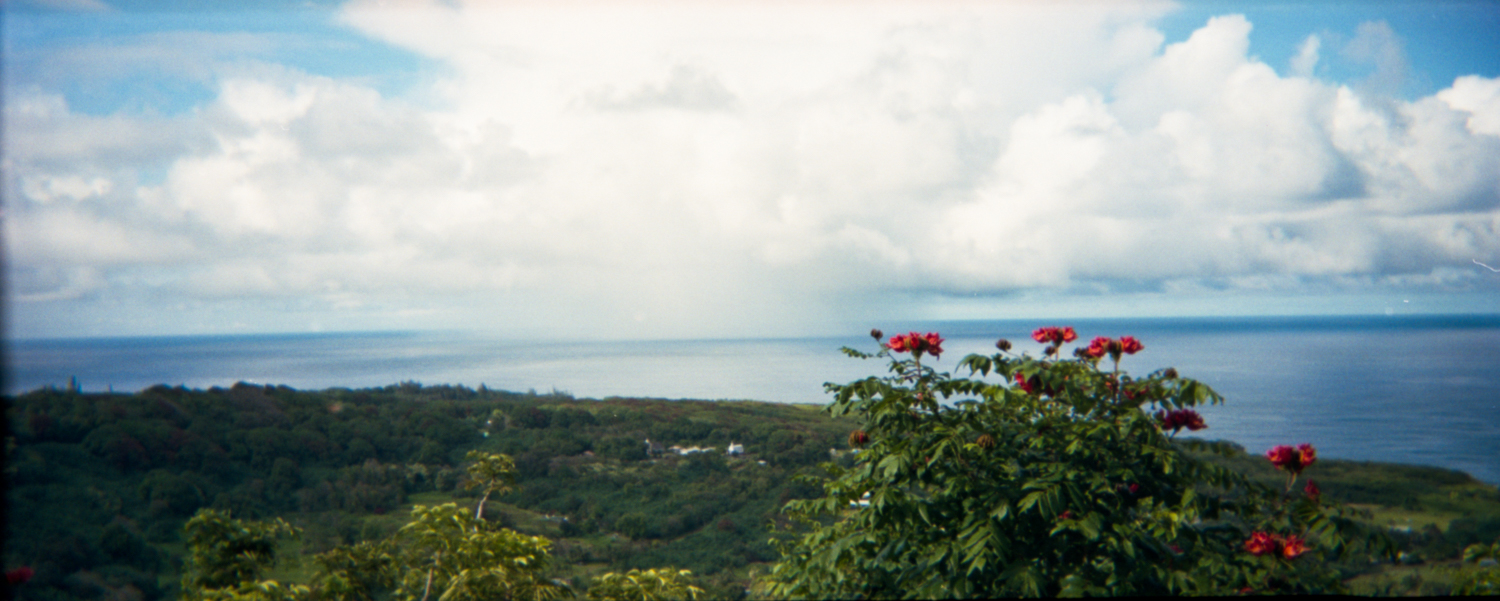
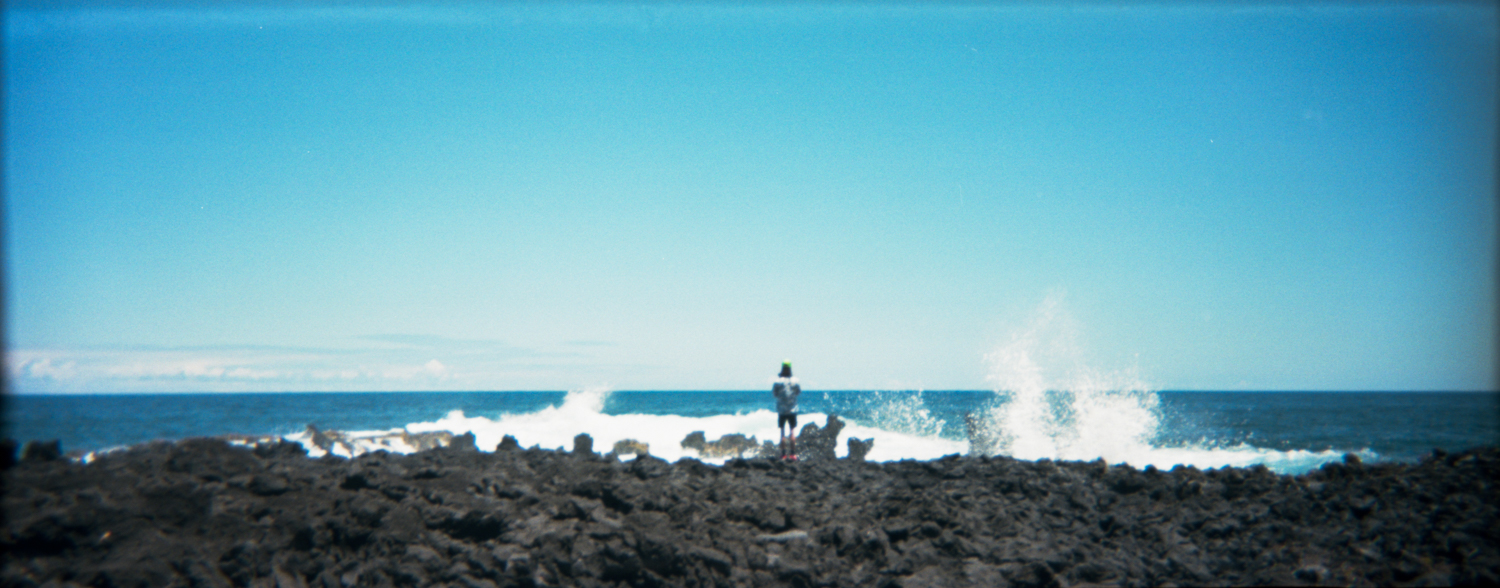
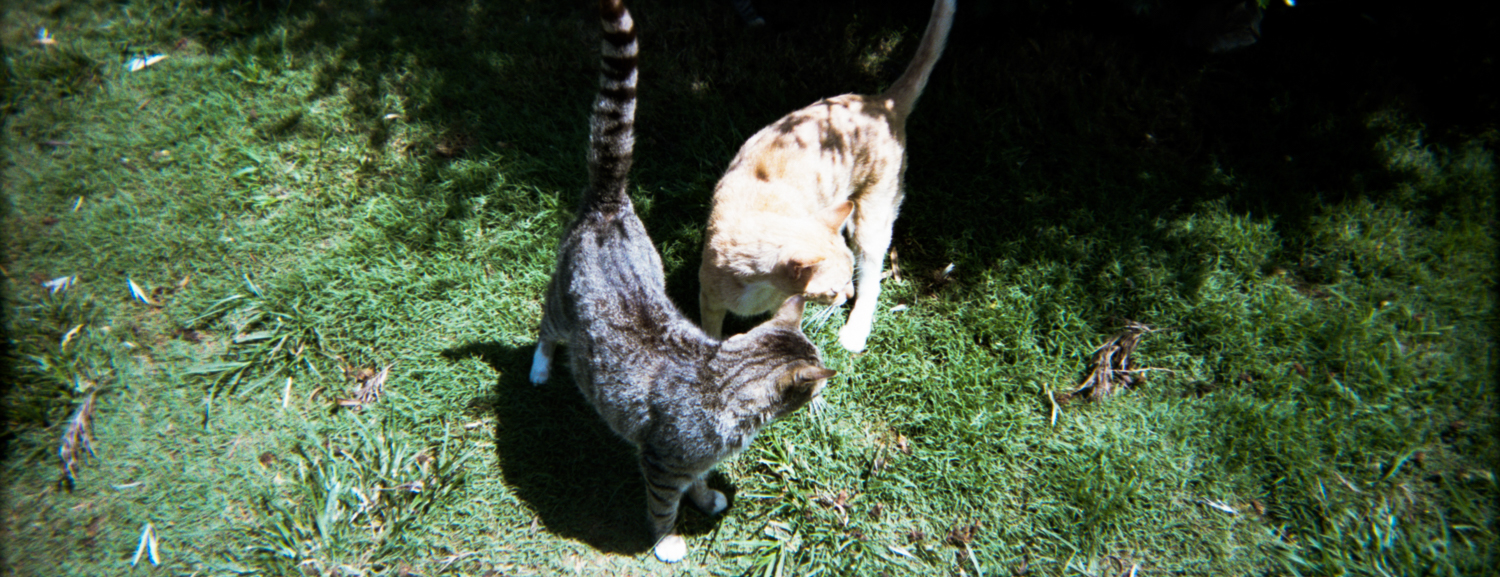
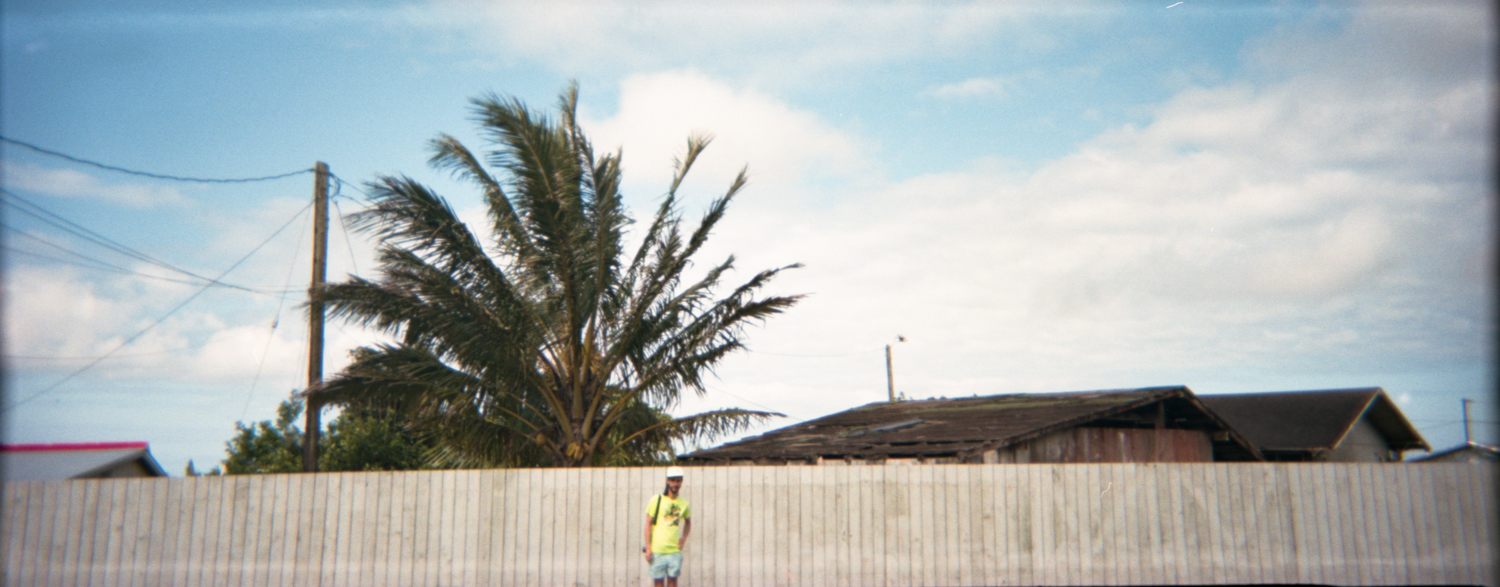
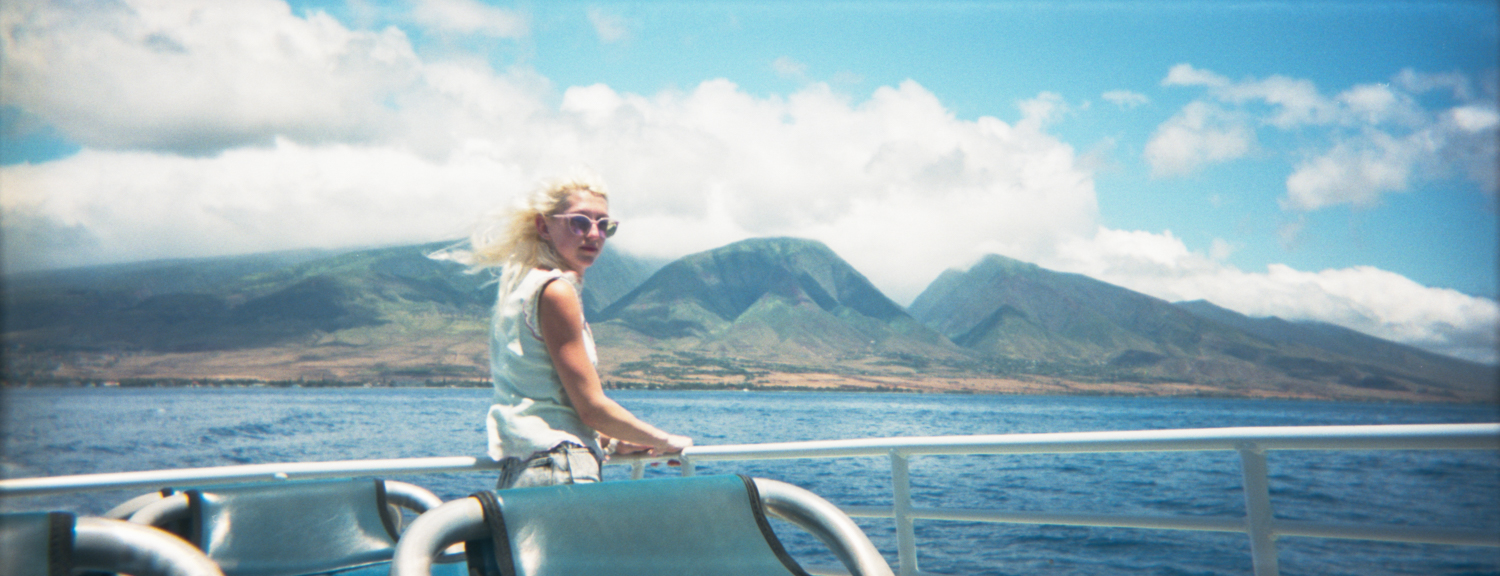
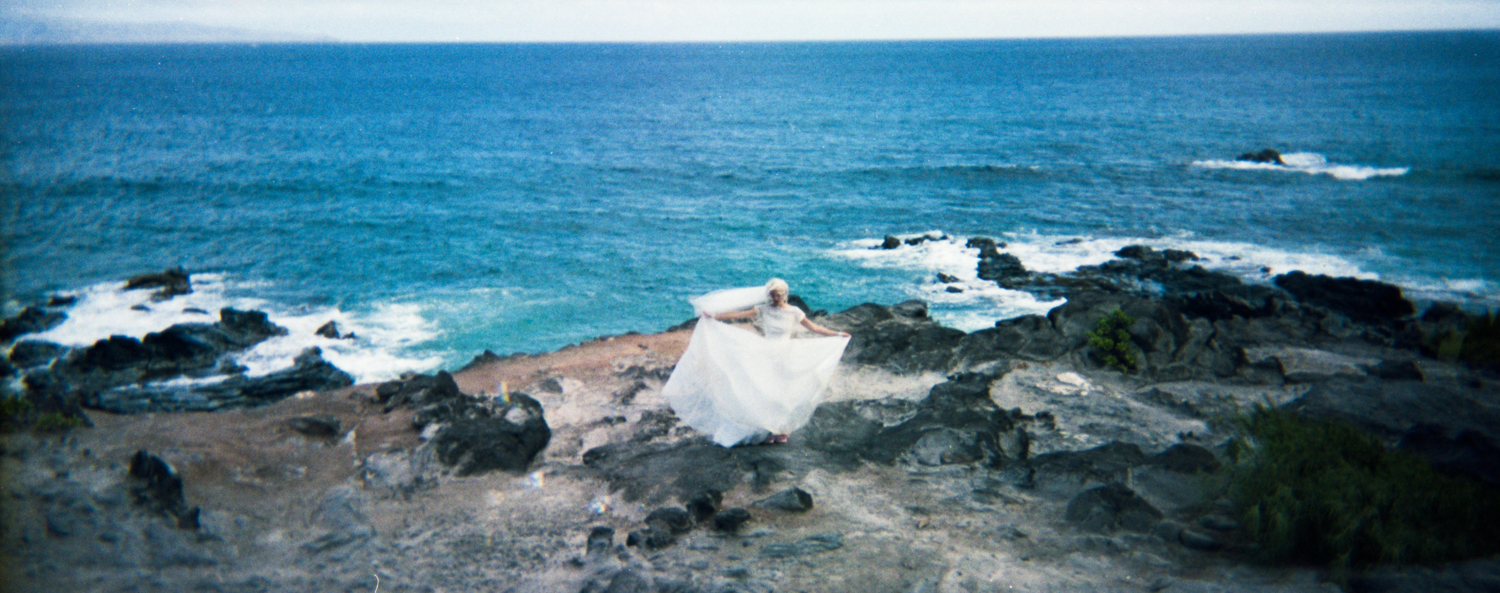
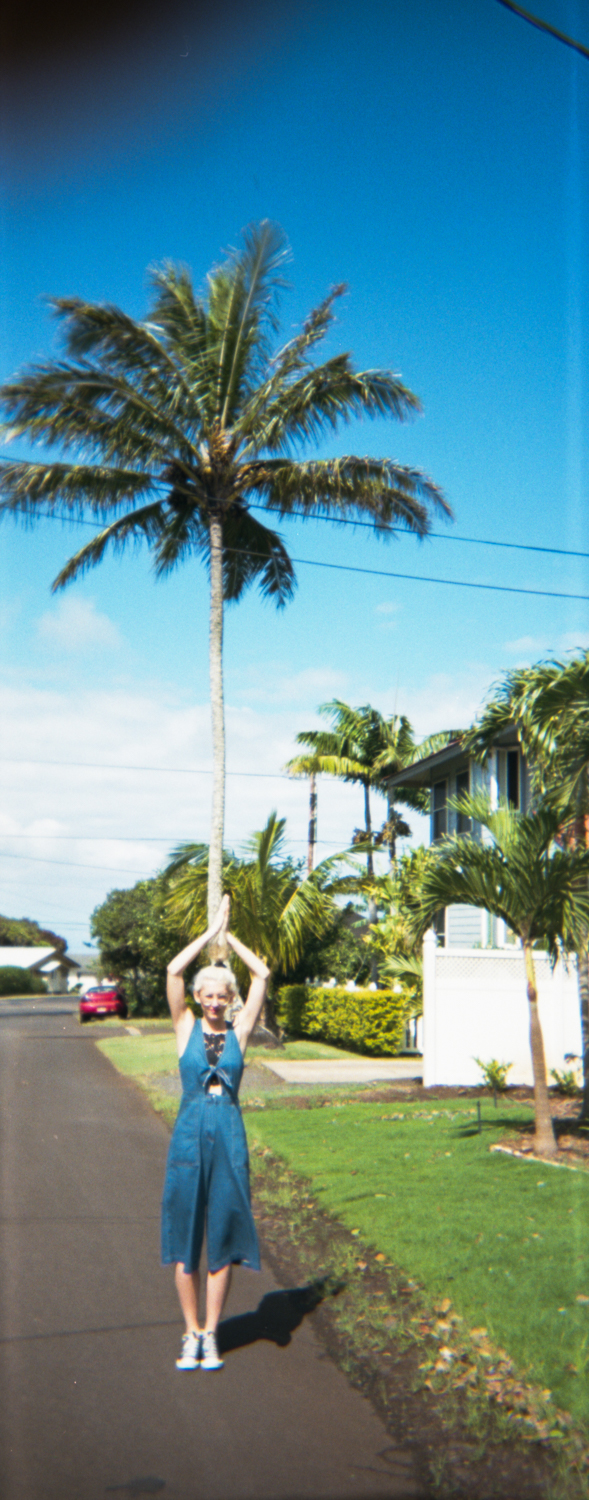
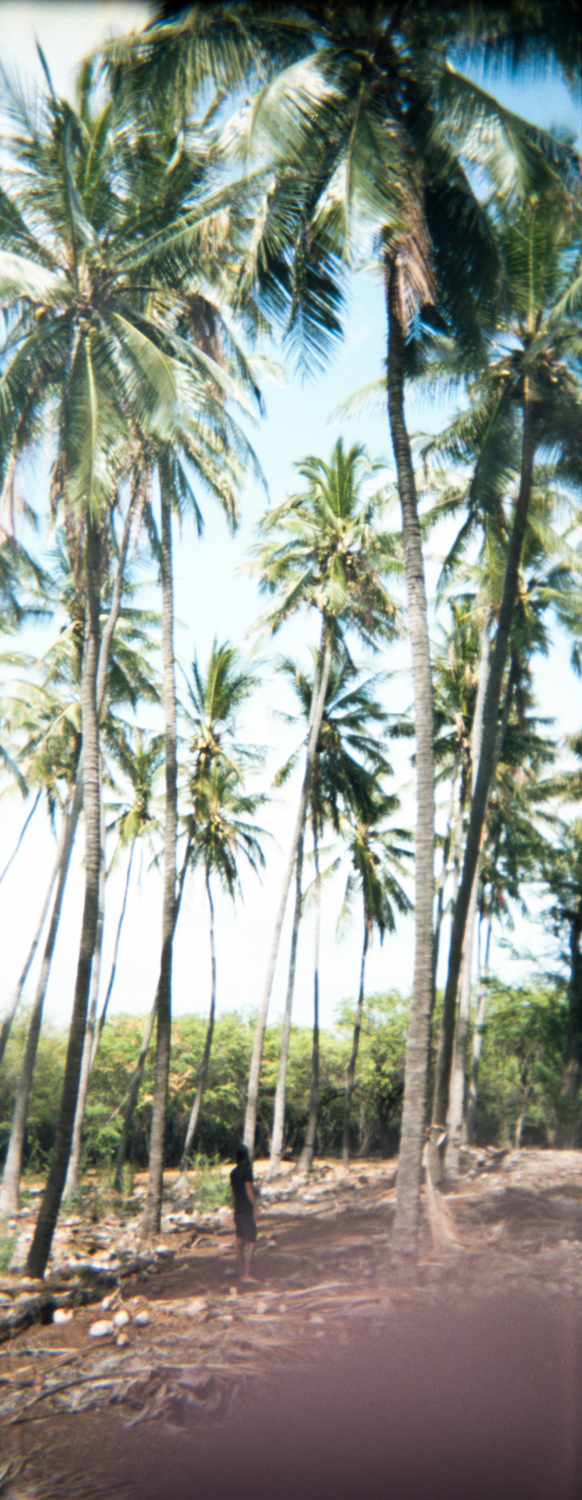
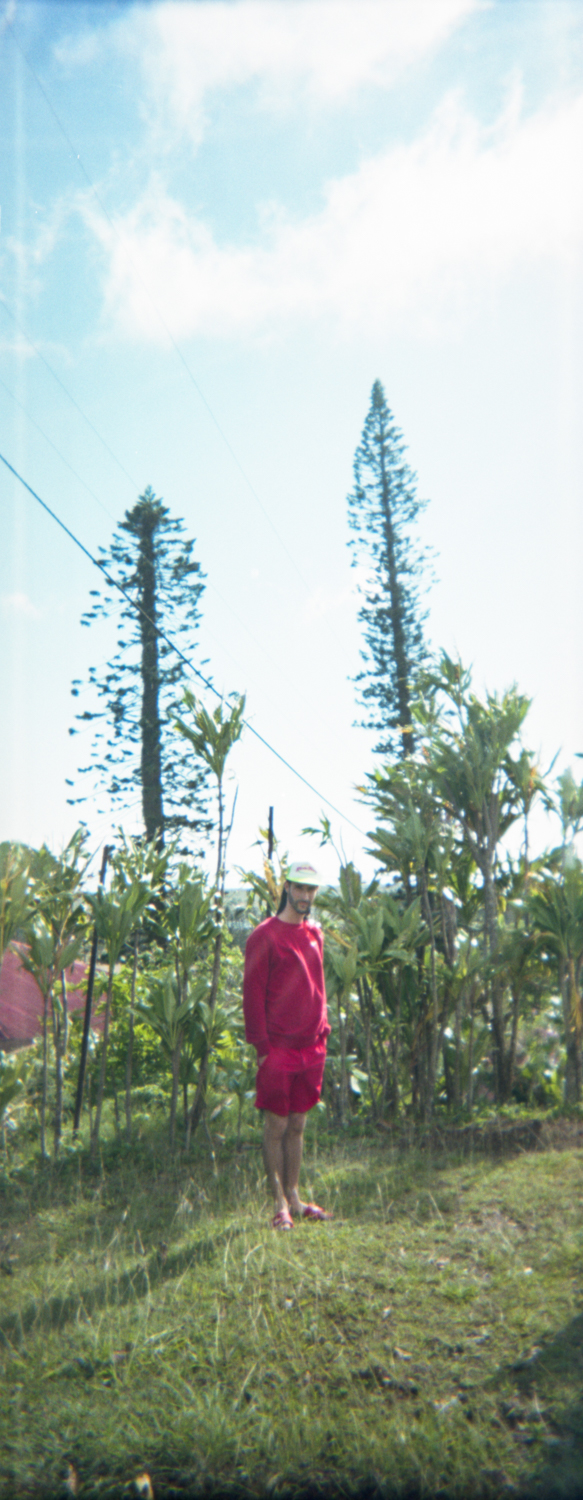
Not all film cameras allow you to do multiple exposures (though I prefer cameras that do)! One of my favorite cameras to use for multiple exposures is the Holga GCFN. I’ve made a full video about this camera on my YouTube channel because I love it so much! It’s easy to accidentally create double and multiple exposures with this camera because you have to manually wind the film between each image. If you forgot to wind the film after you took an image, you’ll end up shooting over the same frame and creating an accidental double exposure! Honestly though, that’s the magic of the Holga camera. Many people don’t enjoy cameras without an automatic film advance because it’s way too easy to forget whether you advanced the film or not. Personally, I prefer to have full control over my images and I don’t mind when those magic images happen on their own. :)
(By using the affiliate links and/or codes in this blog post, you help support Myles Katherine Photography. I may earn a small commission at no additional cost to you if you make a purchase through these links. Thank you for your support!)
A few of my other favorite film cameras to use for double exposures are the Nikon FE2 35 mm camera (check out my YouTube video on this camera) and Contax 645 Medium format camera (I have a YouTube video on this one too)! But a Holga GCFN is a great place to start because they are so affordable, ranging from about $40-70 depending on which model you go with (I always recommend the GCFN model). If you’re more interested in a 35 mm camera, I recommend reading my blog post about the Top 10 35 mm Film Cameras for Beginners.
When it comes to digital photography and multiple exposures, not all camera brands allow you to create in-camera double and multiple exposures. This is why I prefer to shoot Canon, preferably with my Canon 5D Mark IV, because they have a feature built into the camera that makes them super easy and fun to create. I also use a Canon EOS R, but I find it to be a bit slower when taking double/multiple exposures.
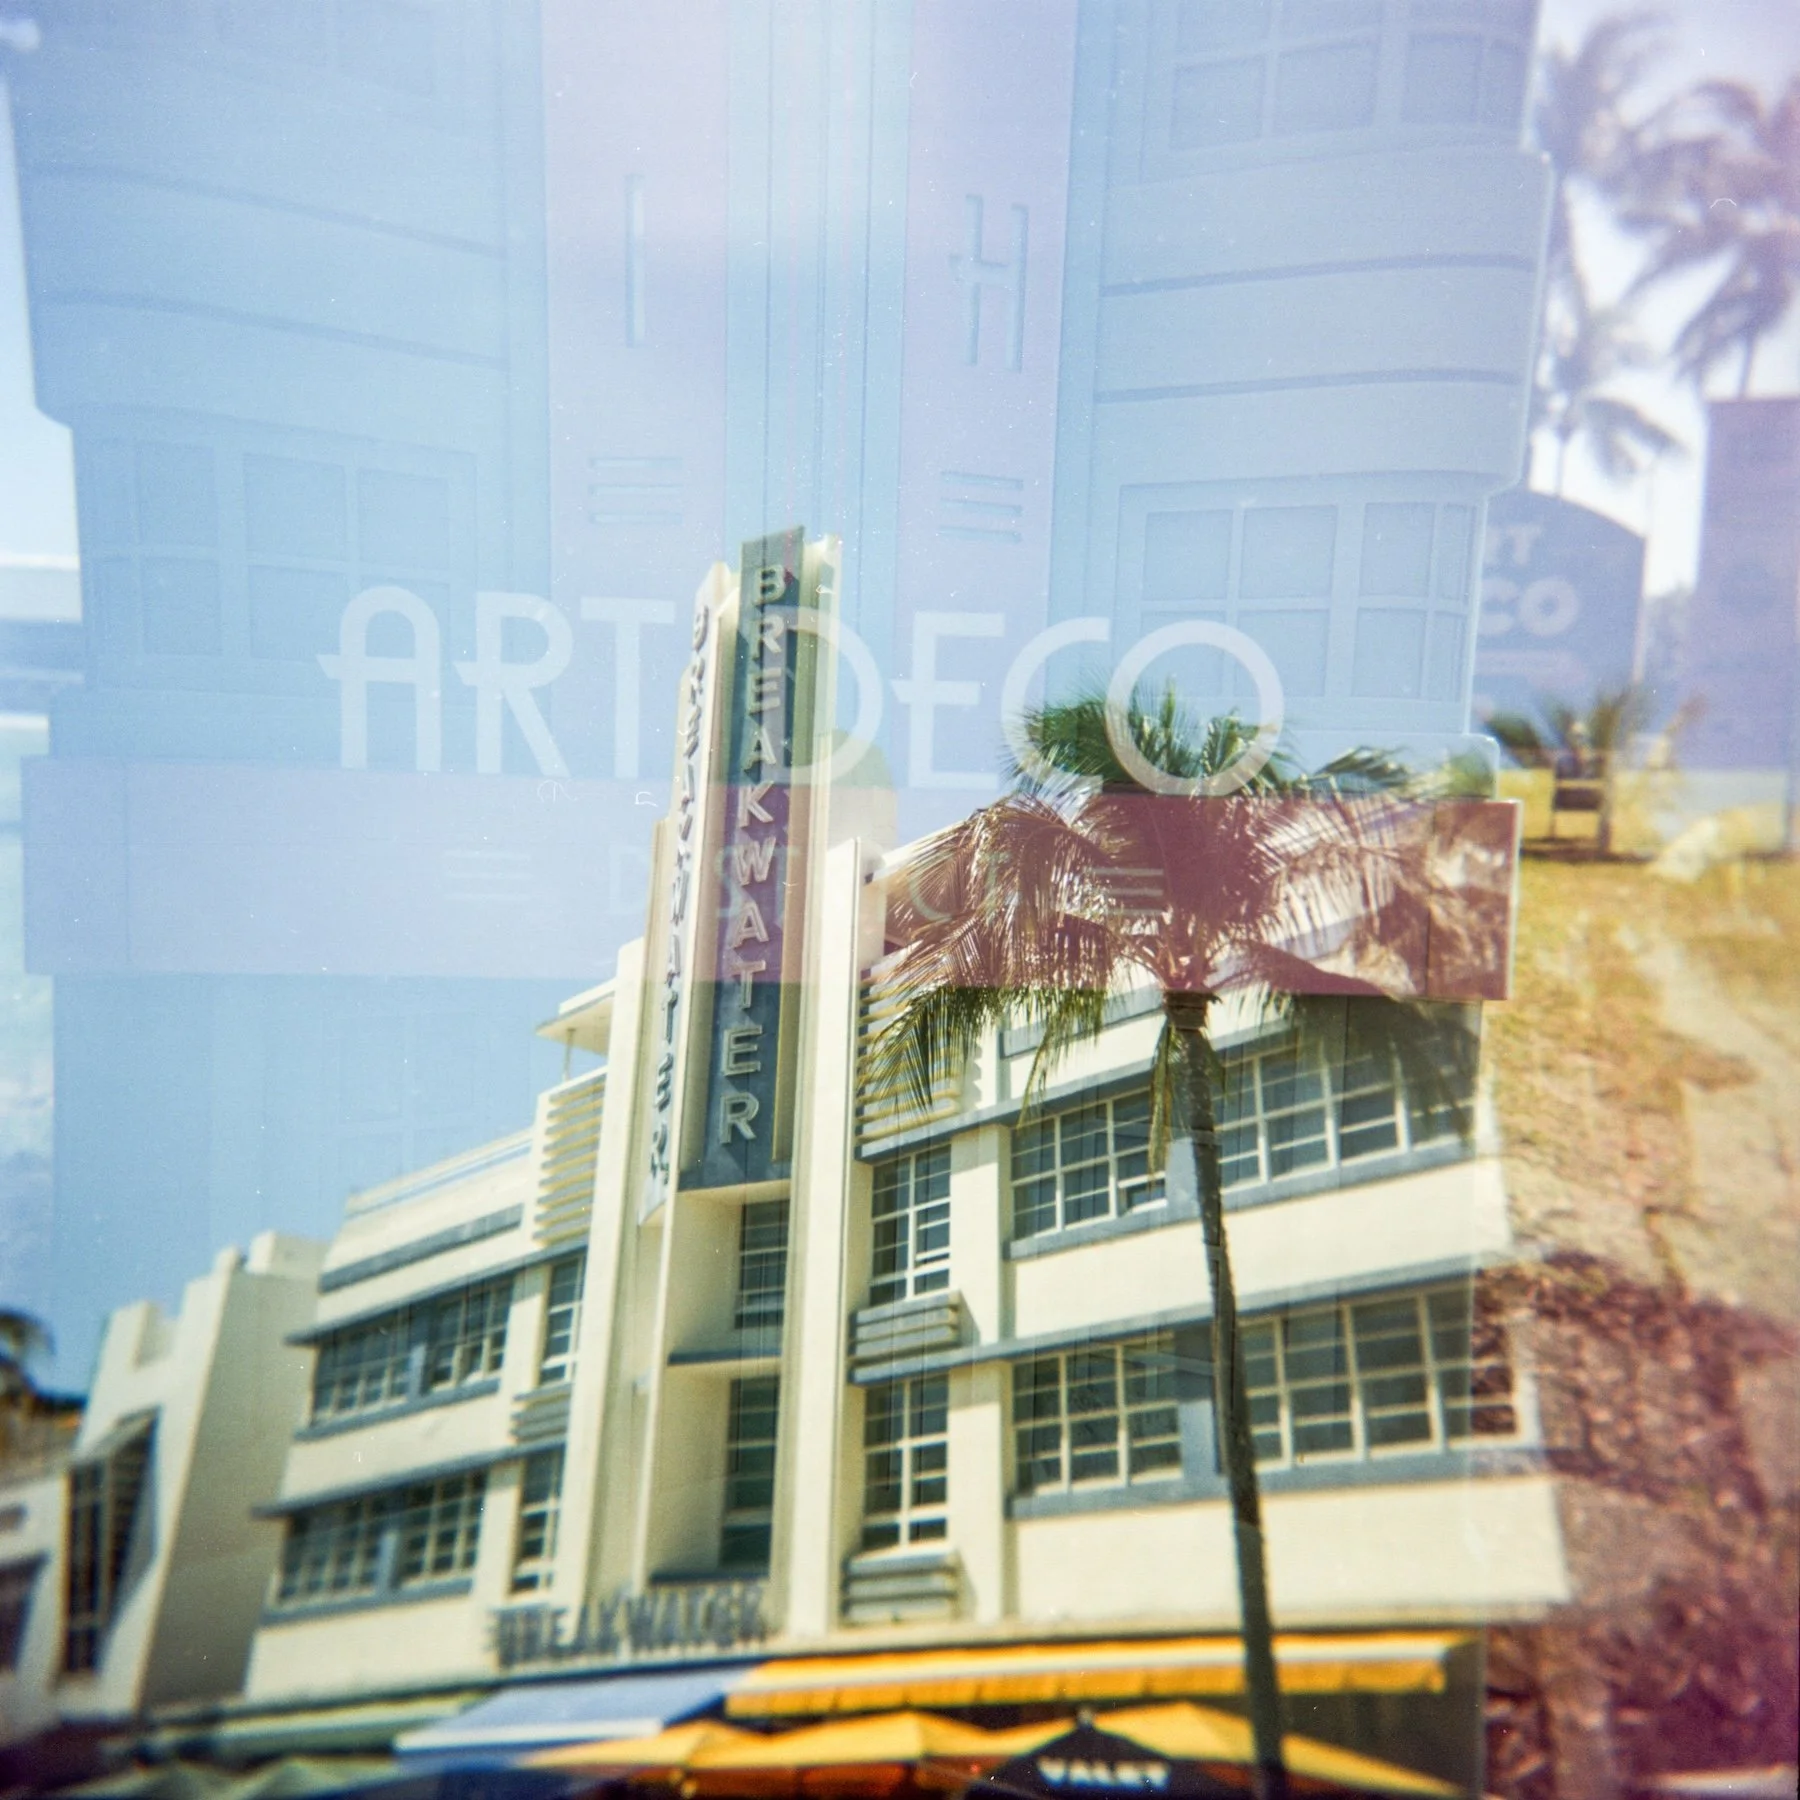
If you have a film camera that does not have a built in multiple exposure feature, there actually is a workaround. You can shoot through an entire film roll, remove it from the camera after rewinding it, and shoot through the roll again! You typically have to pull the film leader back out of the film canister using a film leader retriever like this one, before inserting the film into the camera again. I find this route to be a bit more complicated and time-consuming, and I feel like I have less control over the images because I can’t remember what the image was from the first roll. But if you want to be surprised and truly trust the process, this is a perfect way to do it! Plus, it’s a great way to collaborate with film photographer friends because you can shoot through a roll first and then pass it along to your friend for them to shoot through! Then you’ll end up with a full roll of unplanned multiple exposures and you just never know what you’re going to get! Things like this are why I love film photography so much!
The secret to creating amazing double exposures and multiple exposures is to EXPERIMENT. Try shooting different textures, landscapes and portraits, and mix and match to see how it all turns out. It’s really just all about having fun and not having expectations. I’ll be sharing a blog post soon with a few tips and tricks on creating unique images, so make sure to check back!
If you found this post helpful in any way, I’d love it if you considered signing up for my Patreon! For as little as $1 a month, you’ll get early access to all of my YouTube videos, plus tons of photos that I don’t post anywhere else. Depending on which tier you choose, you could also receive seasonal prints and/or discounts! I always use all of the proceeds towards cameras, film & processing.
If you have any questions, I’m always happy to help! You can contact me here, or leave a comment below! Thanks so much for stopping by! You can also check out my B&H Photo storefront & Amazon Storefront for more camera/film recommendations. :) Have a magical day!
<3 Myles Katherine
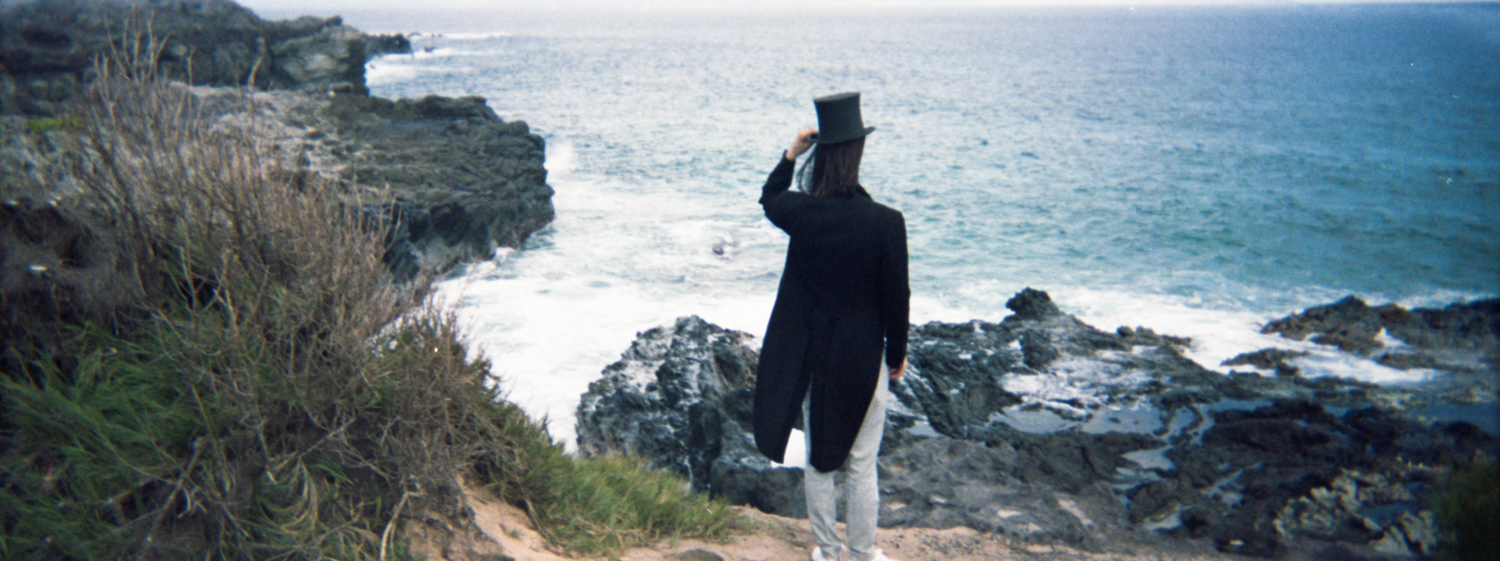
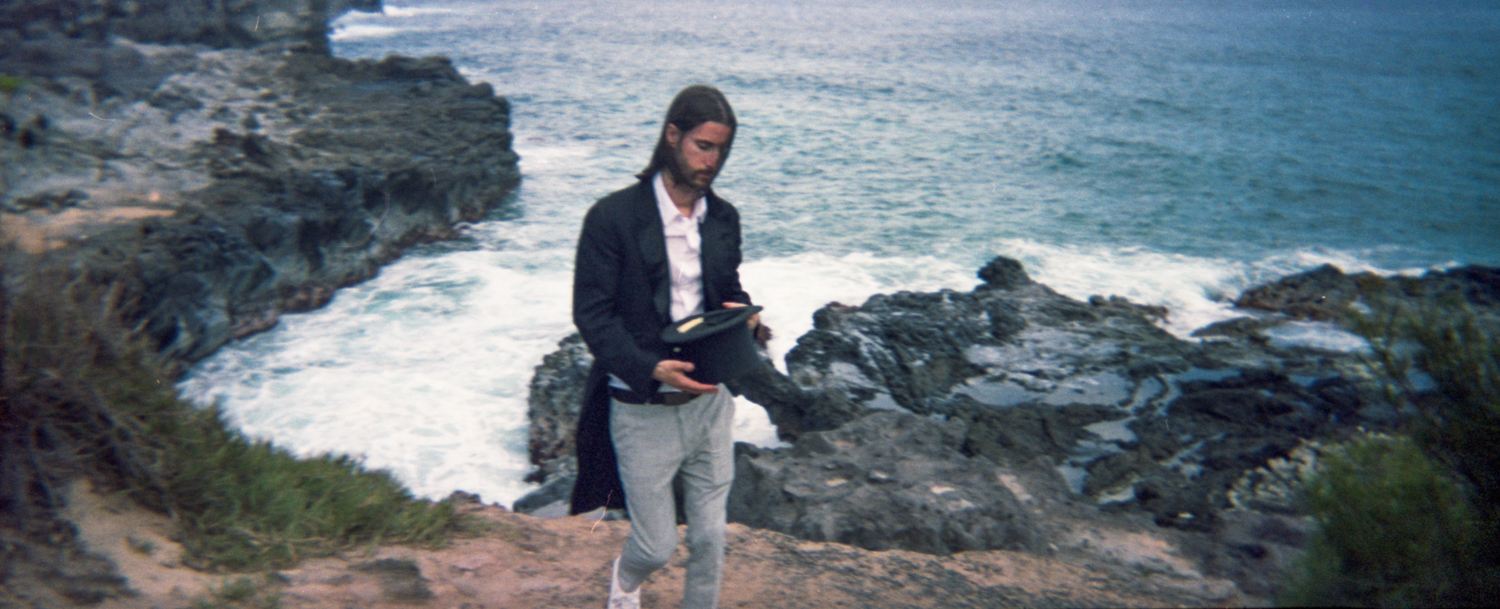
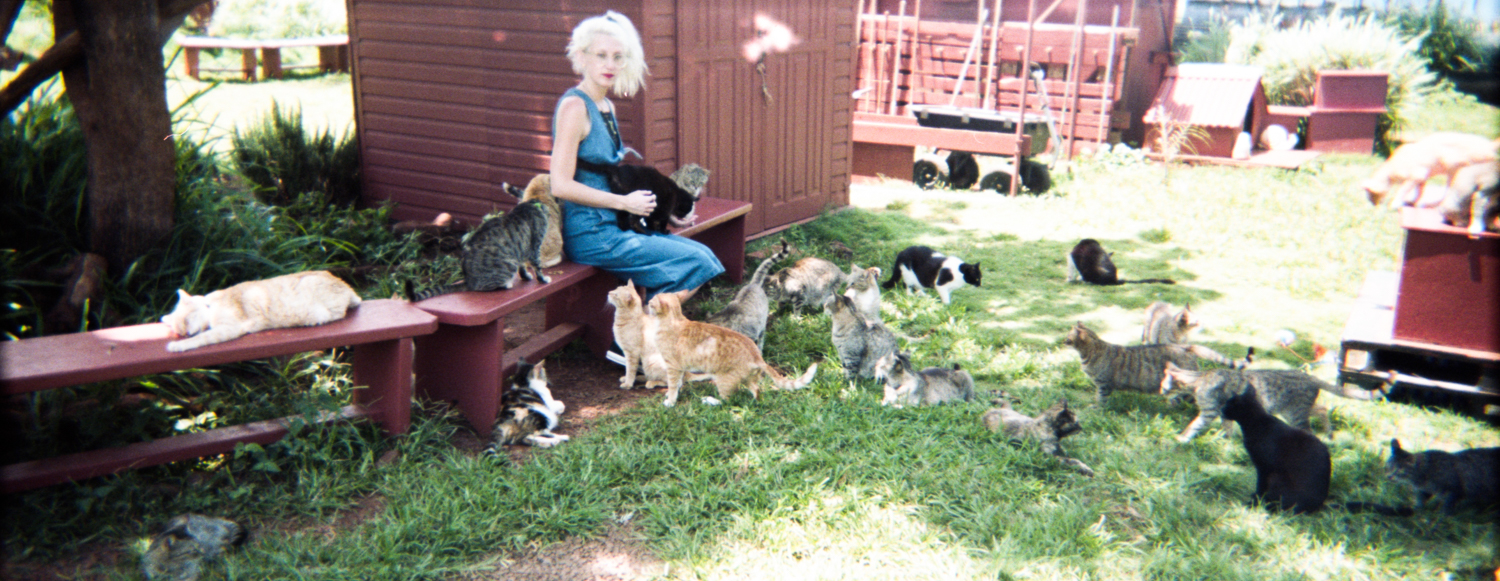
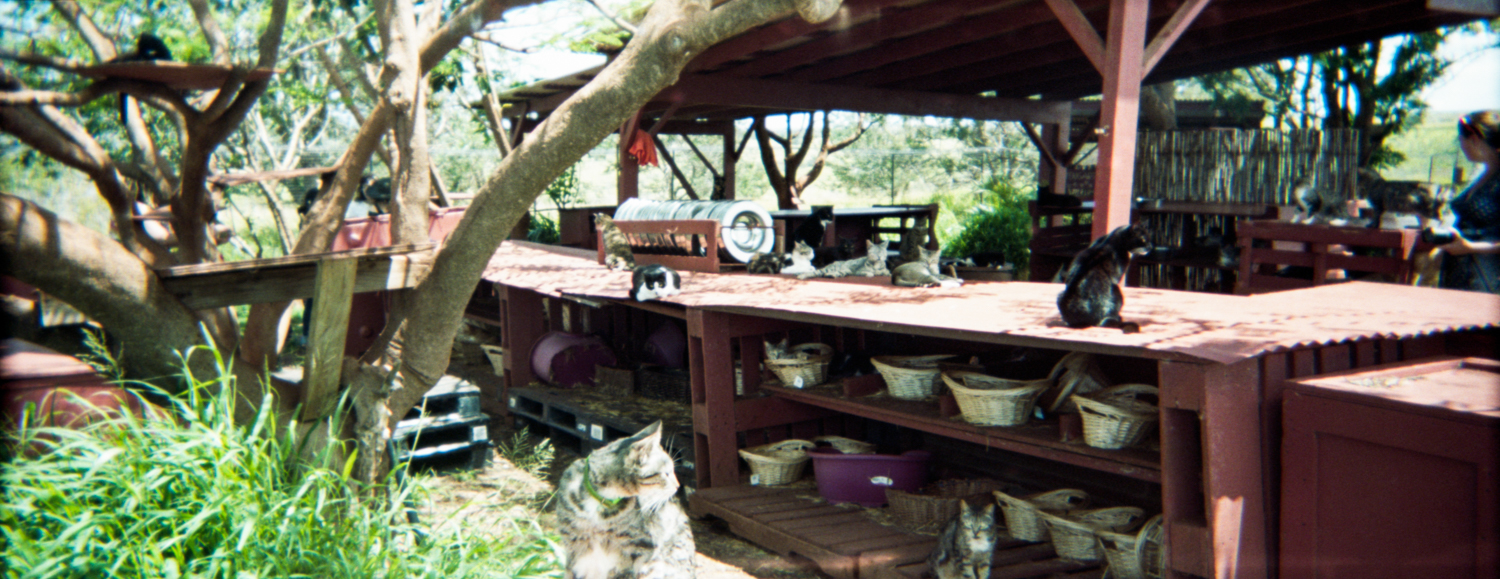
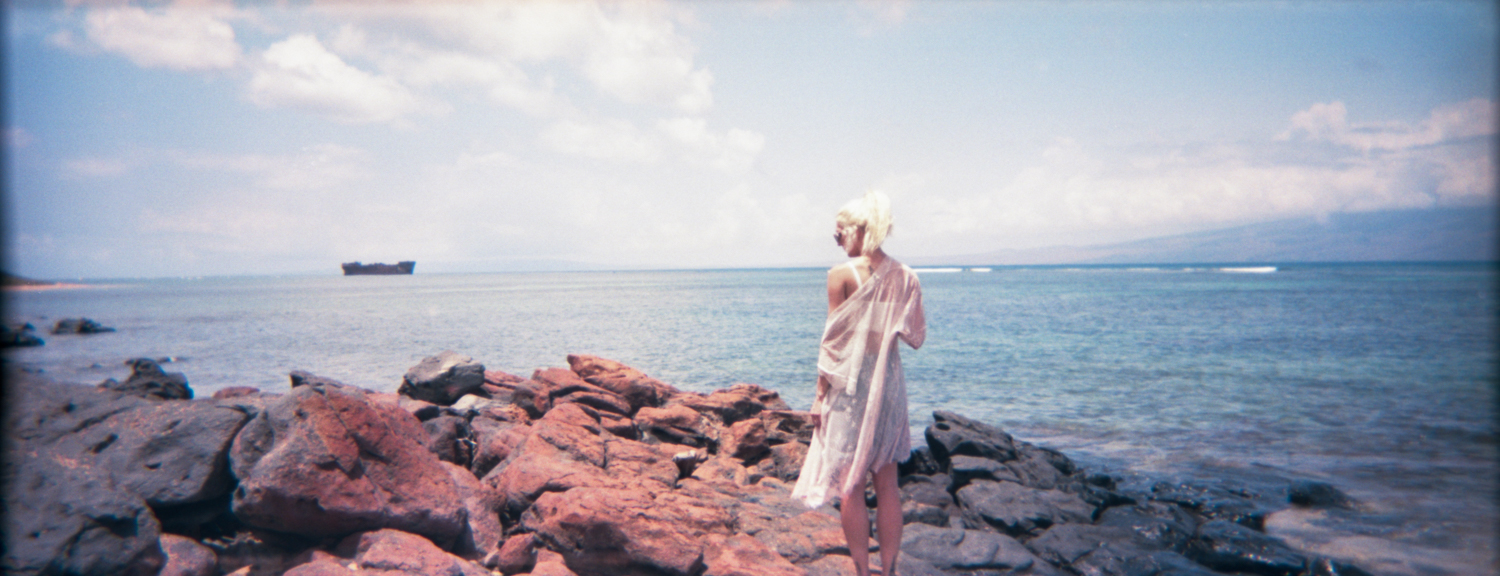
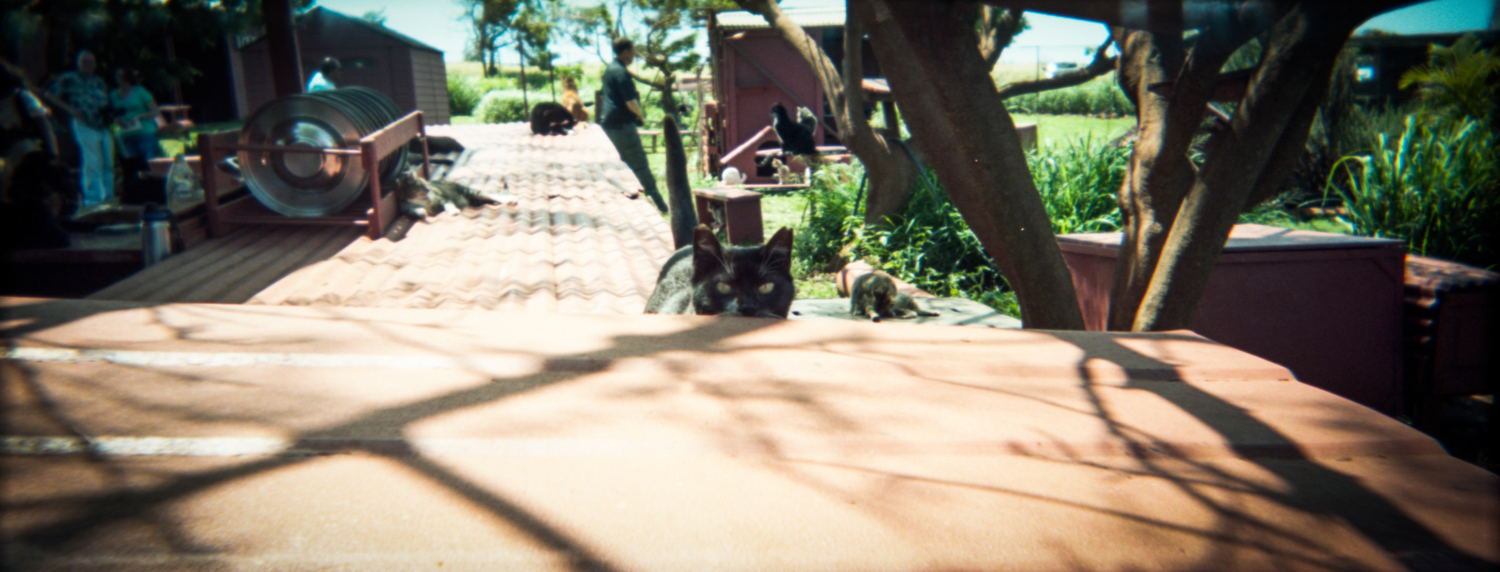
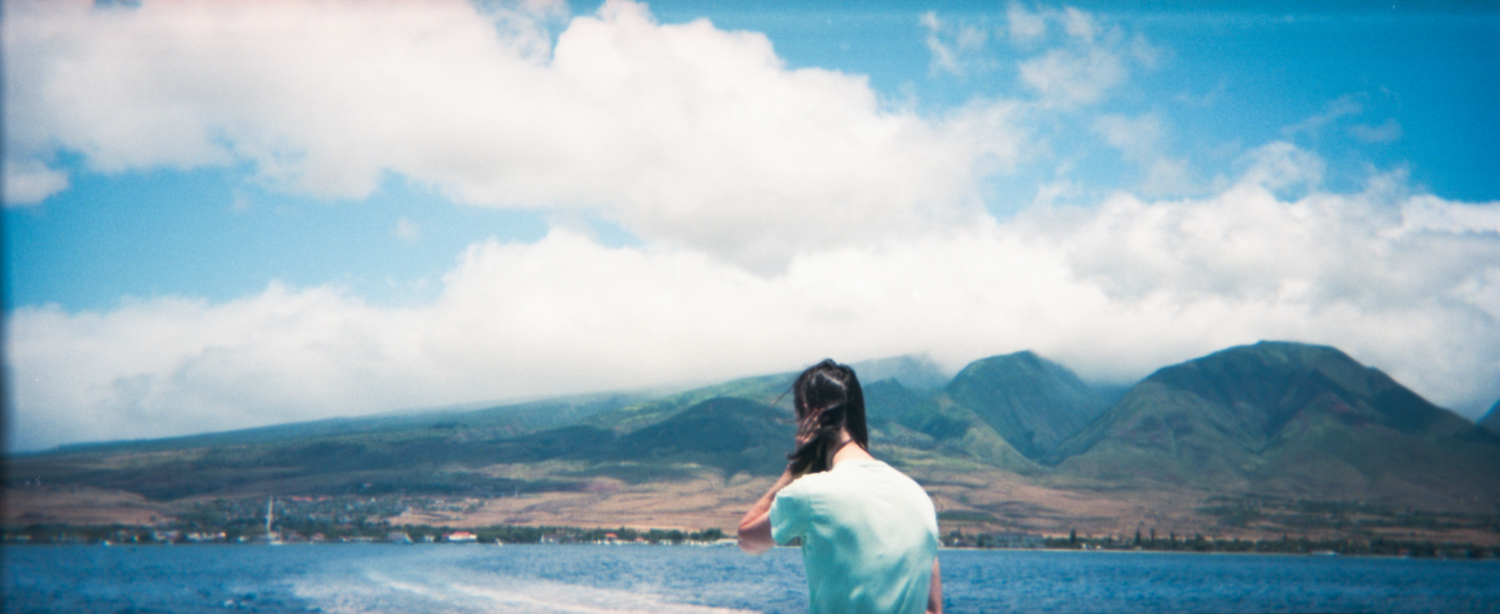
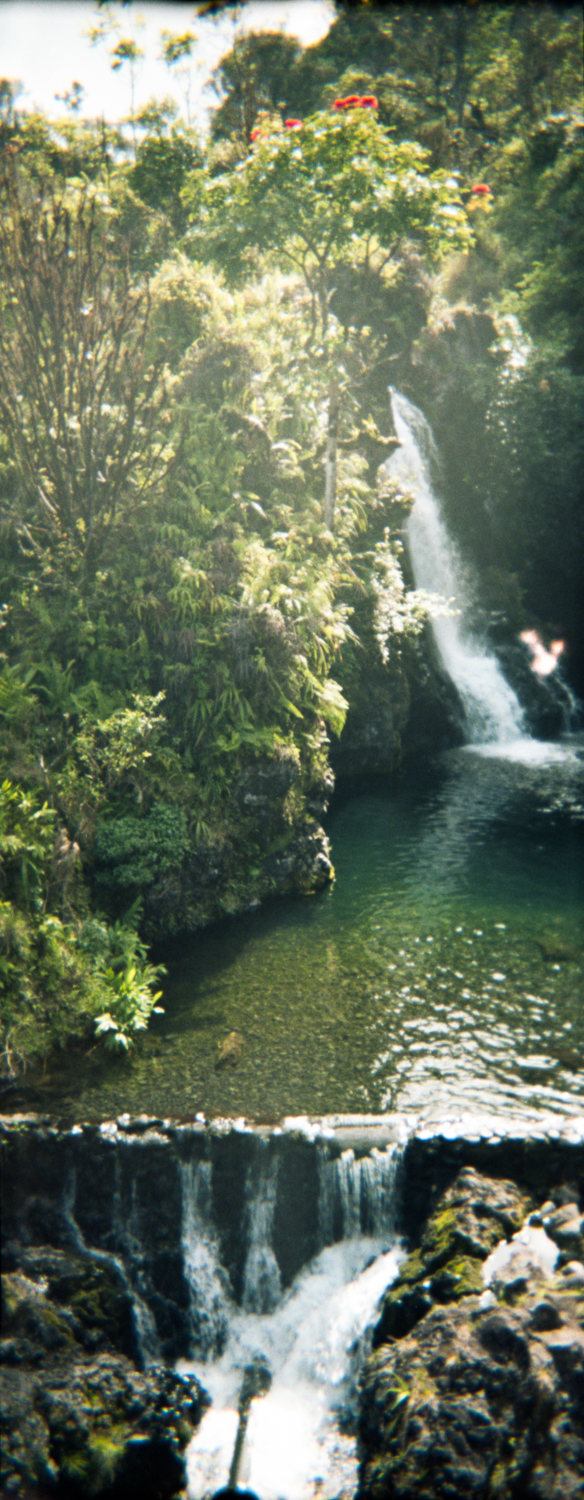
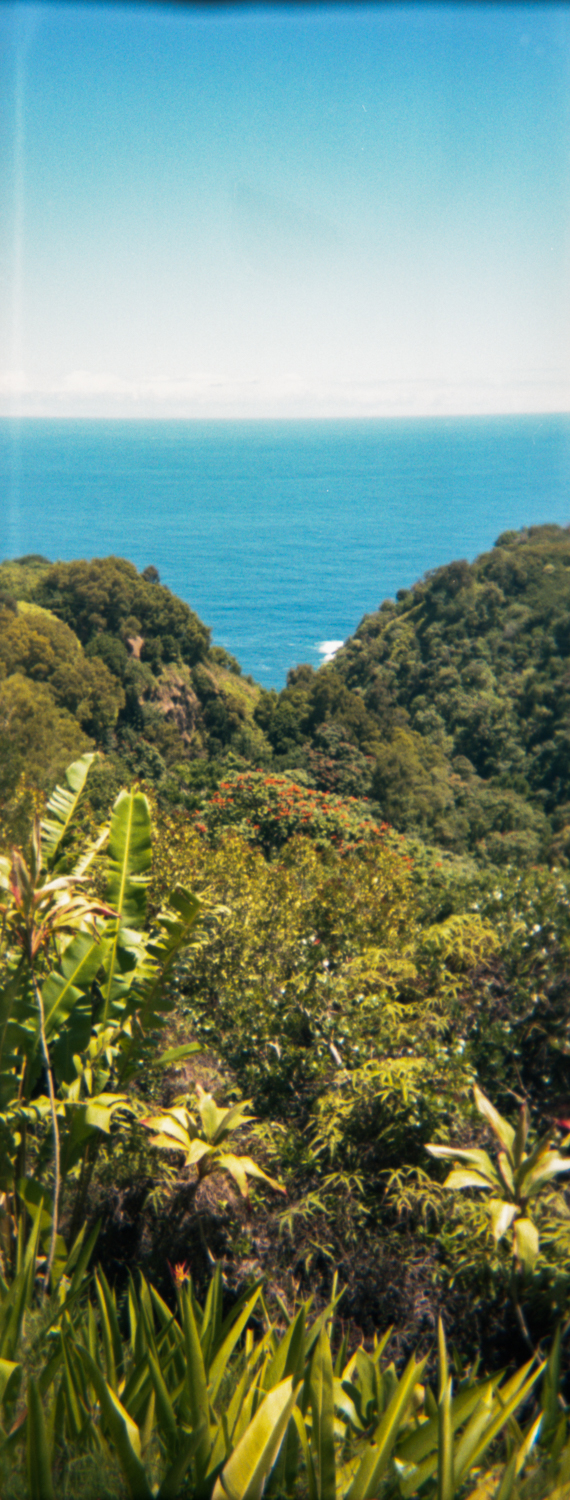
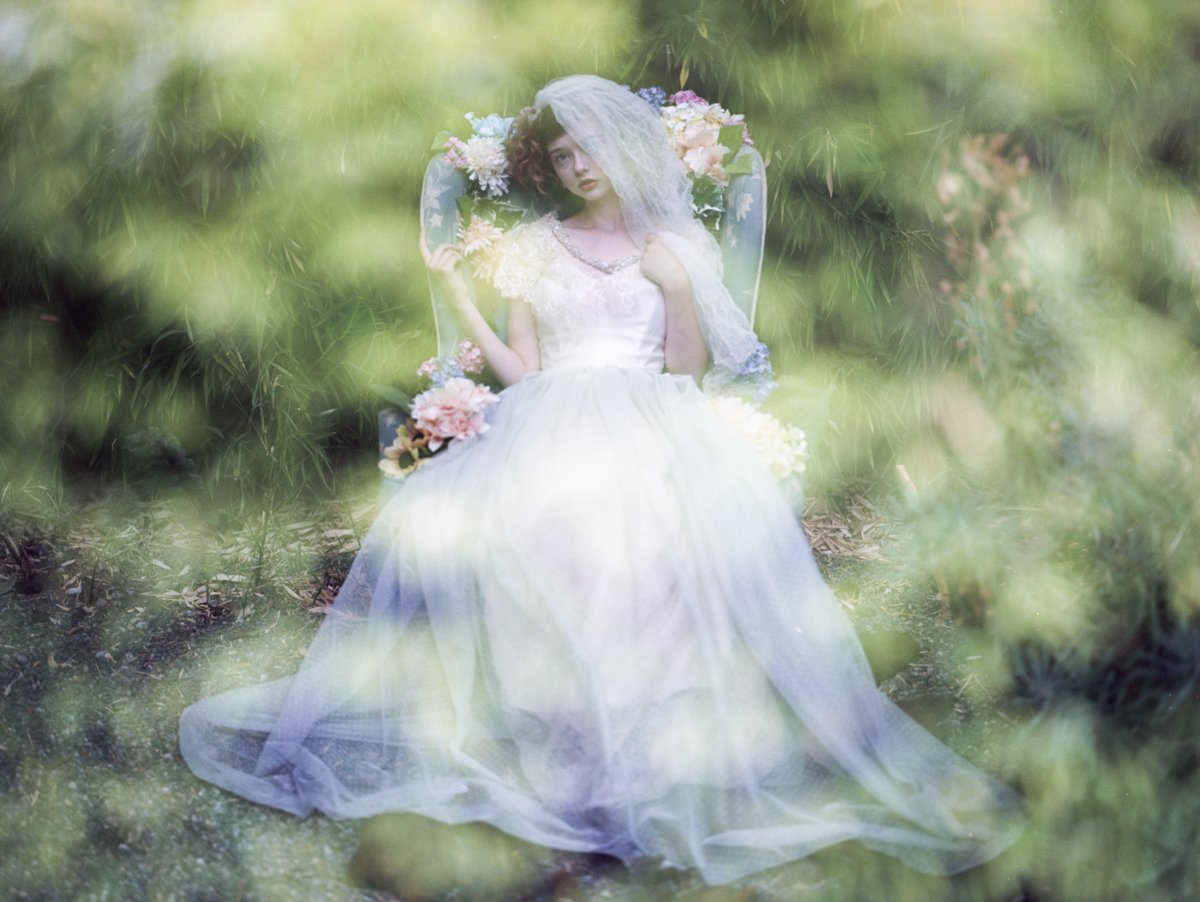
Double/Multiple Exposure Examples:
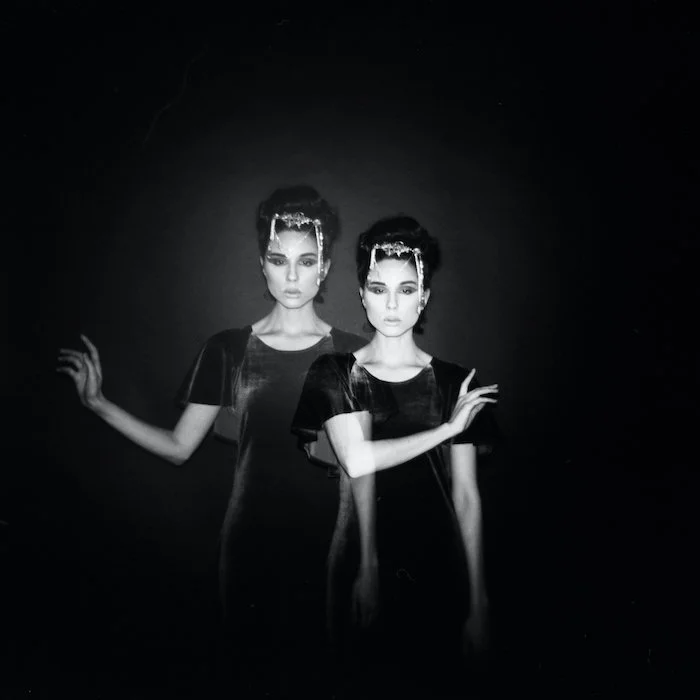


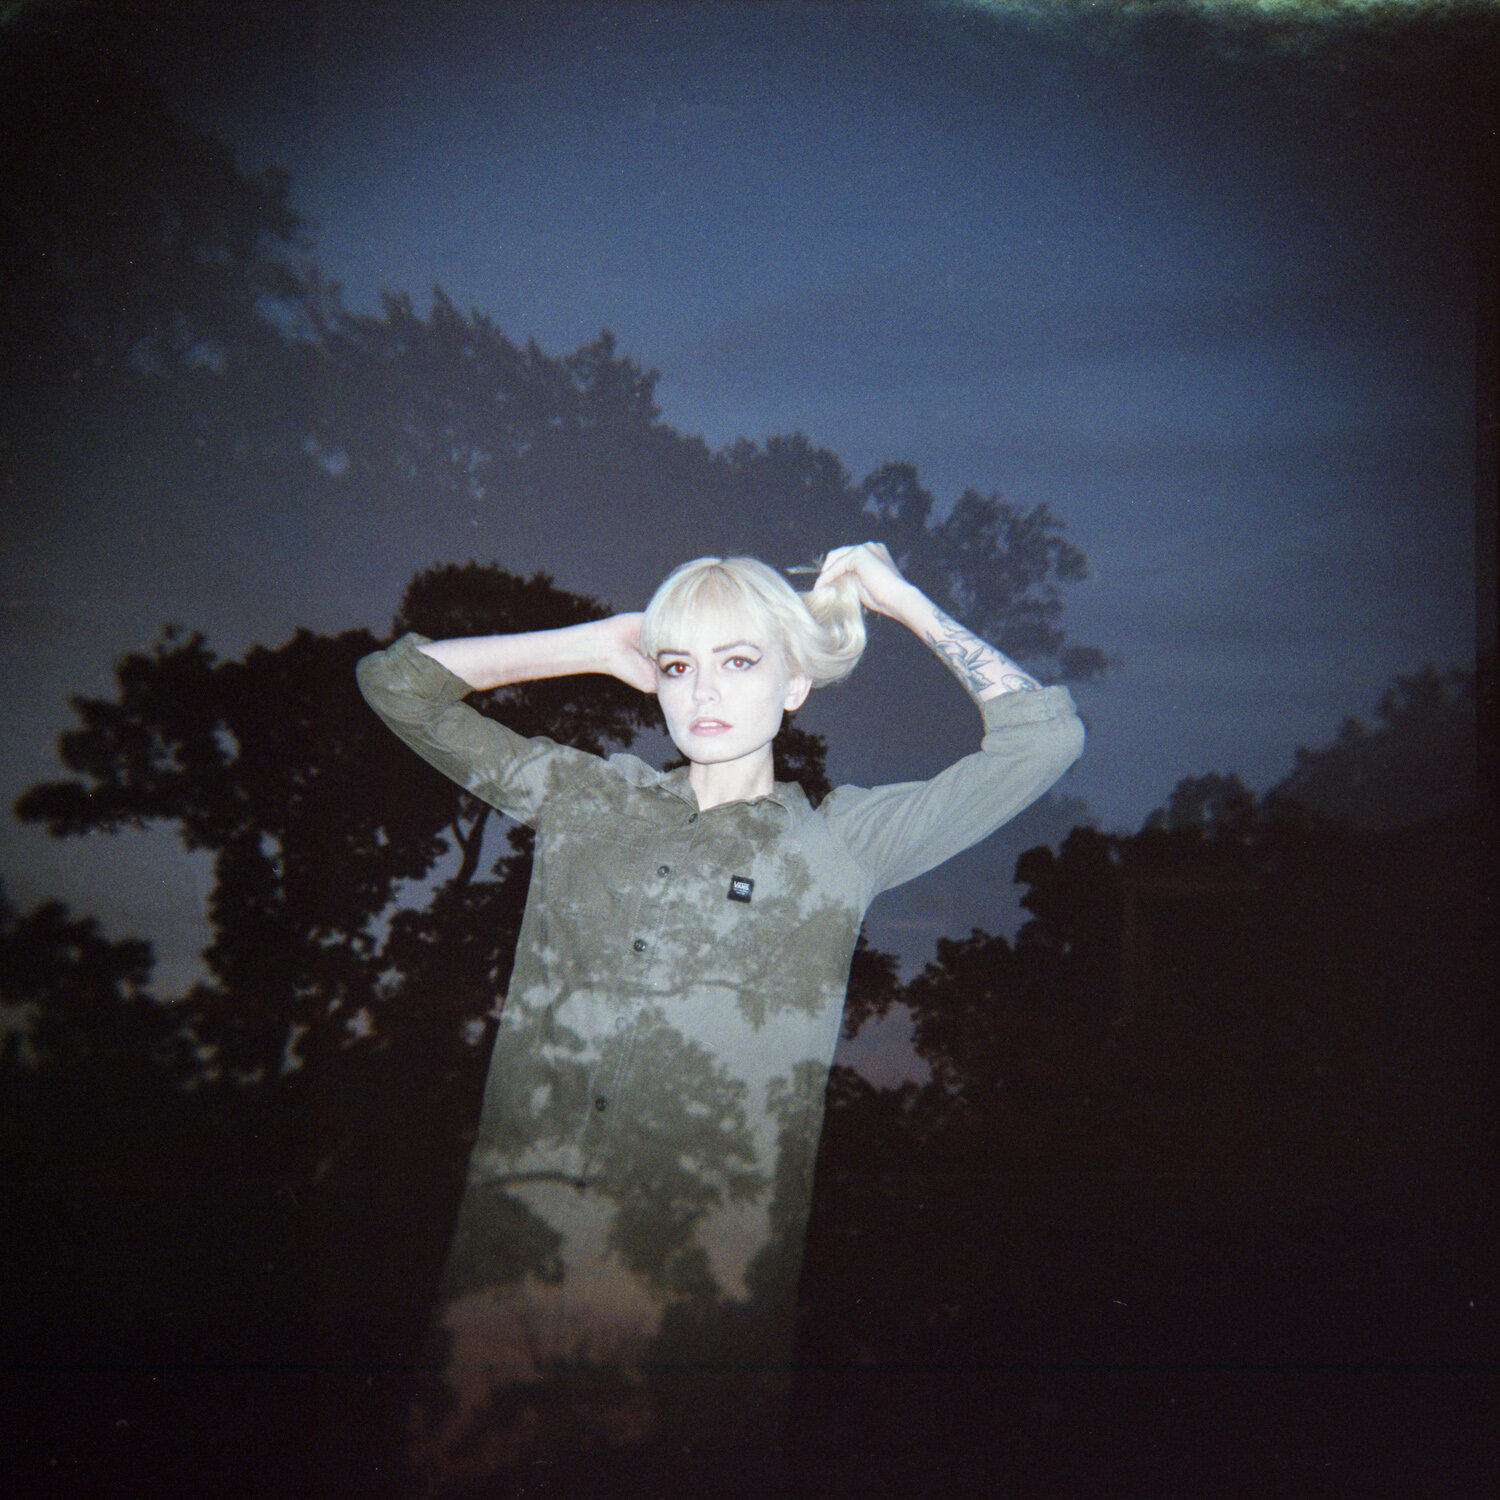
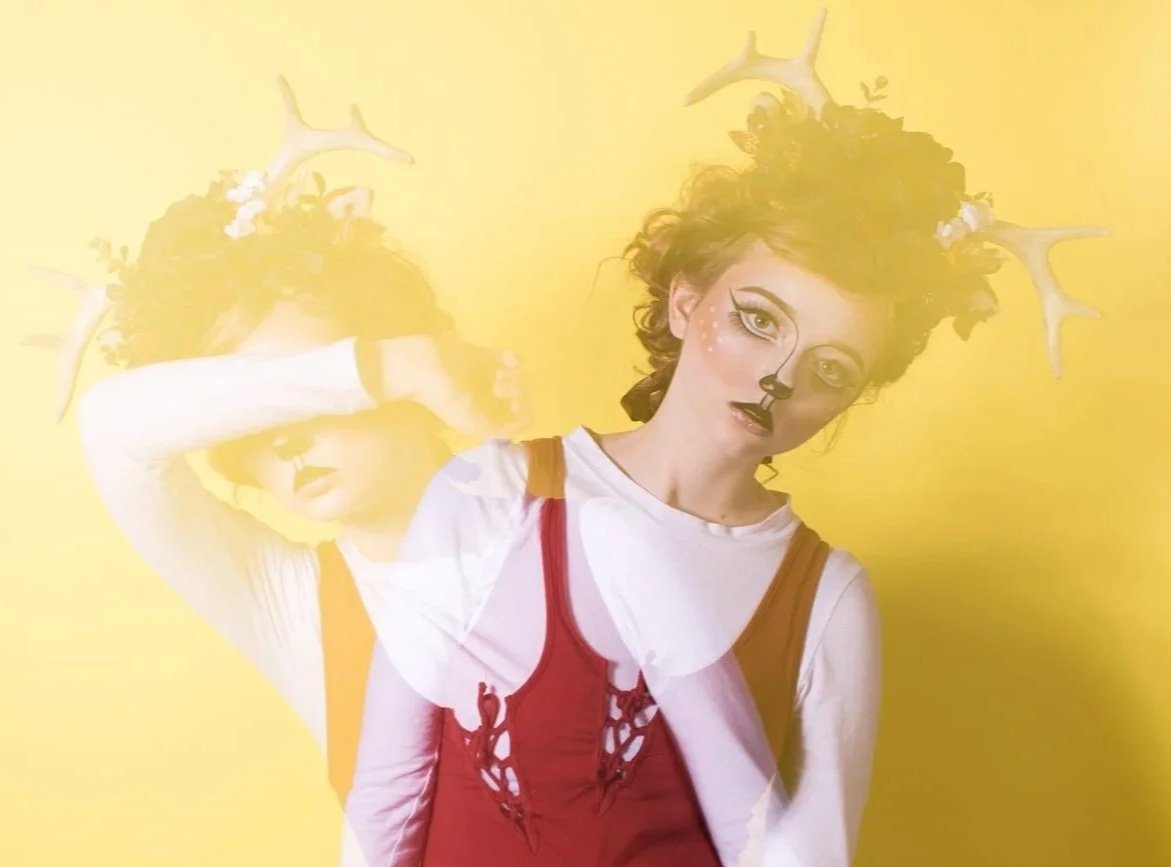
Canon Digital Full-Frame Double Exposure Examples: